

Serverless computing has revolutionized the way developers build and deploy applications in the cloud. It takes away the complexities of server management, allowing developers to focus solely on writing code and delivering value to their users.
In the realm of serverless computing, AWS Lambda stands out as a leading platform for running serverless functions in a scalable and cost-effective manner.
Table of Contents
- What is Serverless Framework?
- Purpose and Scope of the Guide
- Prerequisites
- How to Configure the AWS CLI
- How to Create the IAM Role
- How to Create a Serverless Project
- How to Write the Python Function
- How to Define Serverless Configuration
- How to Deploy the Python Function
- How to Test the API
- Monitoring and Logging
- Conclusion
What is Serverless Framework?
Serverless Framework is a powerful tool that simplifies the deployment and management of serverless applications across various cloud providers, including Amazon Web Services (AWS). This guide aims to walk you through the process of using the Serverless Framework to deploy a simple Python function to AWS Lambda, expose it via API Gateway, and monitor it using AWS CloudWatch.
Purpose and Scope of the Guide
The purpose of this guide is to provide you with a step-by-step tutorial on deploying a serverless Python function on AWS using the Serverless Framework. Whether you're new to serverless computing or looking to expand your skills, this tutorial is designed to help you with the following:
- How to set up the necessary prerequisites, including AWS account configuration.
- How to create a new serverless project using the Serverless Framework.
- How to write a Python function that will be deployed to AWS Lambda.
- How to define the serverless configuration in a
serverless.ymlfile. - How to deploy the Python function and API Gateway.
- How to test the deployed API using various tools like cURL or Postman.
- How to set up monitoring and logging with AWS CloudWatch.
By the end of this article, you'll have a clear understanding of how to leverage the Serverless Framework to deploy and manage serverless applications on AWS.
You'll also gain practical experience in deploying serverless functions and exposing them through an API endpoint, paving the way for building and scaling serverless applications in your projects.
Now, let's dive into the prerequisites needed to get started with this tutorial.
Prerequisites
To follow along with this tutorial, you'll need the following:
- An AWS account.
- The AWS CLI (Command Line Interface).
- The Serverless Framework.
How to Configure the AWS CLI
You'll need to set the AWS credentials for the AWS CLI if you have not done that already. You'll be using it along with the Serverless Framework to deploy the resources on AWS.
You can create the AWS credentials file by entering the following command in the terminal:
 cat <<EOF > ~/.aws/credentials
    [default]
    aws_access_key_id = <REPLACE_WITH_YOUR_SECRET_KEY>
    aws_secret_access_key = <REPLACE_WITH_YOUR_ACCESS_KEY>
  EOF

  cat <<EOF > ~/.aws/config
    [default]
    region = eu-west-1
    output = json
  EOF
How to Create the IAM Role
The IAM role is also used by the Serverless Framework to deploy the resources on AWS. Enter the following command to create the role:
 aws iam create-role --role-name serverlessLabs --assume-role-policy-document '{
  "Version": "2012-10-17",
  "Statement": [
    {
      "Effect": "Allow",
      "Principal": {
        "Service": "lambda.amazonaws.com"
      },
      "Action": "sts:AssumeRole"
    }
  ]
}'
This policy allows the role to be used by the AWS Lambda service.
Enter the following command to attach the AWSLambdaBasicExecutionRole policy to the role:
aws iam attach-role-policy --role-name serverlessLabs --policy-arn arn:aws:iam::aws:policy/AWSLambda_FullAccess
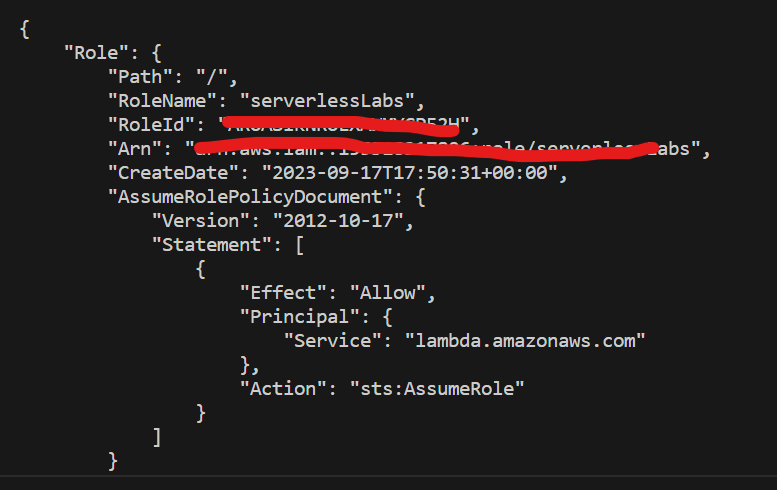
To verify that the role has been created successfully, you can run the following command to get information about the IAM role:
aws iam get-role --role-name serverlessLabs
Here's what the information should look like:

How to Create a Serverless Project
This project is a simple python function that is deployed to AWS Lambda, API Gateway, and CloudWatch using the Serverless Framework.
The function is triggered by an HTTP GET request and returns a simple string. The function is deployed to the eu-west-1 region.
First, install Serverless Framework using npm:
npm install -g serverless
Next, create a new Serverless Framework project using the serverless command and then follow the prompt:
serverless
Then choose AWS Python Starter from the template list. Give it any name of your choice – I used serverless-lab.
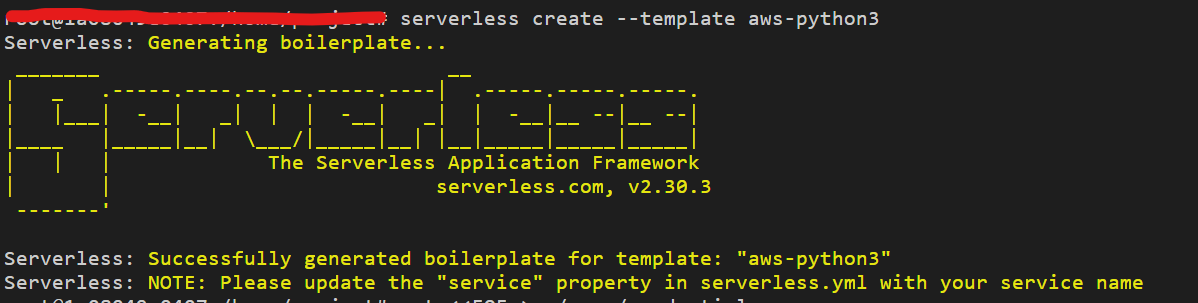
After the command runs successfully, you will see the two main components created: serverless.yaml, and handler.py.
How to Write the Python Function
To keep things organized, let's create a folder named functions, and create a file named __init__.py inside it. You can do that using this command:
mkdir functions touch functions/__init__.py
Create your first function by creating a file named first_function.py inside the functions folder:
touch functions/first_function.py
Then open the first_function.py file, and paste the following Python code to define the function you'll deploy:
def first_function(event, context):
  print("The first function has been invoked!!")
  return {
    'statusCode': 200,
    'body': "Hello, World!.\n This is the first function."
  }
This code above is a simple Python function that returns a JSON object with status code and body values. As you can see, we inserted the two parameters — event and context — required from the functions as a Serverless Framework convention.
Next, open the handler.py file and delete its content and paste the following Python code to define the handler that will be invoked when the function is triggered:
from functions.first_function import first_function
The code above exposes the function you created in the first_function.py file. We imported the function, and exposed it to the framework.
How to Define Serverless Configuration
To start with the configuration, open the serverless.yaml file and delete all of its content and paste the following YAML code to define the microservice you will deploy:
service: serverless-lab

provider:
  name: aws
  runtime: python3.7
  lambdaHashingVersion: 20201221
  region: eu-west-1
  timeout: 10 # You set a timeout of 10 seconds for the functions
  role: arn:aws:iam::155318317806:role/serverlessLabs # Enter your Arn role here
  memorySize: 512

functions:
  first_function:
    handler: handler.first_function
    events:
    - http:
        path: first
        method: get
Let's break down each section line by line:
service: serverless-lab
**service** specifies the name of your Serverless service or project. In this case, it's named "serverless-lab," which will be used as the service name when deploying to AWS.
provider:
  name: aws
  runtime: python3.7
  lambdaHashingVersion: 20201221
  region: eu-west-1 # enter your region
  profile: personalCaesarAcc
  timeout: 10 # You set a timeout of 10 seconds for the functions
  role: arn:aws:iam::155318317806:role/serverlessLabs # Enter your Arn role here
  memorySize: 512
**provider** defines the AWS provider for your service. It specifies various configuration settings for AWS Lambda functions and other AWS resources.
name: awsspecifies that you are using AWS as your cloud provider.runtime: python3.7sets the runtime for AWS Lambda functions to Python 3.7.lambdaHashingVersion: 20201221specifies the Lambda function hashing version. This is an internal AWS setting.region: eu-west-1specifies the AWS region where your service will be deployed. You can replace "eu-west-1" with your desired AWS region.timeout: 10sets a timeout of 10 seconds for AWS Lambda functions. This means that each function should complete its execution within 10 seconds.role: arn:aws:iam::155318317806:role/serverlessLabsspecifies the AWS IAM role ARN that your Lambda functions will assume. This role defines the permissions your functions have within AWS services. You can replace this with the ARN of your desired IAM role.
functions:
  first_function:
    handler: handler.first_function
    events:
    - http:
        path: first
        method: get
**functions** defines the AWS Lambda functions in your service.
first_functiondenotes the name of your AWS Lambda function.handler: handler.first_functionspecifies the entry point for this function, which ishandler.first_functionin thehandlermodule. This is typically in the<module_name>.<function_name>format.eventsspecifies the events that triggers the function.- httpindicates that the function is triggered by an HTTP event (API Gateway).path: firstspecifies the API endpoint path (/first) that triggers the function.method: getspecifies that this function is triggered when an HTTP GET request is made to the specified path.
How to Deploy the Python Function
You can use the command below to deploy the microservice on AWS:
serverless deploy
After a while, the deployment will be completed and you can see information like the endpoint, hosted on API Gateway, to trigger the function you just deployed.
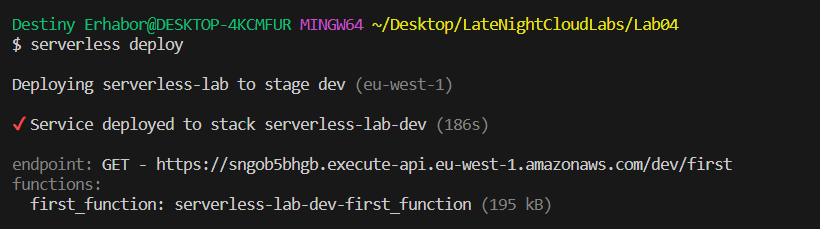
The framework deployed the function on AWS Lambda and, because you attached an HTTP trigger to it. It has deployed an API on API Gateway to let the function be reachable.
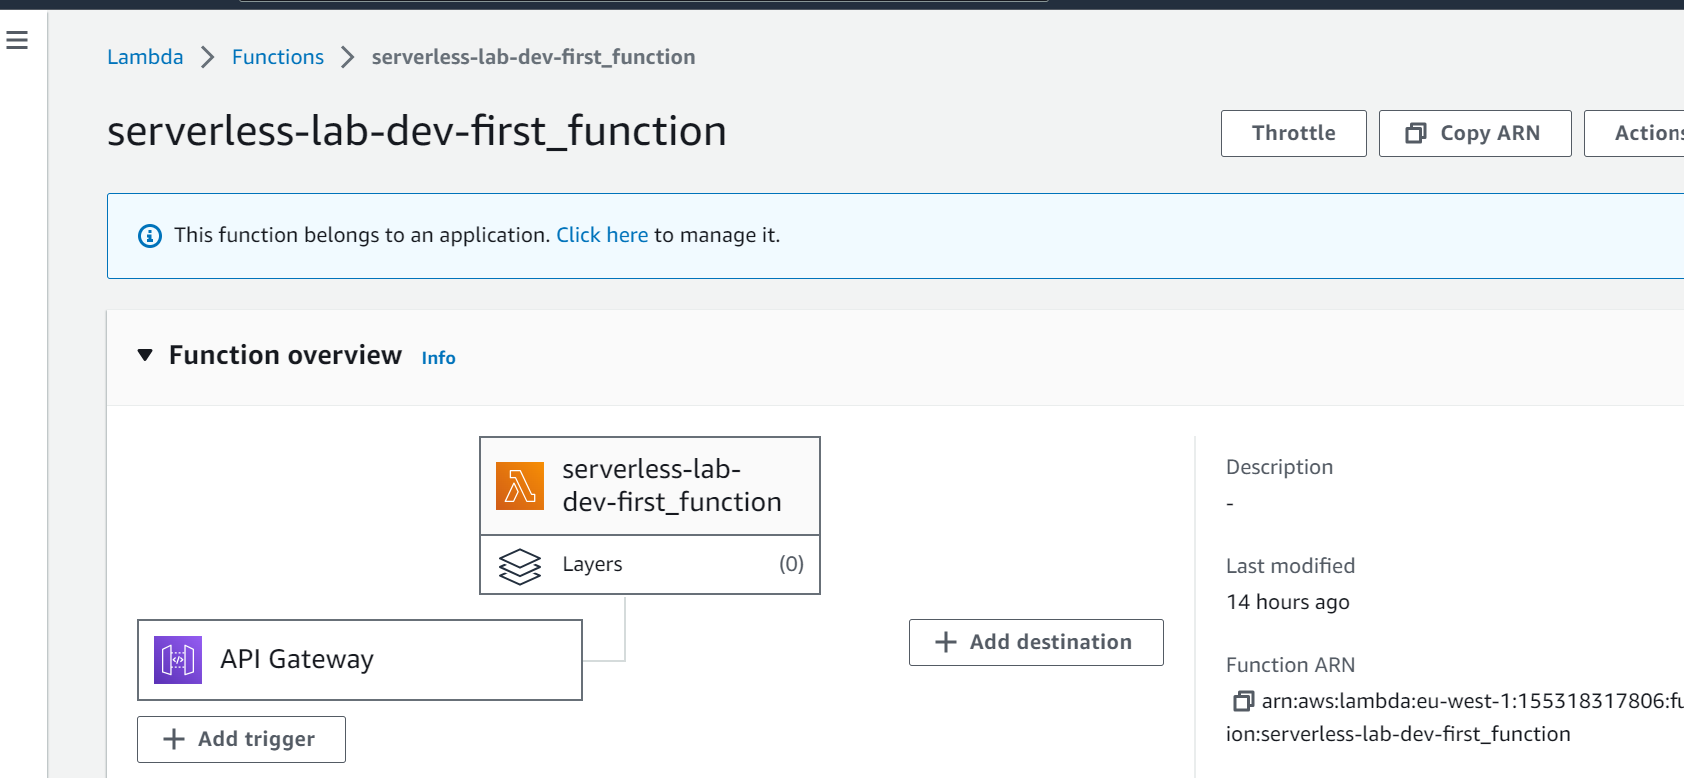
How to Test the API
From the deployment, you have a single function named first_function, and a single HTTP GET endpoint.
Using the GET endpoint (the endpoint generated in the terminal after deploying the function) in your browser, you can call the function:
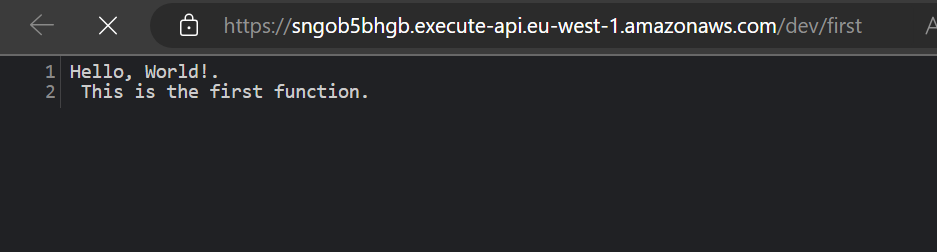
The image above shows the functionality created in the deployed function running in the browser.
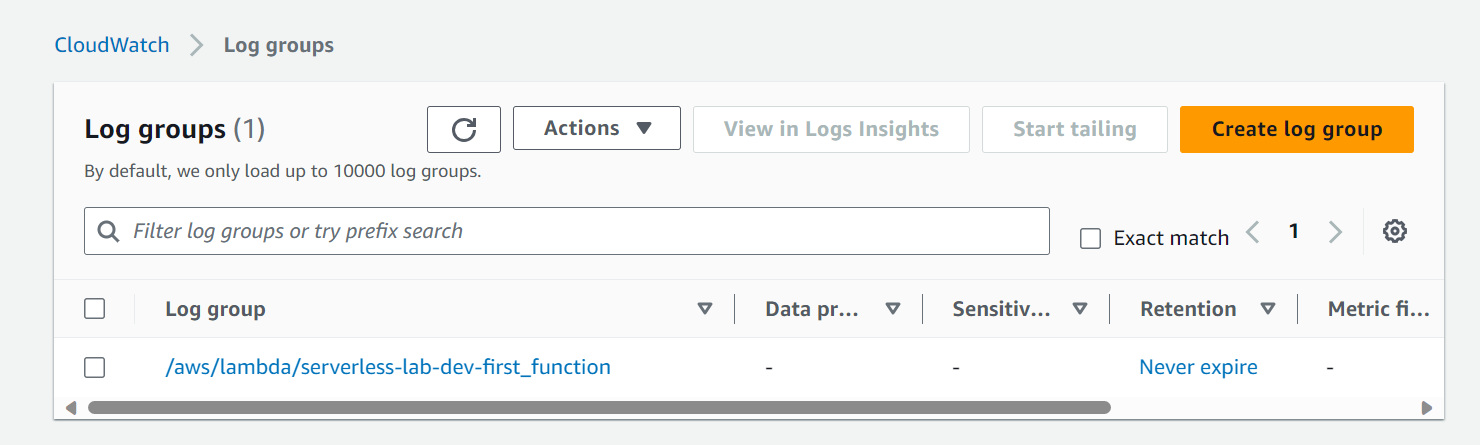
Monitoring and Logging
The log group is automatically saved on AWS CloudWatch because there is a print statement defined in the function. Enter the following command to access the function's logs:
serverless logs -f first_function
AWS CloudWatch is the native AWS logging service that lets you monitor and access logs from your applications. You can find log groups, and you can also apply filter expressions on logs to retrieve those you need.
You can delete the microservice and resources you just deployed using the serverless remove command.
Check out my GitHub repository to see the full code
Conclusion
In this comprehensive guide, we've explored the powerful world of serverless computing and demonstrated how to harness its capabilities using the Serverless Framework and Amazon Web Services (AWS).
You've embarked on a journey from setting up your development environment to deploying a simple Python function as an AWS Lambda-backed API, all while gaining insights into monitoring and logging with AWS CloudWatch.
This guide serves as a starting point for your serverless journey. As you become more proficient with the Serverless Framework and AWS, you'll be able to build and deploy sophisticated serverless applications that scale dynamically and meet the demands of modern, cloud-native architectures.
As always, I hope you enjoyed the article and learned something new. If you want, you can also follow me on LinkedIn or Twitter.