By Sriram Thiagarajan
Test Driven Development (TDD) is one of the best ways to make sure your code is high quality and works like it's supposed to work. It can also help you create reliable builds during continuous deployments.
In this post, we will learn how to create a Svelte application using TDD methods.
What We're Building
We are going to build a vertical tabs component where we can switch between three tabs. We are going to build this component by writing test cases first and developing the component functionality after that to make the tests more effective.
 Final implementation
Prerequisite
I will explain all the steps needed to create an app and you can follow along with the code. It's great if you have basic programming knowledge and fundamental knowledge of HTML and CSS for this tutorial.
Also, you'll need to have Node.js installed. You can see how to do that here if you don't have it already.
What is Test-Driven Development?
The basic idea of test-driven development, or TDD, is to write the test before you implement the actual functionality. This helps you clearly figure out what you're developing and how it works.
You first watch the test fail, and then you write the code to make it pass. This ensures that there are no false positive tests in your code.
TDD is a methodology you can apply to any programming language. It is more prevalent when developing backend applications that contain business logic that you can easily test.
The good news is, you can apply similar techniques to test your front-end applications as well.
Three stages of TDD
The three stages of TDD are:
- Red stage – Write the test and watch it fail
- Green stage – Write the minimum code required to make the test pass
- Refactor – Cleanup and refactor the code to make it more robust
 Three stages of TDD
What is Vitest?
Vitest is an up-and-coming testing framework which has similar functionality to Jest.
Since we are using Vite as our build tool for Svelte in this tutorial, Vitest has very good integration with Vite and offers a similar testing environment without needing extra configuration.
How to Create a Svelte Application
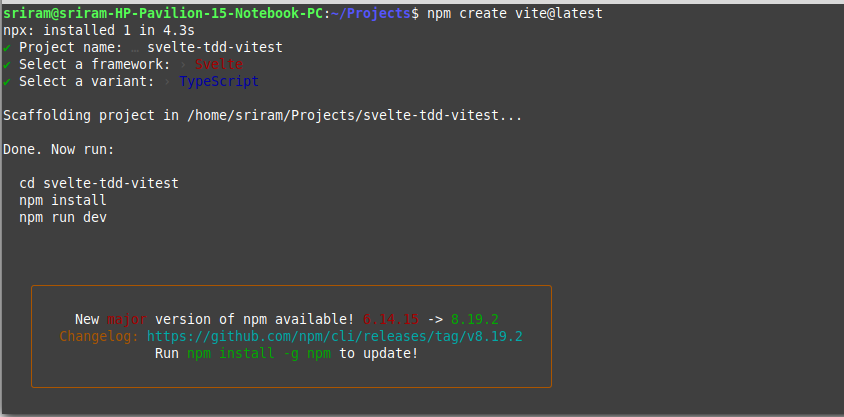
We are going to create a Svelte application using Vite as the build tool. You can do that with this command:
npm create vite@latest
This will create a new project, and you can follow the steps below to create and setup the project:
- Enter the name of the project. This will also create a new folder with the project name. In this example, I will add the project name as
svelte-tdd-vitest. - You can select the framework in the next step. Let's choose
svelteas the framework. - Then you can enter the variant of the framework. We can choose the
TypeScriptvariant for this article. If you are not comfortable with TypeScript, you can also chooseJavaScriptin this option.
 Initialise Svelte project with Vite
You can then follow the helpful steps provided in the terminal to install the dependencies and start the application. Run the following command:
cd svelte-tdd-vitest
npm install
npm run dev
npm install will install the dependencies of the project.
npm run dev will start the development server. You should see the app running in the port specified in the terminal.
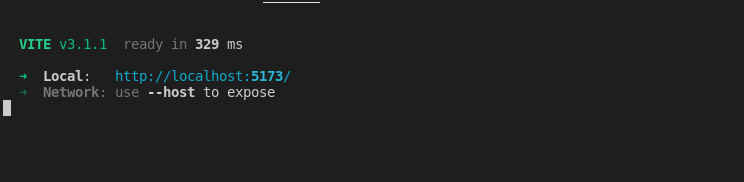 Vite Server started using npm run dev
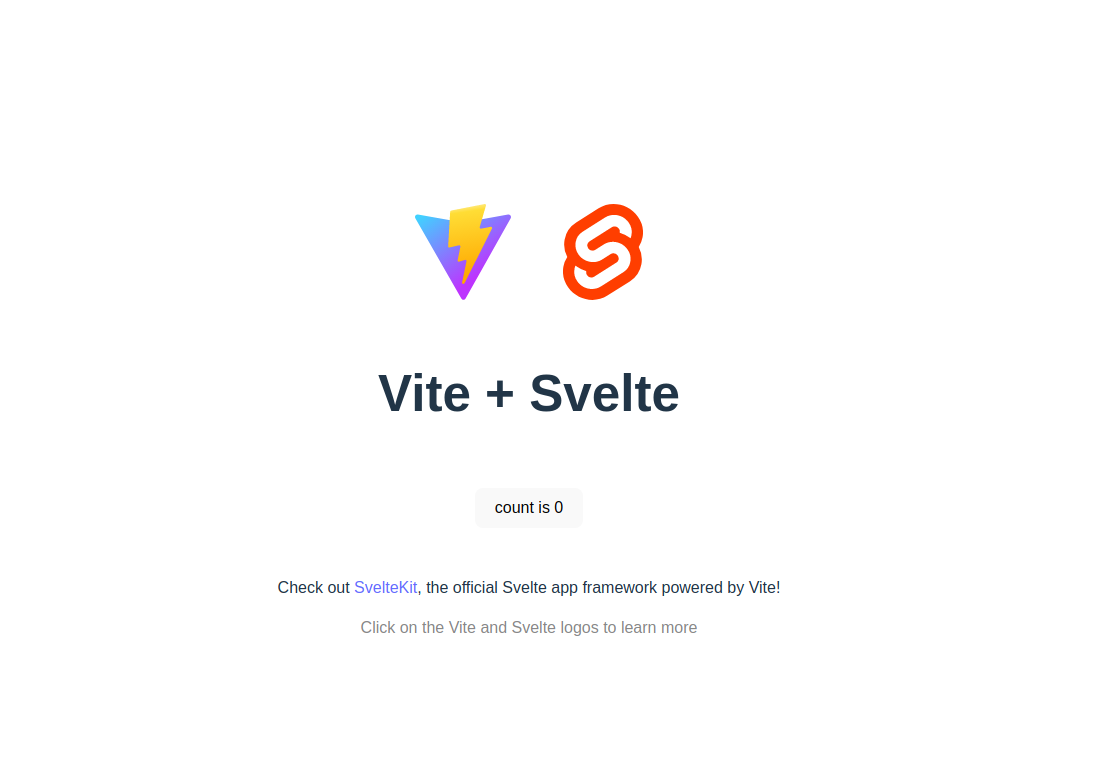
Congrats, you can now see the starter app running in your browser. You can open the project in your favourite Code Editor and start working.
How to Set Up Vitest
You can add Vitest to the project right now as a dev dependency. This means that Vitest will not be packaged into the production build of the application since you will be running the test in your local environment.
npm install -D vitest
Vitest can read the config of Vite inside the vite.config.js file and prepare the test environment similar to the build environment. This makes the test more reliable. So you can reuse the Vite config file and add more options for the configuration of Vitest.
You can also override the config for the Vitest by creating a new file called vitest.config.js in the project root. So now, create a new file called vitest.config.js:
import { defineConfig } from 'vitest/config'
import { svelte } from '@sveltejs/vite-plugin-svelte'

export default defineConfig({
  plugins: [
    svelte({ hot: !process.env.VITEST }),
  ],
  test: {
    environment: 'jsdom',
  }
})
There are a couple of configs we are adding to the file
- We are disabling Svelte's hot module reload when tests are running.
- We are defining the environment for running the test as
jsdom. It helps in mocking the DOM API and running the tests in a reliable method.
In order to use the jsdom you need to add it as an Dev Dependency as well. So let's install that package using the terminal.
npm install -D jsdom
After installation, let's add a couple of scripts to the package.json file to start the Vitest test from the npm command line:
"scripts": {
    ...
    "test": "vitest",
        "coverage": "vitest run --coverage"
}
How to Create the First Test
You now have all the setup needed to write your first test. Create a new file called sample.spec.ts inside the lib directory.
import {describe, test, expect } from 'vitest';

describe("Example File", () => {
    test("Sample test", () => {
        expect(1 + 3).equal(4);
    });
});
Let's break down the different functions used to create this test file:
describe– you use this to group similar test together and benchmark tests when generating your reports. It takes a name and a function that contains the group of tests.test– Represents a single test. It can contain multiple expectations within it. It is created by passing a name of the test and the function to run the test.expect– Represents the expression which you're testing.
There are multiple different ways to write your test based on what you are testing. You can have a look at the complete API for Vitest in the official API Reference.
Let's run the test using the following npm command:
npm run test
 Running the test
How to Add the Global Test Config
You are going to be using the describe, test, and expect functions a lot in the test files and it might be verbose to import them in all the test files. So Vitest has a nice config where you can set these global imports and so you don't have to add them to each file.
So let's update the vitest.config.js file with this configuration:
export default defineConfig({
  ...
  test: {
    ...
    globals: true
  }
})
After adding this globals equals true line in your config, you can now remove the imports in your spec file.
If you are using TypeScript, your TypeScript compiler will complain in your spec file. You can solve that by adding the following line to your tsconfig.json file:
{
  "extends": "@tsconfig/svelte/tsconfig.json",
  "compilerOptions": {
    ...
    "types": ["vitest/globals"]
  },
}
Now your test can look like this. This is not a huge upgrade for this small file, but when you have lots of spec files, this config change is useful.
describe("Example File", () => {
    it("Sample test", () => {
        expect(1 + 3).equal(4);
    });
});
How to Create a Svelte Component
We will create a new svelte component called VerticalTabs.svelte. The requirements are to create a vertical tab component that can contain a few items and for the user to be able to select a particular tab to view its content in the right side.
The component will be divided into two parts. The left side displays all the tabs. The right side displays the content based on the tab.
Let's create the basic HTML and CSS styles needed for the component. We will add the functionality to switch tabs after writing the tests.
<div class="vertical-tab-container">
    <ul class="vertical-tab">
        <li>First Tab</li>
        <li>Second Tab</li>
        <li>Third Tab</li>
    </ul>

    <div class="vertical-tab-content">
        <h2>First Tab Heading</h2>
        <p>Lorem ipsum dolor sit amet consectetur adipisicing elit. Autem aut deserunt veniam tempora deleniti quos reprehenderit natus. Animi, obcaecati dolorum, culpa, maiores maxime ullam soluta unde rerum nihil temporibus quibusdam!</p>
    </div>
</div>

<style>
    .vertical-tab-container {
        display: flex;
        flex-direction: row;
        align-items: center;
        border: 1px solid gray;
        border-radius: 1rem;
    }

    .vertical-tab {
        margin: 0px;
        padding: 3rem;
        list-style: none;
        border-right: 1px solid gray
    }

    .vertical-tab li {
        margin: 2rem 0;
    }

    .vertical-tab-content {
        flex:1
    }
</style>
In this code, you are adding simple elements like an unordered list to display the list of tabs. You are styling it in the <style> tag which will be locally scoped CSS for this component.
Then, you are adding <h2> tag to display the tab heading and a paragraph tag <p> to show more dummy text for the tab. You're using flex to show the two items side by side and the property of flex: 1 on the content will make that container take all the remaining available space to expand.
The component should look like the below image:
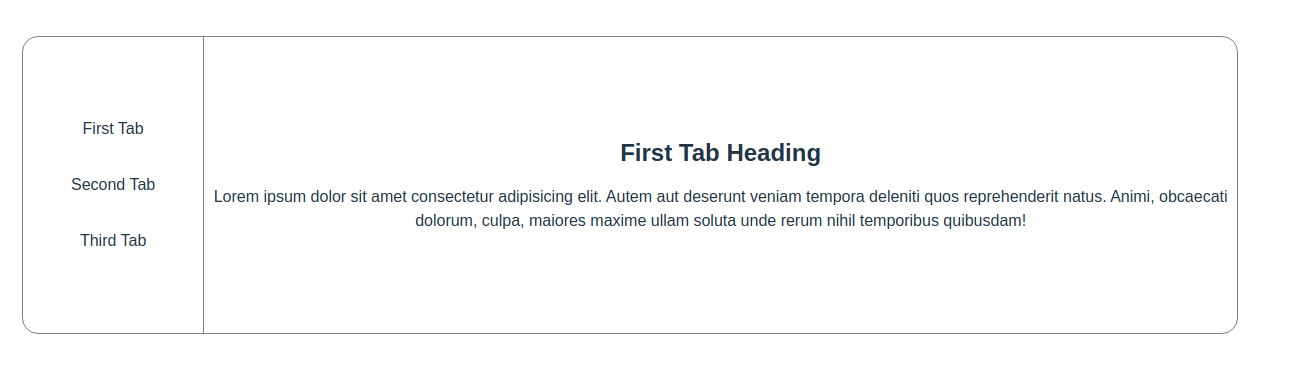 Vertical Tab initial
How to Mount the Svelte Component in Test
Now you need to create the first test for the component by mounting the svelte component and then checking to see if you can find the "First Tab" text in the component.
So create a new spec file called VerticalTabs.spec.ts:
import VerticalTabs from "./VerticalTabs.svelte";

describe("VerticalTabs Component", () => {

    test("should render the component", () => {
        // Create a new container for the test
        const host = document.createElement('div');

        // Append the new container in the HTML body
        document.body.appendChild(host);

        // Create an instance of the vertical tab
        const instance = new VerticalTabs({ target: host });

        // Check if the instance has value
        expect(instance).toBeTruthy()

        // Test if we can find the "First Tab Heading"
        expect(host.innerHTML).toContain("First Tab Heading")

    });

})
In order to mount the Svelte component, you need to first create a div container and attach that div to the body of the HTML document. Then you need to attach your component to the div. You can then test the innerHTML of the main container to see if you have the required content.
Now this test should pass since you have the First Tab Heading content displayed in the component.
Going through this long process in all the steps might prove to be difficult. So let's add another package to make the job easier. The package is testing-library/svelte and it provides more features to make the assertions easy and less verbose.
How to Use the Svelte Testing Library
First, you'll need to install the library:
npm install -D @testing-library/svelte
Let's update the previous test to make it less verbose and let testing-library handle all the heavy lifting for us. You can use the render function to add the component to the testing page.
import VerticalTabs from "./VerticalTabs.svelte";
import { render, screen } from '@testing-library/svelte';

describe("VerticalTabs Component", () => {

    test("should render the component", () => {

        render(VerticalTabs);

        const firstTabNode = screen.getByText(/First Tab Heading/i)

        expect(firstTabNode).toBeTruthy()
    });

})
After the render function, add the component to the testing page. You can use the screen object imported from the library to query the nodes that are rendered.
There are multiple methods inside this object to make testing easy, and you will use one of the methods to get the text in the component.
getByText will return the instance of a given text. You are expecting the node to contain some value.
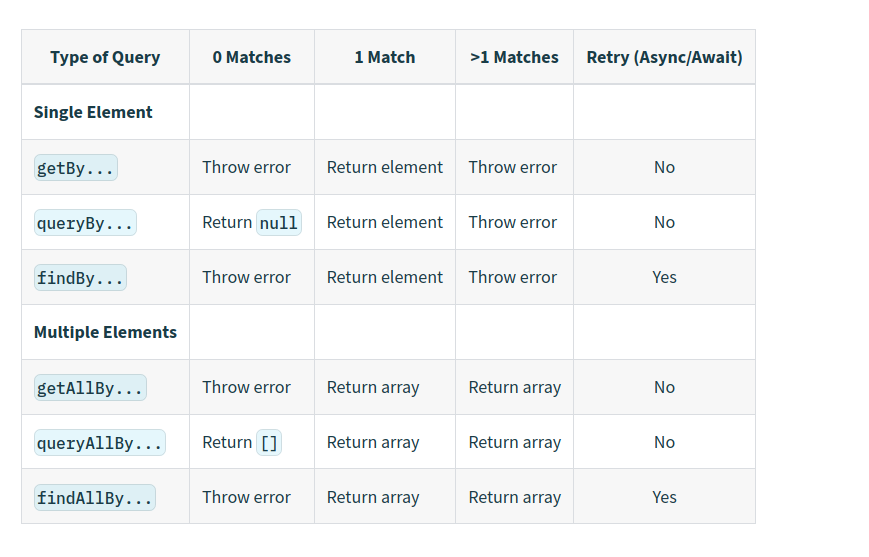
There are three main ways to retrieve the element in the testing library, and each serves a different purpose:
- getByText – This will throw an error when the text is not found and the test will fail
- queryByText – This will return null when the text is not found
- findByText – This will also throw an error when the text is not found and you can use it when doing async tests where the element will take some time to appear/disappear
You can find a useful summary of these helper functions in the official docs page.
 Summary screenshot from Official docs of testing library
You can find more details on this API in this official page.
How to Build the Tab Switching Feature
We will start adding the feature to switch tabs in the component and test the component by writing the test first.
Red stage
Let's write a test the switch to a different tab on click of the "Second Tab" list item.
Since we don't have this functionality implemented, we will fail this test first and that's okay. Once we fail the test, we should write the logic to make it pass in the next step.
So let's write a failing test:
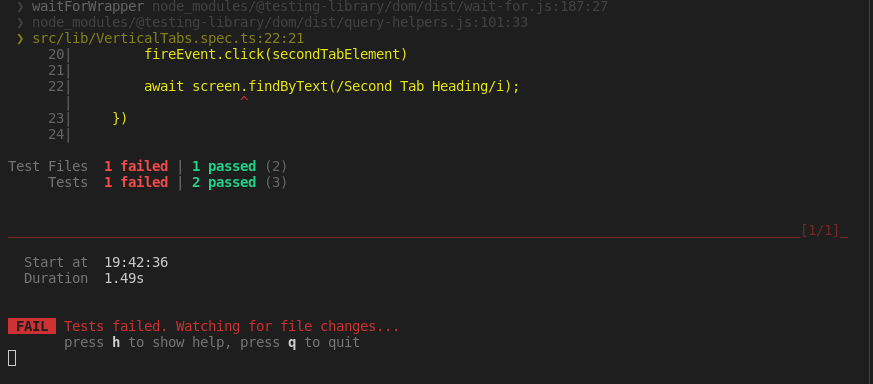
test("should switch tabs", async () => {
        render(VerticalTabs);

        const secondTabElement = screen.getByText(/Second Tab/i);

        fireEvent.click(secondTabElement)

        await screen.findByText(/Second Tab Heading/i);
})
We are using the fireEvent from the testing library to simulate the click of the element. We can make the test async and await for the element since the text will change after the element is clicked.
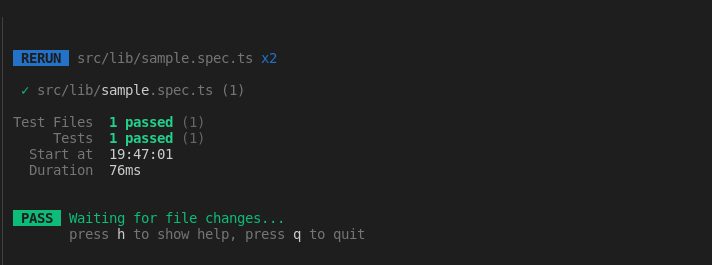
You should have a failing test now:
 Test failing unable to find the content
Green stage
Let's add the logic to change the tab in the Svelte component. We can do that easily by creating a selectedIndex variable and changing its value based on the selected tab.
<script lang="ts">
    let selectedIndex = 0;

    const changeSecondTab = () => {
        selectedIndex = 1;
    }
</script>

<div class="vertical-tab-container">
    <ul class="vertical-tab">
        <li>First Tab</li>
        <li on:click={() => changeSecondTab()}>Second Tab</li>
        <li>Third Tab</li>
    </ul>

    <div class="vertical-tab-content">
        {#if selectedIndex == 0}
            <h2>First Tab Heading</h2>
            <p>...</p>
        {:else if selectedIndex == 1}
            <h2>Second Tab Heading</h2>
            <p>...</p>
        {/if}
    </div>
</div>
Note: This is not the best implementation. It is only meant for showing that you can do minimal work to make the test pass. We will clean it up in the next stage
We have a method changeSecondTab that will change the selectedIndex value to 1 which will make the #if condition to change the tab. Even though it is not the best solution to handle all cases, we have a starting point.
Let's look at the test now. It should be working:
Refactor
Let's fix the implementation to make it more generic and have it work for all three tabs. We can also add an indicator to show which tab is currently selected.
<script lang="ts">
    let selectedIndex = 0;

    const changeTab = (index: number) => {
        selectedIndex = index;
    }
</script>

<div class="vertical-tab-container">
    <ul class="vertical-tab">
        <li class:selected={selectedIndex == 0}
            on:click={() => changeTab(0)}>First Tab</li>

        <li class:selected={selectedIndex == 1}
            on:click={() => changeTab(1)}>Second Tab</li>

        <li class:selected={selectedIndex == 2}
            on:click={() => changeTab(2)}>Third Tab</li>
    </ul>

    <div class="vertical-tab-content">
        {#if selectedIndex == 0}
            <h2>First Tab Heading</h2>
            <p>...</p>
        {:else if selectedIndex == 1}
            <h2>Second Tab Heading</h2>
            <p>...</p>
        {:else}
            <h2>Third Tab Heading</h2>
            <p>...</p>
        {/if}
    </div>
</div>

<style>
    ...
    .selected {
        color: blue;
    }
</style>
We have created a method changeTab that will be called on the click of each element and then change the selectedIndex. This will cause the #if logic to change the tab based on its value.
We also have class:selected followed by an expression and when the expression becomes true, the selected class is added to the element. So we have added one more CSS class and we made the text colour blue to show the selected tab.
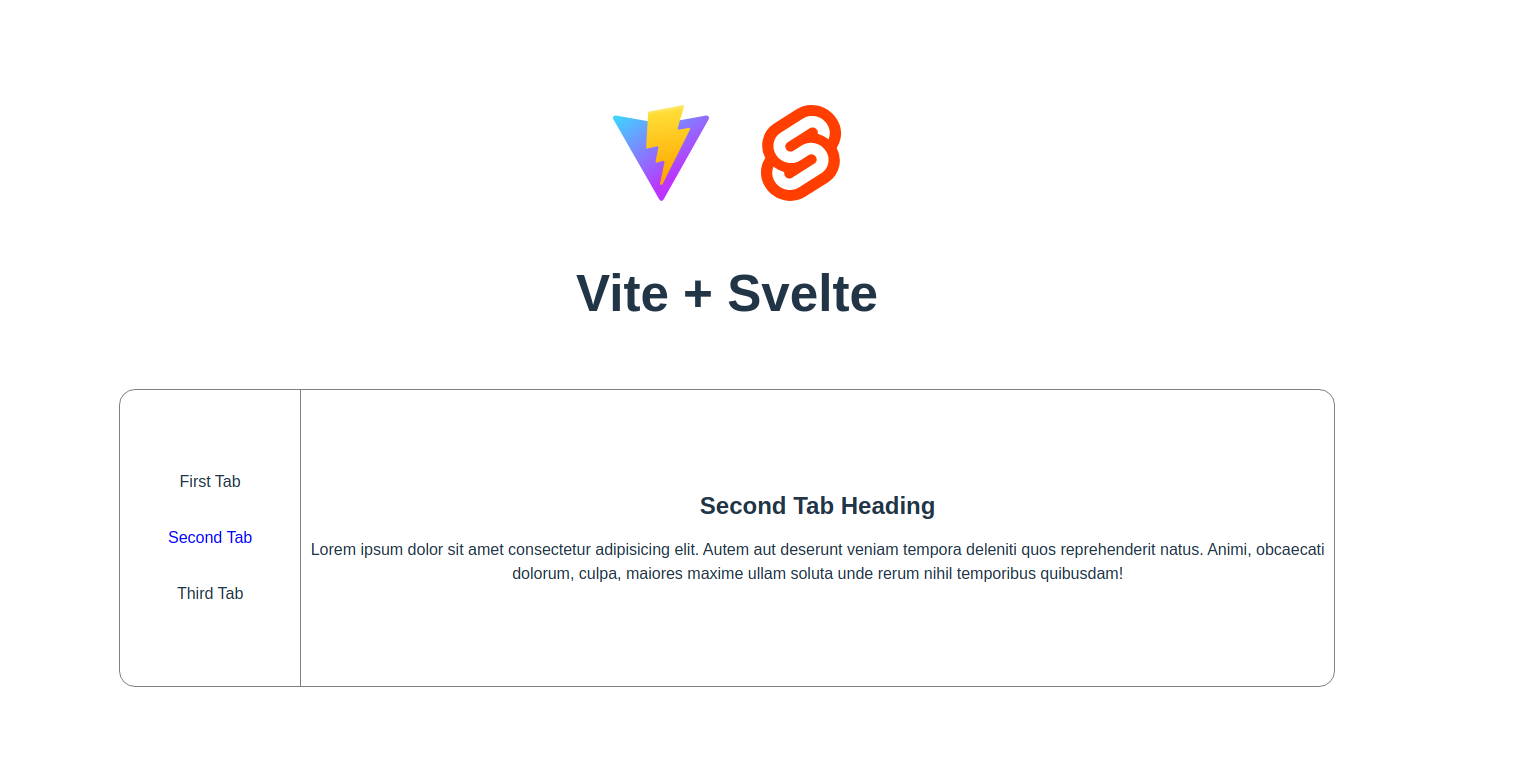 Finished vertical tabs component
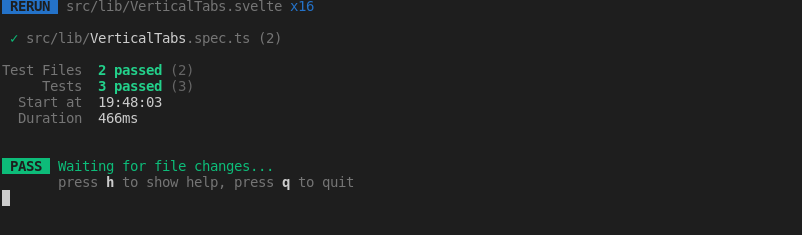
 Test after finishing refactor
We have now confirmed that the test is also passing after the refactor. You can continue this process to add more tests and features to your component.
How to Add Animation
Svelte makes it easy to add animation when content is changed. You can make use of the transition directive to add pre-built animation to your application.
So let's add a fly animation when the content changes. You can import the fly animation from svelte/transition and then add it to the element using transition:fly. This will add the default fly animation when the content flies out and new content flies in. Such a neat effect with just a single line of code!
import { fly } from 'svelte/transition';

<div class="vertical-tab-content" >
        {#if selectedIndex == 0}
            <div transition:fly>
                <h2>First Tab Heading</h2>
                <p>...</p>
            </div>
        {:else if selectedIndex == 1}
            <div transition:fly>
                <h2>Second Tab Heading</h2>
                <p>...</p>
            </div>
        {:else}
            <div transition:fly>
                <h2>Third Tab Heading</h2>
                <p>...</p>
            </div>
        {/if}
    </div>
Animation brings life to your application and helps it stand out. I am a big fan of the simple animation transition system in Svelte.
Conclusion
In this tutorial, you have learned how to create a new component using test-driven development methodology. Please share your feedback on this post and let me know your thoughts.
Thanks for reading! You can contact me on Twitter @sriram_thiagar. I regularly post articles on my blog eternaldev.com if you want to read more articles from me.
Hello everyone. I am Sriram, and I work as a Full Stack developer. I like to share my learning with others. I have been blogging for more than a year now on my website.