
By Solomon Eseme
Creating software is hard. So you want to build it once and run it everywhere without adjusting configurations for different operating systems and machines every time.
Well, this is one problem that dockerizing your application can help solve.
Here's what we'll cover in this tutorial:
- What is Docker?
- Benefits of Dockerizing an AdonisJS Application
- Prerequisites
- How to Create an AdonisJS Application
- How to Install AdonisJS
- How to set Up the Database
- How to Set Up the Environment Variables
- Create the AdonisJS Application
- How to Set Up Docker
- How to Install Docker
- How to Create the Dockerfile
- How to Build the Docker Image
- How to Run the Docker Container
- Conclusion
What is Docker?
Docker is a platform for developers and sysadmins that helps you build, ship, and run distributed applications. It is a tool designed to make it easier to create, deploy, and run applications using containers.
Containers allow developers to package up an application with all of the parts it needs, such as libraries and other dependencies, and ship it all out as one package.
By doing so, you can rest assured that the application will run on any other Linux machine (regardless of any customized settings that the machine might have that differ from the machine used for writing and testing the code).
Benefits of Dockerizing an AdonisJS Application
Below are some of the benefits of dockerizing your AdonisJS applications:
Improved Performance
Dockerizing an AdonisJS application can help improve its overall performance. This is because Docker containers are lightweight and efficient, and they can be quickly deployed and scaled.
Easy Deployment
Dockerizing an AdonisJS application makes it easier to deploy and manage. Docker containers can be quickly deployed to any environment, making it easier to manage and maintain the application.
Reduced Costs
Dockerizing an AdonisJS application can help reduce costs associated with hosting and maintenance. This is because Docker containers are lightweight and require fewer resources than traditional virtual machines.
Improved Security
Dockerizing an AdonisJS application can help improve its security. Docker containers are isolated from each other.
In the next section, we will explore more about dockerizing a real-world AdonisJS application. But before we continue, let's look at some of the prerequisites.
Prerequisites
Before we dive into creating the AdonisJS application and dockerizing it, you should have Node.js, NPM and Docker installed.
You should also have a basic understanding of the AdonisJS framework and a basic understanding of Docker and its components.
How to Create the AdonisJS Application
To create the AdonisJS API, you can follow this article on creating a Restful API with AdonisJs. But we are still going to build a simple AdonisJS application to demonstrate.
How to Install AdonisJS
Make sure you install the required Node.js version which will install the right NPM version, too. AdonisJS 5 requires Node.js version 12 and NPM version 6 and above.
If you have installed and set up Node.js and NPM properly in your local machine following the steps from the documentation, you can create a new AdonisJS 5 project by running this command:
npm init adonis-ts-app@latest adonisjs-test-app
The command will ask for the project structure. Just select API Server and continue with the other default options as shown below:
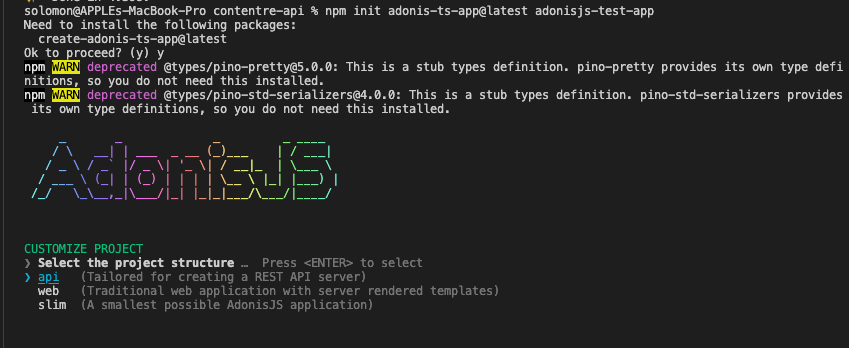 Installing AdonisJS and selecting the project structure
Lastly, after installing successfully, open the folder with any text editor and run the following command to start and inspect the project for new changes:
cd <PROJECT_NAME>

node ace serve –watch
After installing and opening your AdonisJS instance in the code editor and browser, now we will set up a database and connect it to our application.
How to Set Up the Database
We will start with creating and seeding the database with proper database schemas and structures that will represent the data storage of our application.
First, we need to create a new MySQL database. You can use any of these database clients to create and manage your database.
Next, we will install and configure AdonisJS Lucid. It's a powerful ORM for AdonisJS that you use to access and manipulate databases without writing a single SQL query.
Let's install Lucid using this command:
npm install @adonisjs/lucid
To configure the newly installed package with the project and the newly created database, run this command:
node ace invoke @adonisjs/lucid
The command will present different database options. Select MySQL/MariaDB, and lastly, select In the Terminal for the instructions.
How to Set Up the Environment Variables
Read through the instructions and update your .env file accordingly with the right database credentials as shown below:
DB_CONNECTION=mysql
MYSQL_HOST=localhost
MYSQL_PORT=3306
MYSQL_USER= //DB_USER
MYSQL_PASSWORD= //DB_PASSWORD
MYSQL_DB_NAME= //DB_NAME
Create the AdonisJS application
Next, you can follow the creating a Restful API article to build your first API with AdonisJS if you're just starting out.
However, if you have created your AdonisJS application already, let's dive into dockerizing it.
How to Set Up Docker
Setting up a Docker container is a simple process that requires a few steps.
How to Install Docker
Docker has very clean documentation and process of installation depending on your operating system. You can follow the step-by-step guides listed in the official documentation to install Docker.
How to Create a Dockerfile
After installing Docker in your system, you can dockerize each of your applications by creating a simple Dockerfile in any of your projects.
A Dockerfile is a text document that contains all the commands a user could call on the command line to assemble an image. You use it to create a Docker image, which you can then use to create Docker containers.
A Dockerfile is written using a specific syntax and contains instructions on how to build the image.
To dockerize the AdonisJS application, we need to create a Dockerfile and include all the steps needed to run the application in the form of commands.
How to Use the Builder Pattern
Below is how to Dockerize our AdonisJs application using the Builder Pattern. This is the simplest and default way of dockerizing applications.
FROM node:16.17.0-alpine

# Set working directory
WORKDIR /usr/src/app

# Install dependencies
COPY package*.json ./
RUN npm ci --production

# Copy app source code
COPY . .

# Build app
RUN npm run build --production

COPY ./.env ./build

# Expose port
EXPOSE 3333

# Start app
CMD ["node", "./build/server.js"]
The Dockerfile is self-explanatory due to the comments included in the file. Going deeper into Docker commands is out of the scope of this article.
But we will briefly go over some of the popular commands used above:
- FROM: specifies which image is being used to build this new Docker image
- RUN: used to run a command while building the Docker image
- WORKDIR: It creates a new folder inside the Docker image
- COPY: used to copy the source codes and other files into a folder specified inside the Docker image.
- EXPOSE: used to expose the port number of the Docker image to the outside (client) machine.
- CMD: used to set the default command to be executed when a container is run. It is usually used in conjunction with the ENTRYPOINT command to provide a default application to be run when the container is started.
In the next section, let's look at how to dockerize our application using the Docker Multi-Stage build pattern.
How to Use the Multi-Stage Build Pattern
Now I'll show you how to Dockerize our AdonisJs application using Docker Multi-stage build. This is the best practice in dockerizing applications.
################## First Stage - Creating base #########################

# Created a variable to hold our node base image
ARG NODE_IMAGE=node:16.13.1-alpine

# Using the variable to create our base image
FROM $NODE_IMAGE AS base

# Running a command to install dumb-init to handle processes
RUN apk --no-cache add dumb-init

# Creating folders and changing ownerships
RUN mkdir -p /home/node/app && chown node:node /home/node/app

# Setting the working directory
WORKDIR /home/node/app

# Changing the current active user to "node"
USER node

# Creating a new folder "tmp"
RUN mkdir tmp

################## Second Stage - Installing dependencies ##########

# In this stage, we will start installing dependencies
FROM base AS dependencies

# We copy all package.* files to the working directory
COPY --chown=node:node ./package*.json ./

# We run NPM CI to install the exact versions of dependencies
RUN npm ci

# Lastly, we copy all the files with active user
COPY --chown=node:node . .

################## Third Stage - Building Stage #####################

# In this stage, we will start building dependencies
FROM dependencies AS build

# We run "node ace build" to build the app for production
RUN node ace build --production


################## Final Stage - Production #########################

# In this final stage, we will start running the application
FROM base AS production

# Here, we include all the required environment variables
ENV NODE_ENV=production
ENV PORT=$PORT
ENV HOST=0.0.0.0

# Copy package.* to the working directory with active user
COPY --chown=node:node ./package*.json ./

# We run NPM CI to install the exact versions of dependencies
RUN npm ci --production

# Copy files to the working directory from the build folder the user
COPY --chown=node:node --from=build /home/node/app/build .

# Expose port
EXPOSE $PORT

# Run the command to start the server using "dumb-init"
CMD [ "dumb-init", "node", "server.js" ]
We made the Dockerfile self-explanatory by adding comments explaining what each command is doing.
In the next section, we will explore how to build and run the Dockerfile we just created.
How to Build the Docker Image
Once you've created a Dockerfile, you can build the image using the docker build command where my-adonisjs-image is the user defined name of the image.
docker build -t my-adonisjs-image .
There are different options you can pass on to the build command based on your use case. You can explore the list of options here.
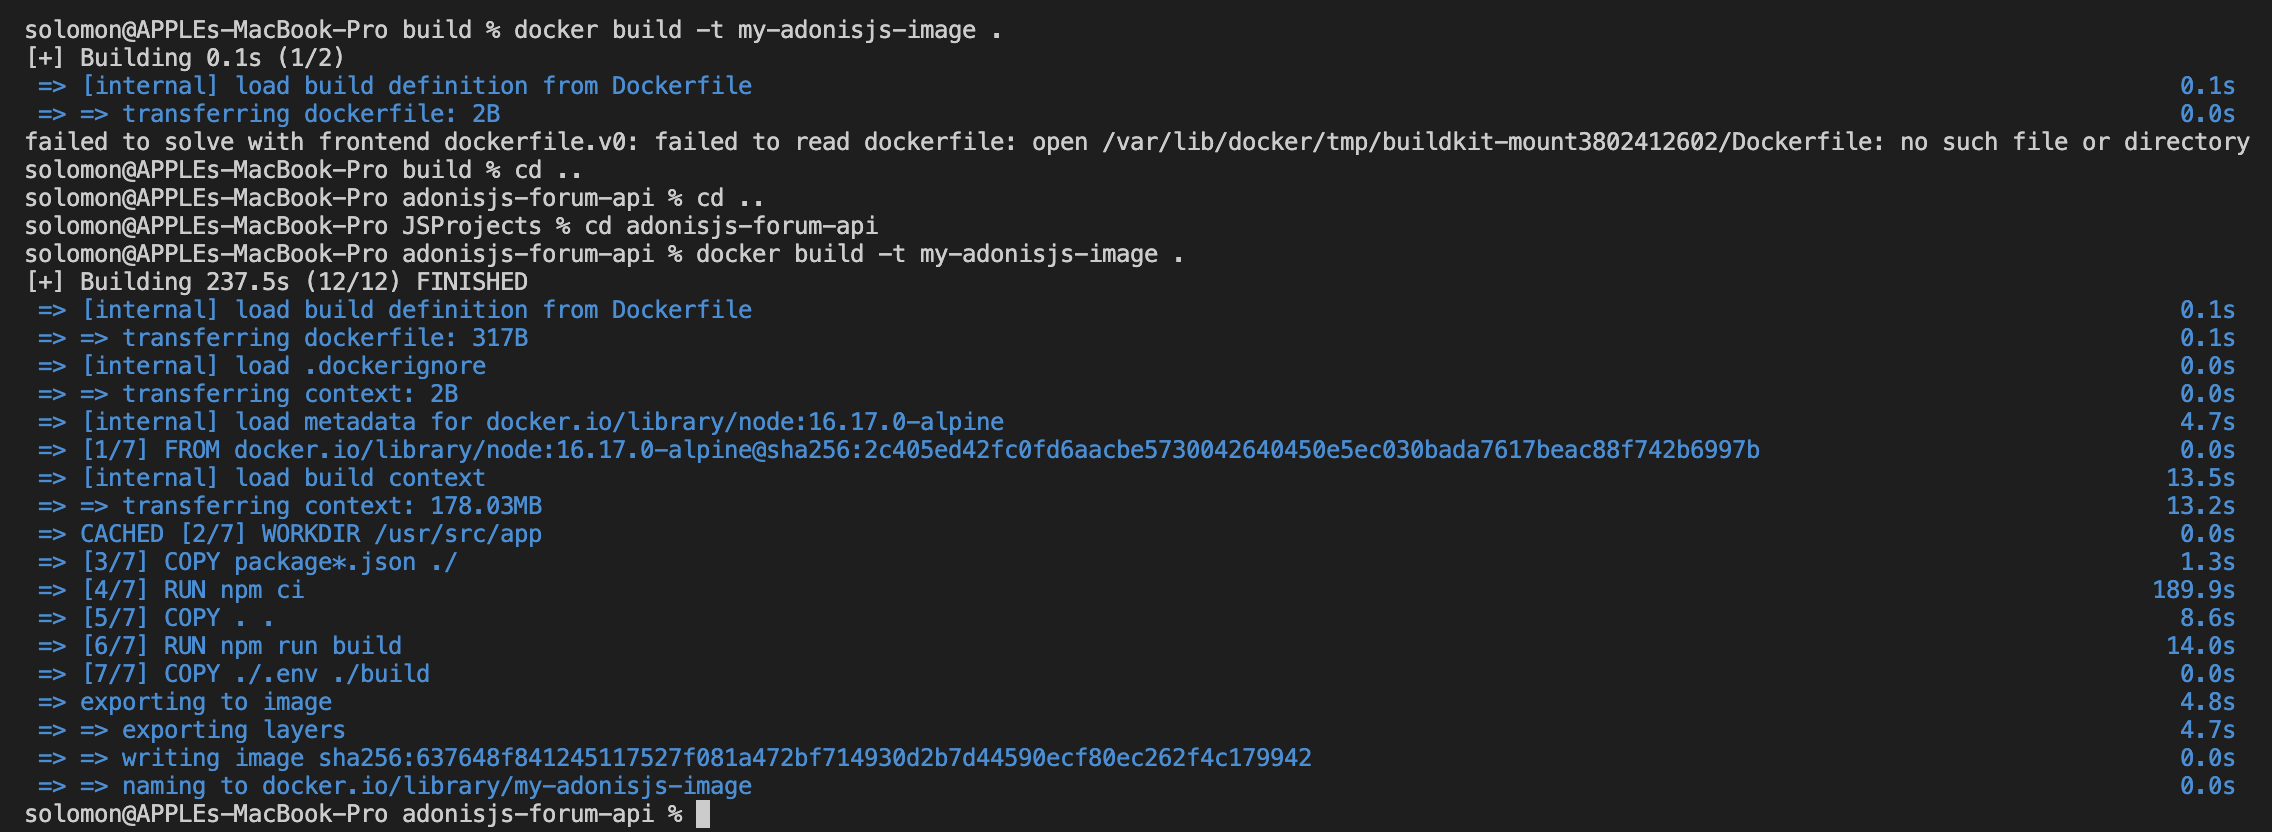 A screenshot of a successful Docker build command
How to Run the Docker Image
Running your dockerized AdonisJS application is the next step if you have successfully built your image without errors. There are several ways to run your image using the Docker Run command.
Below, we're going to explore a few ways to run your Docker image: Run the Docker Image:
docker run my-adonisjs-image
You can run the Docker Image with specific parameters. For example, to run the Docker Image with parameters such as port with -p, name with --name, interactive mode with -it, use the following command:
docker run --name adonis-app -it -p 3333:3333 my-adonisjs-image
There are different options you can pass on to the run command based on your use case. You can explore the list of options here.
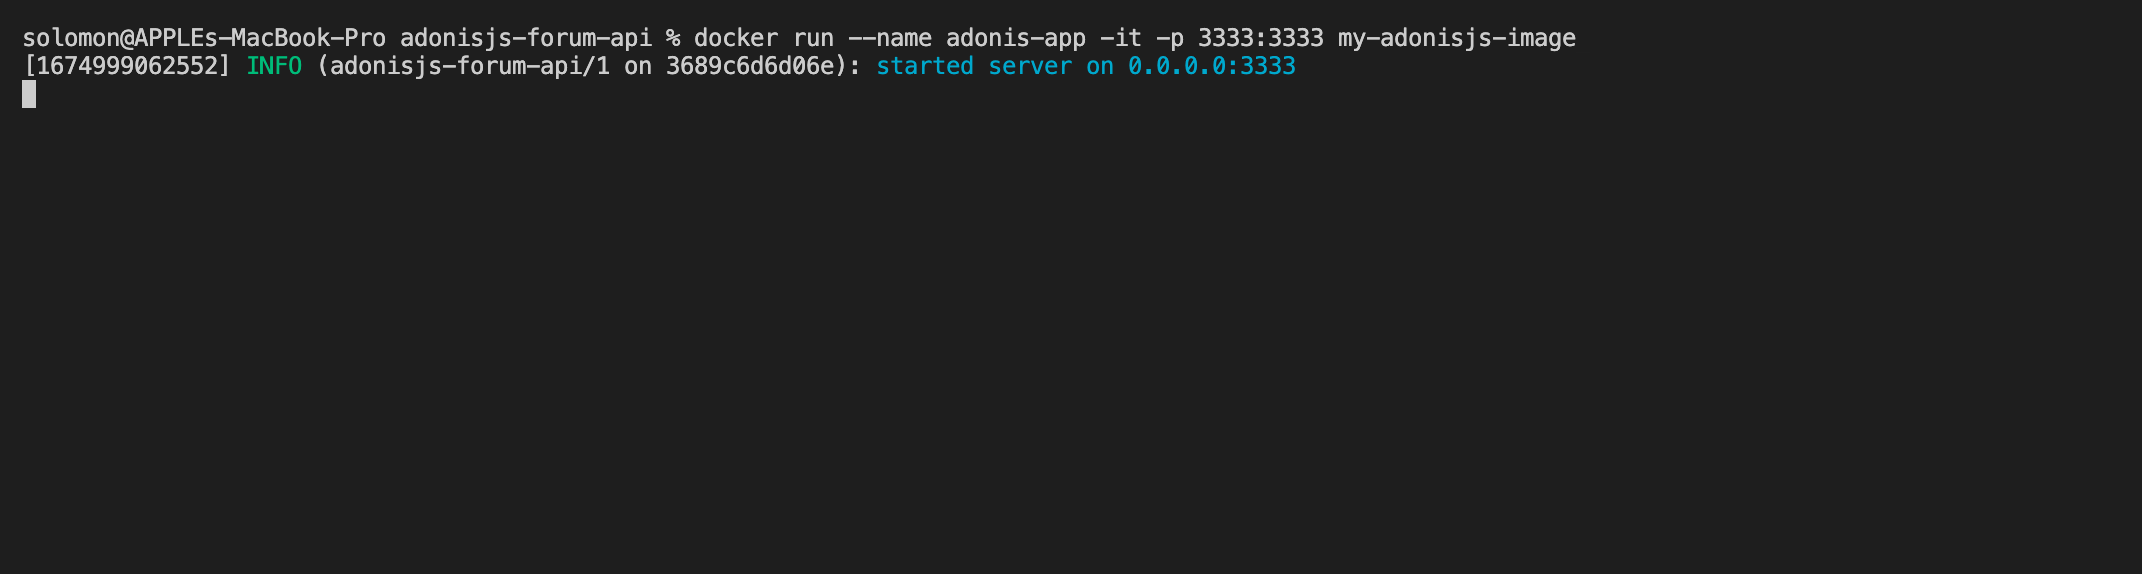 A screenshot of a successful Docker run command
How to Preview Your Application
You can preview your Dockerized AdonisJS application by visiting http://localhost:3333, where 3333 is the port number we exposed, as shown below.
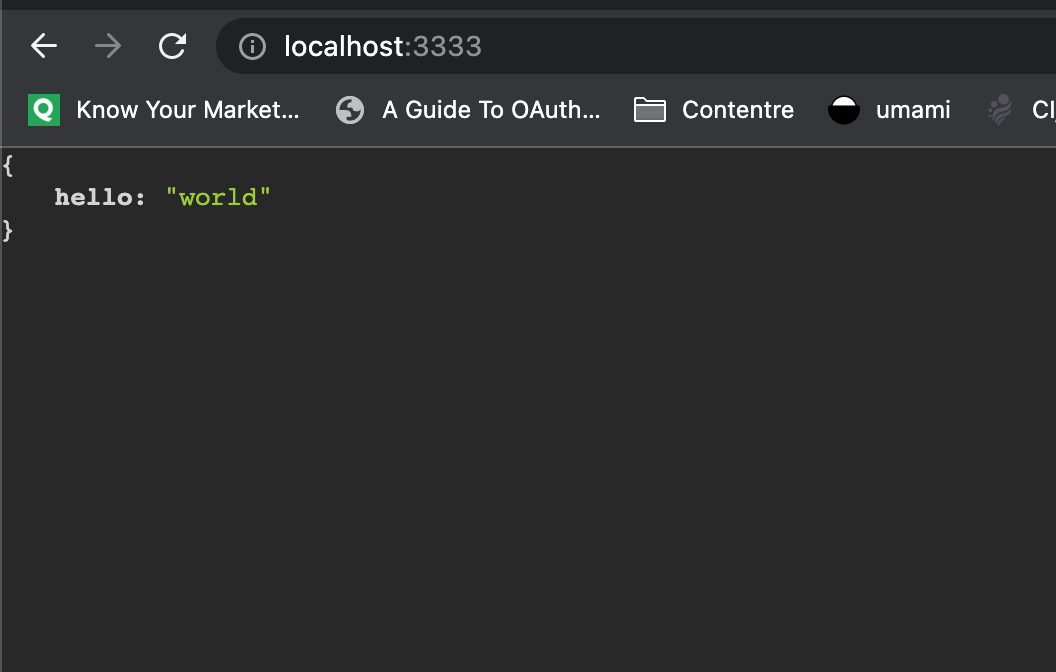 A preview of Dockerized AdonisJS application
Conclusion
Dockerizing an AdonisJS application is a great way to simplify the development process and ensure that the application runs smoothly in production.
By using Docker, developers can easily package their application into a container and deploy it to any environment with minimal effort.
Docker also provides a secure and reliable way to manage the application's dependencies and environment variables. With the help of Docker, you can easily create, deploy, and maintain your AdonisJS applications.