By Saamer Mansoor
In this article we will talk about why and how to implement the GameCenter's Leaderboard within your app.
Why GameCenter is Making a Huge Revival
You can make iPhone games without a scoreboard, but leaderboards can help make the game feel more competitive, like people are competing against one another around the World.
Instead of creating and managing your own backend, the GameCenter Leaderboard allows you to scale with traffic infinitely, skip an entire login page for authorization, get the Image, Name, and friends playing the same game – all without your users having to enter anything.
Especially with iOS 16, Apple is investing more in improving it, and driving more app usage, like through Push Notifications when your friend beats your score in the game.
In my journey of learning SwiftUI, I have been creating and publishing apps, because IMO that's the best way to learn.
There wasn't much updated documentation on how to do a lot of this, especially none with SwiftUI nor with the advent of async and await in Swift. So I consolidated and simplified it for everyone to build amazing apps. So feel free to invite me to test your apps too!
Pre-Requisites:
- You'll need to have an Apple Developer paid account
- You have to create the App Id for your app in the provisioning profiles section of the Apple Developer Portal
- You have to create the App in the iTunes Connect Connect portal
How to Implement Your iOS Leaderboard in 6 Steps
Most of the code logic for the leaderboard is in this file if you want to skip ahead. Here's the steps as follows:
1. How to Create the App Store Connect Leaderboard
 Screenshot from the Apple iTunes Connect Portal
Once you have created the app in the App Store Connect portal successfully, go to the Services tab for the app -> and make sure you're in the GameCenter page.
Then add a new leaderboard using the "+" sign, which can either be "Classic" (scores never reset) or "Recurring" (scores reset based on your frequency settings).
Most games prefer a recurring leaderboard so that the leaderboard isn't cluttered with older impossible to reach high scores.
The LeaderboardID you input there is the one that you need to use in all the places in the code that ask for it.
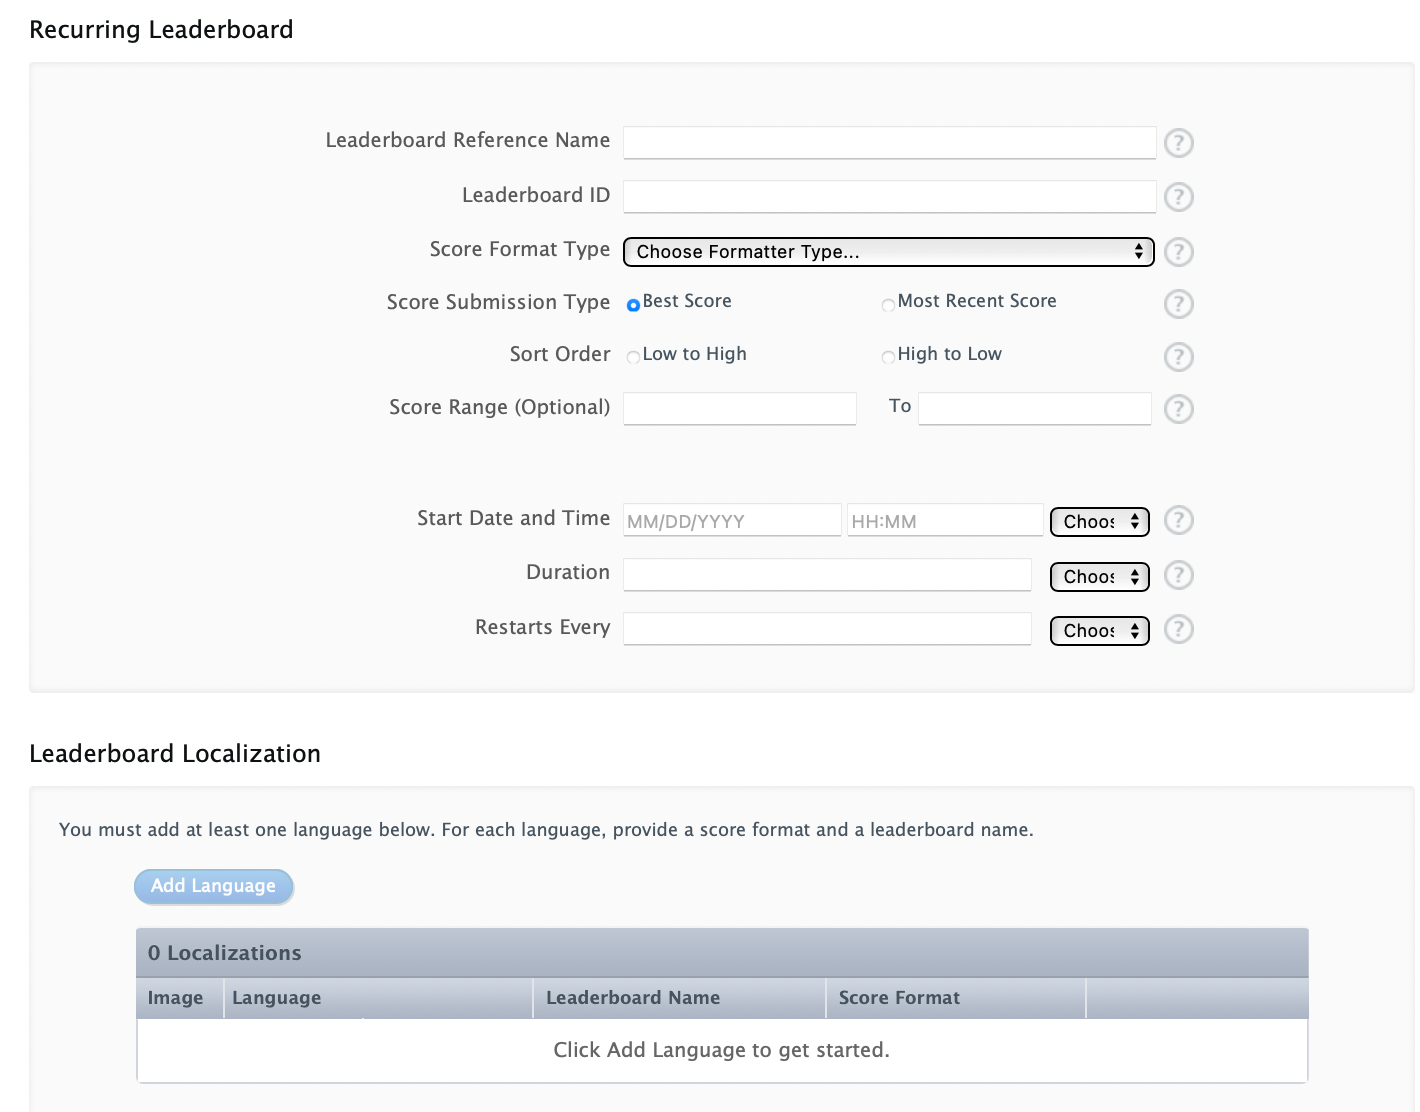 Details required to create a new Leaderboard
2. How to Set Up GameCenter Authentication
First, you'll need to authenticate users to GameCenter in order for any of this functionality to work.
So we'll use this code to do that, which basically makes sure that you (GKLocalPlayer.local) are authenticated, or prints an error if there is one:
func authenticateUser() {
    GKLocalPlayer.local.authenticateHandler = { vc, error in
        guard error == nil else {
            print(error?.localizedDescription ?? "")
            return
        }
    }
}
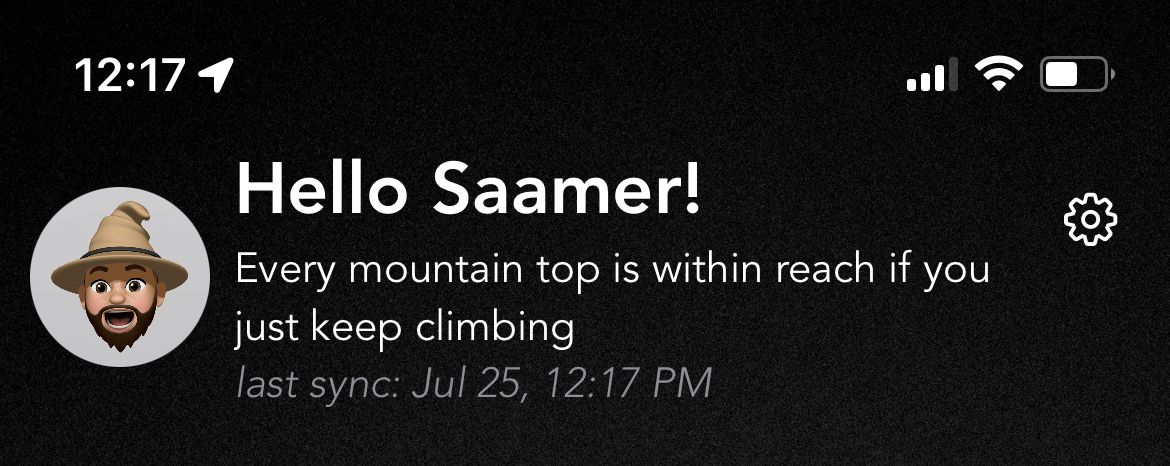
If the user is authenticated, you will see a little popup in the UI. If not, the user will be taken to a page to login to their GameCenter account.
 A sign that displays when a user is logged in
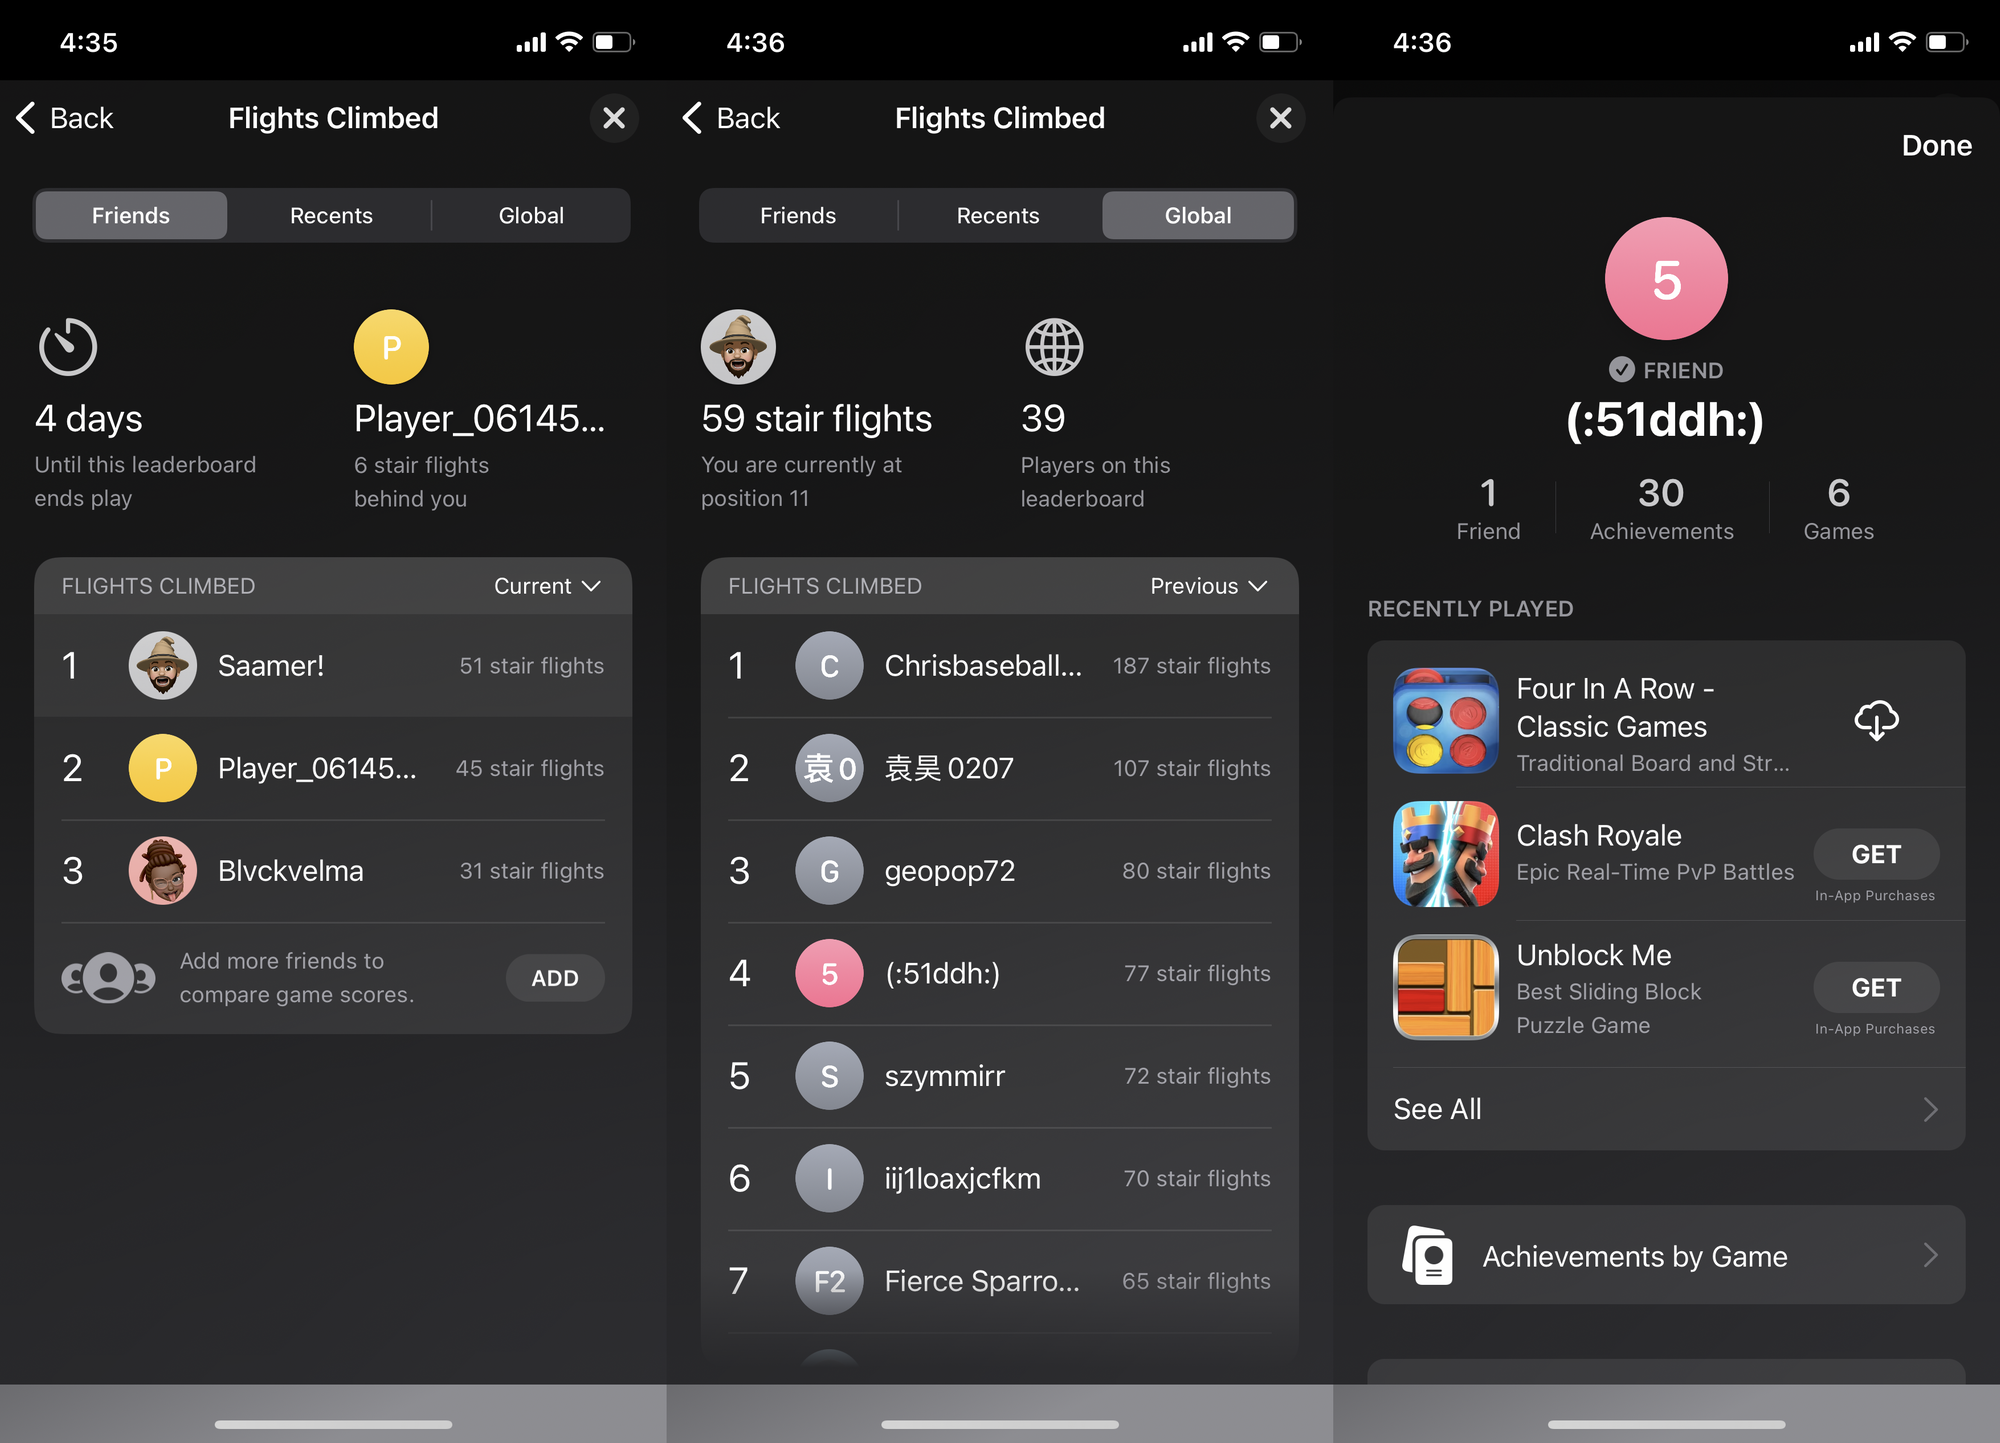
3. How to Display Leaderboard Items in the UI
In order to get the data away from the GameCenter ViewController leaderboards (GKLeaderboard), you need to use the loadLeaderboards .
You can switch up the loadEntries function from .global to .friends in order to only pull your friends.
You can also retrieve the image for each player by iterating over each player and performing a loadPhoto.
Using NSRang(1...5), you can choose how many players to display. This pulls the users with the highest 5 scores from the leaderboard and returns none if there's no users, such as in the case when the cycle refreshes for a recurring Leaderboard.
This is what pulling data from a leaderboard could look like if you take advantage of async-await:
func loadLeaderboard() async {
    playersList.removeAll()
    Task{
        var playersListTemp : [Player] = []
        let leaderboards = try await GKLeaderboard.loadLeaderboards(IDs: [leaderboardIdentifier])
        if let leaderboard = leaderboards.filter ({ $0.baseLeaderboardID == self.leaderboardIdentifier }).first {
            let allPlayers = try await leaderboard.loadEntries(for: .global, timeScope: .allTime, range: NSRange(1...5))
            if allPlayers.1.count > 0 {
                try await allPlayers.1.asyncForEach { leaderboardEntry in
                    var image = try await leaderboardEntry.player.loadPhoto(for: .small)
                    playersListTemp.append(Player(name: leaderboardEntry.player.displayName, score:leaderboardEntry.formattedScore, image: image))
                                print(playersListTemp)
                    playersListTemp.sort{
                        $0.score < $1.score
                    }
                }
            }
        }
        playersList = playersListTemp
    }
}
 You can get leaderboard data into your app
4. How to Call Functionality in SwiftUI as the View/Page Appears
You can take advantage of the onAppear lifecycle function of the view to actually make the calls to authenticate and load, but you can also do it on the tap of a button if you prefer that:
.onAppear(){
    if !GKLocalPlayer.local.isAuthenticated {
        authenticateUser()
    } else if playersList.count == 0 {
        Task{
            await loadLeaderboard()
        }
    }
}
5. How to Load the Submitted Scores
In order to load the scores, you need to submit them as well. The submitScore function can help you with that.
- The
flightsClimbedvariable should contain the score that you would like to submit. - GameKit makes sure to only display your best score for the life of the leaderboard.
- The
leaderboardIdcontains the value that you manually enter in your App Store Connect account:
func leaderboard() async{
    Task{
        try await GKLeaderboard.submitScore(
            flightsClimbed,
            context: 0,
            player: GKLocalPlayer.local,
            leaderboardIDs: ["com.tfp.stairsteppermaster.flights"]
        )
    }
    calculateAchievements()
}
6. How to display the GameCenter ViewController Portal
When you're logged into GameCenter, a little annoying icon appears in the top right of your screen. When you tap on it, you are taken to the GameCenter ViewController. Luckily you can hide it if it's not part of your design, using GKAccessPoint.shared.isActive = false.
Since the GameCenter UI is a UIKit ViewController and not a simple SwiftUI View, you need to create this UIViewControllerRepresentable first (as you can see here), to launch GameCenter using a different button,
Once you add that file to your project, you can display the GameCenter portal simply using this: GameCenterView(format: gameCenterViewControllerState) where gameCenterViewControllerState can be help you go to a detail page in GameCenter.
 GameCenter's Leaderboard View
Things to Keep in Mind While using GameCenter's Leaderboards:
- Simulator Debugging – For some reason the authenticate to GameCenter is extremely slow on a simulator, so it might make sense to even create a mock of data when using the simulator.
- Challenges – You can't programmatically issue GameKit Challenges to your friends anymore due to deprecation. Instead, you have to do those manually within the user's GameCenter dashboard against GameKit Achievements. Also, there's no way to view challenges you have sent.
- Achievements – Leaderboards are different from the GameKit Achievements, which is calculated and displayed differently, but a lot easier. Those can also be pulled into the app as well, as you can see below:
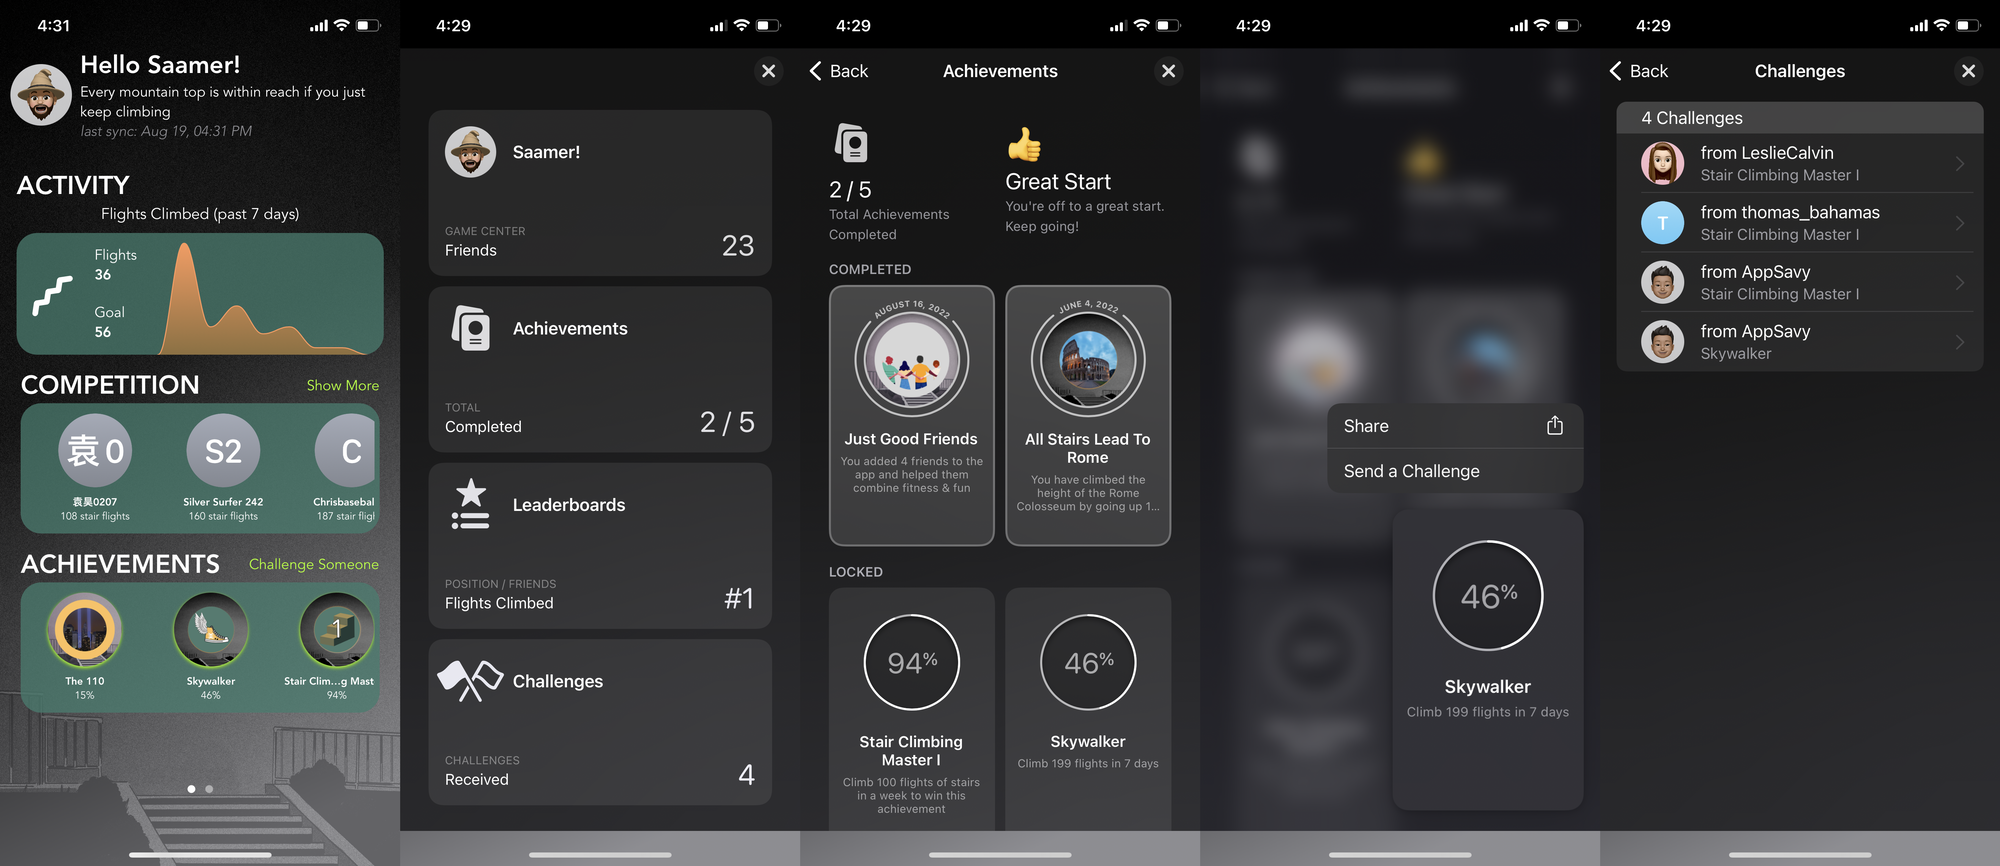 GameKit Challenges and Achievements
Wrapping Up
You can try out the free open-source Stair Master Climber iPhone Health & Fitness app that I shared above. I would love to know what you think so that we can learn together.
Feel free to reach out to me on social media or by email if you have any questions.