
If you want to learn MySQL, starting with a good client is super helpful – especially when you are just beginning your journey.
There are a lot of clients out there for your MySQL-based needs, like XAMPP, DataGrip, and others. Among all of them, I prefer the MySQL Workbench. It is completely free, by the way.
In this tutorial, I will show you how you can install and configure your Windows machine for this MySQL and MySQL workbench from scratch.
If you enjoy learning from videos as well, then don't worry as I have also created a step-by-step video just for you:
How to Install MySQL Workbench
➡️ Download MySQL Workbench
Make sure to visit only the official website for downloading the MySQL Workbench. You do not want to get into shoddy websites and download the wrong file that infects your favorite machine, right?
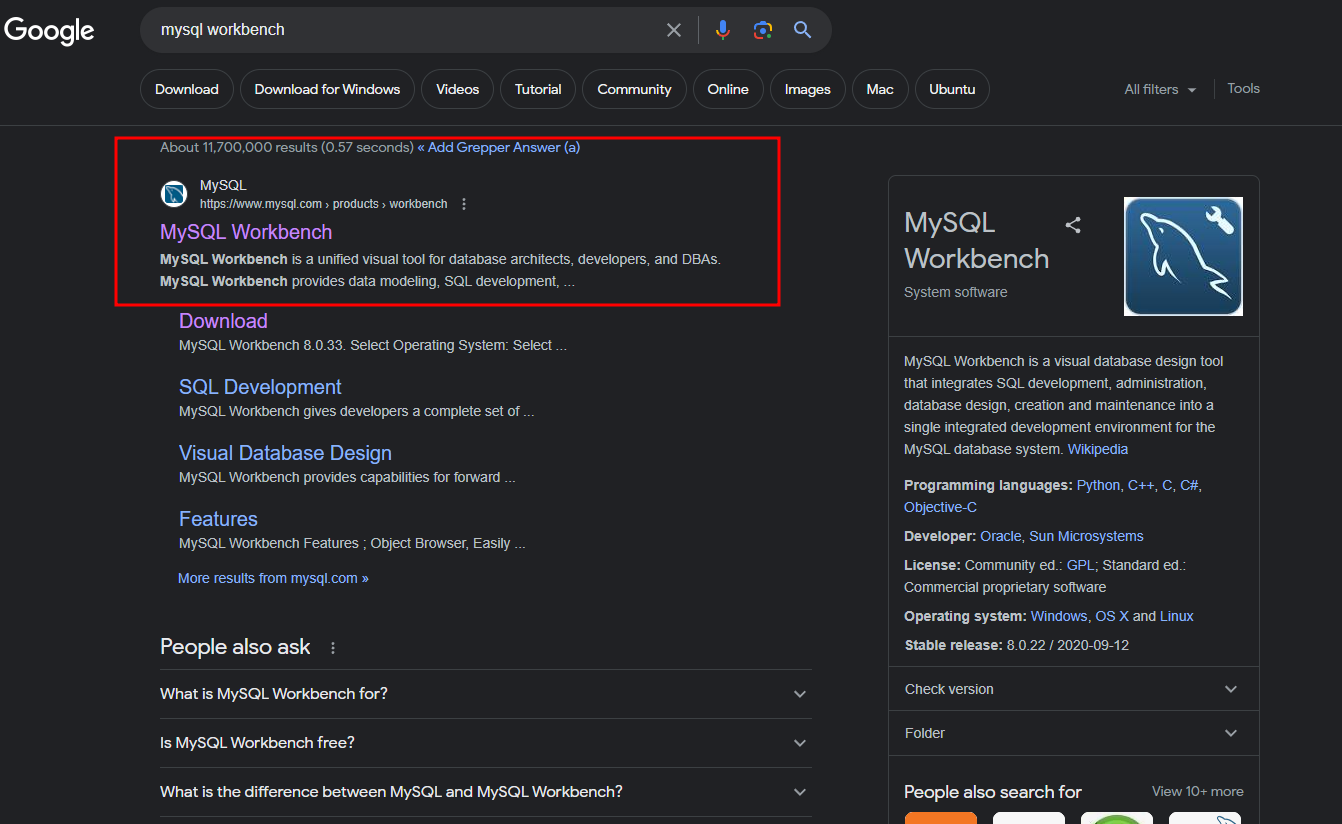 Find the official website for MySQL Workbench: https://www.mysql.com/products/workbench/
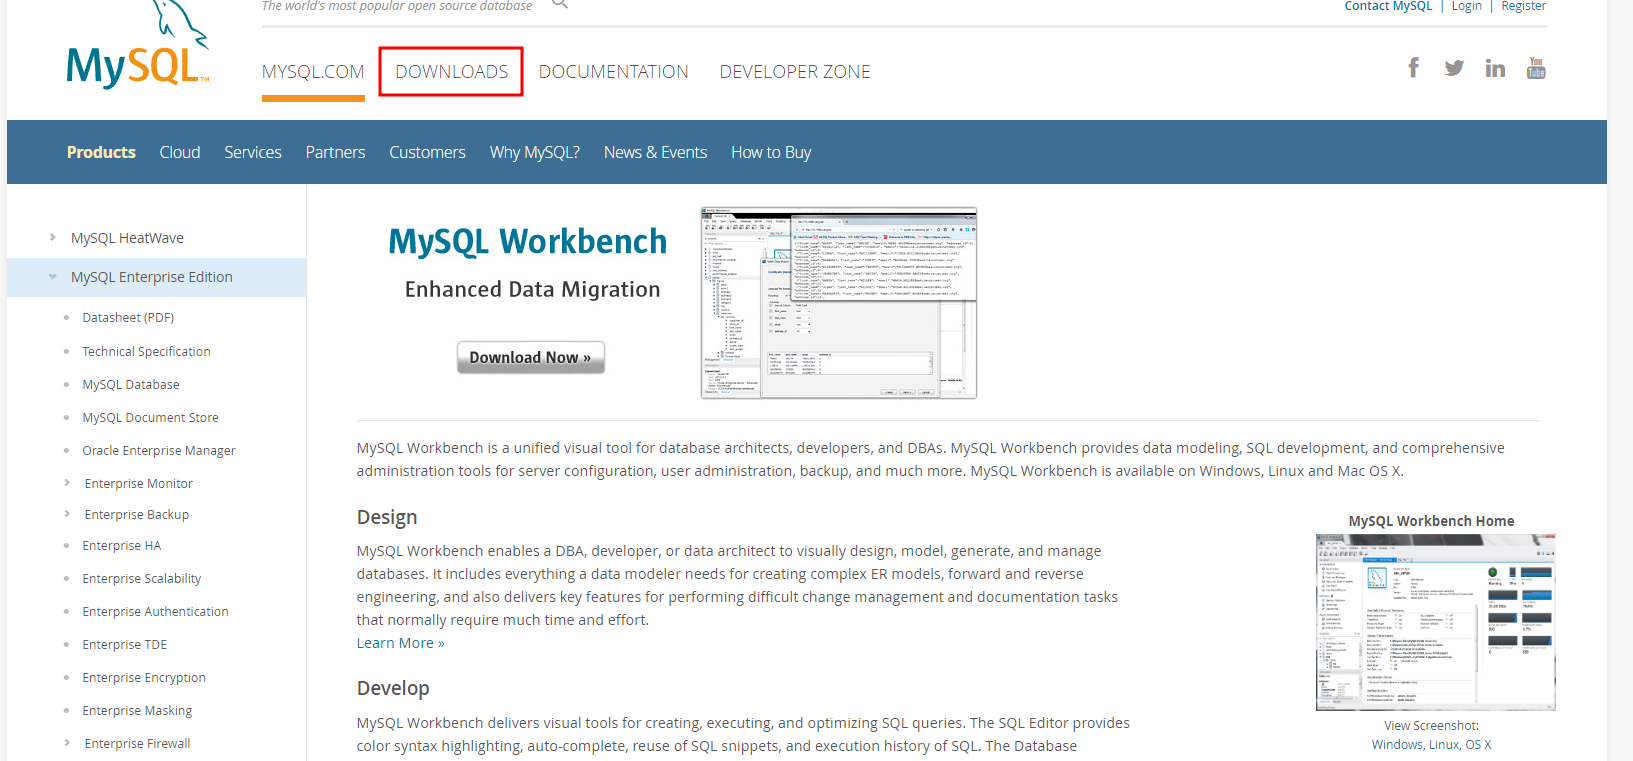
Now click on the "DOWNLOADS" tab.
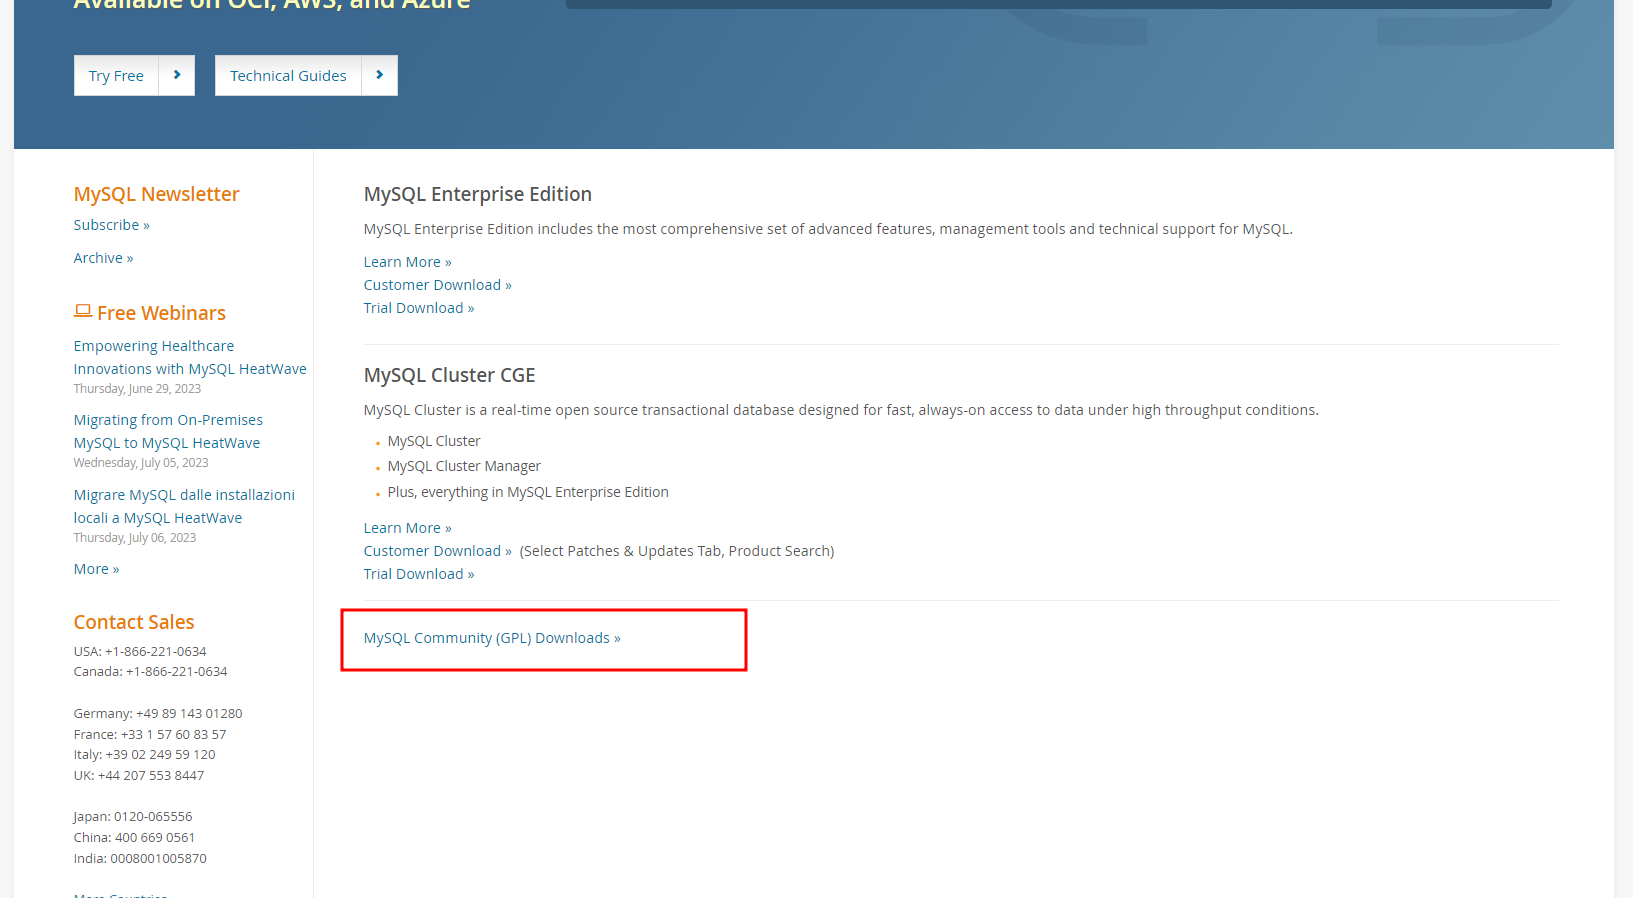
Scroll down until you find MySQL Community (GPL) Downloads ».
Click on MySQL Community (GPL) Downloads ». After that, on the new page, click "MySQL installer for Windows".
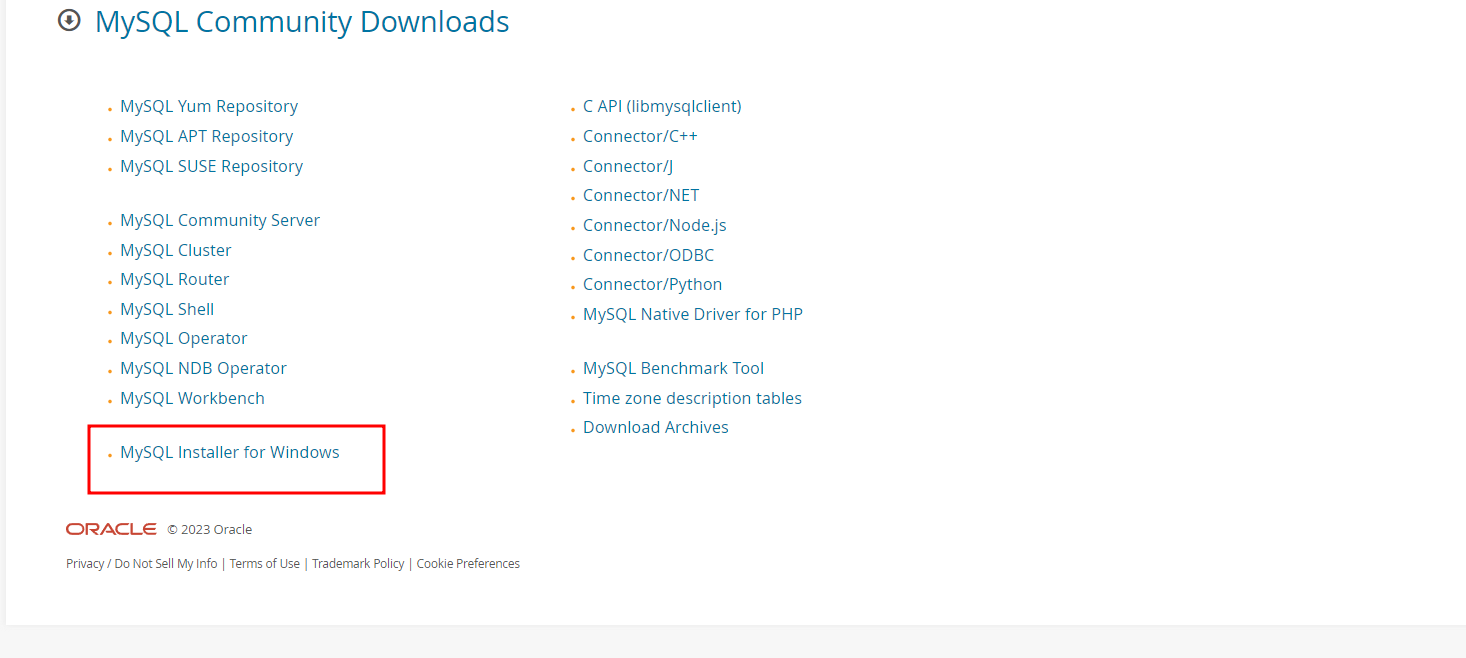
From the dropdown menu, select your operating system as "Microsoft Windows". Then download the file which is larger in size.

A .msi file will be downloaded. That is our installer file to install MySQL and MySQL workbench.
➡️ Install both MySQL and MySQL Workbench
Simply double click on the installer file. It will reload the necessary components and open the installer GUI selection window. Choose the setup type as custom and click "Next".
 Select Custom
A new page will appear. Make sure to select the latest "MySQL Server", "MySQL Workbench" and "MySQL Shell". Selecting and clicking on the right side arrow will take the product name in the "Products to be installed section". Then click "Next".
 Install necessary components
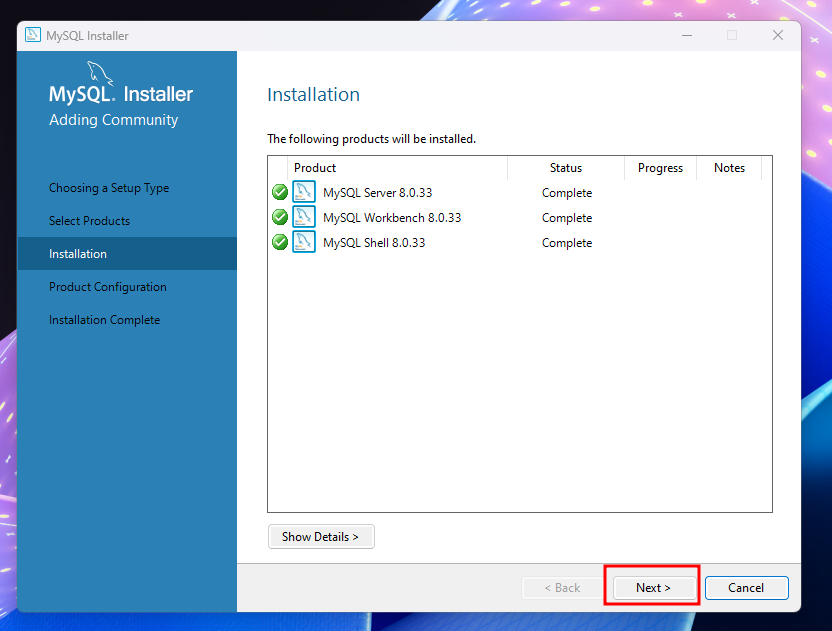
Click "Execute" to install the three necessary components. The process might take some time depending on your internet speed and computer configuration. After it gets finished, simply click "Next".
 Execute
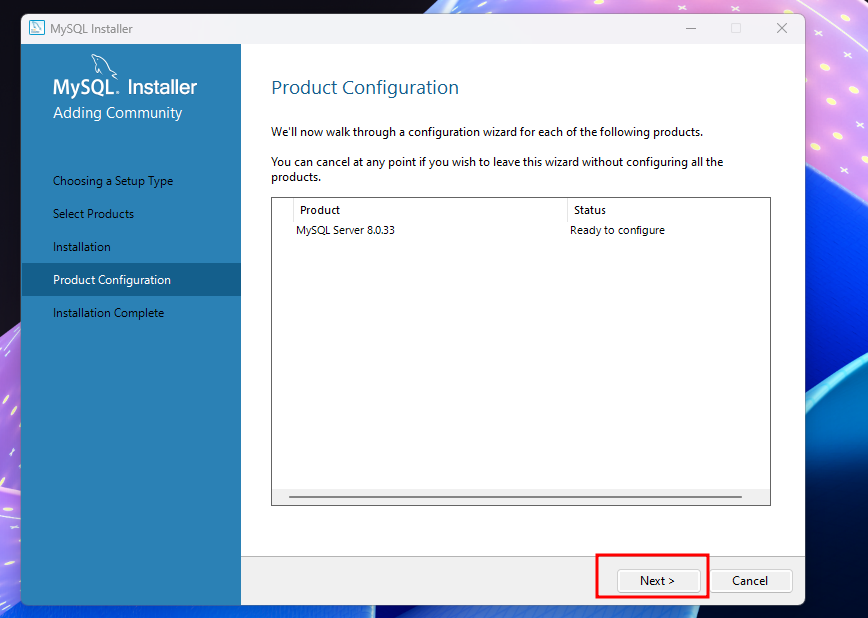
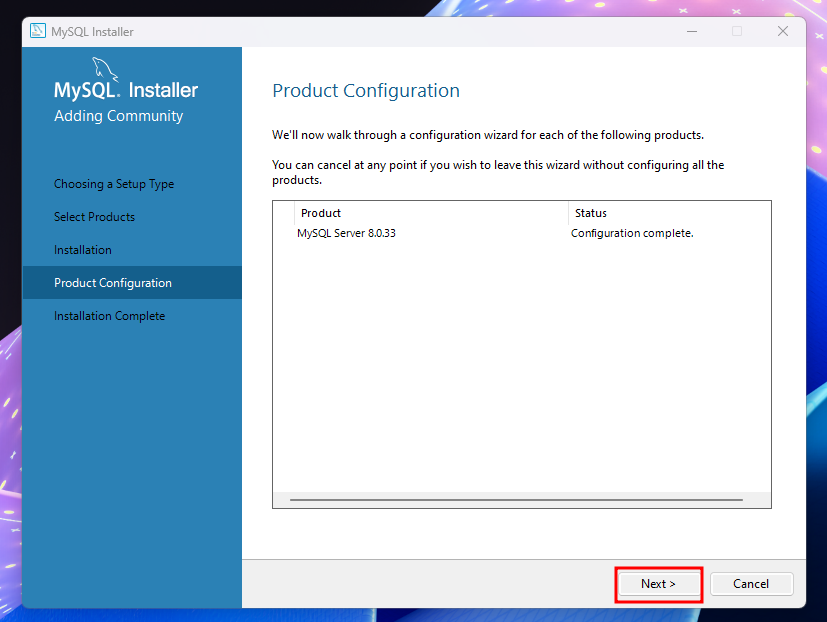
In the Product Configuration window, simply click "Next". It will install the three selected components for us.
 Next
Next
Keep everything as it is and simply click "Next". It will configure the MySQL Server.
 Next
Next
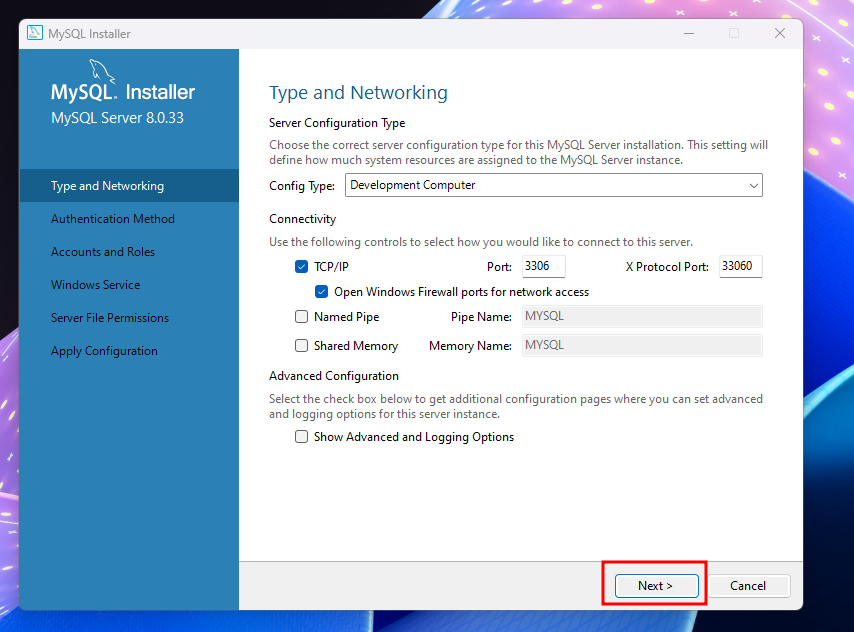
Keep everything as it is and simply click "Next". It will apply the TCP/IP connectivity for our MySQL server.
 Next
Next
Now give it a Root password. For testing purposes, I am using a very simple "1111" as my password, but I would recommend not doing the same. Also, make sure to remember the password as you will need it when you want to work in MySQL Workbench. Click "Next".
 Next
Next
Keep everything as it is, and simply click "Next". It will make sure to setup our root password for the MySQL workbench.
 Root password
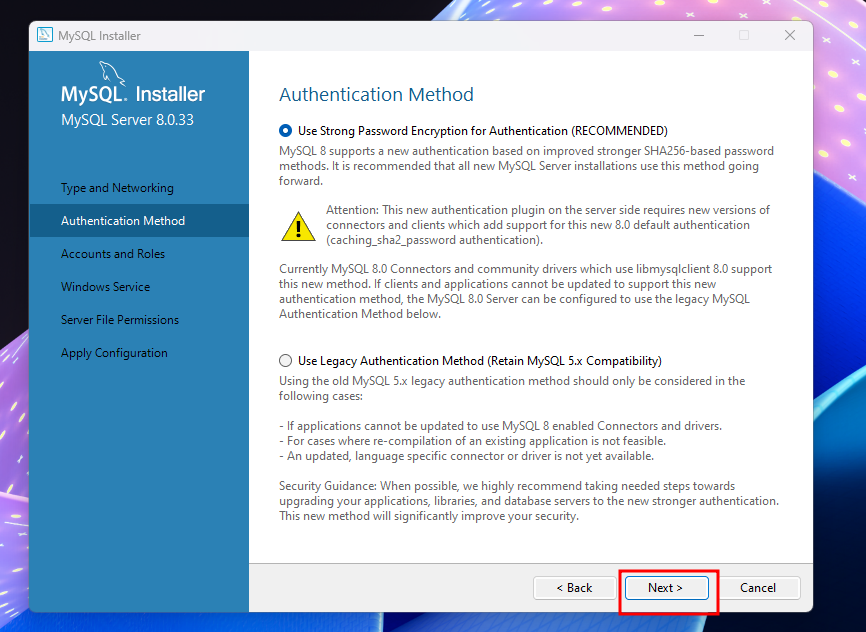
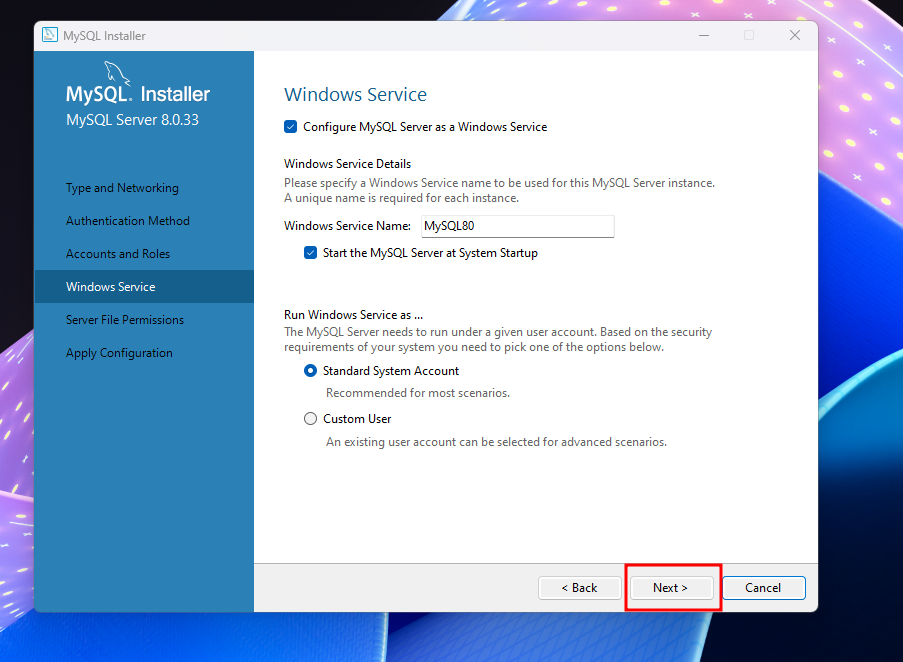
We want to run the service as a Standard System Account for our operating system. Therefore, keep everything as it is, and simply click "Next".
 Next
Next
Select the option to grant full access to the user running the Windows Service and then click "Next."
 Next
Next
Then click "Execute". This will grant the full access to the user running the Windows service and the administrator group only, but the other users and groups will not have its access.
So if you have multiple user accounts in your computer, then they will not be able to access the MySQL server/Workbench. If you want then you can change the settings here based on your need.
As I have only one user account in my Windows machine, I can safely keep the first option selected.
 Execute
It might take some time. Then when you will receive a green check box in all configuration steps, simply click "Finish".
 Finish
The configuration has beep applied successfully. Simply click "Next".
 Next
Next
Click "Finish" to complete the installation.
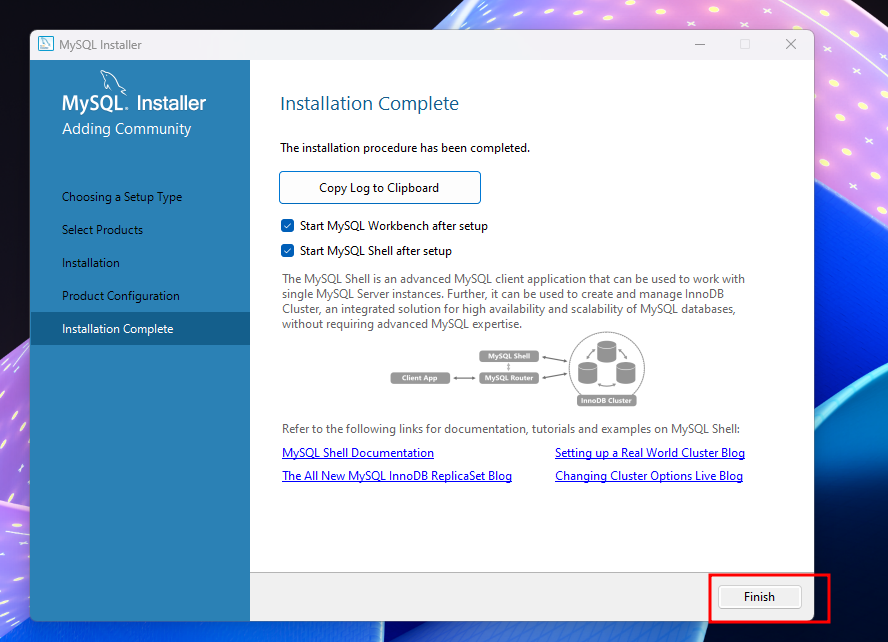 Finish
It will open the MySQL Workbench and MySQL Shell. Simply close all of them now.

➡️ Configuration
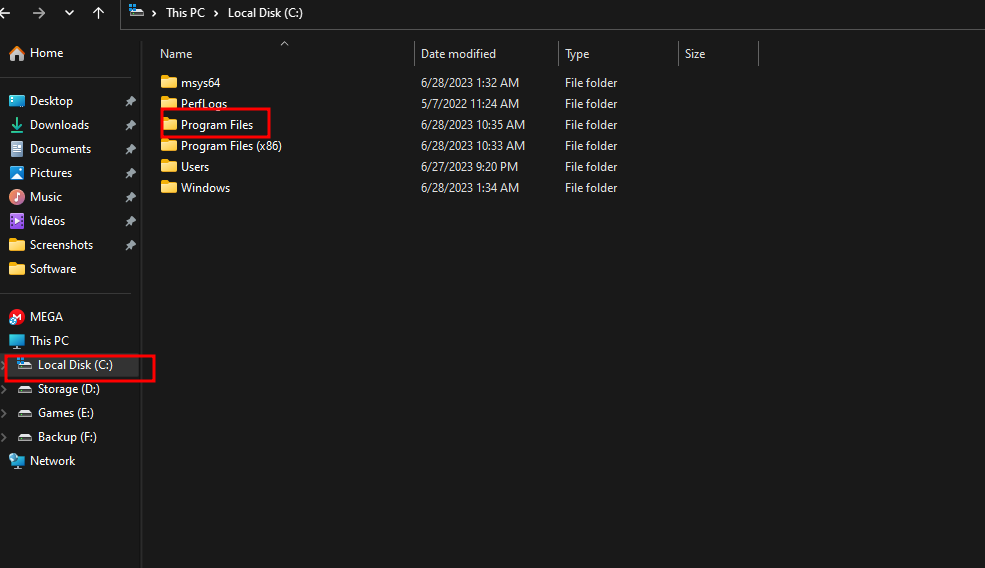
Now we need to configure the path variables for our operating system. Go to the drive where you have installed your Windows operating system. Like others, I have also installed my operating system on the "C" drive.
Therefore, I am going to the "C" drive and opening the "Program Files" directory.
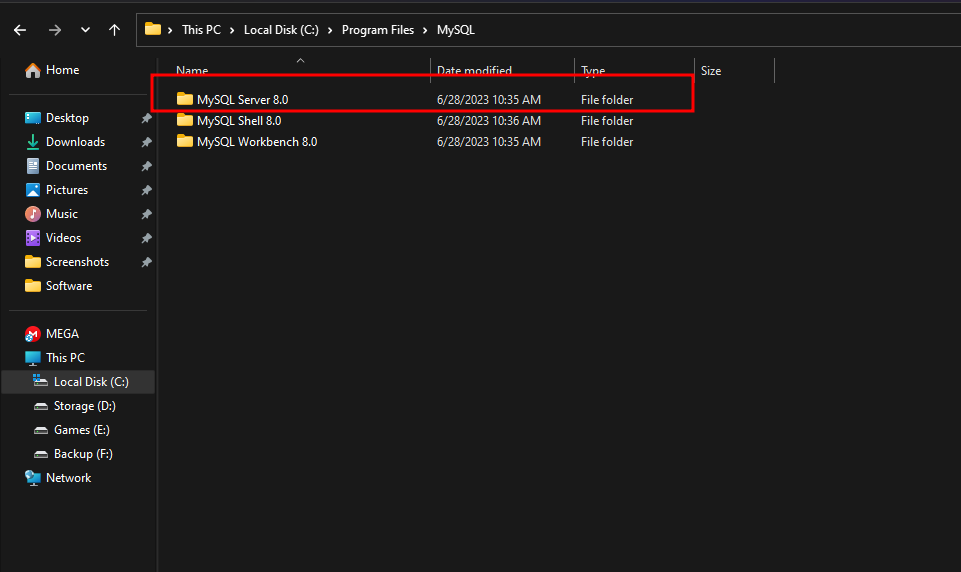
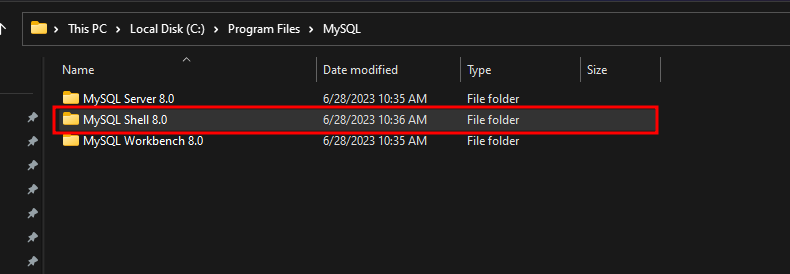
Go to the "MySQL" folder.

Then go to the MySQL Server folder.
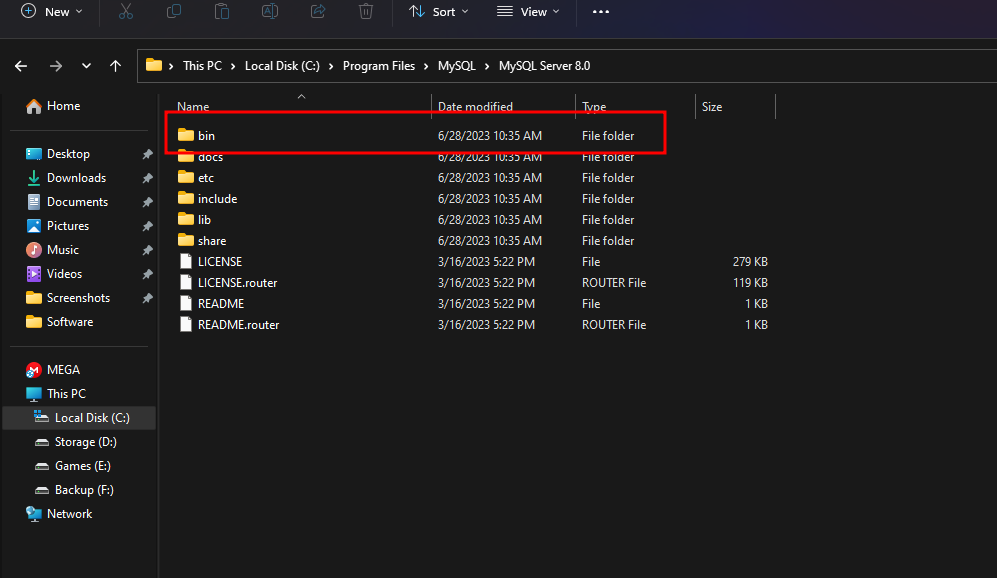
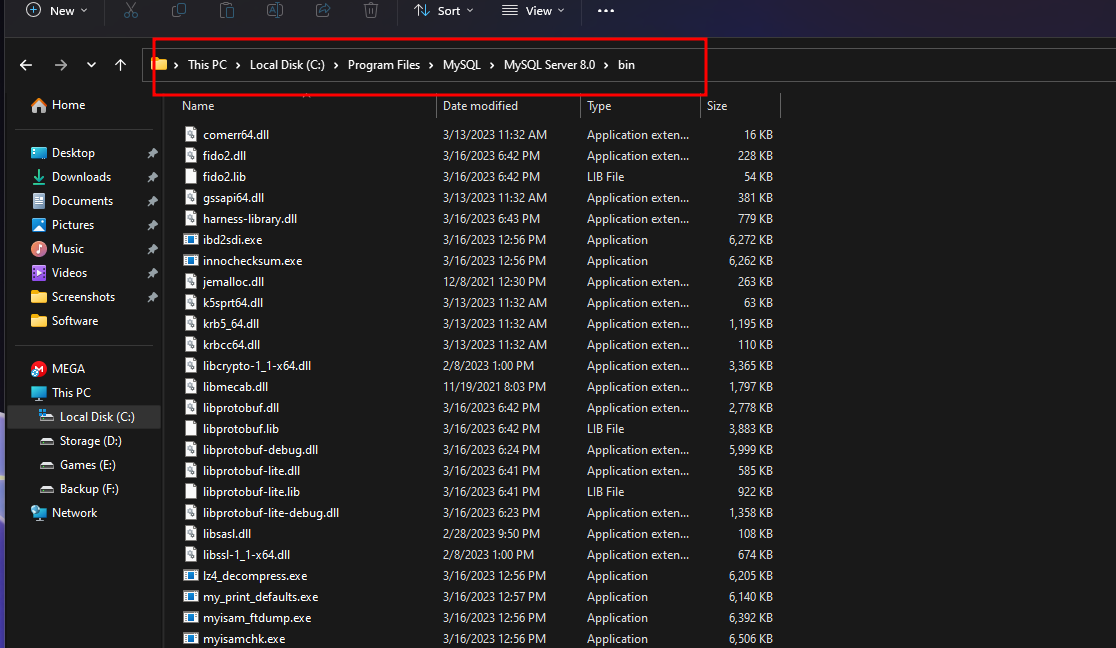
Go to the "bin" folder.
Copy the path/address.
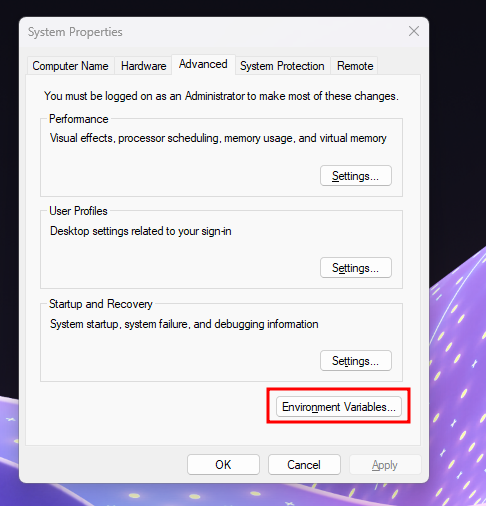
Now open the Environment Variables settings. Simply click on the Windows button and type "env".
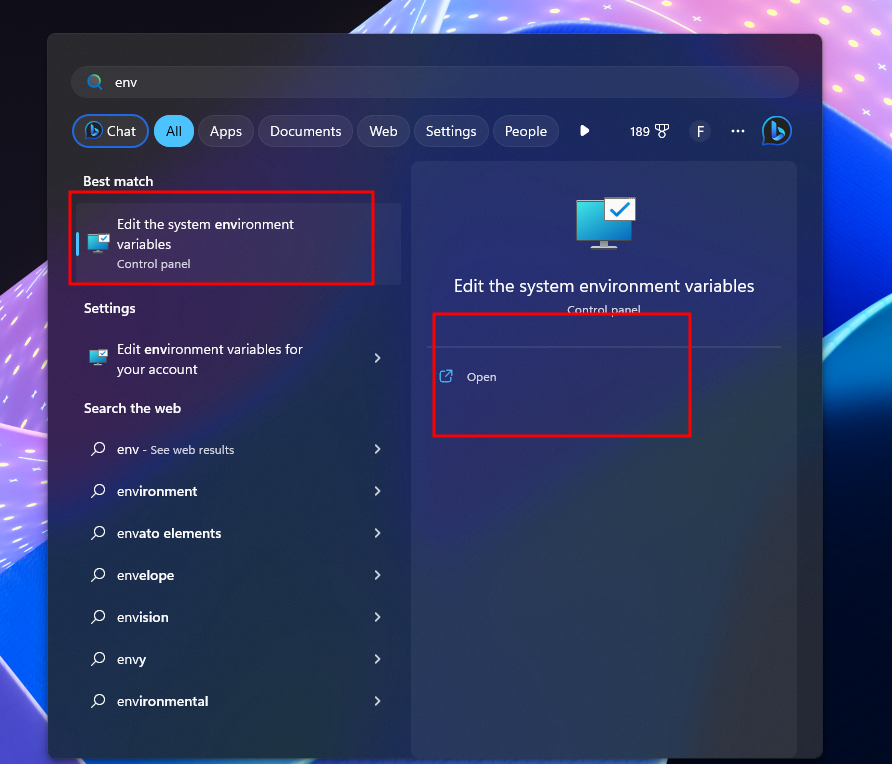
Click "Environment Variables".
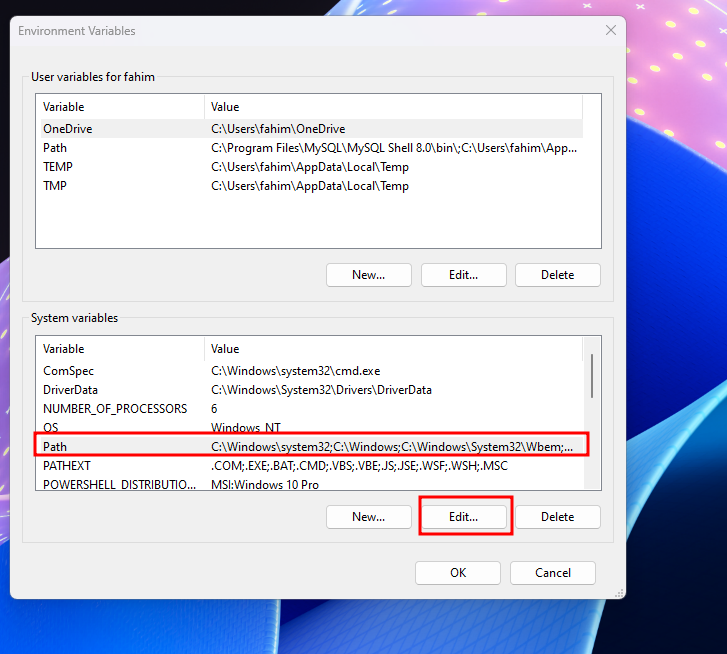
Select the "Path" and click "Edit".
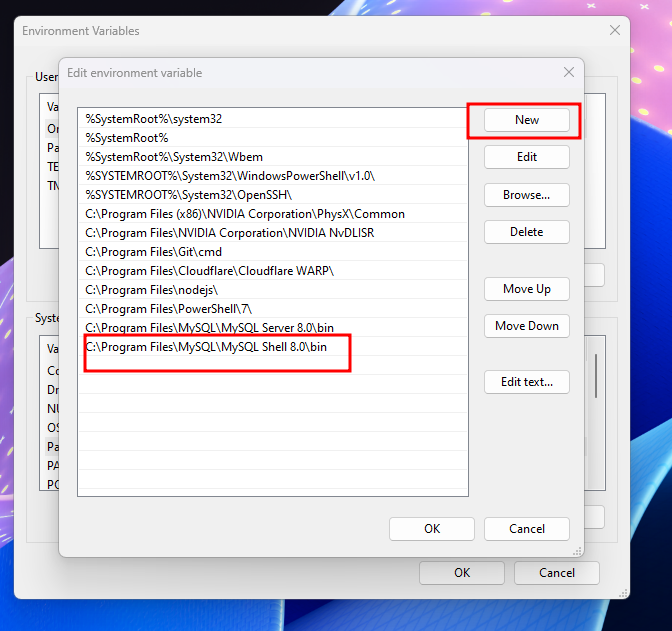
Click "New". A new blank box will appear. Paste the path/address that you copied earlier. Do not close the window now as we need to do the same thing for the MySQL Shell folder.
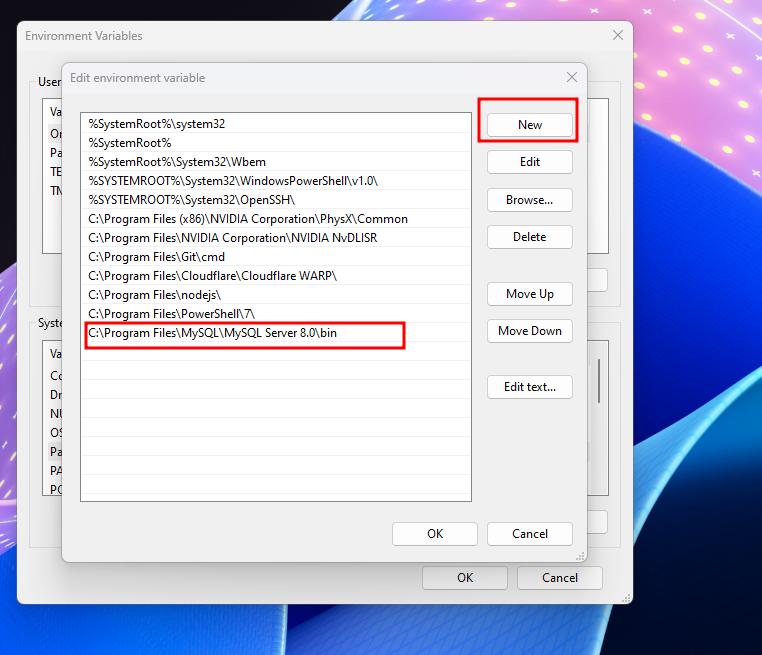
Now, we need to do the same thing for the MySQL Shell also. Open the MySQL Shell folder now.
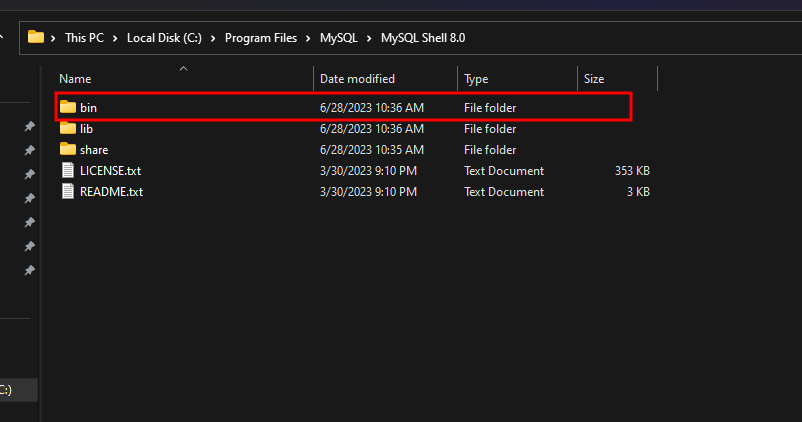
Go to the "bin" folder.
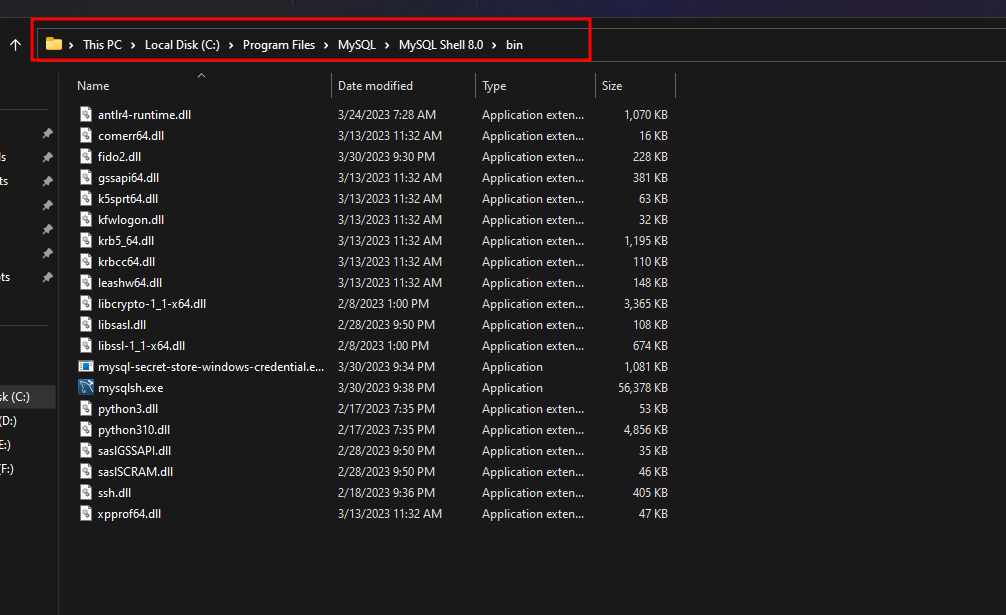
Copy the path/directory.
Now apply the same process as you did earlier. Click "New" on the Edit environment variable window. Paste the path/directory in the new blank box.
Now click "OK".

Click "OK" again.

And click "OK" one more time.

➡️ Finishing Up
Our task is now finished. You can now open the MySQL Workbench.
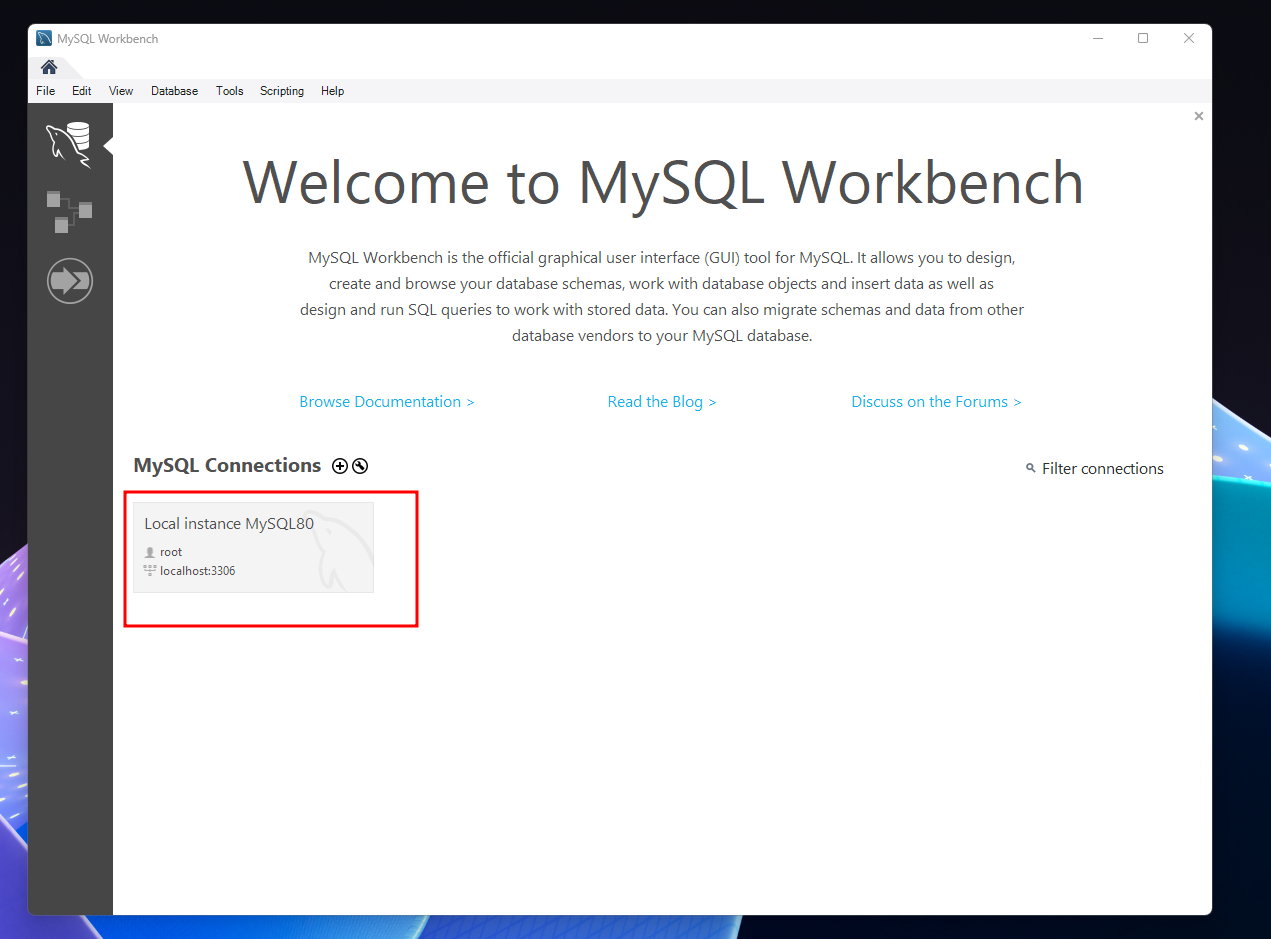
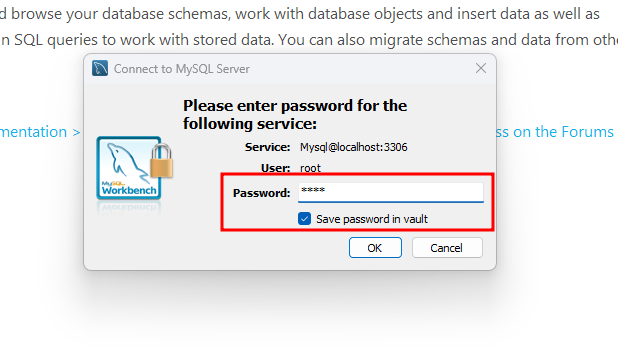
Simply click on the Local instance. It will ask for the root password. Enter the password. If you do not want to go into the same hassle of entering a password every time, check the box on save password in the vault. Click "OK".
This is your default MySQL Workbench workspace.
 Workbench workspace
If you want then you can also hide the SQL Additions tab by clicking on the colored box.

For getting the Schemas, click on the "Schemas" tab from the navigator.

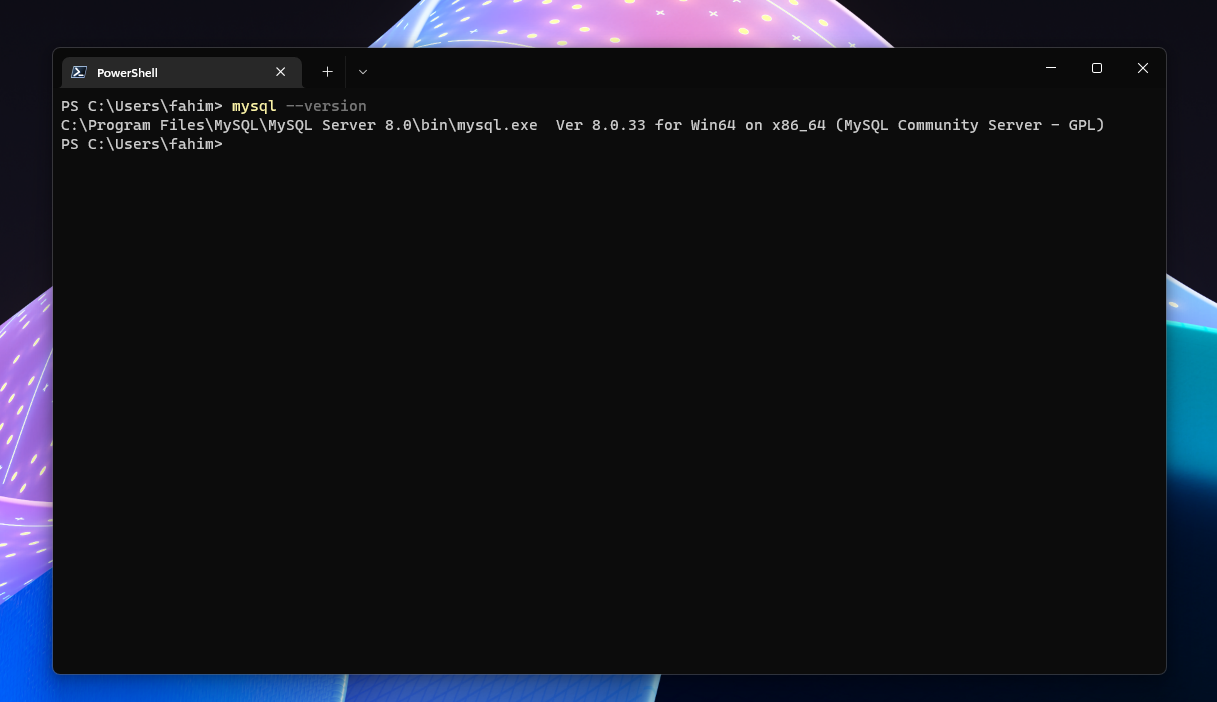
Your MySQL Workbench is also ready for any kind of development process. You can also use MySQL from your terminal as well.

Conclusion
Thank you for reading the entire article.
If you have any questions, feel free to reach out to me using Twitter or LinkedIn.
Also, make sure to follow me on GitHub!
You can also subscribe to my YouTube channel for more helpful video content.
If you are interested then you can also check my website: https://fahimbinamin.com/
Have a great day! 😊
Cover: Photo by Boitumelo Phetla on Unsplash