

In this article, you'll learn how to work with JavaScript in the backend using Node on Windows.
When you start working with JavaScript and discover that you can not only work with it in the frontend but also in the backend, a new world of possibilities seems to open up before you.
To begin with, you realize that you don't need to learn another language to have the backend of your applications up and running. Second, Node.js is simple to install and works in all development platforms we are used to: Mac, Linux, and Windows.
In this article, I'll show you how to install Node on Windows with a step-by-step guide so you're ready to use it.
You will also be happy to know that package management is made even easier, as npm (the Node Package Manager) comes with the installation of Node.
With it, you will be able to have access to an almost unending number of community-made dependencies. You can simply install these in your app so you don't have to reinvent the wheel time and again.
So let’s install Node on Windows and start playing with it a bit.
How to Install Node on Windows
The first thing to do is to access Node’s official site.
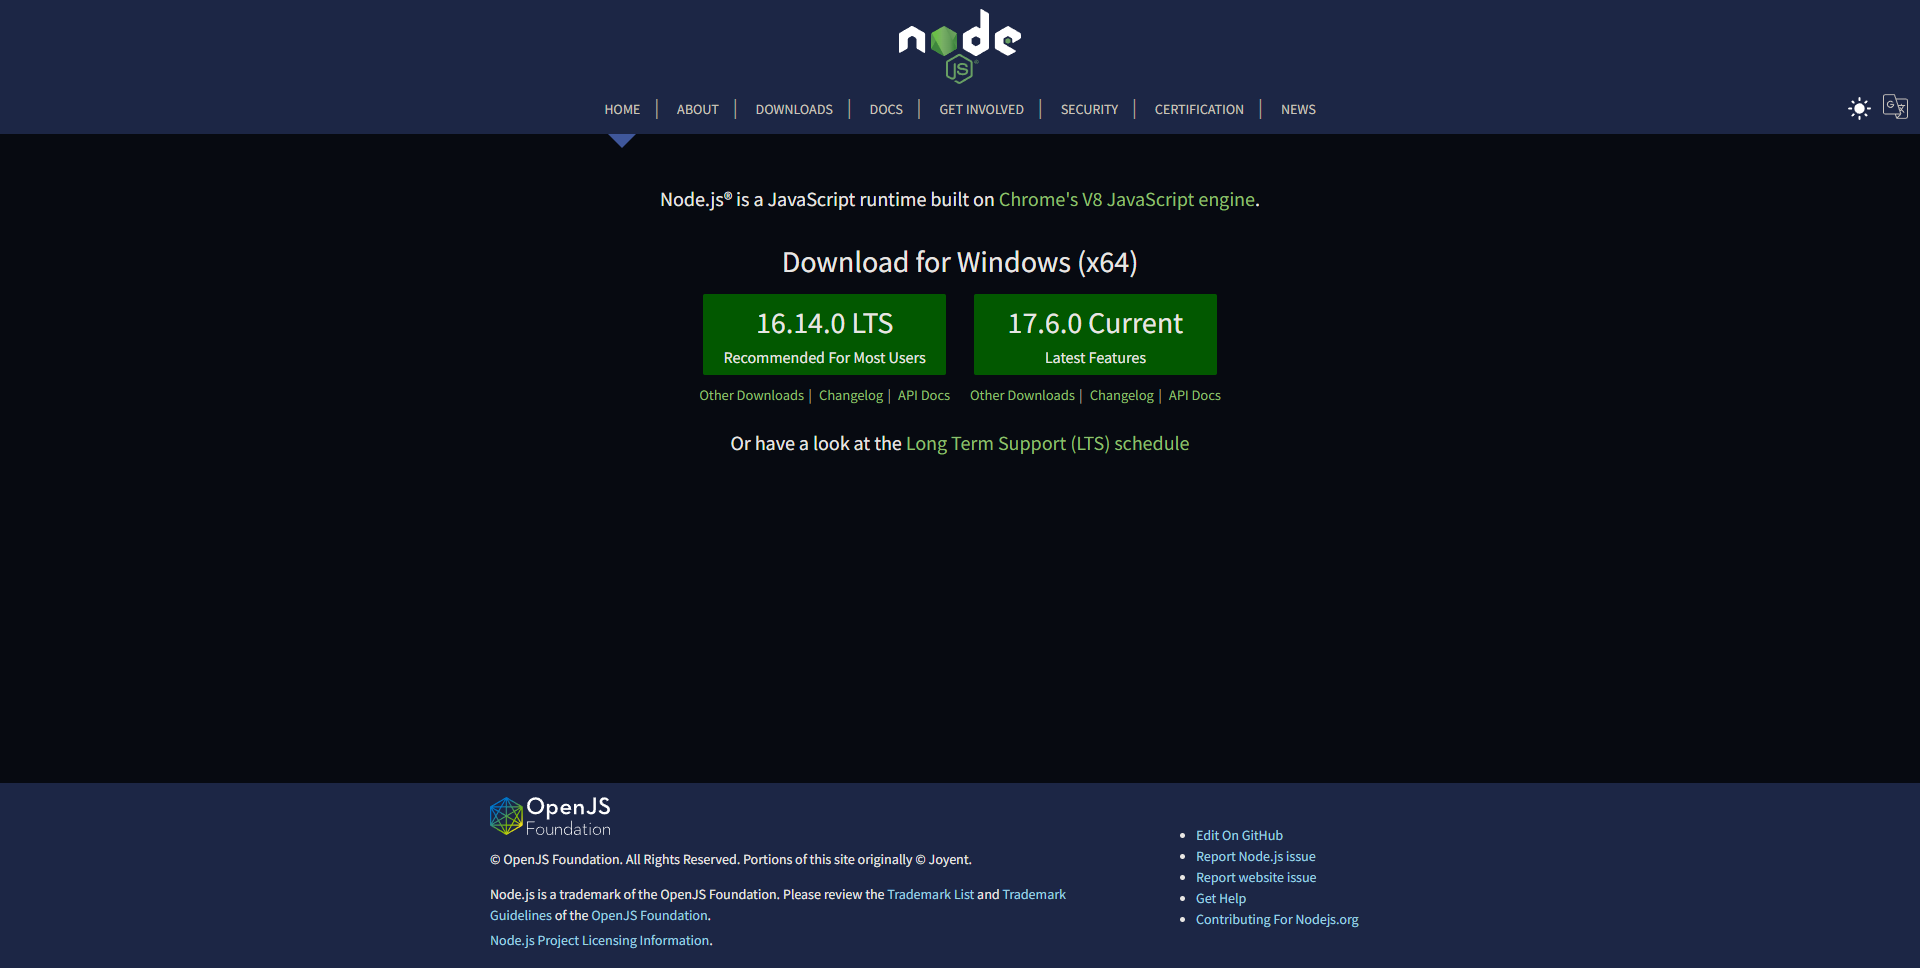 Node site front page
The website is intelligent enough to detect the system you are using, so if you are on Windows, you will most likely get a page like the one above. Right in the middle of it, two buttons show you the most common possibilities of download – also the latest ones.
If you are curious about all the most recent features Node has to offer, go with the button on the right. For most people, however, the site itself recommends using the Long-Term Support version, which leads you to the button on the left.
At the moment of writing this article, the LTS version is version 16.14.0.
When you click on any of them, an .msi file gets downloaded to your computer. The next step is to click on it and the installation will begin. The wizard opens and the following window appears:
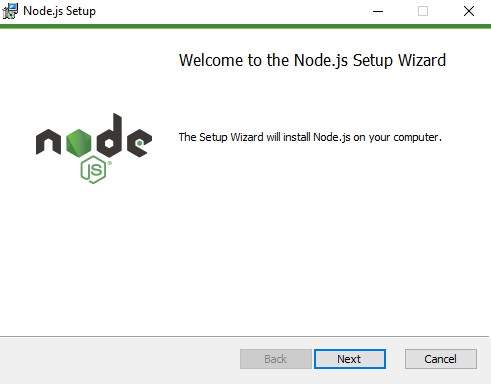 Node installation wizard's initial page
Click Next. On the following window, you'll read (you do read it, right?) Node’s EULA, accept its terms, and click Next again. The next window is the one where you select the destination folder for Node.
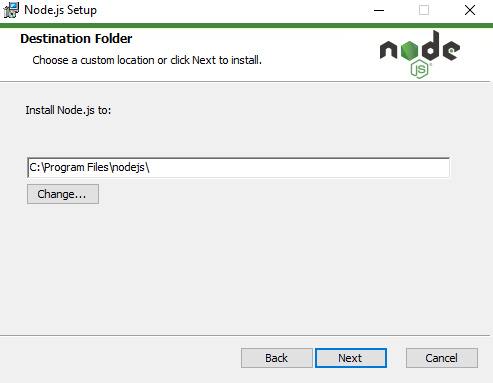
Windows normally recommends that the programs be installed in the Program Files folder, in a folder of their own (in our case, we are installing Node.js, so the nodejs folder is our go-to place).
For the sake of simplicity, let’s follow the wizard’s suggestions and use C:\Program Files\nodejs\ as the destination folder.
The following window is the one where you can customize your installation. Unless you have disk space problems or have a clear idea as to what you are doing, I recommend keeping the options as they are and just pressing Next again.
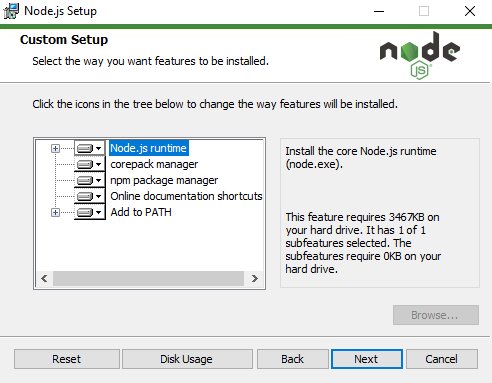
One thing I would like to point out on this window is the third option you see. That’s the option that allows you to have npm installed along with Node on your computer. This way, if you still intend to change the setup in this page somehow, keep that option as is and npm will be installed for you at the end of the process.
The next window deals with the automatic installation of “Tools for Native Modules”. Again, unless you are sure you need them, I recommend keeping this checkbox unmarked and just pressing Next once more.
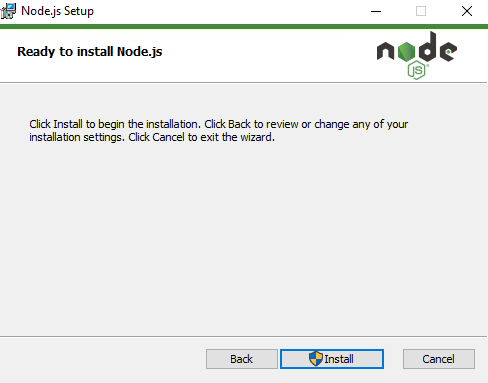
We’ve reached the final pre-install window. As it says, from here, you just have to click Install to begin the installation, so let’s do it.
Notice the shield beside the word Install? That means Windows will ask you to confirm if you really want to go through the installation process as soon as you click that button. Assuming this is the reason why you are reading this article, just click Yes and let the installer do its thing.
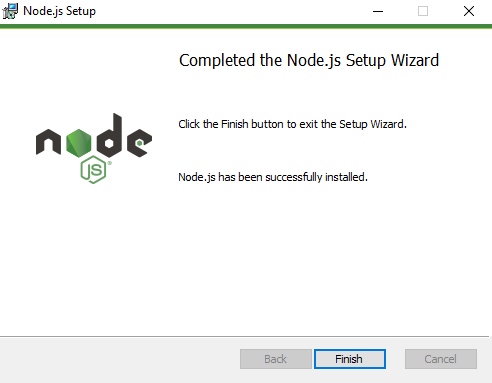
We finally got to the window we were hoping for, telling us that Node has successfully been installed on our Windows computer. Click Finish and let’s check if everything is ok.
How to Check Your Node Installation
In order to check if Node (and npm) were properly installed on your computer, you can choose to open either Windows Powershell or the Command Prompt.
We’ll go with the first. Click on the search bar beside the Start Menu button and type powershell. Click Enter and Windows Powershell will open up in a window for you.
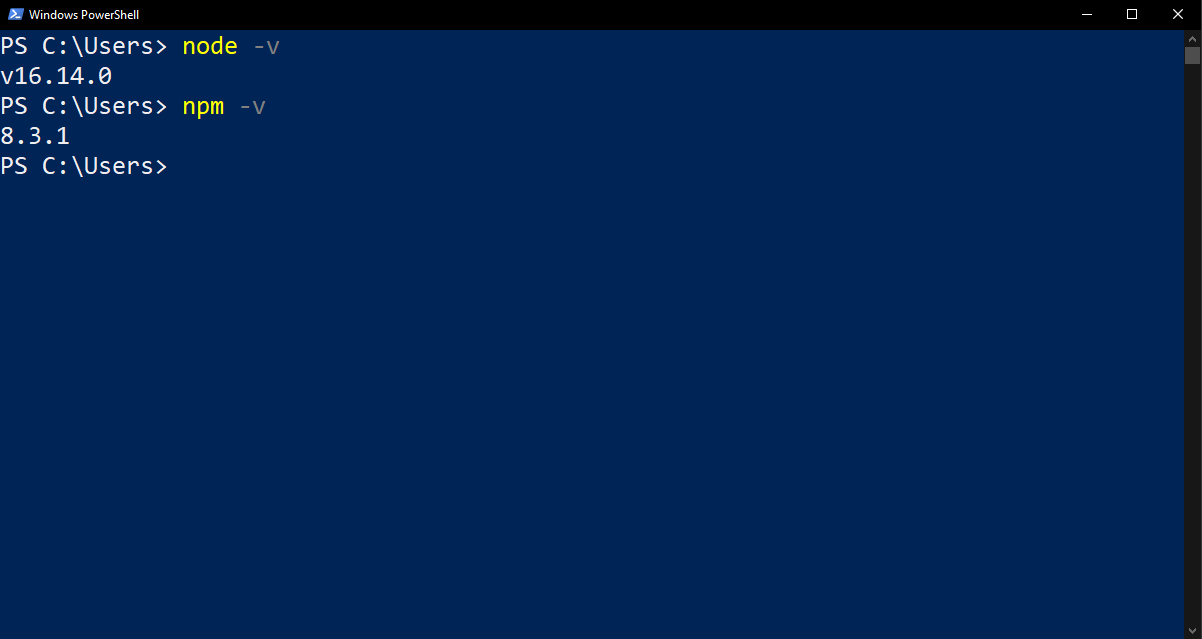
In any folder (like C:\Users, for instance), you can type node -v to check for the version of Node you are using. As I mentioned above, the latest version as I write this article is version 16.14.0 and that’s exactly what we see on Powershell above.
As a side note, you may be asking yourself why we can check this in any folder. One of the options in the custom setup (that we left as is) was to add Node to PATH. By doing so, we are able to access it from anywhere while navigating through the folders.
It is also possible to check for the npm version. To do so, type npm -v and press Enter. In our case, latest version is version 8.3.1, so we can pretty much say we are up to date.
How to Use npm
Ok, but you did not go all this way reading just to finish here after installing Node and npm, right? You want to see both in action. Let’s do it, then.
To learn how to start a project with Node and install packages with npm, we’ll use Visual Studio Code.
We'll create a folder named Node_Test, where we’ll put both Node and npm to work a little.
Let’s start simple. Inside the Node_Test folder, right click inside the folder and click Open with Visual Studio Code. This will make VS Code open in this empty folder automatically.
Inside VS Code, if you haven’t yet, open a new terminal by pressing Ctrl+Shift+' (single quote).
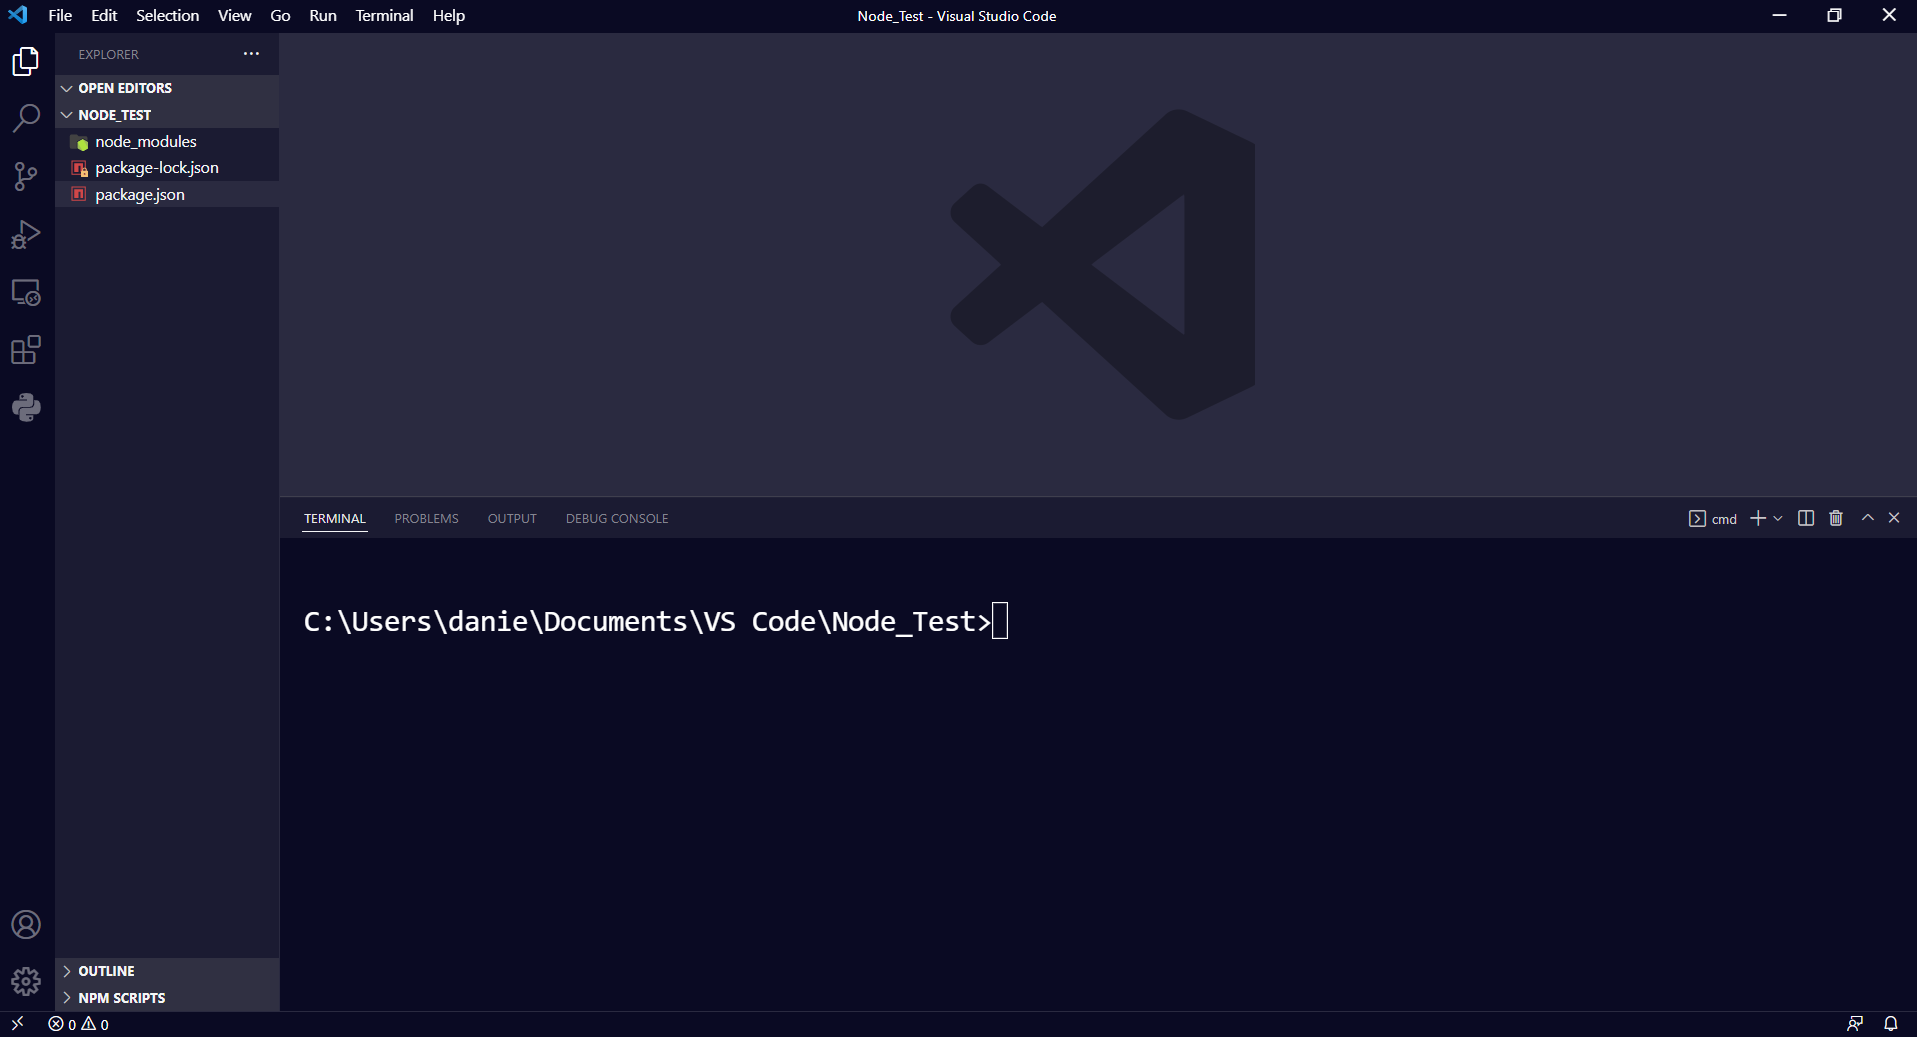
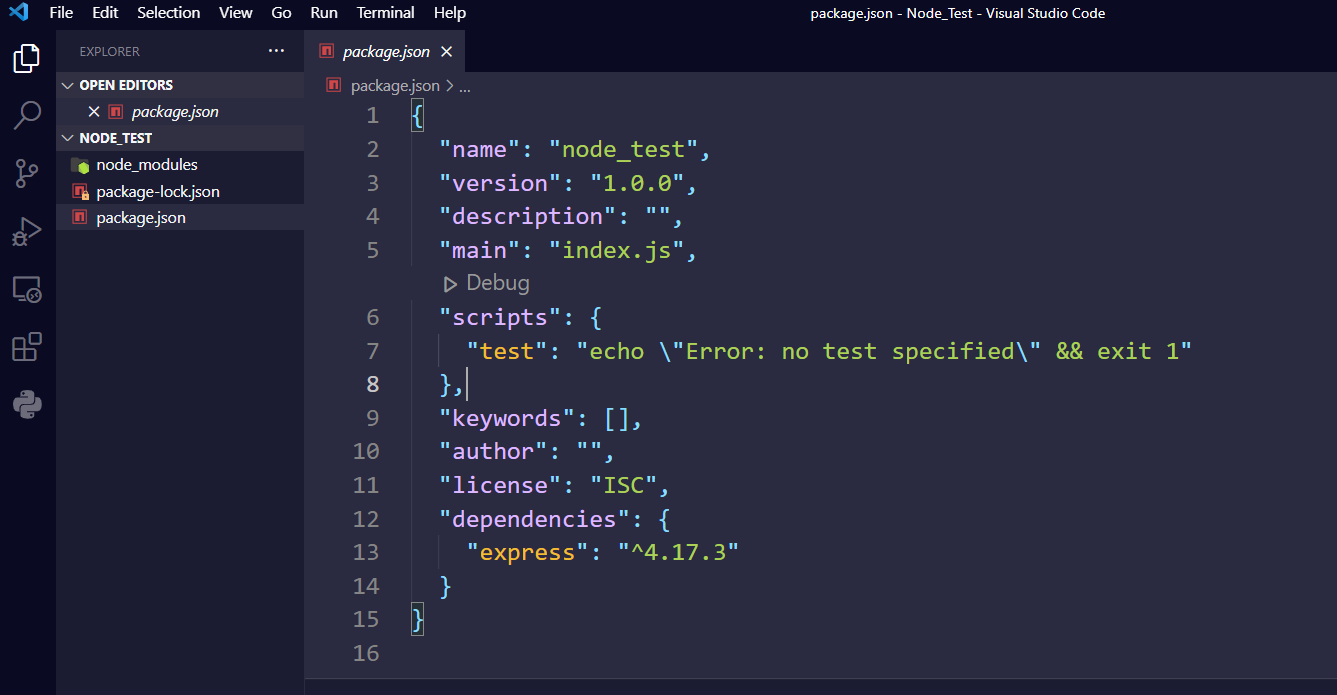
Click on the terminal and, on the command line, type npm init -y. This will start a Node project automatically for us without us needing to worry about the initial configuration (the -y flag will do that on its own). This creates a package.json file within the Node_Test folder.
Next, let’s install Express as a dependency. You can find it and a list of other possible dependencies of npm on https://www.npmjs.com/.
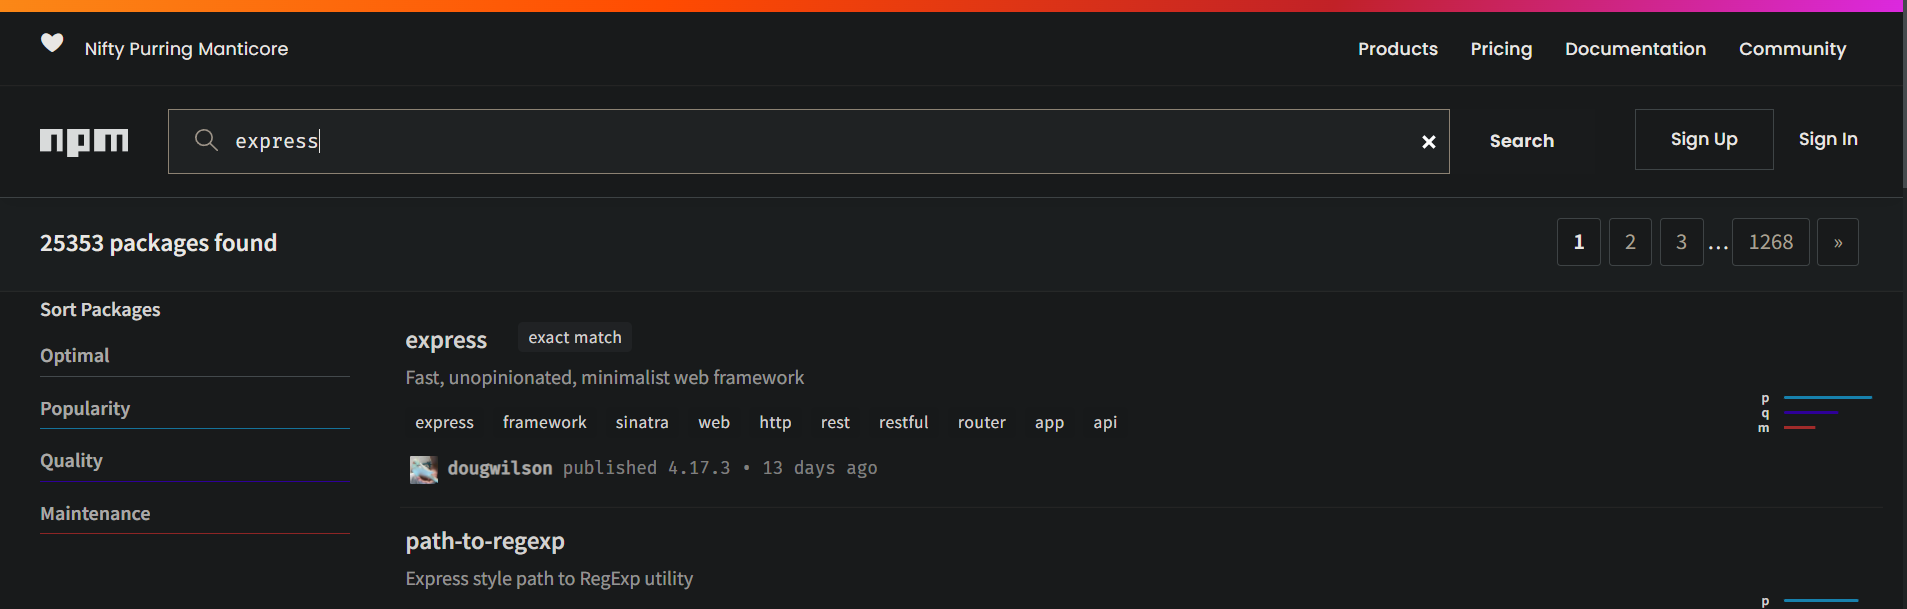
Another side note: every time you open npm’s web site, on the top left, you will see what appears to be a meaningless combination of three words. If you look at the initials, though, you will see that it is a brand-new sequence with the acronym npm.
Right, now let’s install Express with this Nifty Purring Manticore. Back on VS Code and the terminal, type npm i express and press Enter. Express will be installed. You can do the same with any other dependency you can think about.
To make sure that Express is installed, open package.json. Scroll up to the list of dependencies and you will see Express there.
Wrapping Up
That’s pretty much it. In this article, you saw how to install Node and npm on Windows.
I hope this has been useful to you. For more tutorials like this, check out freecodecamp.org/news and browse for the topic you would like to learn about.
Happy coding! 😊