

React is an open-source JavaScript library that helps you build dynamic user interfaces (UIs). You can use it to build components that represent logically reusable parts of the UI.
Because React is open source, anyone can access its source code, inspect it, modify it, and enhance it for their personal needs or app development requirements.
In this tutorial, you'll learn how to install React into your project.
How to Install React
Now that you know what React is and why it's useful, you'll learn how to make use of this library in your project.
Step 1: Install Node.js
Before you start the React installation process, you must have Node.js installed on your computer. If you do not know what Node.js is all about, you can read more here.
You have to install Node first because React.js is a JavaScript library, and Node.js is a JavaScript runtime environment that allows you to run JavaScript on the server side. So when you're writing React, you include JavaScript functions in your React project, and then Node.js helps run this JavaScript code on the web page.
Node.js has various versions. The recommended version is the latest stable version, as it contains major and significant changes. These changes includes bug fixes and security updates, compatibility with your project dependencies, and so on.
To install Node, navigate to the Node.js website. On their webpage, you have the option to download either the recommended version or the current version, as seen in the image below.
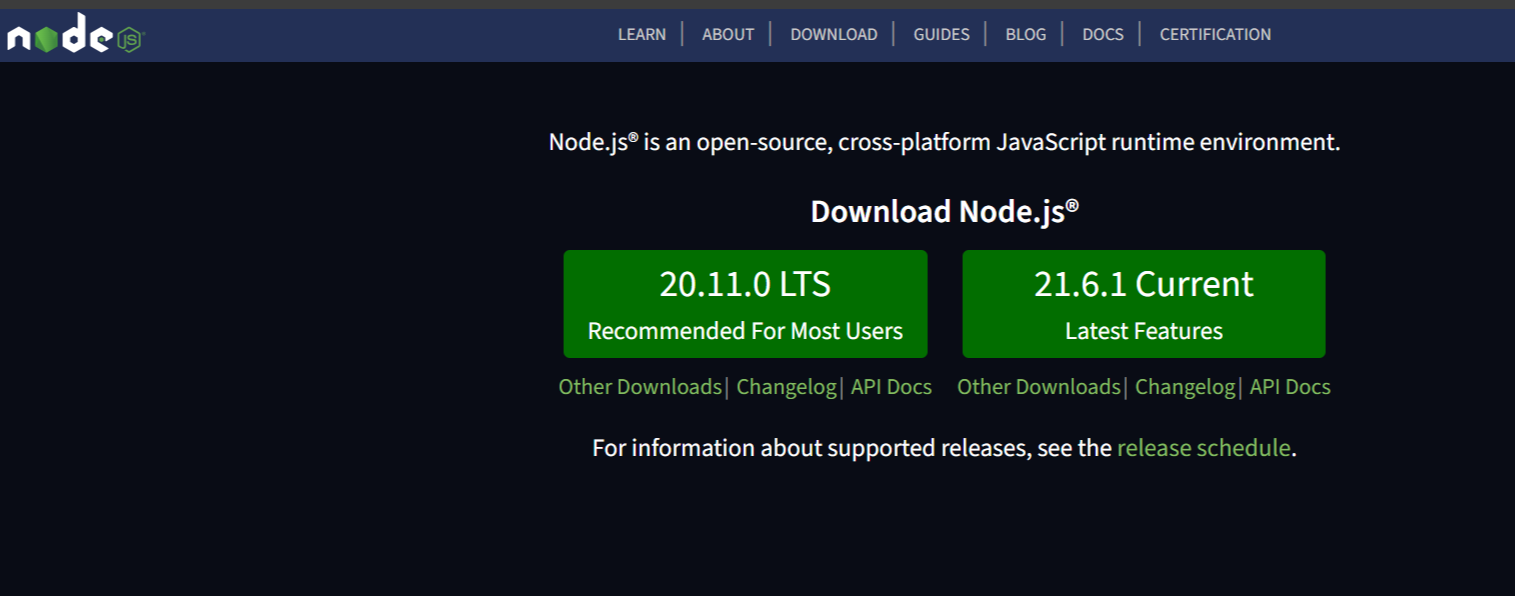
Node.js web page interface
After you have downloaded the version of your choice, install it on your computer.
Once installation is complete, open your command prompt to confirm that Node has been successfully installed. Type in node -v in your command prompt, then click the enter button. This command should display the current version of Node installed on your computer.
Here is what it looks like:
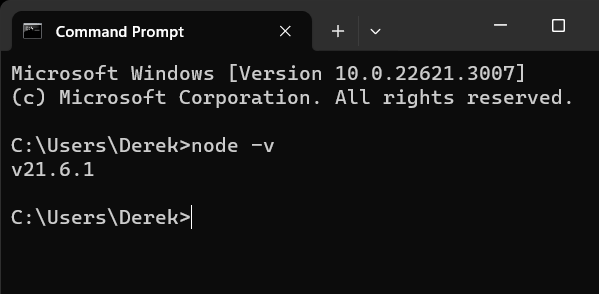
Node version displayed in the command prompt
If your Node version is displayed like the above, congratulations! You have successfully installed Node.js on your computer.
Step 2: Install React
Now you can go ahead and install React into your project. Let's go through the steps together.
First, we'll look at the "traditional" way of installing React, using create-react-app (CRA), so you're aware of that process. Then we'll see how to install it using the modern Vite build tool.
Using CRA
Still in your command prompt window, navigate to the directory that you want to use in creating your React project. To do this, type cd [directory name] then click enter.
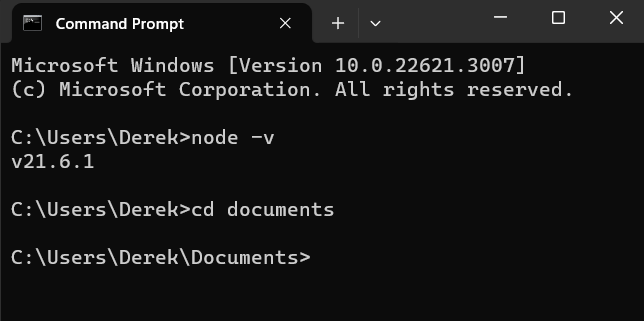
cd documents command to go to documents directory
As you can see in the image above, I am navigating to the documents directory, which is where I would like to create my React project.
In the documents directory (or wherever you're creating your project), create a folder that you will be using to create your React app. Type mkdir [folder name]then navigate to the newly created directory using cd [newly created folder name].
In the newly created folder directory, type in npx create-react-app [project name of your choice], and then wait until your React project is completely created. The final section should have the text in the image below displayed:
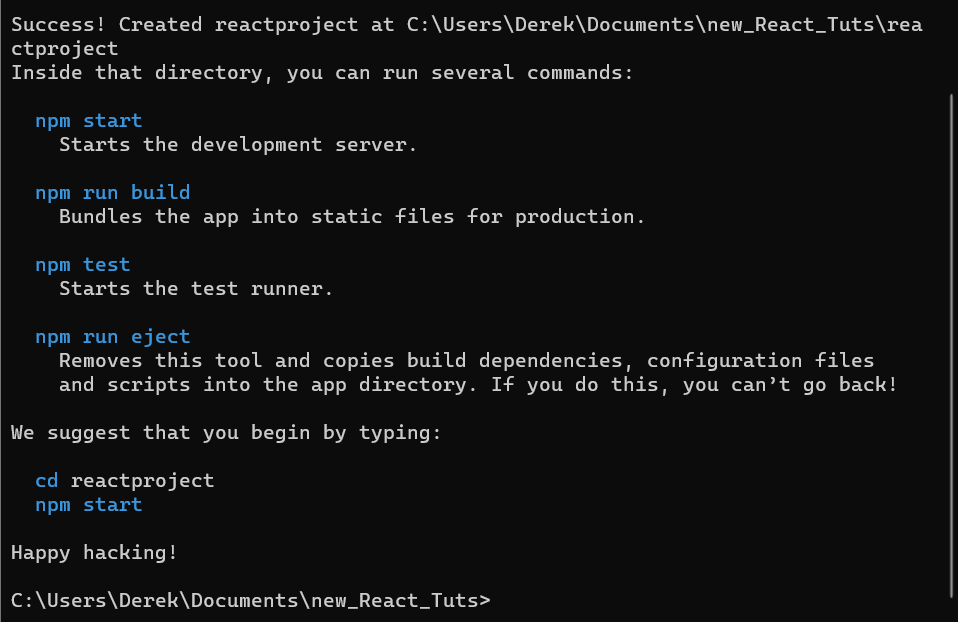
React complete installation in the terminal
Lastly, open the React project in your code editor by typing in code . . Your code editor (if you are making use of VS code) should look like this:
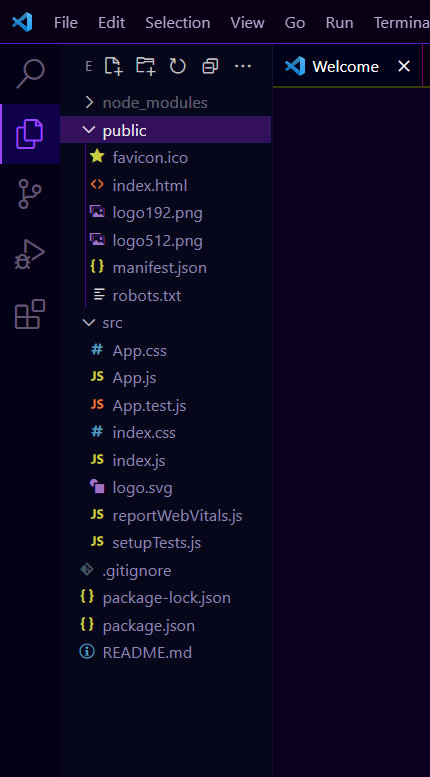
React Complete Installation Display Using CRA
In the above image, let's go over some of the elements you'll see there.
The
node modulefolder is a storage folder that holds your React package along with other packages that might be installed as you work on your React project. Thenode modulehelps configure the design system of your React project.The
srcfolder stores in all the files and components used in your react application ranging from theApp.js,index.js,App.cssjust as seen in the image above.The
package-lock.jsonfile locks the versions of dependencies your React project uses, and this helps in managing dependencies in your React project.
Recently, create-react-app has become deprecated and the React team doesn't recommend using it anymore. Other modern tools provide a faster front-end development experience, and and you can use them to create React apps without stress. Such tools include Vite, Snowpack, Gatsby, Next.js, Percel, and so on.
In this section, you will learn how to use the Vite tool to install React into your project.
Using Vite
Vite is a very fast and customizable modern tool that aims to provide a linear development experience for modern web projects. You can use it to create your React apps in a fast and reliable way. It also has the same features as create-react-app (CRA).
Just as we did when installing React using CRA, the first step is to make sure you have Node installed on your computer. After that, navigate to the directory you want to use and create a new folder (with any name of your choice).
Open the newly created folder in your code editor (VS code).
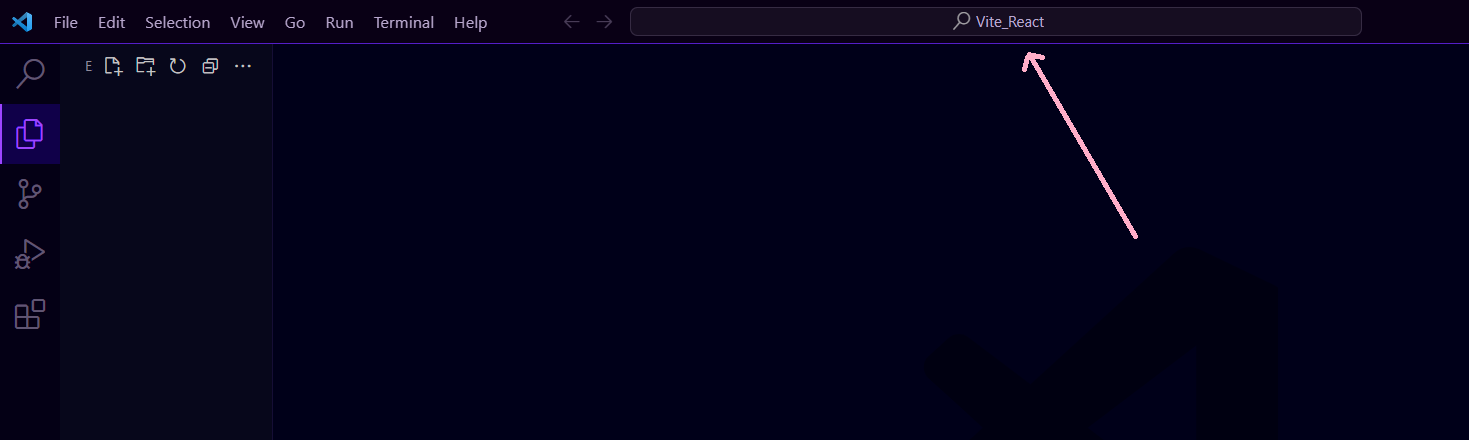
Vite_React
The image above is what yours should look like. In my case, I named the folder I created Vite_React.
The next step is to open the terminal (located in between Run and Help), as seen in the image above.
Once in the terminal, run npm create vite@latest [your project name]. In my case the project named I used is new-react-vite. The above command should look like this:
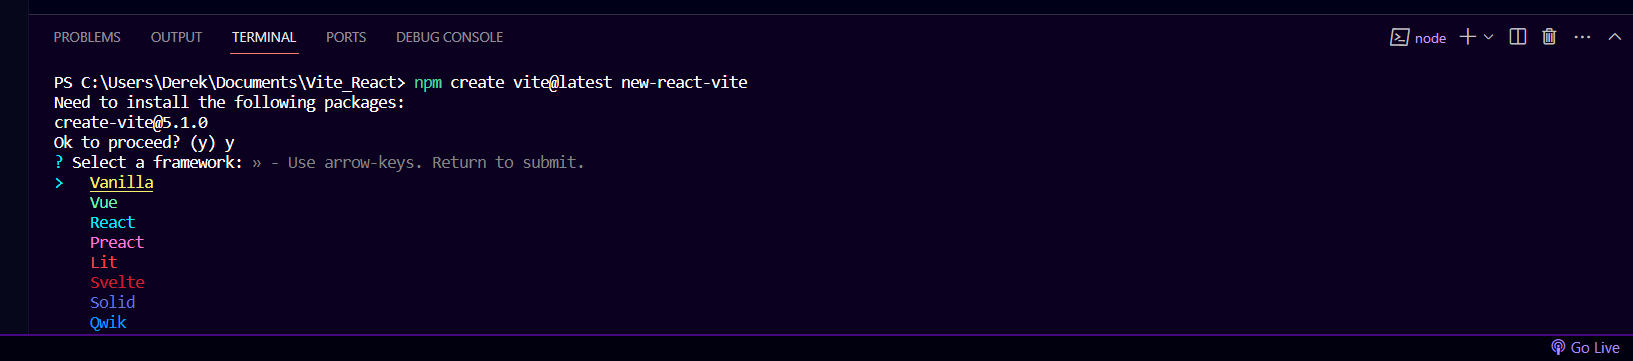
Select Framework (React)
At this point, you are asked to select what framework you want to install, so since you are working on React, use your arrow keys to navigate to where we have React, then click on Enter.
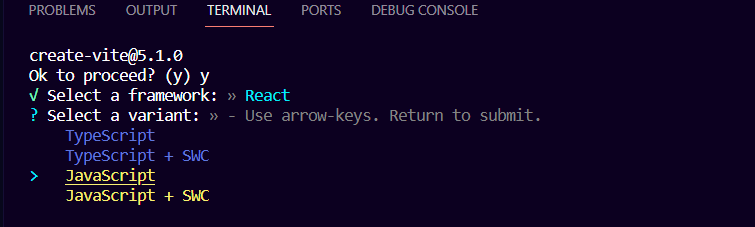
Select language (Javascript)
From the image above, the next step is to select what language you want for your project. You can choose any language of your choice, but for the sake of this tutorial, I chose JavaScript.
The next step is to navigate to the project directory where you created the React project. To do this, type cd [directory name]. Yours should look like this:
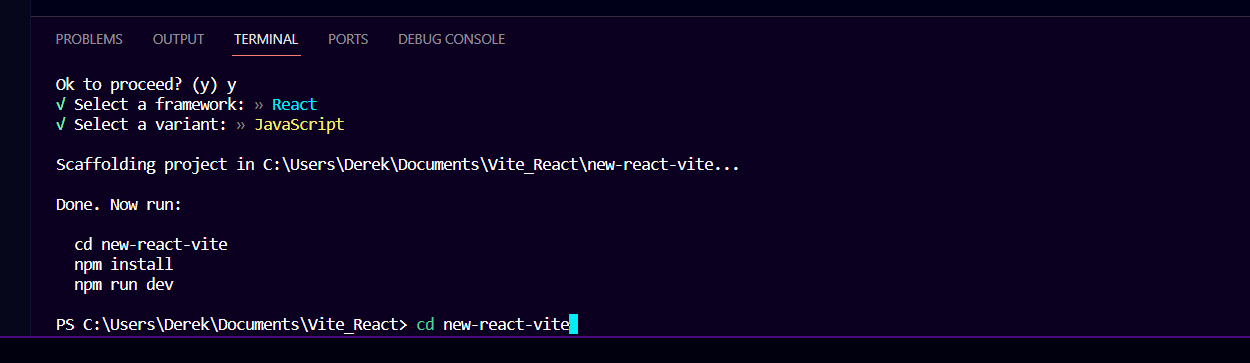
React Complete Installation Using Vite
Once you have done this, you should see that your React files has been created and displayed on the screen like this:
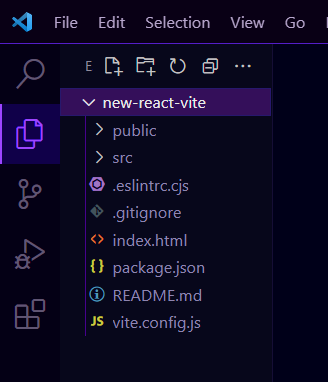
React Installation Display
Last but not least, install the Node module folder by typing npm install in the terminal. This takes a little time to complete, but when installation is done, you should see the node_module folder at the top, like this:
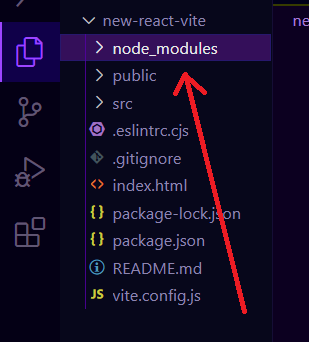
Node Modules folder
Lastly, type npm run dev to run your project and display on the web page. If you followed the installation steps correctly, you should see your local host:
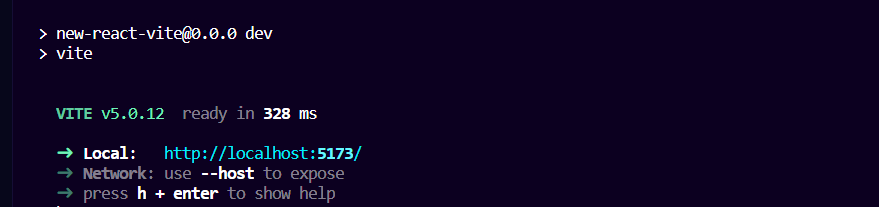
Local host
Hold your control button and click on your local host. This takes you to the web page. At this point, if your web page is displayed like this:
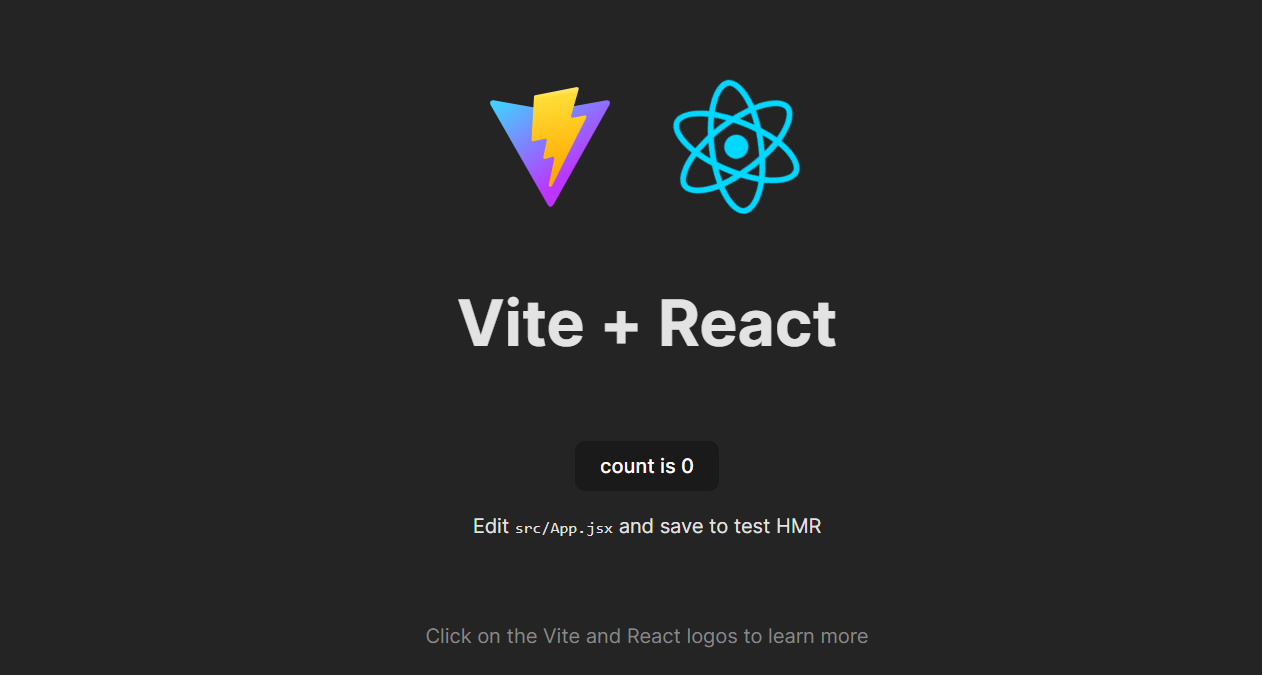
Final React Display on the web page
Congratulations on installing React on your project!
Conclusion
The React library is a powerful open-source JavaScript tool you can use to create dynamic and appealing applications. It is actually a fun framework to get your hands on, so I recommend trying it out.
I believe at this point you can fully install React into your project with the modern tool (like Vite). If you've done it, congratulations again!
Happy Coding!