

Tailwind CSS is a popular CSS framework, and React is one of the most popular JavaScript libraries.
And Tailwind CSS and React are a great combo to use if you're building a frontend project.
In this article, you will learn how to setup your coding environment with Vite, install React and Tailwind CSS with their latest versions, and start building your projects right away.
We will be using these tools:
If you don't have these tools installed, you can do so by clicking the links for each one above.
After setting up Node.js for your VSCode, you can now use Node.js to install Vite for your project using the terminal.
Step 1 – Create Your Project Folder
Open your terminal, and navigate to the folder where you want to build your project – for example Desktop. Input the command below in the terminal and click enter:
npm create vite@latest your-project-name -- --template react
The command above will create your project folder.
 My project name is "food-app", the food-app folder will be created in the Programming folder on my Desktop
Note that we have used -- --template react to specify that we are building a React app with Vite.
Step 2 – Navigate to Your Project Folder
Input the command below in your terminal and click enter:
cd food-app
This command will navigate to your project folder. You should have this:
 Inputing "cd food-app" in terminal to navigate to the "food-app" folder
Step 3 – Install Tailwind CSS and Other Dependencies
Input the command below in your terminal and click enter:
npm install -D tailwindcss postcss autoprefixer
This command will install the following:
- The Tailwind CSS framework
- Post CSS, which provides plugins to perform different functionalities like prefixes in Vanilla CSS
- Autoprefixer, which is a PostCSS plugin to parse CSS and add vendor prefixes to CSS rules.
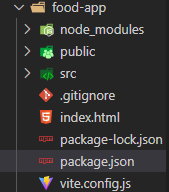
Your folder should look like this in your VSCode:
Confirm that you have the below text in your package.json:
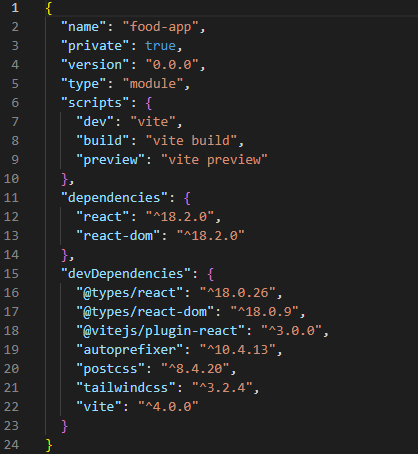
Notice the autoprefixer, postcss and tailwindcss dependencies from line 19 - 21. The version number might have changed when you read this.
Step 4 – Generate the Configuration Files
Input the command below in your terminal and click enter:
npx tailwindcss init -p
This command generates tailwind.config.cjs andpostcss.config.cjs configuration files, also known as config files. They help you interact with your project and customize everything.
Step 5 – Configure Source Paths
Add the paths to all of your template files in your tailwind.config.cjs file. Template files include HTML templates, JavaScript components, and other source files that contain Tailwind class names. This is to make sure that vanilla CSS is generated for the corresponding elements.
Your tailwind.config.cjs looks like this for now:
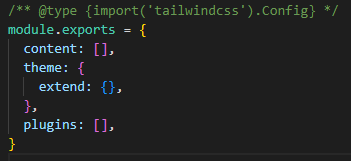 Current config file named as tailwind.config.cjs, it contains the module.export object to customize tailwind with property like content, theme and plugins
Add this in your content section.
"./index.html",


"./src/**/*.{js,ts,jsx,tsx}",
So your file should now look like this:
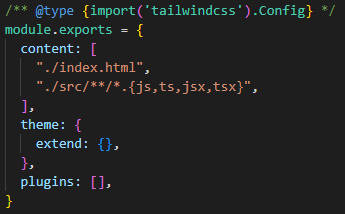 Config file after updating the content property
Step 6 – Add Tailwind Directives to Your CSS
Tailwind directives are custom Tailwind-specific statements that instruct CSS how to behave. You'll need to add directives for three of Tailwind’s layers.
@tailwind base injects Tailwind's base styles and base styles registered by plugins, @tailwind components injects Tailwind's component classes and component classes registered by plugins, while @tailwind utilities injects Tailwind's utility classes and utility classes registered by plugins.
Add the statements below to your ./src/index.css file:
@tailwind base;
@tailwind components;
@tailwind utilities;
@tailwind base;
@tailwind components;
@tailwind utilities;
Your index.css file contains some default styling. You can clear all that and paste the three lines of directives above.
Step 7 – Start Your Vite Server
Run your build process with the npm run dev command in the terminal. You should get this message below in your terminal:
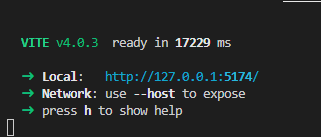 The message you get after running your Vite server that provides localhost link, network, and help.
Hold the ctrl key and click on the link at Local – here it's http://127.0.0.1:5174. It will open a new tab in your browser if you do that.
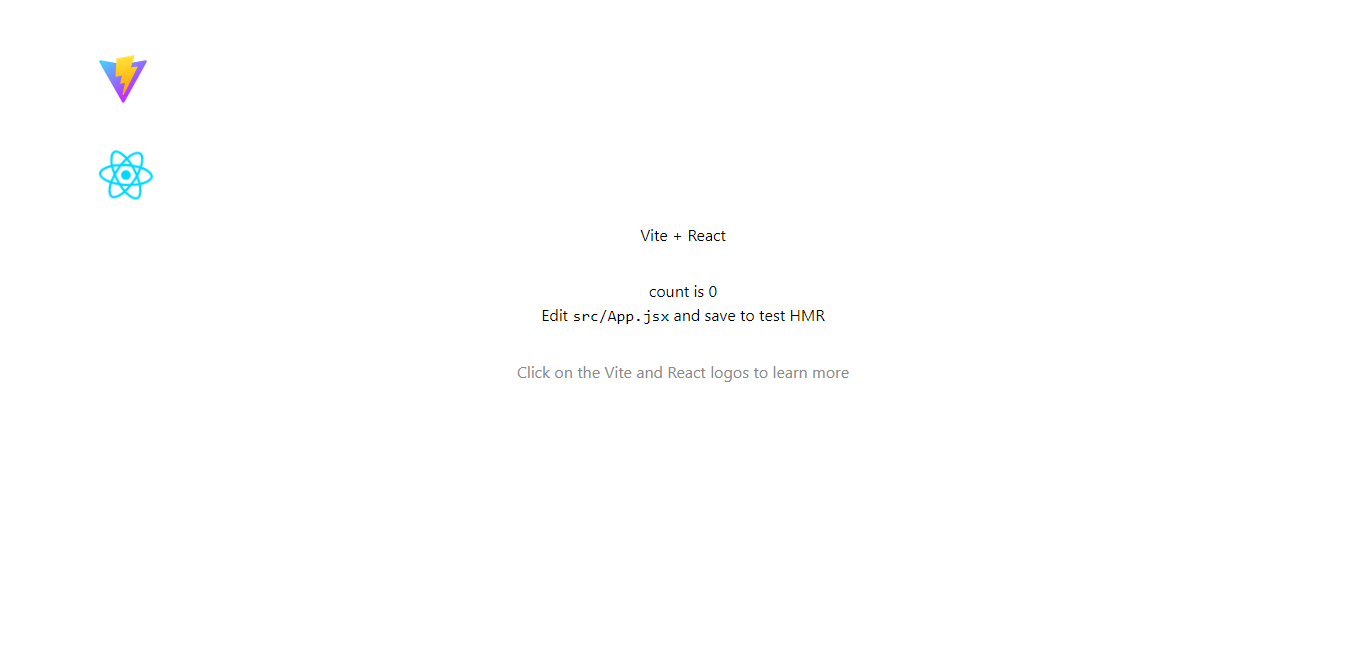 A screenshot of the webpage on first run
Our styles are broken because we cleared the default CSS in the index.css file to input our directives.
Step 8 – Start Writing Tailwind CSS
You can start using Tailwind’s utility classes to style your content. Navigate to your App.jsx file, where you should see this below:
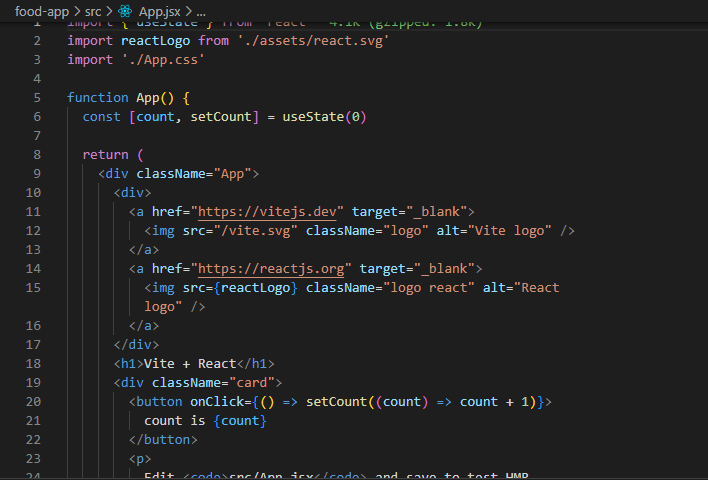 Screenshot of the App.jsx file
Clear the return element starting from line 9, and replace it with the text below to test your Tailwind to know if it is working. Input this:
<h1 className="text-3xl font-bold underline text-center">Hello world!</h1>
Now you have this:
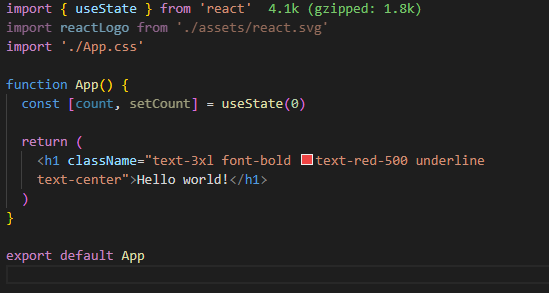 Adding the h1 element to the App.jsx file
According to the above image, text-3xl font-bold text-red-500 underline text-center has been added as a className to the div element. This is the standard for writing Tailwind CSS styling.
You can learn more about Tailwind classnames here. Your browser should update automatically.
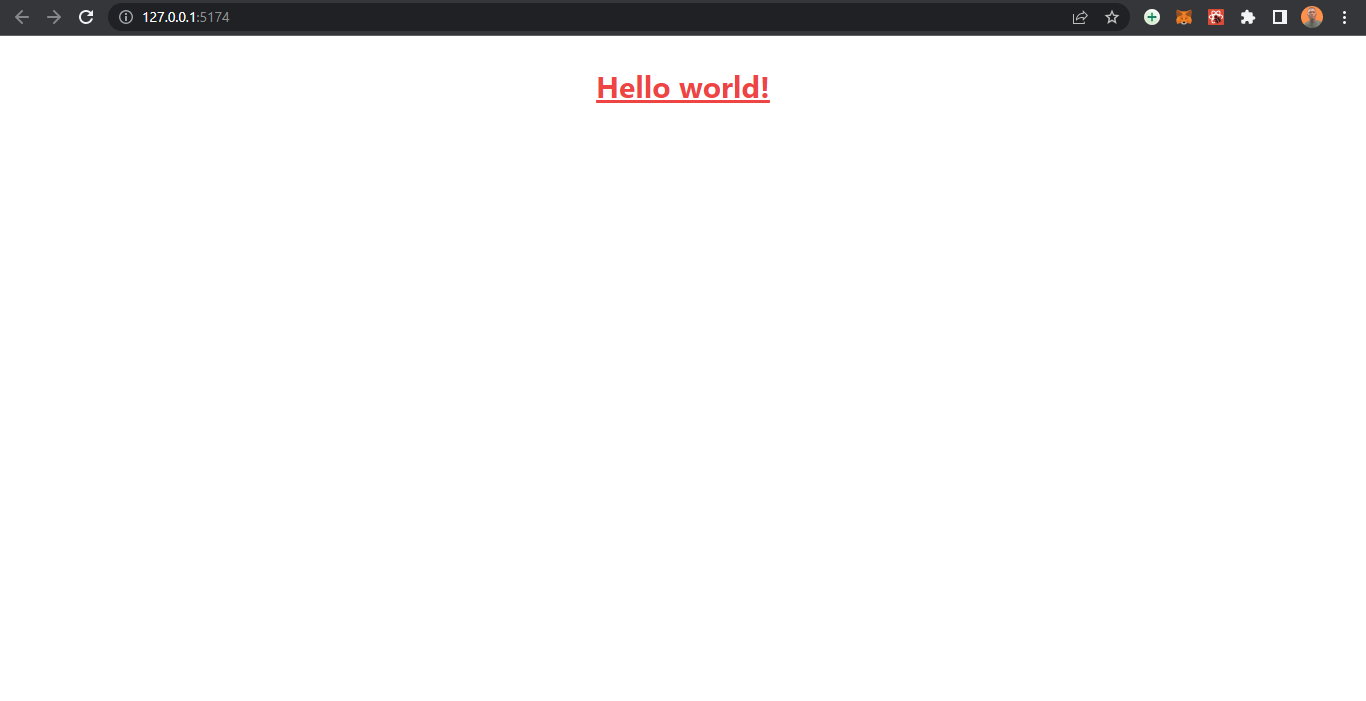 Screenshot of the webpage after add the h1 element
You can now start building your React projects and style them with Tailwind CSS.
Conclusion
You have now created a React and Tailwind CSS app using Vite, a frontend build tool. You have learned what Vite is and how to create a Vite app with a React template, as well as how to install Tailwind and other dependencies.
Thanks for reading this article. If you enjoyed it, consider sharing it to help other developers.
You can reach me on Twitter, LinkedIn and GitHub.
Happy Learning.