
Linux is a widely used operating system and is quite important for developers.
There are times when you might need to have both operating systems – Windows and Linux – either for work, study, or even just experimentation.
Luckily, Windows provides a convenient utility for using Linux along side Windows. This utility is called WSL (Windows Subsystem for Linux). Its recent version is WSL2 and in this guide we'll discuss it in detail.
We will cover:
- What is WSL2 and what are its advantages?
- How to install WSL2 on Windows 10 with default settings.
- How to install WSL2 with a specific Linux distro.
What is WSL2?
Windows Subsystem for Linux provides a compatibility layer that lets you run Linux binary executables natively on Windows.
WSL2 (Windows Subsystem for Linux version 2) is the latest version of WSL. WSL2 architecture replaces WSL's architecture by using a lightweight virtual machine. In the new version, you can run an actual Linux kernel which improves overall performance.
Advantages of using WSL
There are some advantages of WSL over a traditional VM setup:
- The setup for WSL is simple and not time consuming.
- It is light weight compared to VMs where you have to allocate resources from the host machine.
- You don't need to install any ISO or virtual disc image for Linux machines which tend to be heavy files.
- You can use Windows and Linux side by side.
How to Install WSL2
First, enable the windows subsystem for Linux option in settings.
- Go to Start. Search for "Turn Windows features on or off."
- Check the option Windows Subsystem for Linux.
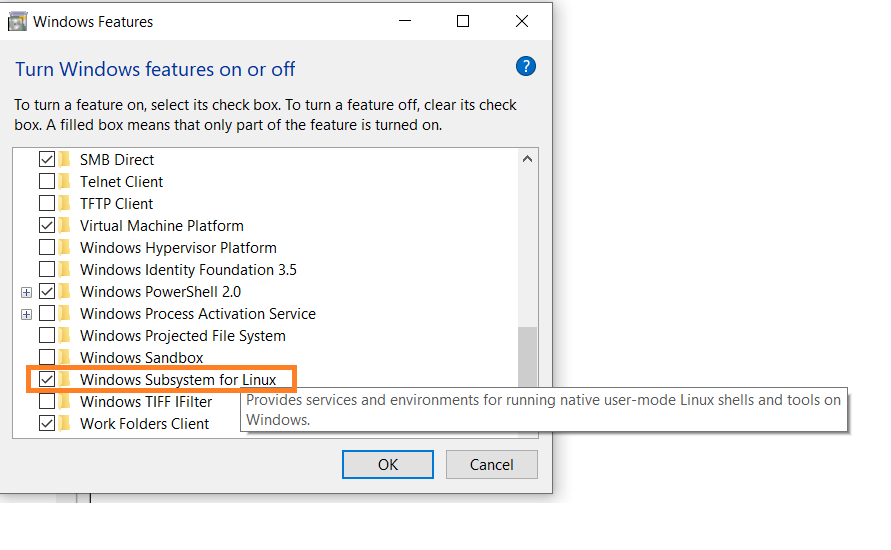 Turn Windows features on or off.
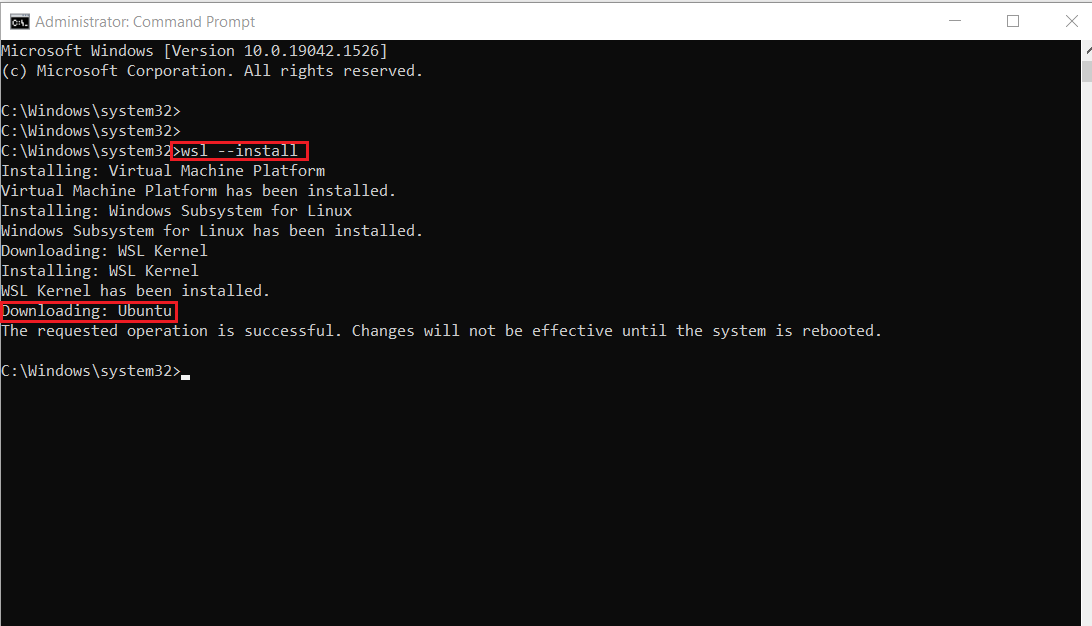
Next, open your command prompt and provide the installation commands.
- Open Command Prompt as an administrator.
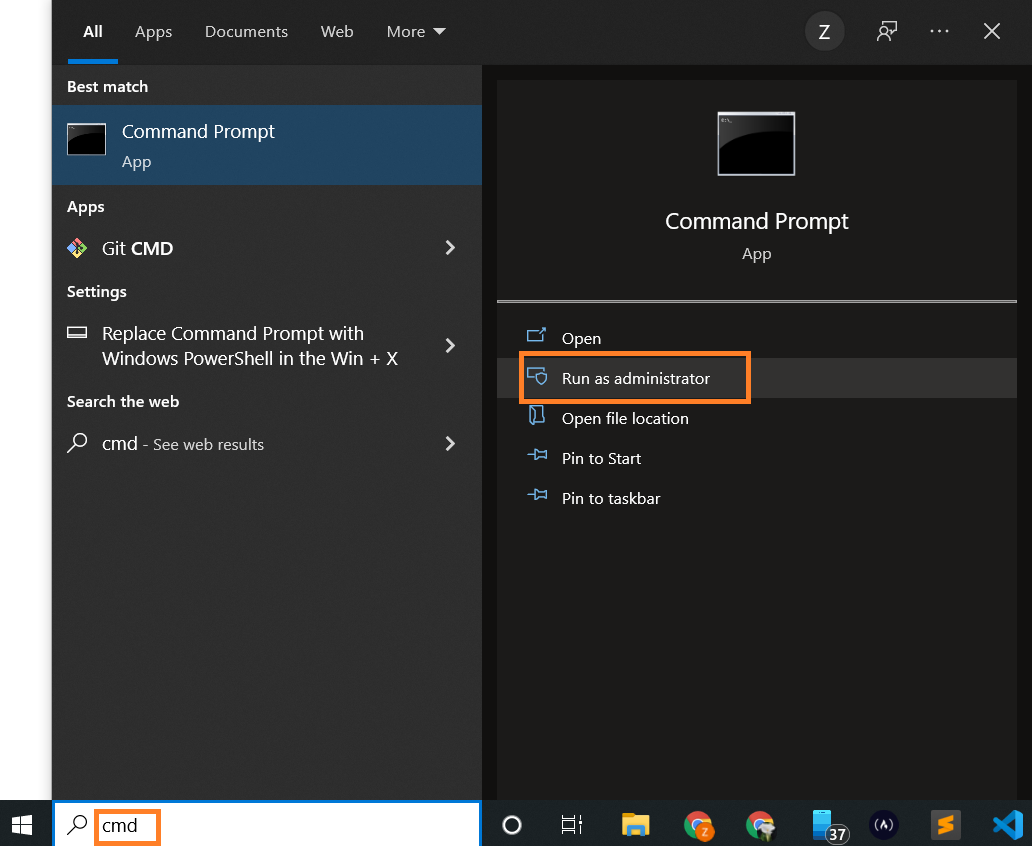
- Run the command below:
wsl --install
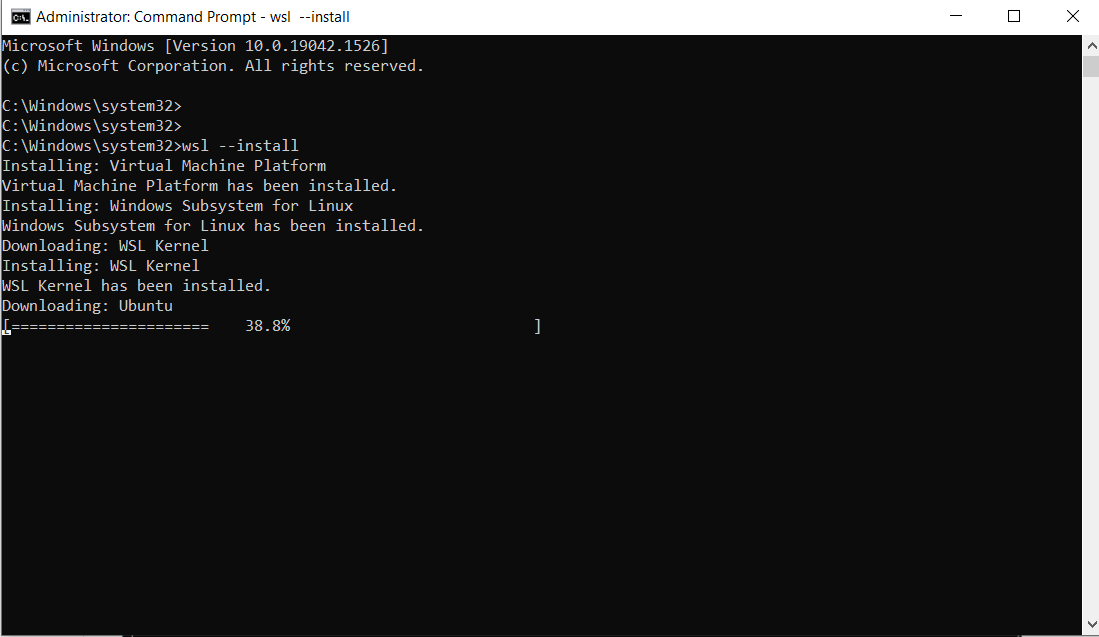
Note: By default, Ubuntu will be installed. But you can install any distro of your choice. We'll see later how.
Once installation is complete, you'll need to reboot your Windows machine. So, restart your Windows machine.
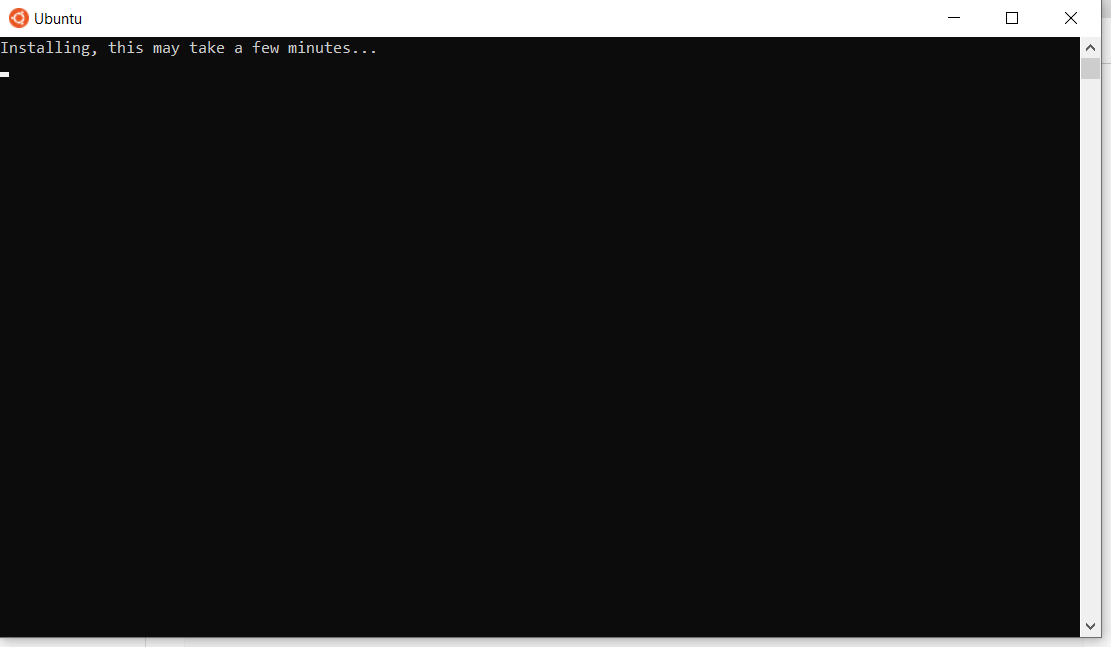
After restarting, you might see a window like this:
Once installation of Ubuntu is complete, you'll be prompted to enter your username and password.
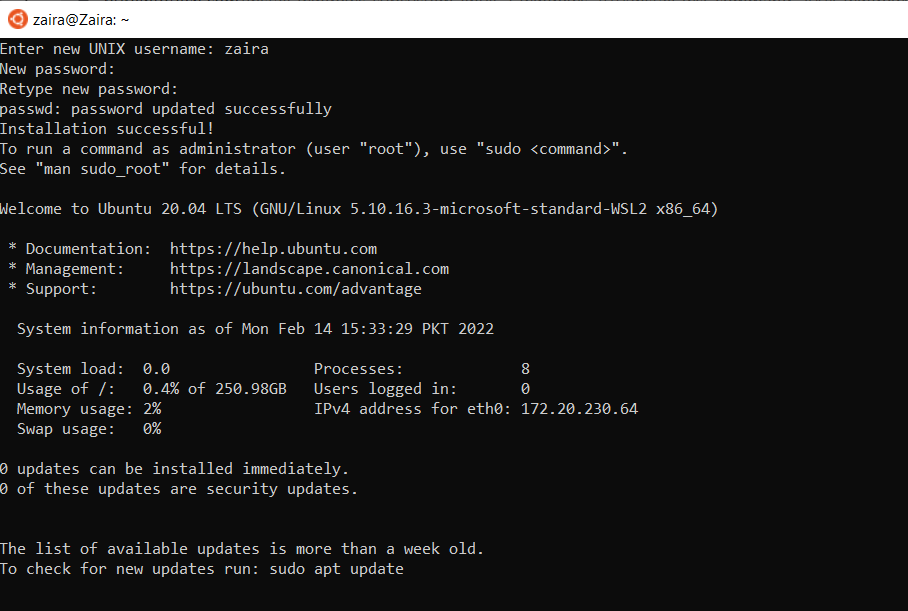
And, that's it! You are ready to use Ubuntu.
Launch Ubuntu by searching from the start menu.
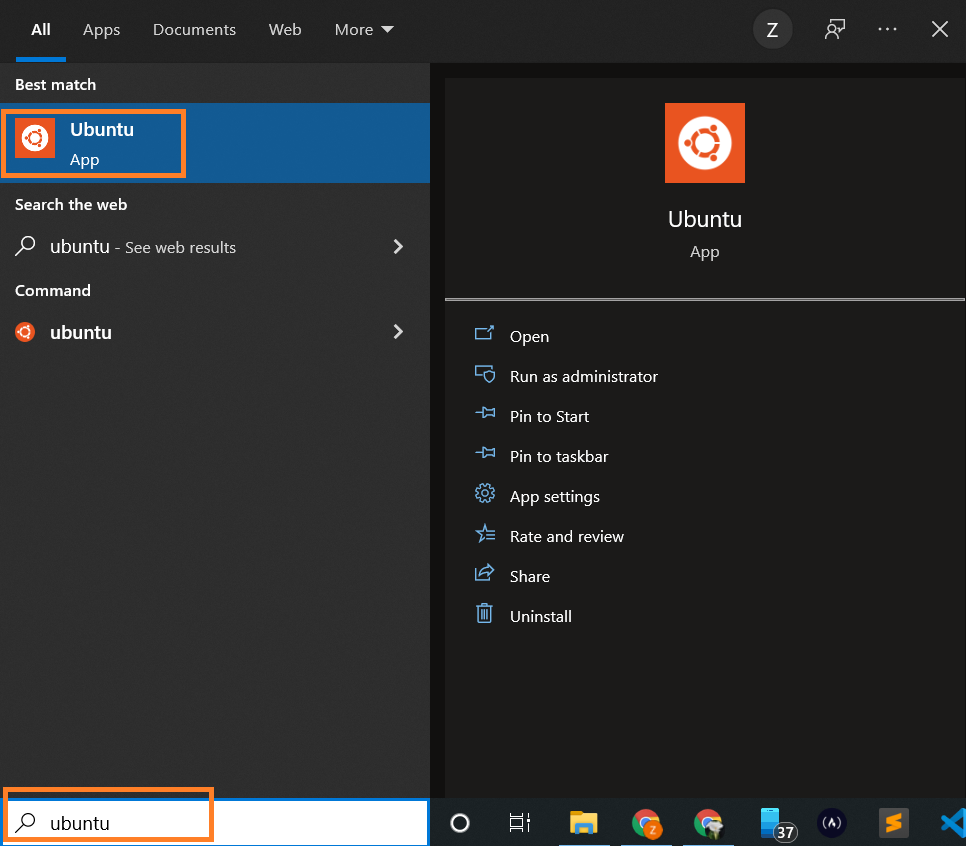
And here we have our Ubuntu instance launched.
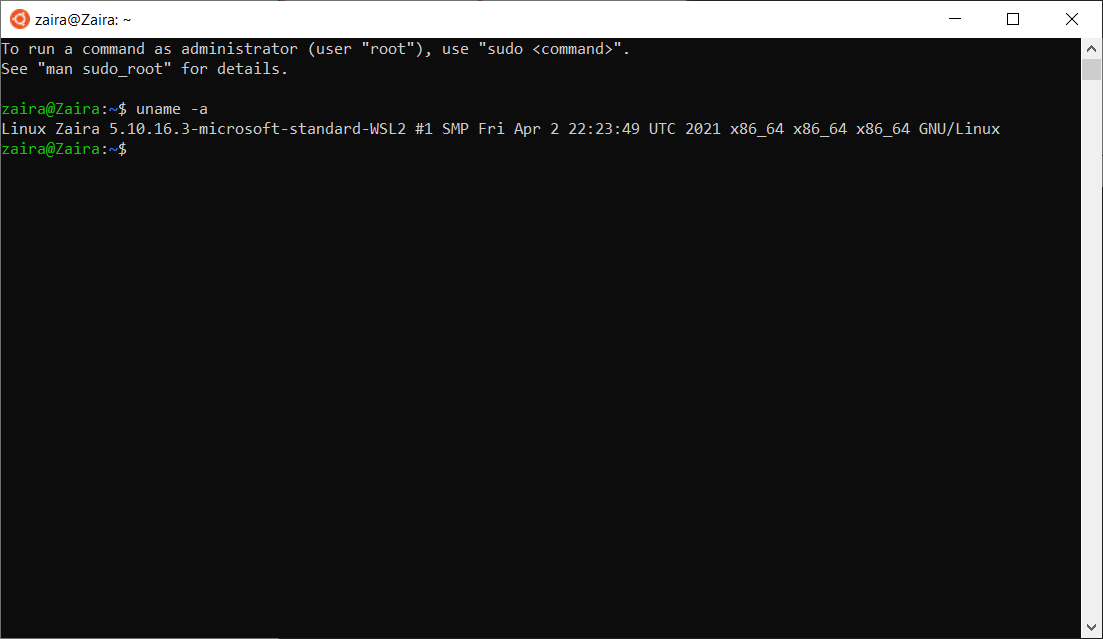 Ubuntu launched via WSL2
How to Install a Specific Linux Distro
If you use the default method as shown above, Ubuntu will be installed. You can find the available list of distros by running the below command on the Windows command prompt:
wsl --list --online
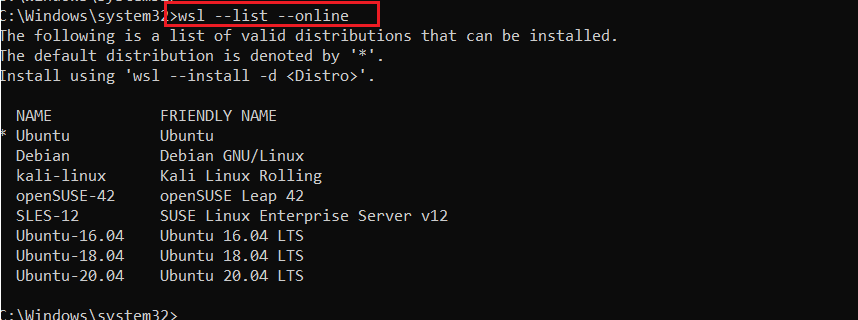 List the online available Linux distros
To install a specific distro, use the command below:
wsl --install -d DISTRO-NAME
For example, to install Debian, the command would be modified as follows:
wsl --install -d Debian
Follow the prompts and the specific distribution will be installed.
Tip: You can also look for updates as shown below:
wsl --update
Check the status by launching Windows PowerShell.
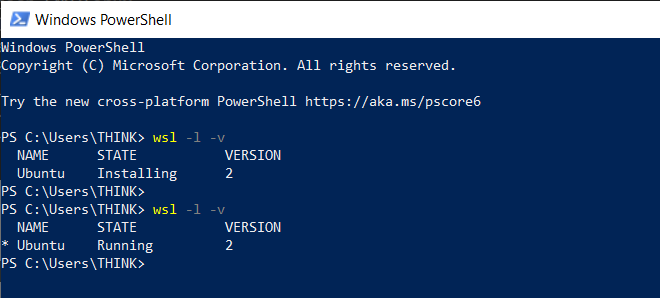 Check status of WSL
Wrapping up
WSL is a great utility to use Linux on a native Windows machine. It gives room for learning specially to those who are just starting out. I hope you found this article helpful.
Let's connect on Twitter!
Read my other posts here.
Let's chat on Discord.