
By Rajat Kumar Gupta
In this article, I'll teach you how to make a basketball using materials and textures in Unity. You can extend this micro-concept to create any kind of ball like a football, tennis ball, or snooker balls.
That said, these techniques aren't just limited to creating round 3D objects like balls. You should be able to use this concept to customize the look of any type of geometry (or mesh).
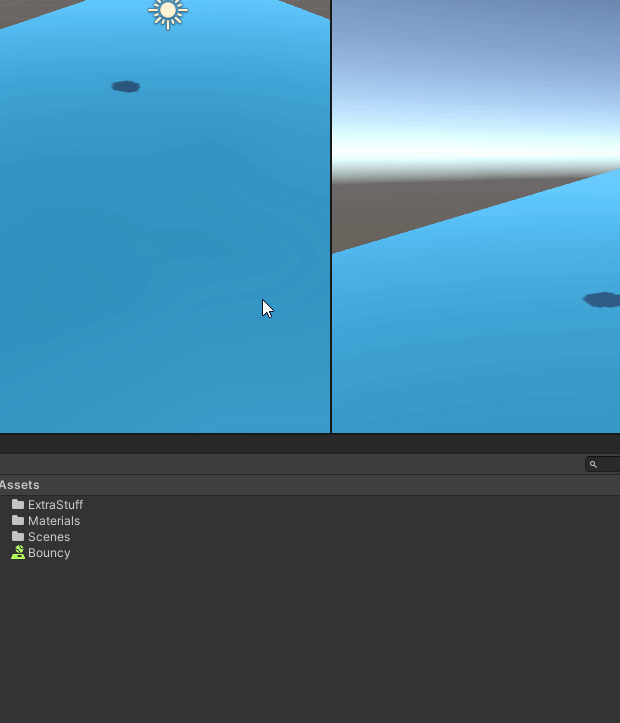
Here is what you will create👇🏻
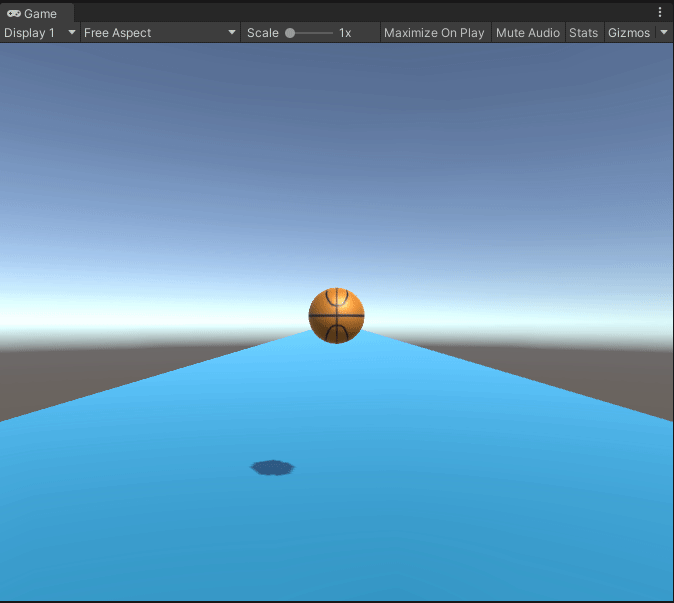 Basketball🏀
Think of the basketball as a sphere (that is, a mesh) wrapped up with a pretty paper (that is, a texture).
Let’s get started.
Prerequisites
To make the bouncing ball, your sample scene should have the following:
- A plane
- A sphere with a custom material
Let's see how to do that first.
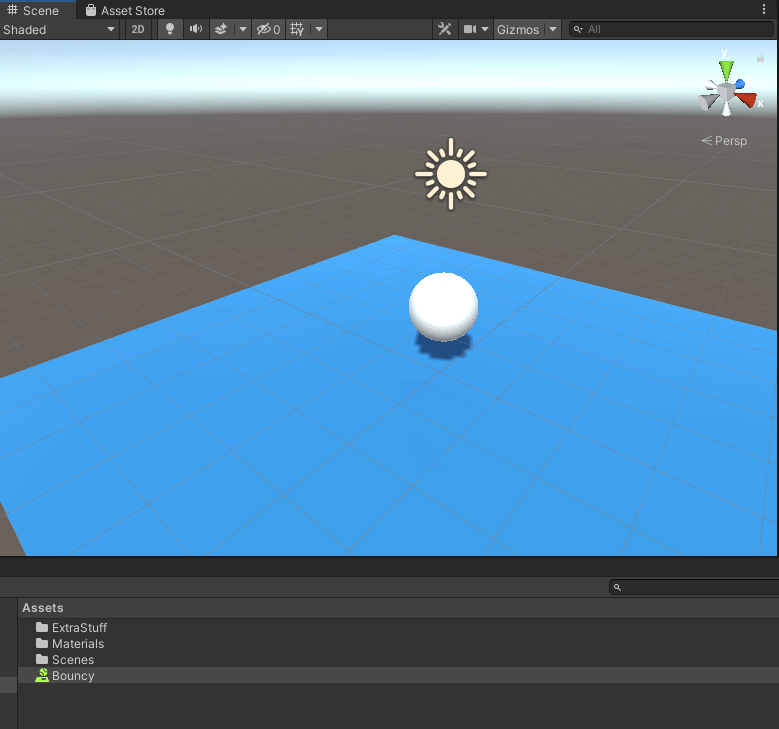
Step 1: How to Add a Plane and a Sphere to the Scene
First go to the Hierarchy Panel in Unity. Right click and select plane to drop a plane in your scene. Do the same to add a sphere.
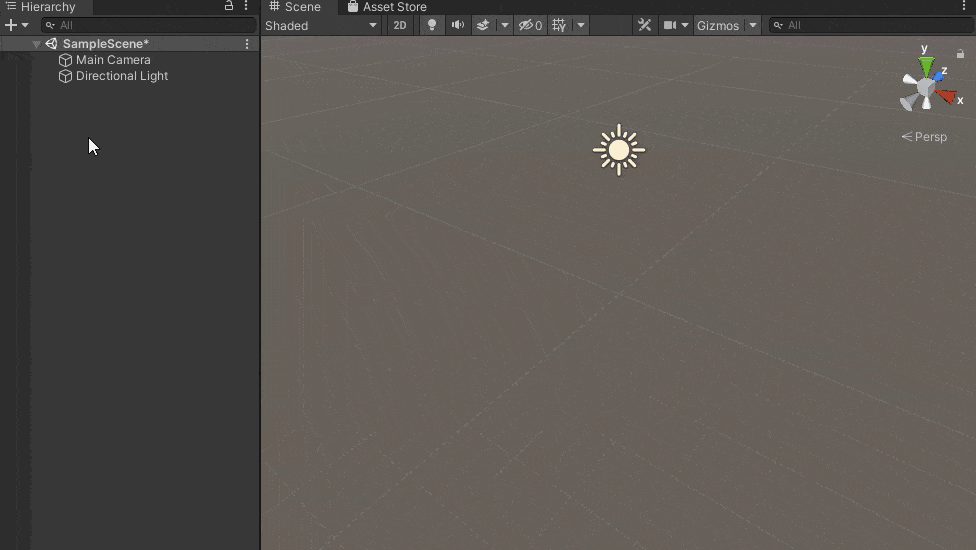 Add a plane and a sphere to the scene
Step 2: How to Create a Folder that Contains All the Colors
It’s always a good practice to begin by creating a folder that contains all your colors and materials. This helps you create a palette (or a collection of colors and materials) and makes it easier for you to apply the assets in your palette to the Game Objects.
Simply go to the Projects panel. Then right click in the assets sub-panel, click create, and then select folder. Name this folder "Materials".
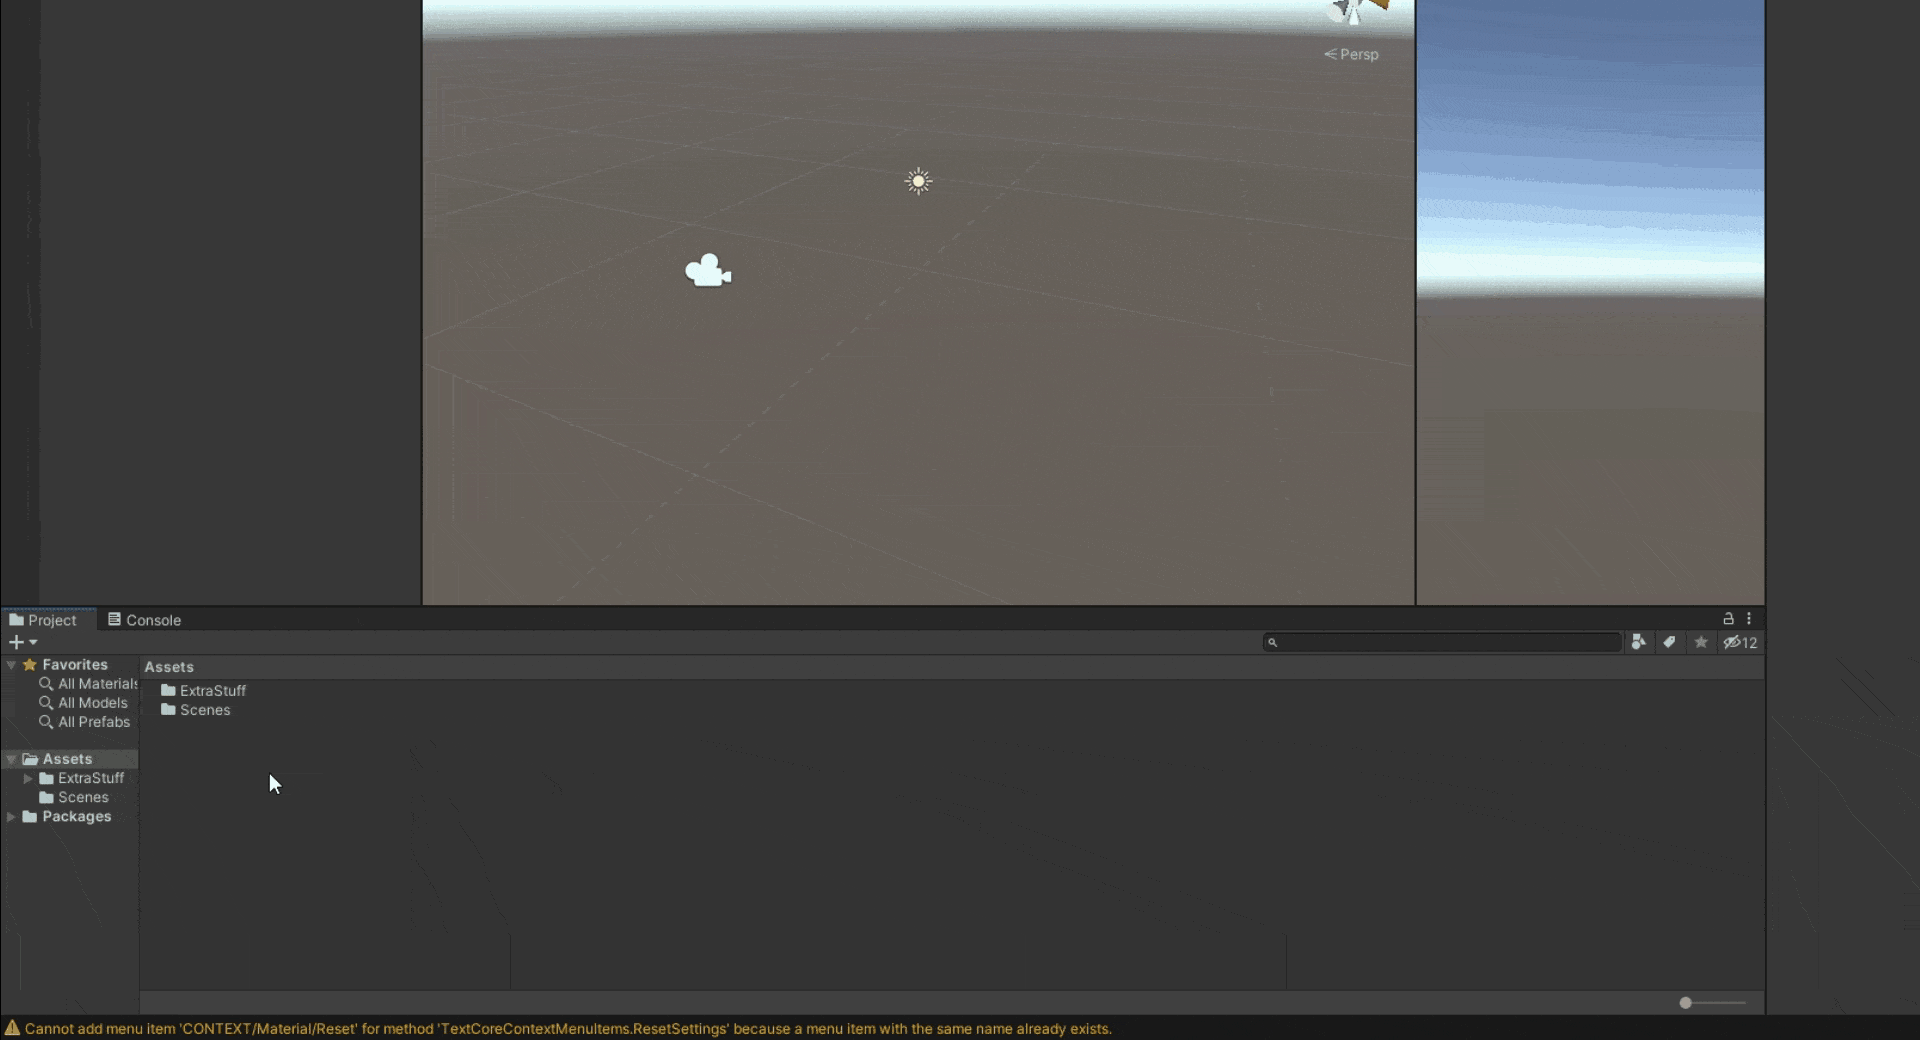 Right-click in Assets Panel > Create > Folder > Name it “Materials”
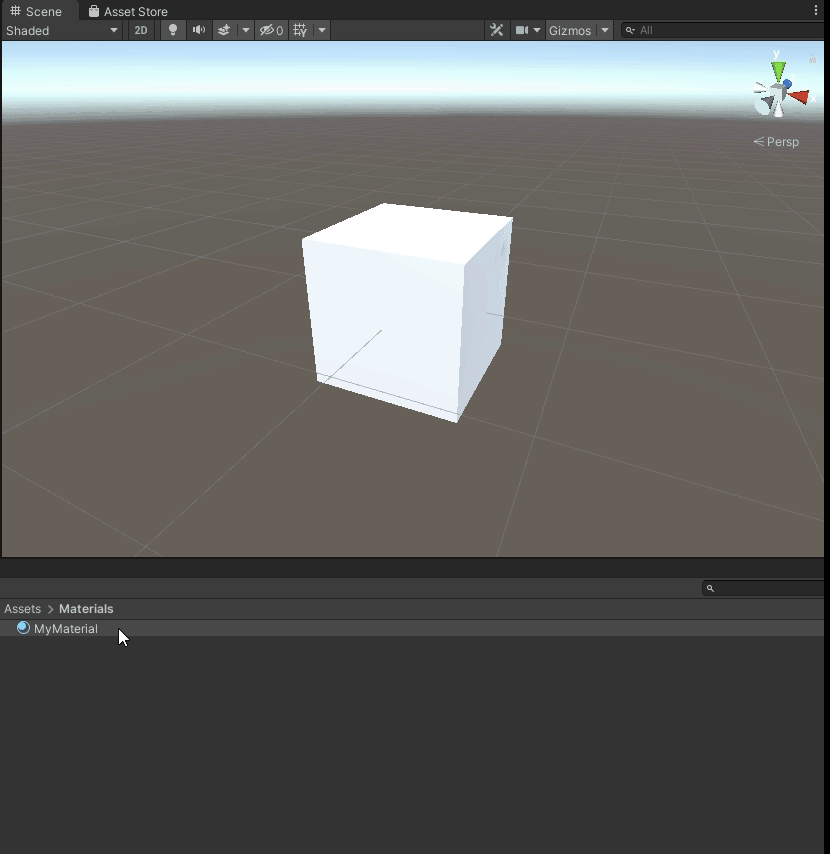
Step 3: How to Create a Material for the Plane
The next step is to create colors (or materials) for the plane.
Go inside the materials folder that you created in the above step by double clicking on it. Right click and select create. Then select "Material" from the dropdown.
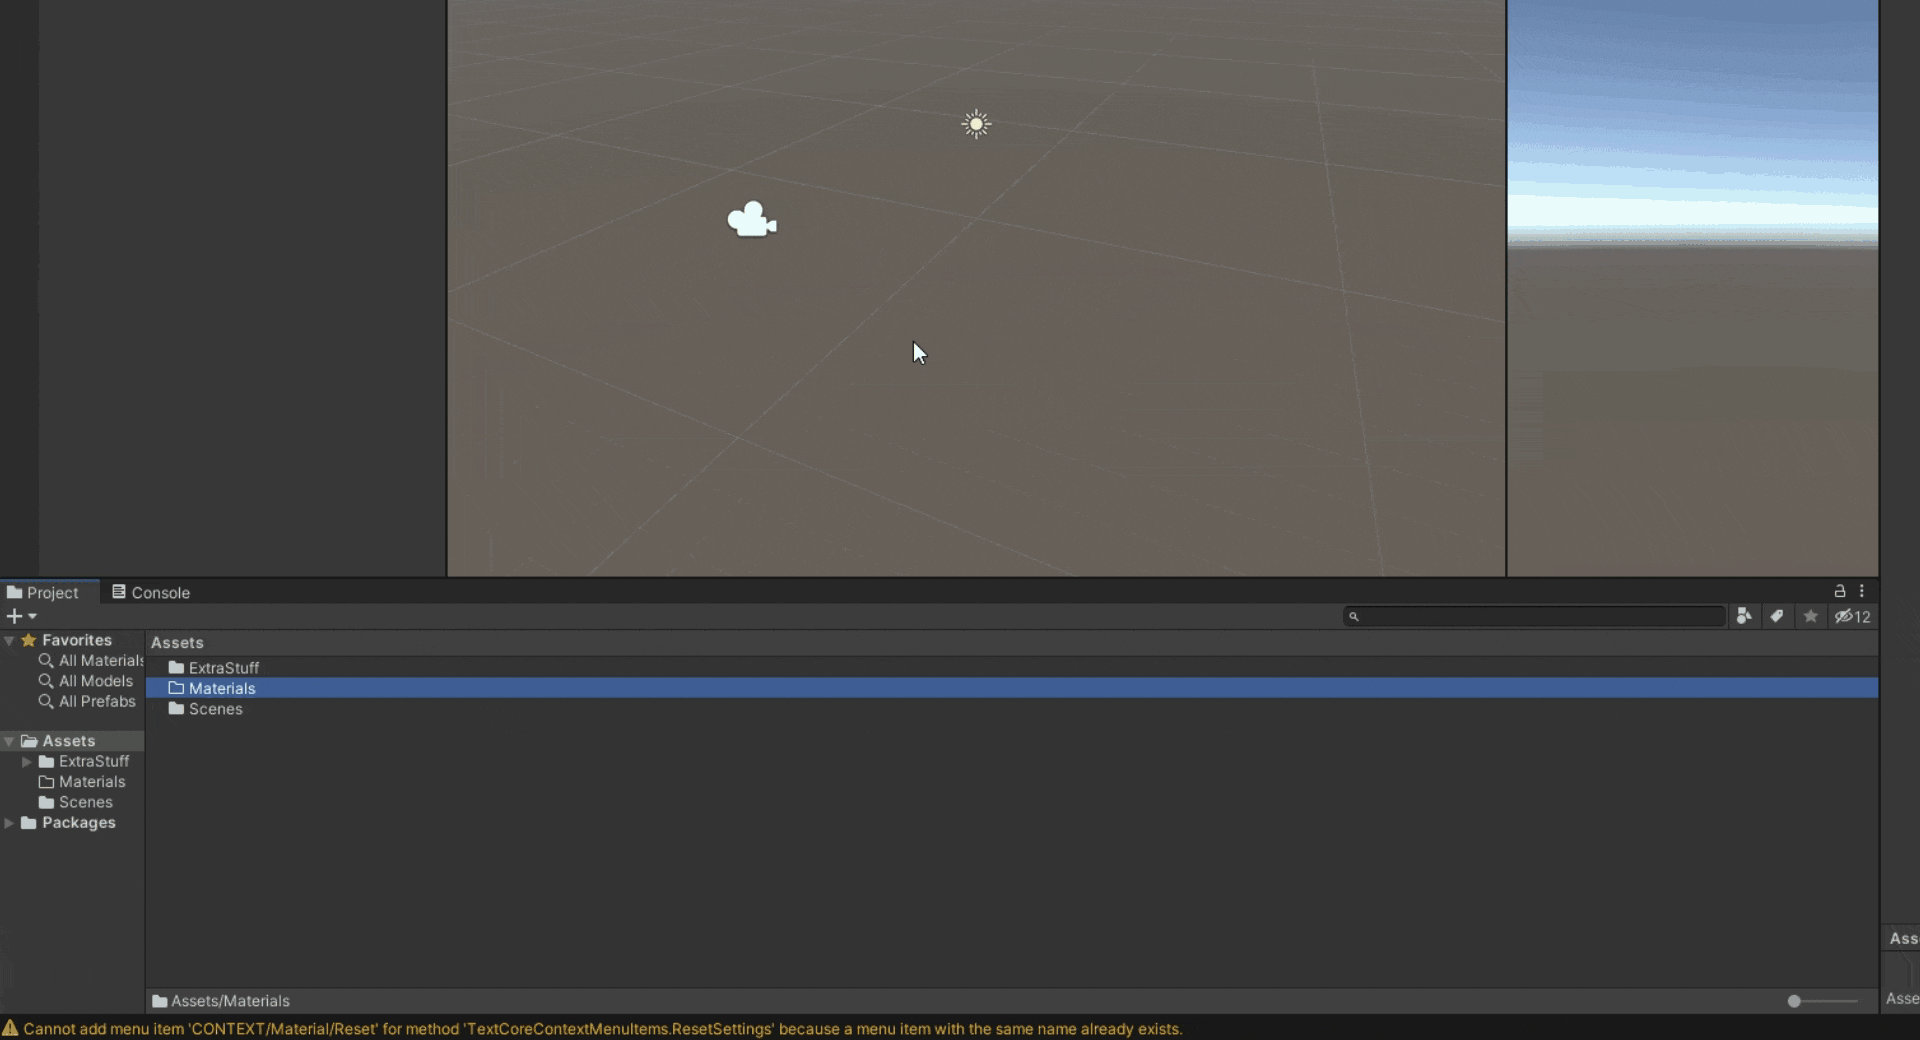 Go inside Materials Folder > Right-click > Create > Material > Name it “MyColor”(or whatever you want)
Step 4: How to Change the Albedo Property of the Material
Next select the created material and check out its properties in the Inspector Panel on the right-hand side.
Note that you only need to change the albedo property of the plane's material and not the sphere's material. We will create a material for the sphere later in this article.
It is important that your sphere has a custom material in this step. Otherwise, you will not be able to view or modify the various properties of the Material.
 Change the “albedo” property to whatever color you want.
Great! Now you can create a collection of colors using the same technique.
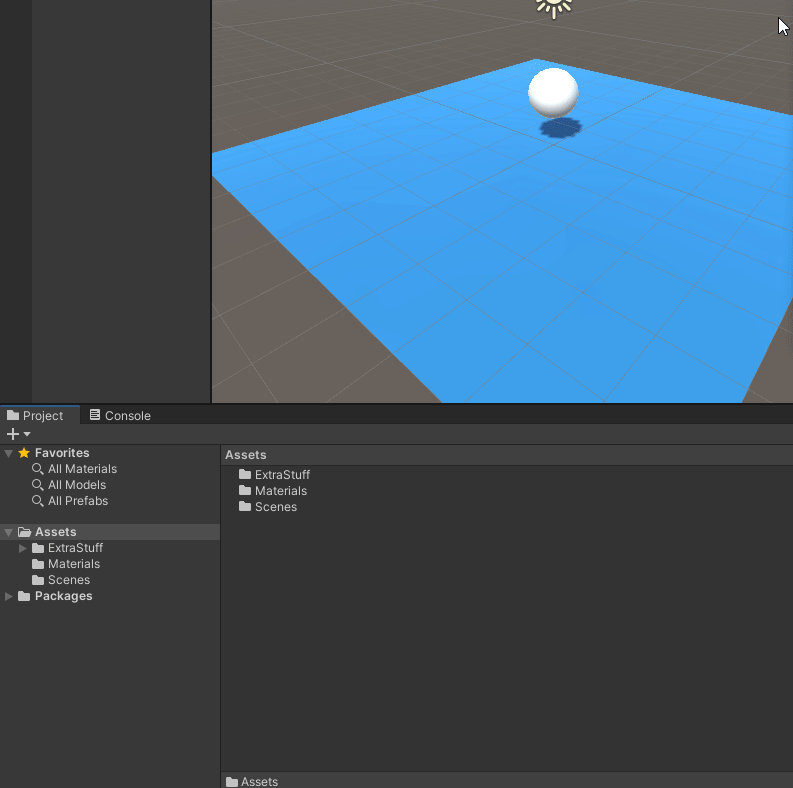
Now we can apply the color to any Game Object like this👇.
 Drag and drop the material into the Game Object (in our case it will be a plane instead of a cube)
Step 5: How to Add the Rigidbody Component to the Ball
Since we need our ball to obey the laws of physics, we will have to attach the Rigidbody component to it.
To do so, select the Sphere from your Scene Hierarchy panel. Click on Add Component and then make sure the "Use Gravity" box is checked. We don’t want the ball to float off into space 😅.
 Select the Sphere > Add Component > Rigid Body > Keep “Use Gravity” box checked
Step 6: How to Create a "Bouncy" Material
Go to the assets panel. Right click and then click create. Make sure you select the "Physic Material" and not Material. Name the material anything you want to. I named it "Bouncy" for obvious reasons.
 Right-click in the assets panel > Create > Physic Material > Name it “Bouncy”
Step 7: How to Change the Properties of the Bouncy Material
Select the Bouncy Material. You should be able to view the properties of this material on the right-hand side in the the Inspector panel. Now change the properties.
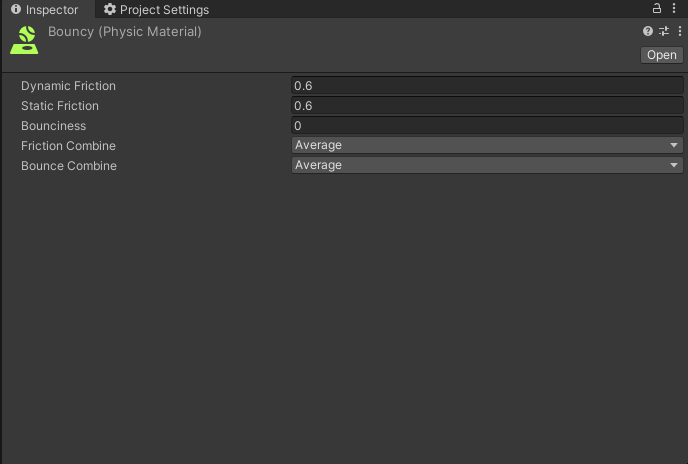 Set Friction to 0 and Bounciness to 1
Step 8: How to Apply the Material to the Sphere
Now apply this material to the sphere (that is, the ball) in our scene by simply dragging and dropping the bouncy material to the sphere.
 Drag and drop the Bouncy Material into the Sphere
That’s it! 🎉 This step confirms that the sphere will bounce on the floor.
Step 9: Hit the Play Button
On top of the Game panel you will find the play button. Click on it and the ball will start bouncing.
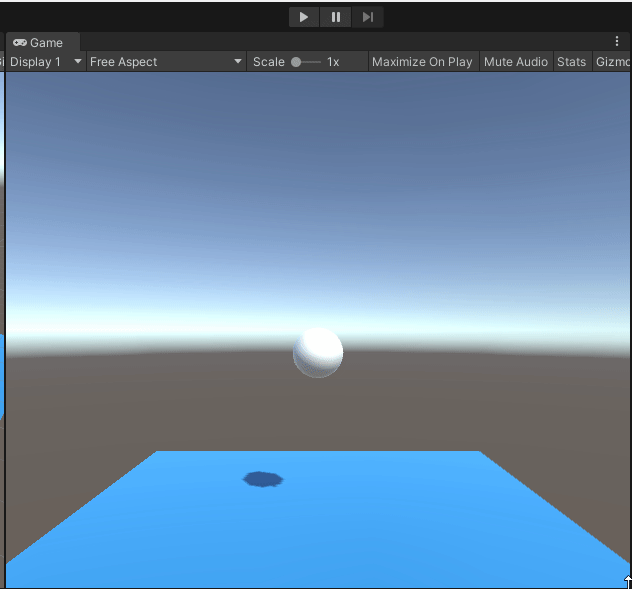 Our ball is bouncing now. Yayyy!
Notice how the bouncing stops after some time. This is expected behavior and we will fix this in the next step.
Step 10: How to Change the Properties of the "Bouncy" Material
Different balls bounce differently. You can control the number of times the ball bounces. Try experimenting with different properties of the “Bouncy” material.
Select the "Bouncy" material in the Materials folder and try changing the values of the properties. If you want the ball to bounce forever set the value of Bounce Combine to Maximum.
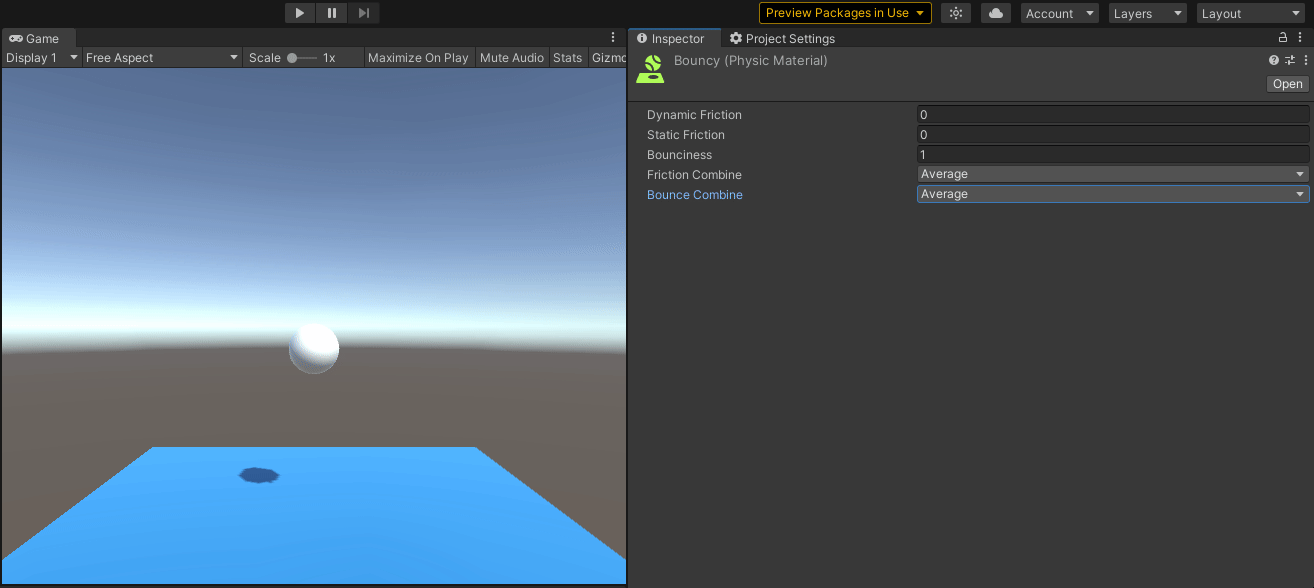 Set the value of Bounce Combine to Maximum and our ball won’t stop bouncing at all
Alright. Now let's make that ball look like a real basketball.
Step 11: How to Create a Folder that Will Contain All Your Textures
To keep things organized, let’s create a folder that will contain all the textures.
To do so, go to the assets panel and create a new folder called "Textures". This is where we will store all our textures.
 Right-click in Assets Panel > Create > Folder > Name it “Textures”
Step 12: How to Download a Texture
Since we need a texture for a basketball, simply download one online. A texture is just an image in .png or .jpg format. For now, you can download the basketball texture from here:
Make sure you have the appropriate license to use a texture that you download. The above textures are free to use.
Step 13: How to Drop the Texture into your Unity Project
Simply drag and drop the textures into the Textures folder as shown below👇
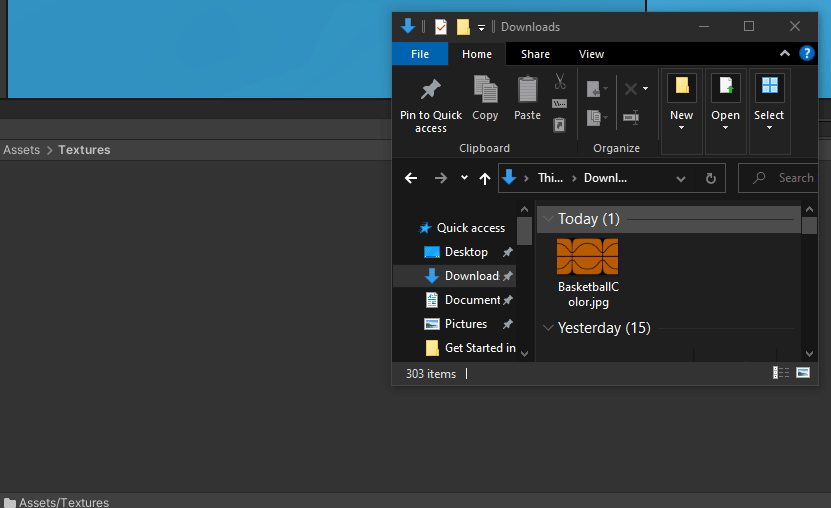 Drag and drop the downloaded texture into the “Textures” folder that you created in Step 1 above.
Step 14: How to Apply the Downloaded Texture to the Sphere
Select the sphere to view all its properties in the Inspector panel. Then drag and drop the "BasketballColor" texture to the square box on the left hand side of the Albedo property.
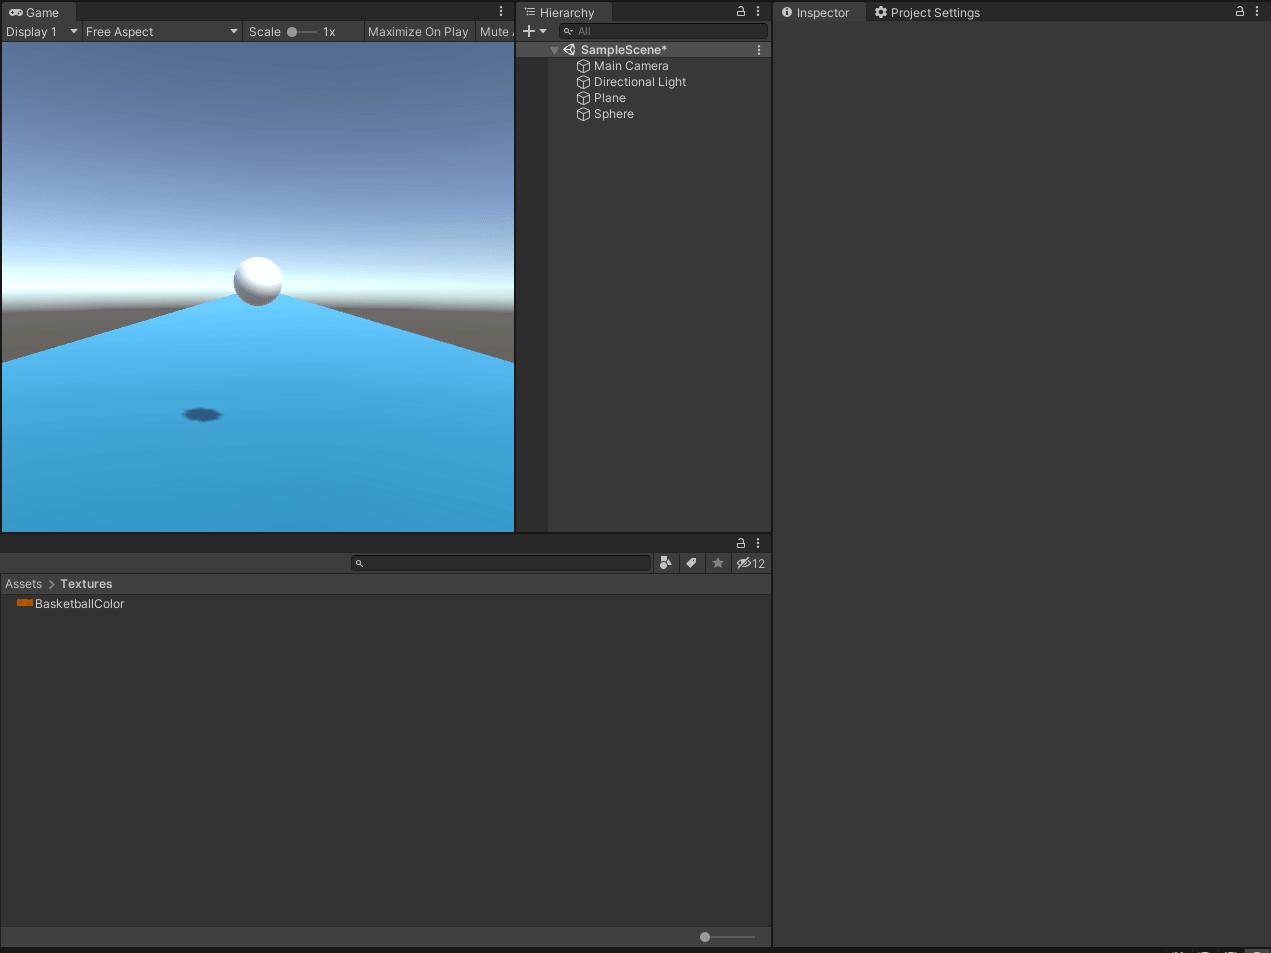 Drag and drop the downloaded texture to the box at the left of the Albedo property.
You've successfully used Materials and Textures to create a basketball. Now you can do the same for all your games or AR/VR experiences that you develop.
Different types of balls behave differently. Try experimenting with the bounciness and tweaking the different parameters of the Rigid Body Component attached to the sphere to create a golf ball, a football, or a tennis ball.
Enjoy!👏🏻
You can connect with me on social media here:
- Twitter id: @knightcube
- Subscribe to my YouTube channel to learn more about AR/VR
- Read more articles on my Medium profile here