In this article, I'll show you how to make an NFT without software engineering skills. Then we will learn how to make unlimited customizable NFTs with Brownie, Python, and Chainlink. And we'll see how to render and sell our creation on the OpenSea NFT marketplace.
If you're looking for a tutorial that uses Truffle, JavaScript, and fun medieval characters, check out how to Build, Deploy, and Sell your NFT here.
What is an NFT?
NFTs (Non-Fungible Tokens) can be summed up with one word: "unique". These are smart contracts deployed on a blockchain that represent something unique.
ERC20 vs ERC721
NFTs are a blockchain token standard similar to the ERC20, like AAVE, SNX, and LINK (technically a ERC677). ERC20s are "fungible" tokens, which means “replaceable” or “interchangeable.”
For example, your dollar bill is going to be worth $1 no matter what dollar bill you use. The serial number on the dollar bill might be different, but the bills are interchangeable and they’ll be worth $1 no matter what.
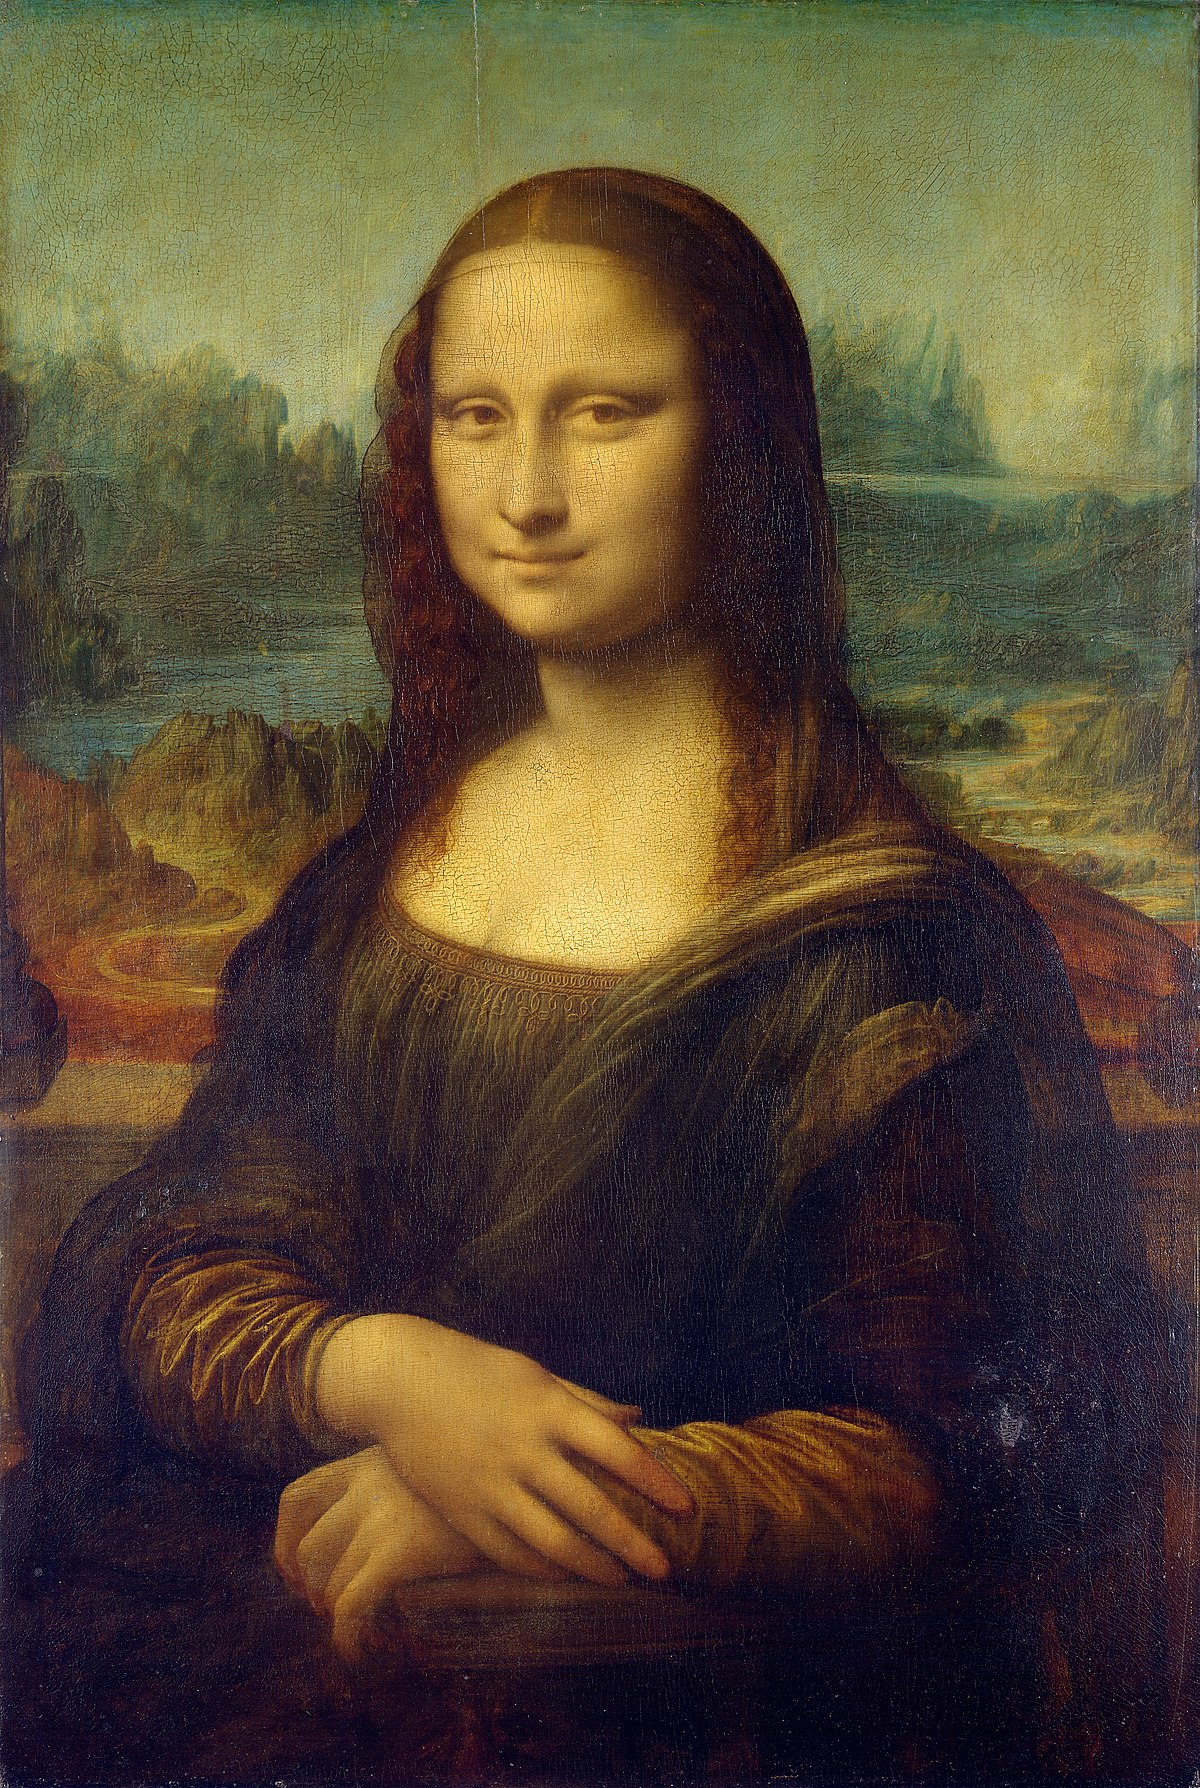
NFTs, on the other hand, are "non-fungible", and they follow their own token standard, the ERC721. For example, the Mona Lisa is "non-fungible". Even though someone can make a copy of it, there will always only be one Mona Lisa. If the Mona Lisa was created on a blockchain, it would be an NFT.
What are NFTs for?
NFTs provide value to creators, artists, game designers and more by having a permanent history of deployment stored on-chain.
You'll always know who created the NFT, who owned the NFT, where it came from, and more, giving them a lot of value over traditional art. In traditional art, it can be tricky to understand what a "fake" is, whereas on-chain the history is easily traceable.
And since smart contracts and NFTs are 100% programmable, NFTs can also have added built-in royalties and any other functionality. Compensating artists has always been an issue, since often times an artist's work is spread around without any attribution.
More and more artists and engineers are jumping on this massive value add, because it's finally a great way for artists to be compensated for their work. And more than just that, NFTs are a fun way to show off your creativity and become a collector in a digital world.
The Value of NFTs
NFTs have come a long way, and we keep seeing record breaking NFT sales, like "Everydays: The First 5,000 Days” selling for $69.3 million.

So there is a lot of value here, and it's also a fun, dynamic, and engaging way to create art in the digital world and learn about smart contract creation. So now I'll teach you everything you need to know about making NFTs.
How to Make an NFT
What we are not going to cover
Now, the easiest way to make an NFT is just to go to a platform like Opensea, Rarible, or Mintible and follow their step-by-step guide to deploying on their platform.
You can 100% take this route, however you could be bound to the platform, and you are shoehorned into the functionality the platform has. You can't achieve the unlimited customization, or really utilize any of the advantages NFTs have. But if you're a beginner software engineer, or not very technical, this is the route for you.
If you're looking to become a stronger software engineer, learn some solidity, and have the power to create something with unlimited creativity, then read on!
If you're new to solidity, don't worry, we will go over the basics there as well.
How to Make an NFT with Unlimited Customization
I'm going to get you jump started with this NFT Brownie Mix. This is a working repo with a lot of boilerplate code.
Prerequisites
We need a few things installed to get started:
If you're unfamiliar with Metamask, you can follow this tutorial to get it set up.
Rinkeby Testnet ETH and LINK
We will also be working on the Rinkeby Ethereum testnet, so we will be deploying our contracts to a real blockchain, for free!
Testnets are great ways to test how our smart contracts behave in the real world. We need Rinkeby ETH and Rinkeby LINK, which we can get for free from the links to the latest faucets from the Chainlink documentation.
We will also need to add the rinkeby LINK token to our metamask, which we can do by following the acquire LINK documentation.
If you're still confused, you can following along with this video, just be sure to use Rinkeby instead of Ropsten.
When working with a smart contract platform like Ethereum, we need to pay a little bit of ETH, and when getting data from off-chain, we have to pay a little bit of LINK. This is why we need the testnet LINK and ETH.
Awesome, let's dive in. This is the NFT we are going to deploy to OpenSea.
Quickstart
git clone https://github.com/PatrickAlphaC/nft-mix
cd nft-mix
Awesome! Now we need to install the ganache-cli and eth-brownie.
pip install eth-brownie
npm install -g ganache-cli
Now we can set our environment variables. If you're unfamiliar with environment variables, you can just add them into your .env file, and then run:
source .env
A sample .env should be in the repo you just cloned with the environment variables commented out. Uncomment them to use them!
You'll need a WEB3_INFURA_PROJECT_ID and a PRIVATE_KEY . The WEB3_INFURA_PROJECT_ID can be found be signing up for a free Infura account. This will give us a way to send transactions to the blockchain.
We will also need a private key, which you can get from your Metamask. Hit the 3 little dots, and click Account Details and Export Private Key. Please do NOT share this key with anyone if you put real money in it!
export PRIVATE_KEY=YOUR_KEY_HERE
export WEB3_INFURA_PROJECT_ID=YOUR_PROJECT_ID_HERENow we can deploy our NFT contract and create our first collectible with the following two commands.
brownie run scripts/simple_collectible/deploy_simple.py --network rinkeby
brownie run scripts/simple_collectible/create_collectible.py --network rinkeby
The first script deploys our NFT contract to the Rinkeby blockchain, and the second one creates our first collectible.
You've just deployed your first smart contract!
It doesn't do much at all, but don't worry – I'll show you how to render it on OpenSea in the advanced part of this tutorial. But first, let's look at the ERC721 token standard.
The ERC721 Token Standard
Let's take a look at the contract that we just deployed, in the SimpleCollectible.sol file.
// SPDX-License-Identifier: MIT
pragma solidity 0.6.6;

import "@openzeppelin/contracts/token/ERC721/ERC721.sol";

contract SimpleCollectible is ERC721 {
    uint256 public tokenCounter;
    constructor () public ERC721 ("Dogie", "DOG"){
        tokenCounter = 0;
    }

    function createCollectible(string memory tokenURI) public returns (uint256) {
        uint256 newItemId = tokenCounter;
        _safeMint(msg.sender, newItemId);
        _setTokenURI(newItemId, tokenURI);
        tokenCounter = tokenCounter + 1;
        return newItemId;
    }

}
We are using the OpenZepplin package for the ERC721 token. This package that we've imported allows us to use all the functions of a typical ERC721 token. This defines all the functionality that our tokens are going to have, like transfer which moves tokens to new users, safeMint which creates new tokens, and more.
You can find all the functions that are given to our contract by checking out the OpenZepplin ERC721 token contract. Our contract inherits these functions on this line:
contract SimpleCollectible is ERC721 {This is how solidity does inheritance. When we deploy a contract, the constructor is automatically called, and it takes a few parameters.
constructor () public ERC721 ("Dogie", "DOG"){
        tokenCounter = 0;
    }
We also use the constructor of the ERC721, in our constructor, and we just have to give it a name and a symbol. In our case, it's "Dogie" and "DOG". This means that every NFT that we create will be of type Dogie/DOG.
This is like how every Pokemon card is still a pokemon, or every baseball player on a trading card is still a baseball player. Each baseball player is unique, but they are still all baseball players. We are just using type DOG.
We have tokenCounter at the top that counts how many NFTs we've created of this type. Each new token gets a tokenId based on the current tokenCounter.
We can actually create an NFT with the createCollectible function. This is what we call in our create_collectible.py script.
function createCollectible(string memory tokenURI) public returns (uint256) {
        uint256 newItemId = tokenCounter;
        _safeMint(msg.sender, newItemId);
        _setTokenURI(newItemId, tokenURI);
        tokenCounter = tokenCounter + 1;
        return newItemId;
    }
The _safeMint function creates the new NFT, and assigns it to whoever called createdCollectible , aka the msg.sender, with a newItemId derived from the tokenCounter. This is how we can keep track of who owns what, by checking the owner of the tokenId.
You'll notice that we also call _setTokenURI. Let's talk about that.
What are NFT Metadata and TokenURI?
When smart contracts were being created, and NFTs were being created, people quickly realized that it's reaaaally expensive to deploy a lot of data to the blockchain. Images as small as one KB can easily cost over $1M to store.
This is clearly an issue for NFTs, since having creative art means you have to store this information somewhere. They also wanted a lightweight way to store attributes about an NFT – and this is where the tokenURI and metadata come into play.
TokenURI
The tokenURI on an NFT is a unique identifier of what the token "looks" like. A URI could be an API call over HTTPS, an IPFS hash, or anything else unique.
They follow a standard of showing metadata that looks like this:
{
    "name": "name",
    "description": "description",
    "image": "https://ipfs.io/ipfs/QmTgqnhFBMkfT9s8PHKcdXBn1f5bG3Q5hmBaR4U6hoTvb1?filename=Chainlink_Elf.png",
    "attributes": [
        {
            "trait_type": "trait",
            "value": 100
        }
    ]
}
These show what an NFT looks like, and its attributes. The image section points to another URI of what the NFT looks like. This makes it easy for NFT platforms like Opensea, Rarible, and Mintable to render NFTs on their platforms, since they are all looking for this metadata.
Off-Chain Metadata vs On-Chain Metadata
Now you might be thinking "wait... if the metadata isn't on-chain, does that mean my NFT might go away at some point"? And you'd be correct.
You'd also be correct in thinking that off-chain metadata means that you can't use that metadata to have your smart contracts interact with each other.
This is why we want to focus on on-chain metadata, so that we can program our NFTs to interact with each other.
We still need the image part of the off-chain metadata, though, since we don't have a great way to store large images on-chain. But don't worry, we can do this for free on a decentralized network still by using IPFS.
Here's an example imageURI from IPFS that shows the Chainlink Elf created in the Dungeons and Dragons tutorial.
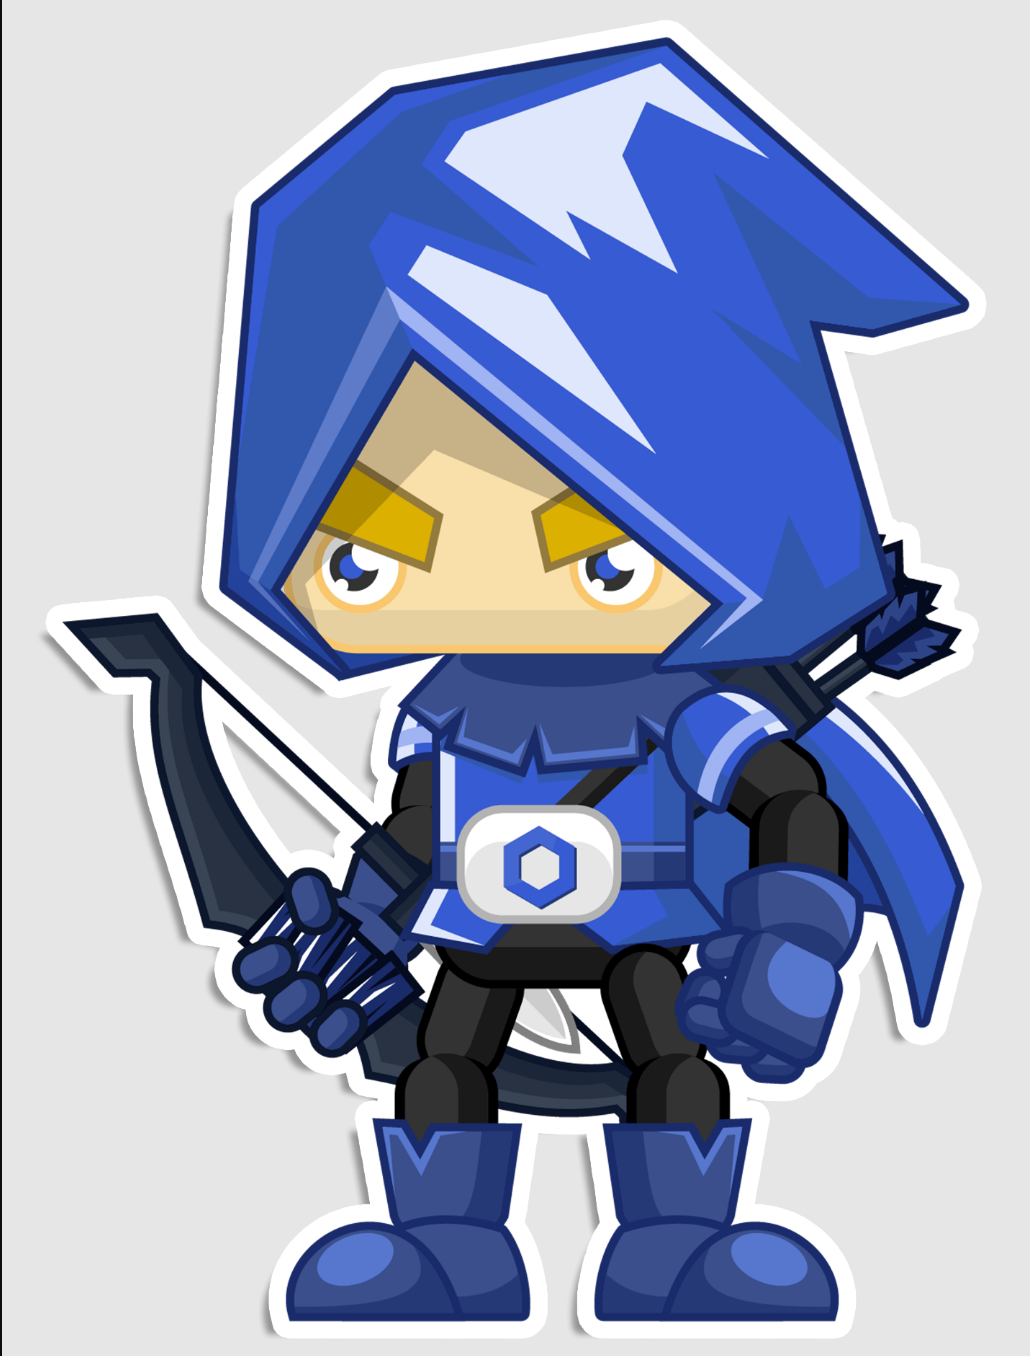
We didn't set a tokenURI for the simple NFT because we wanted to just show a basic example.
Let's jump into the advanced NFT now, so we can see some of the amazing features we can do with on-chain metadata, have the NFT render on opeansea, and get our Dogie up!
If you want a refresher video on the section we just went over, follow along with the deploying a simple NFT video.
Dynamic and Advanced NFTs
Dynamic NFTs are NFTs that can change over time, or have on-chain features that we can use to interact with each other. These are the NFTs that have the unlimited customization for us to make entire games, worlds, or interactive art of some-kind. Let's jump into the advanced section.
Advanced Quickstart
Make sure you have enough testnet ETH and LINK in your metamask, then run the following:
brownie run scripts/advanced_collectible/deploy_advanced.py --network rinkeby
brownie run scripts/advanced_collectible/create_collectible.py --network rinkeby
Our collectible here is a random dog breed returned from the Chainlink VRF. Chainlink VRF is a way to get provable random numbers, and therefore true scarcity in our NFTs. We then want to create its metadata.
brownie run scripts/advanced_collectible/create_metadata.py --network rinkebyWe can then optionally upload this data to IPFS so that we can have a tokenURI. I'll show you how to do that later. For now, we are just going to use the sample tokenURI of:
https://ipfs.io/ipfs/Qmd9MCGtdVz2miNumBHDbvj8bigSgTwnr4SbyH6DNnpWdt?filename=1-PUG.jsonIf you download IPFS Companion into your browser you can use that URL to see what the URI returns. It'll look like this:
{
    "name": "PUG",
    "description": "An adorable PUG pup!",
    "image": "https://ipfs.io/ipfs/QmSsYRx3LpDAb1GZQm7zZ1AuHZjfbPkD6J7s9r41xu1mf8?filename=pug.png",
    "attributes": [
        {
            "trait_type": "cuteness",
            "value": 100
        }
    ]
}
Then we can run our set_tokenuri.py script:
brownie run scripts/advanced_collectible/set_tokenuri.py --network rinkebyAnd we will get an output like this:
Running 'scripts/advanced_collectible/set_tokenuri.py::main'...
Working on rinkeby
Transaction sent: 0x8a83a446c306d6255952880c0ca35fa420248a84ba7484c3798d8bbad421f88e
Gas price: 1.0 gwei Gas limit: 44601 Nonce: 354
AdvancedCollectible.setTokenURI confirmed - Block: 8331653 Gas used: 40547 (90.91%)
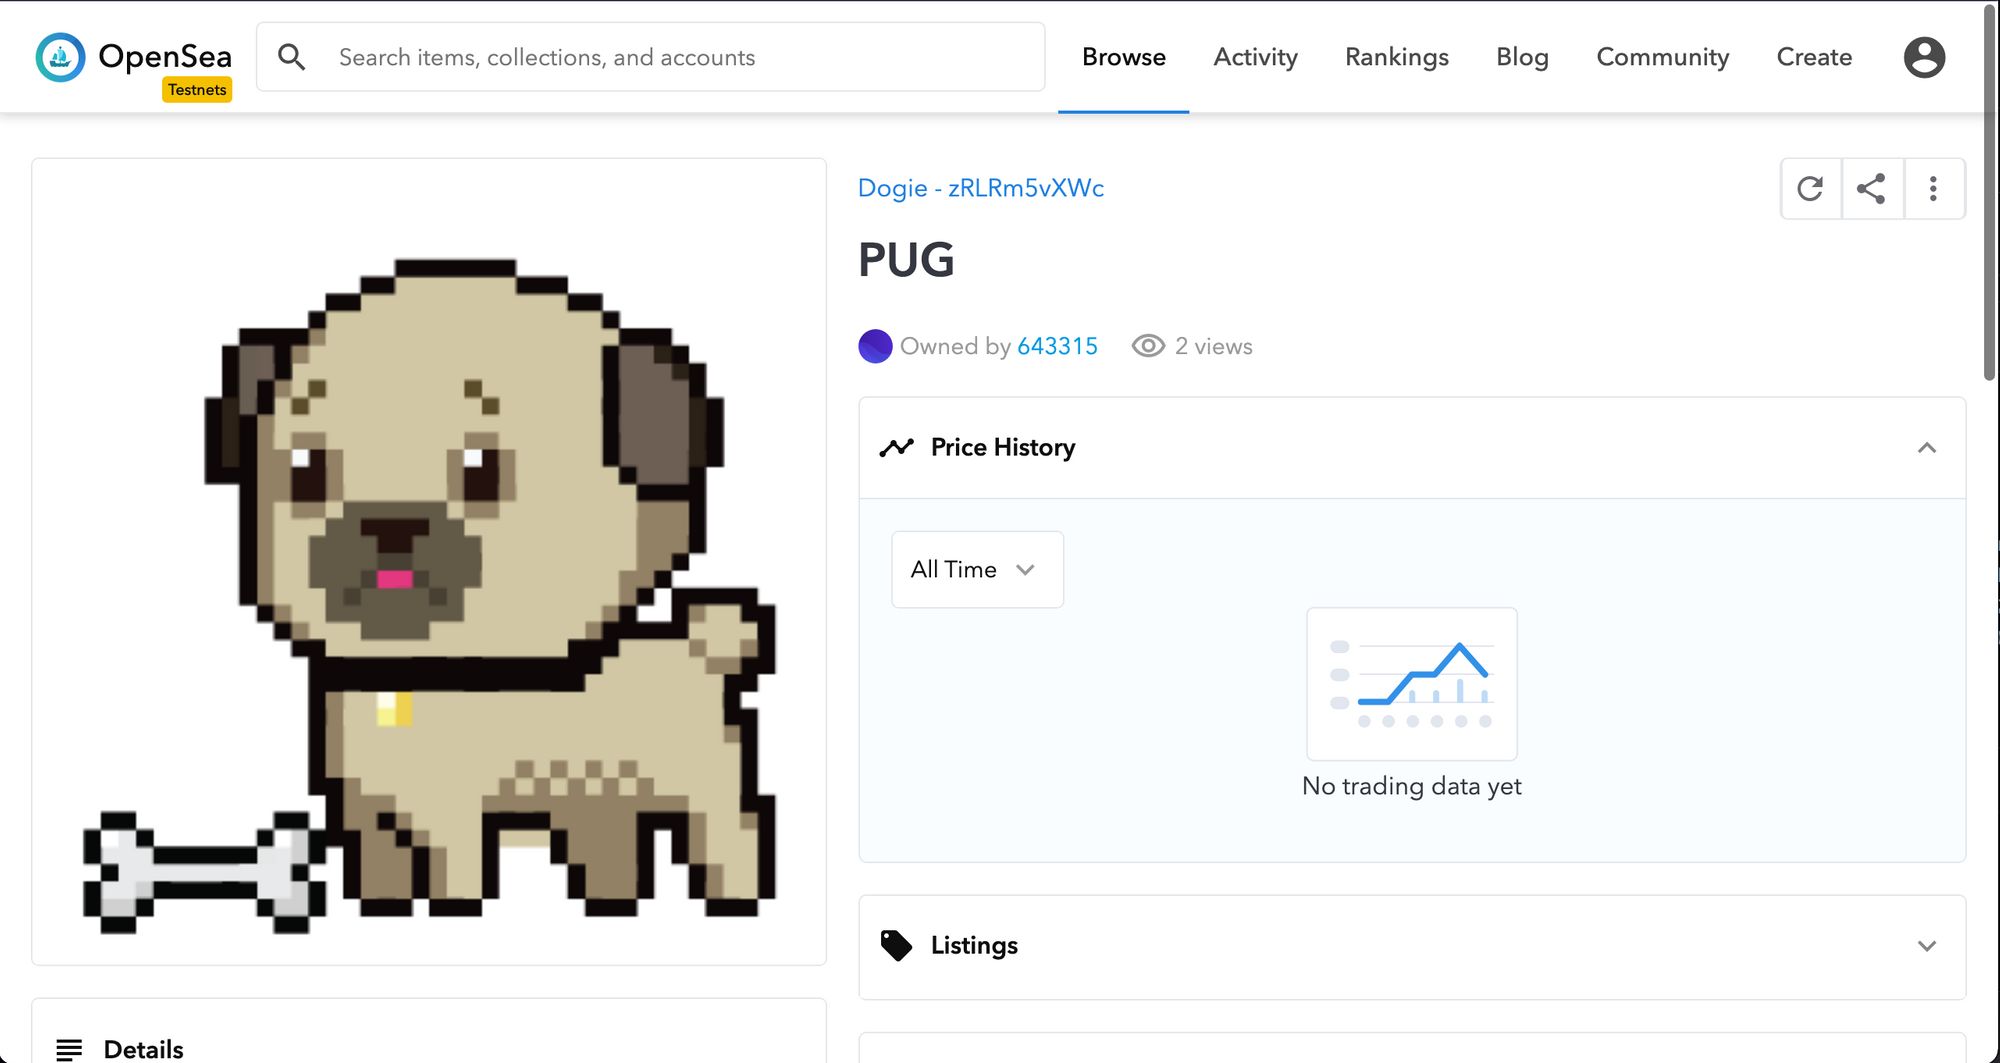
Awesome! You can view your NFT at https://testnets.opensea.io/assets/0x679c5f9adC630663a6e63Fa27153B215fe021b34/0
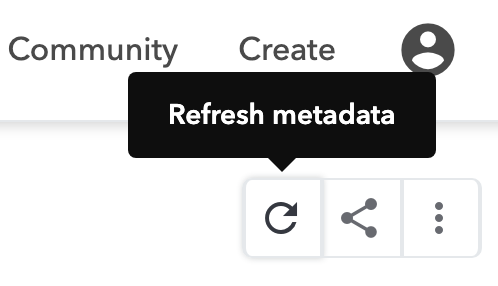
Please give up to 20 minutes, and hit the "refresh metadata" buttonAnd we can hit the link given to see what it looks like on Opensea! You may have to hit the refresh metadata button and wait a few minutes.
The Random Breed
Let's talk about what we just did. Here is our AdvancedCollectible.sol:
pragma solidity 0.6.6;

import "@openzeppelin/contracts/token/ERC721/ERC721.sol";
import "@chainlink/contracts/src/v0.6/VRFConsumerBase.sol";

contract AdvancedCollectible is ERC721, VRFConsumerBase {
    uint256 public tokenCounter;
    enum Breed{PUG, SHIBA_INU, BRENARD}
    // add other things
    mapping(bytes32 => address) public requestIdToSender;
    mapping(bytes32 => string) public requestIdToTokenURI;
    mapping(uint256 => Breed) public tokenIdToBreed;
    mapping(bytes32 => uint256) public requestIdToTokenId;
    event requestedCollectible(bytes32 indexed requestId);


    bytes32 internal keyHash;
    uint256 internal fee;
    uint256 public randomResult;
    constructor(address _VRFCoordinator, address _LinkToken, bytes32 _keyhash)
    public
    VRFConsumerBase(_VRFCoordinator, _LinkToken)
    ERC721("Dogie", "DOG")
    {
        tokenCounter = 0;
        keyHash = _keyhash;
        fee = 0.1 * 10 ** 18;
    }

    function createCollectible(string memory tokenURI, uint256 userProvidedSeed)
        public returns (bytes32){
            bytes32 requestId = requestRandomness(keyHash, fee, userProvidedSeed);
            requestIdToSender[requestId] = msg.sender;
            requestIdToTokenURI[requestId] = tokenURI;
            emit requestedCollectible(requestId);
    }

    function fulfillRandomness(bytes32 requestId, uint256 randomNumber) internal override {
        address dogOwner = requestIdToSender[requestId];
        string memory tokenURI = requestIdToTokenURI[requestId];
        uint256 newItemId = tokenCounter;
        _safeMint(dogOwner, newItemId);
        _setTokenURI(newItemId, tokenURI);
        Breed breed = Breed(randomNumber % 3);
        tokenIdToBreed[newItemId] = breed;
        requestIdToTokenId[requestId] = newItemId;
        tokenCounter = tokenCounter + 1;
    }

    function setTokenURI(uint256 tokenId, string memory _tokenURI) public {
        require(
            _isApprovedOrOwner(_msgSender(), tokenId),
            "ERC721: transfer caller is not owner nor approved"
        );
        _setTokenURI(tokenId, _tokenURI);
    }
}
We use the Chainlink VRF to create a random breed from a list of PUG, SHIBA_INU, BRENARD. When we call createCollectible this time, we actually kicked off a request to the Chainlink VRF node off-chain, and returned with a random number to create the NFT with one of those 3 breeds.
Using true randomness in your NFTs is a great way to create true scarcity, and using an Chainlink oracle random number means that your number is provably random, and can't be influenced by the miners.
You can learn more about Chainlink VRF in the documentation.
The Chainlink node responds by calling the fulfillRandomness function, and creates the collectible based on the random number. We then still have to call _setTokenURI to give our NFT the appearance that it needs.
We didn't give our NFT attributes here, but attributes are a great way to have our NFTs battle and interact. You can see a great example of NFTs with attributes in this Dungeons and Dragons example.
Metadata from IPFS
We are using IPFS to store two files:
- The image of the NFT (the pug image)
- The tokenURI file (the JSON file which also includes the link of the image)
We use IPFS because it's a free decentralized platform. We can add our tokenURIs and images to IPFS by downloading IPFS desktop, and hitting the import button.
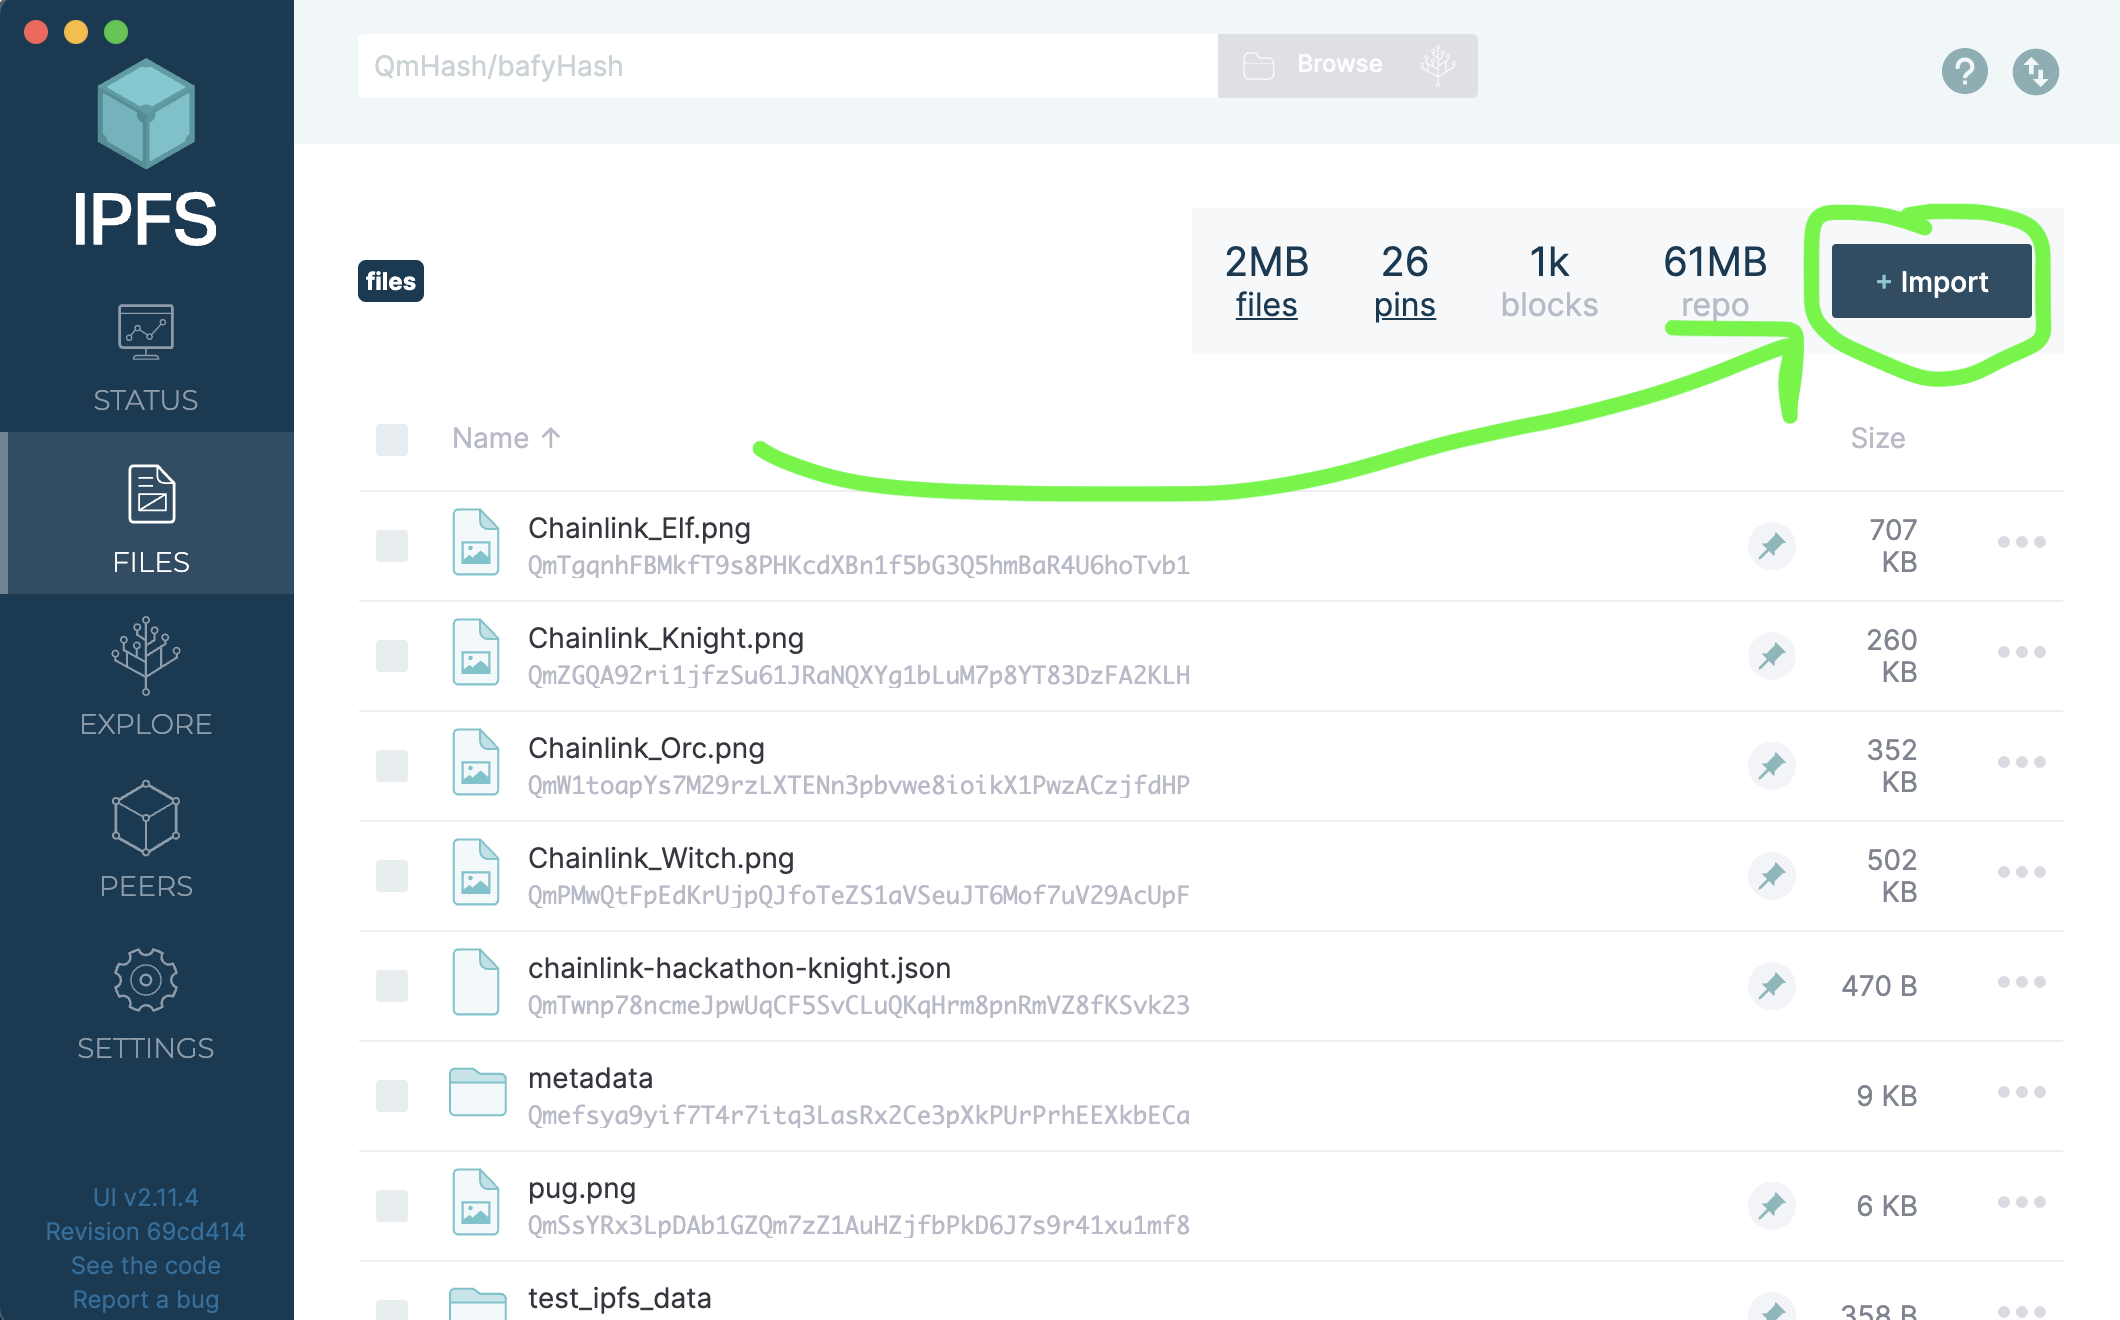
Then, we can share the URI by hitting the 3 dots next to the file we want to share, hitting share link and copying the link given. We can then add this link into our set_tokenuri.py file to change the token URI that we want to use.
Persistance
However, if the tokenURI is only on our node, this means when our node is down, no one else can view it. So we want others to pin our NFT. We can use a pinning service like Pinata to help keep our data alive even when our IPFS node is down.
I imagine in the future more and more metadata will be stored on IPFS and decentralized storage platforms. Centralized servers can go down, and would mean that the art on those NFTs is lost forever. Be sure to check where the tokenURI of the NFT you use is located!
I also expect down the line that more people will use dStorage platforms like Filecoin, as using a pinning service also isn't as decentralized as it should be.
Going forward
If you'd like a video walkthrough of the advanced NFT, you can watch the advanced NFT video.
Now you have the skills to make beautiful fun, customizable, interactive NFTs, and have them render on a marketplace.
NFTs are fun, powerful ways to have artists accurately compensated for all the hard work that they do. Good luck, and remember to have fun!