By Aroboto Ife
Making your first Open Source contribution, like any other first endeavor, can be difficult. Especially given the abundance of open-source projects out there.
This article will help you to dip your toe into the open source community waters by making your first-ever open-source contribution.
By exploring the world of open source, you get the opportunity to contribute your skills and experience to worthwhile projects. And you also become a member of a collaborative community.
To begin, you are going to be using First Contributions. This is a popular project that helps beginners make their first open-source contribution. You'll also use GitHub's Codespaces, your local development environment on the cloud, to enable a smooth contribution process.
To get started, you will need to create a GitHub account if you don't already have one. Follow the signup process here. All done? Let's get started.
How to Make Your First Open Source Contribution
Step One: Fork the Repository
To fork a repository means to make a copy of the repository in your GitHub account. This enables you to make changes without disrupting the main project.
First, click the "Fork" button at the top right corner of the repository.

Then click on the "Create Fork" button at the bottom of the page, similar to the screenshot below.
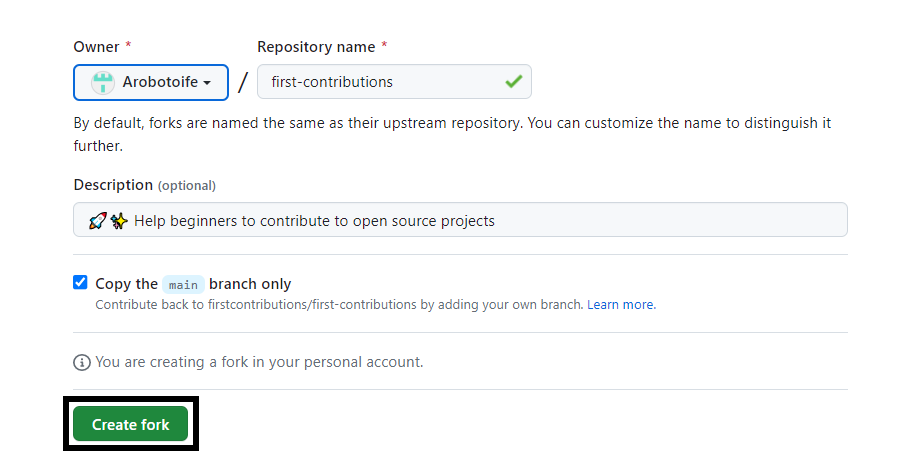
If it's successful, firstcontributions/first-contributions will flick over to your account name / first-contributions.
Step Two: Clone the Repository
Codespaces automatically sets up a development environment for you with the repository already cloned. There's no need to through the manual setup with your local terminal.
Click on the green "Code" button

Select "Codespaces" from the dropdown menu, then click on the "Create codespace on main" button.

Step Three: Create a Branch
When using Codespaces there’s no need to change directories because the repository is already available in the current directory.
To create a new branch, you will need to type this command on your terminal:
git switch -c your-new-branch-name
That is the git switch -c command along with what you want to name your branch.

Step Four: Make Your Changes
The only change you'll make for this tutorial is to add your name and a link to your GitHub account to the CONTRIBUTORS.MD file. This marks you as a contributor

Step Five: Commit and Push
Now you'll need to stage your changes by adding the changes that are ready to be committed. You can do this with the following command:
git add . or git add Contributors.md

Then commit your changes using the command below:
git commit -m "Add [your name] to the Contributor List"

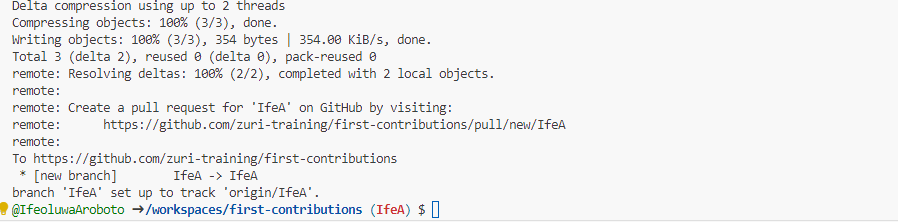
Finally, push your changes to the repository like this:
git push -u origin your-branch-name

Once you see something similar to the screenshot below, you are on the right track.
Step Six: Create a Pull Request
A pull request alerts the repository's maintainers to the changes you've made. It allows them to review these changes before merging them into the main repository.
To create a PR, follow these steps:
- Switch to your branch once you refresh your repository.
Click on the “Compare and pull request button” that appears.

Write a description of what you did then click on the "Create pull request" button.
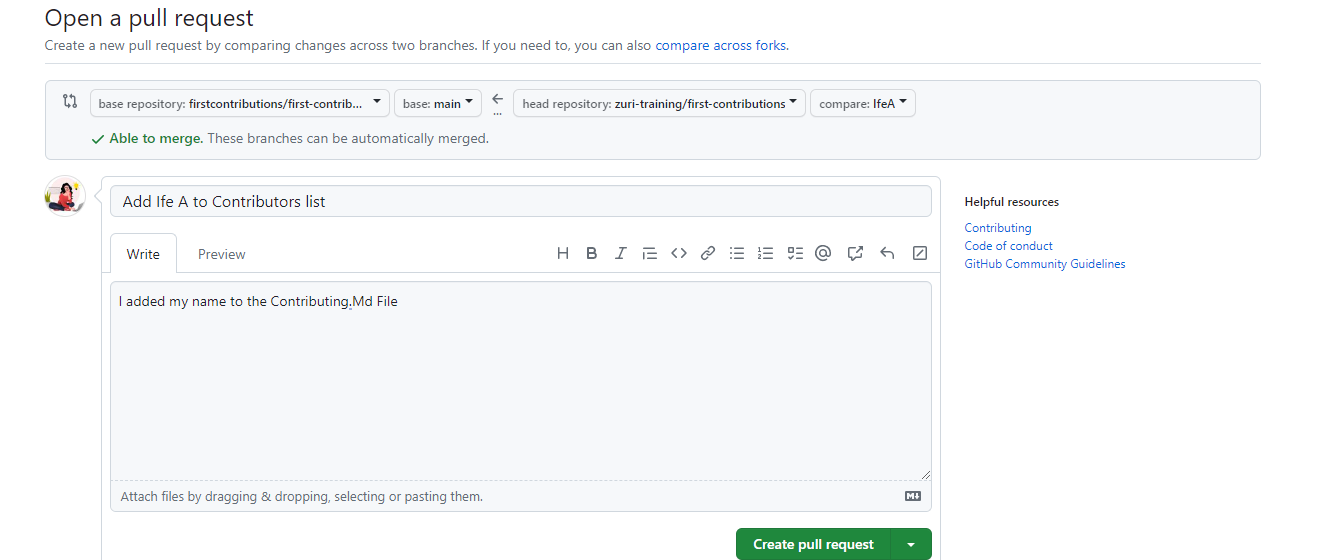
Once you finish, the Frist contributions bot or the maintainers will merge your changes if they're good to go.
Conclusion
Congratulations! You have made your first contribution to open source. This is an exciting milestone that marks the beginning of your journey as a contributor.
But don't stop there – there are hundreds of open-source projects on GitHub that need your help. Explore new projects and keep contributing.