By Adebola Adeniran
If you run a quick Google search for persisting a logged-in user in React (or keeping a user logged in in React), you don't get a lot of straightforward results. There aren't really any easy to follow examples on how to achieve this. So I decided I had to write that simple guide.
You may have done a search on this and saw the word localStorage being thrown around. Yes, we'll be using localStorage but I'm going to show you exactly how it's done.
Some notes on localStorage.
- localStorage is the browser's database. The data is stored inside your browser in your computer's memory.
- localStorage is specific to an origin. In other words, the localStorage for one website cannot be accessed by another.
Initial setup
Let's get started. I've deployed a simple express server to Heroku for use in testing this application.
- Create a new React application and head into the
<App />component. - Install axios using
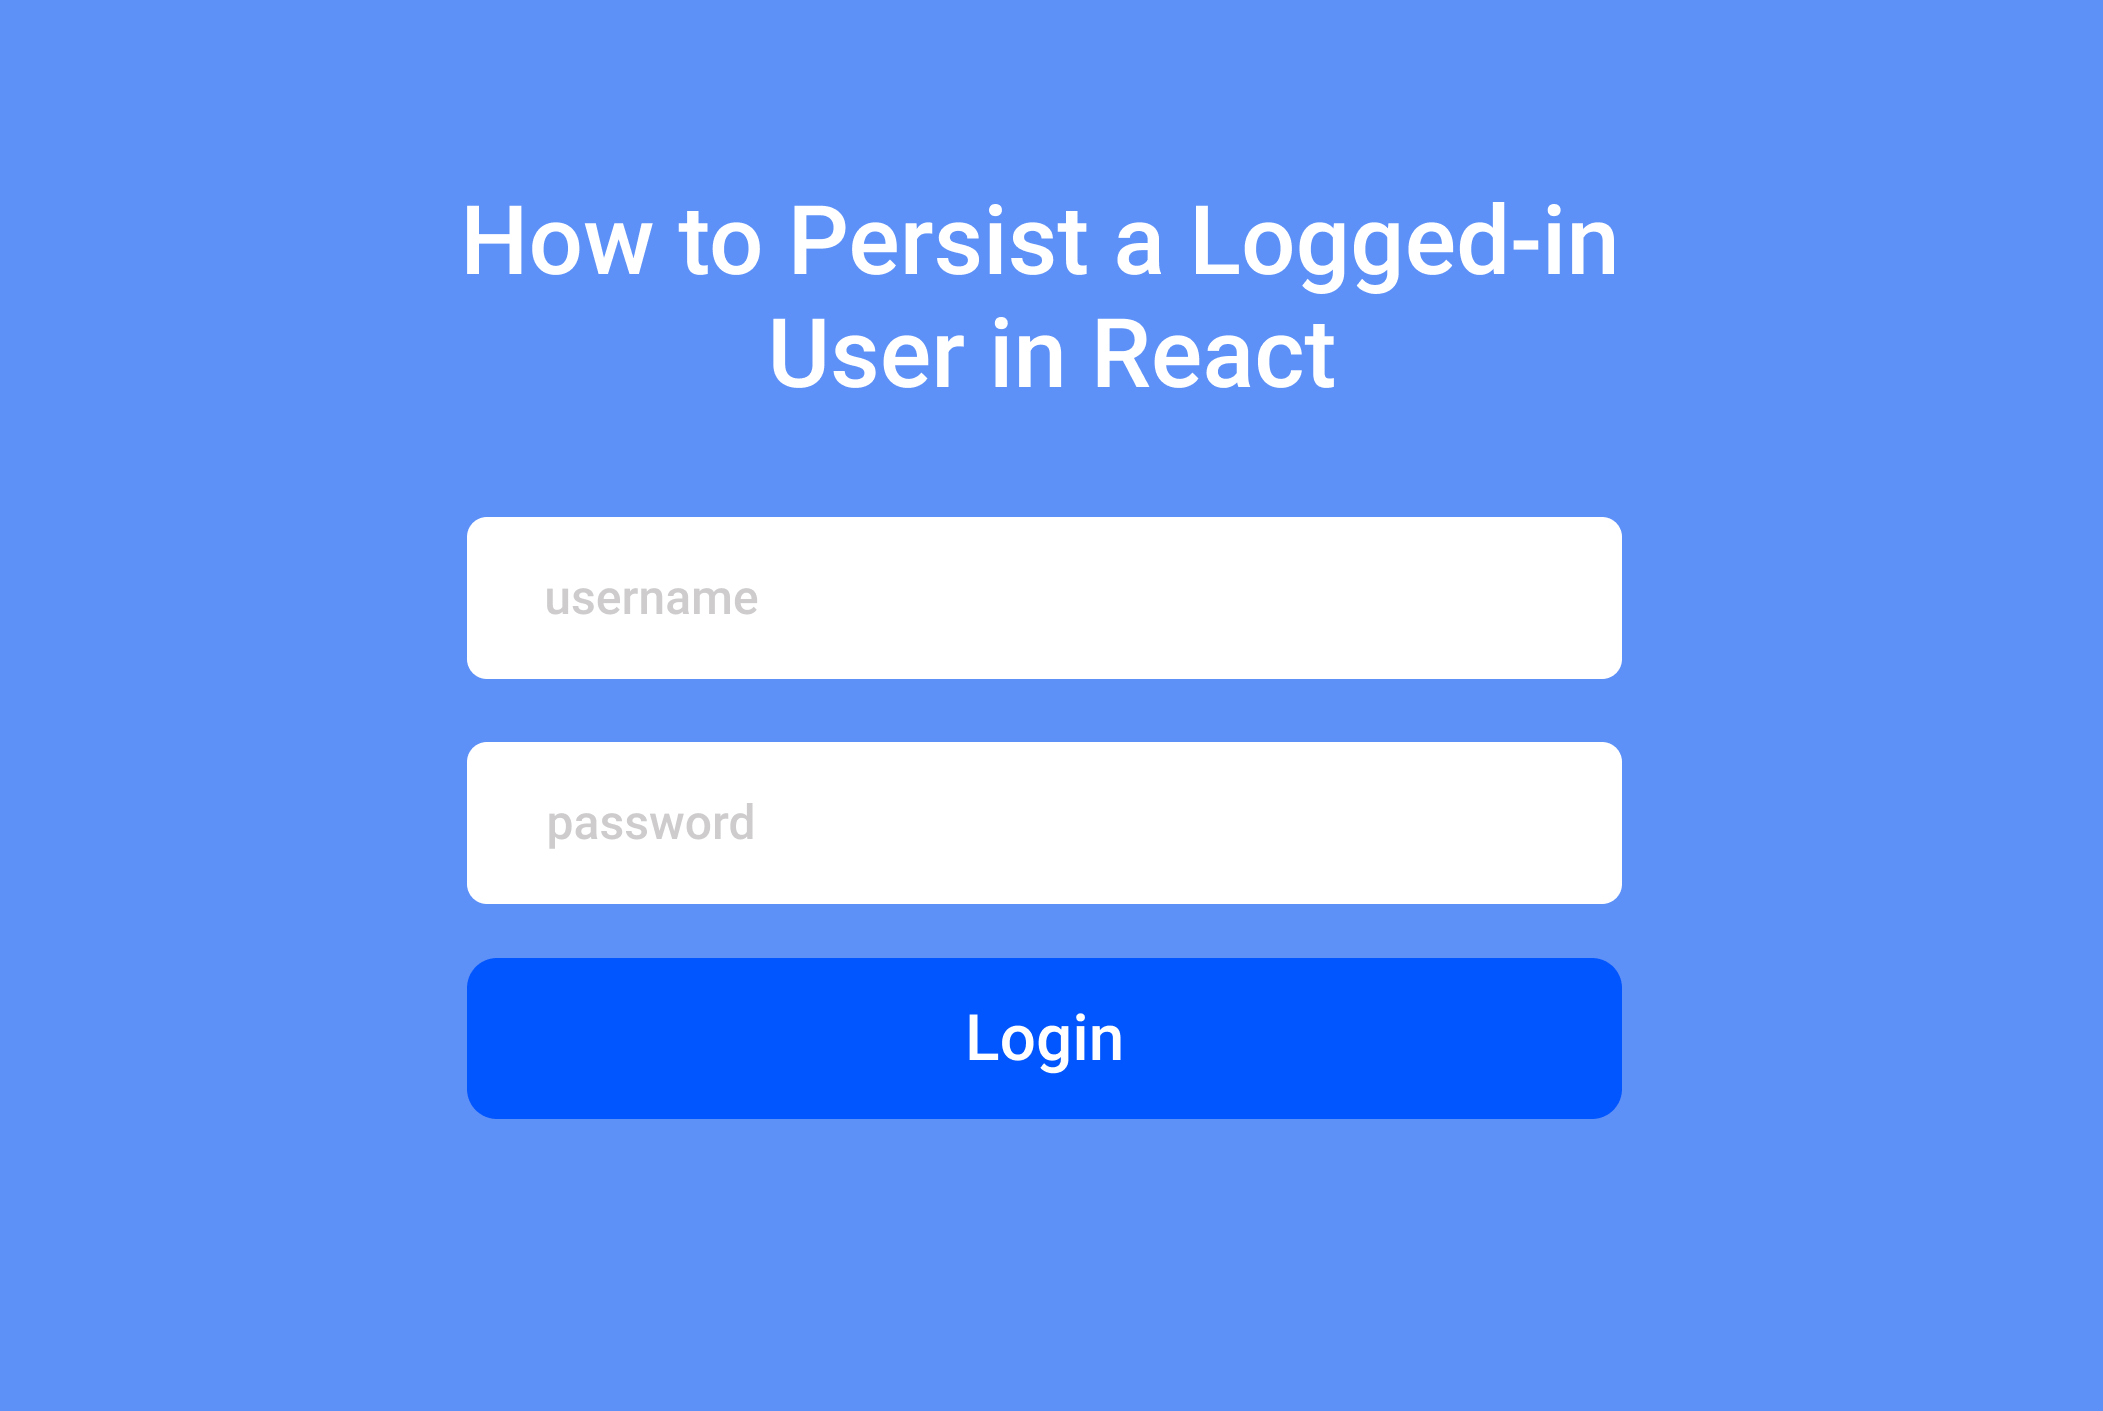
npm install axiosand import it inside<App /> - Next, create a simple login form that accepts a username and password.
import React, { useState } from "react";
import axios from "axios";

const App = () => {
  const [username, setUsername] = useState("");
  const [password, setPassword] = useState("");
  const [user, setUser] = useState()

  const handleSubmit = async e => {

  };

// if there's a user show the message below
  if (user) {
    return <div>{user.name} is loggged in</div>;
  }

  // if there's no user, show the login form
  return (
    <form onSubmit={handleSubmit}>
      <label htmlFor="username">Username: </label>
      <input
        type="text"
        value={username}
        placeholder="enter a username"
        onChange={({ target }) => setUsername(target.value)}
      />
      <div>
        <label htmlFor="password">password: </label>
        <input
          type="password"
          value={password}
          placeholder="enter a password"
          onChange={({ target }) => setPassword(target.value)}
        />
      </div>
      <button type="submit">Login</button>
    </form>
  );
};

export default App;
As you can see, we've defined an asynchronous handleSubmit function to process the login request. We've also defined a conditional that displays a user.name is logged in message if we have a user, and the login form if we do not have a user.
Next, let's complete the function. This function will work in the following steps:
- Send the login details to the server.
- If the request is successful (async-await), store the user information in localStorage and set the State of the User.
Handle the login event
Let's define the handleSubmit event handler.
  const handleSubmit = async e => {
    e.preventDefault();
    const user = { username, password };
    // send the username and password to the server
    const response = await axios.post(
      "http://blogservice.herokuapp.com/api/login",
      user
    );
    // set the state of the user
    setUser(response.data)
    // store the user in localStorage
    localStorage.setItem('user', response.data)
    console.log(response.data)
  };
Note: Use a tryCatch block to handle errors in async functions.
Now that our function is done, you can run npm start to test out your app. Login with the username: user2, password: password.
You should receive the following as a response. The userId, token and username

Check if a user has previously logged in
Next, we want a way to check if there's a user logged in each time the App loads. For that, we use the useEffect hook.
 useEffect(() => {
    const loggedInUser = localStorage.getItem("user");
    if (loggedInUser) {
      const foundUser = JSON.parse(loggedInUser);
      setUser(foundUser);
    }
  }, []);
Remember to use an empty dependency array in your useEffect hook so that it checks if there's a logged in user the first time the app loads.
Now our app should work perfectly. We get the page below after a user has logged in for the first time and their details are stored. If you refresh the page, you'll see that our user stays logged in and the logged in page continues to show.

As a bonus tip, here's how to implement logout.
Implementing Logout functionality
For logging out, we simply empty the user state and remove the user from localStorage.
Let's implement that.
First, we create a logout button
<button onClick={handleLogout}>logout</button>
Then, we create the logout function.
const handleLogout = () => {
    setUser({});
    setUsername("");
    setPassword("");
    localStorage.clear();
  };
And that's it, we're done.
Here's a link to the full gist on GitHub. You can follow me there for more updates.