

Azure Databricks is a data analytics platform hosted on Microsoft Azure that helps you analyze data using Apache Spark.
Databricks helps you create data apps more quickly. This in turn brings to light valuable insights from your data and helps you create robust Artificial Intelligence solutions.
Azure Databricks also combines the strength of Databricks as an end-to-end Apache Spark platform with the scalability and security of Microsoft's Azure platform.
In this tutorial, you will learn how to get started with the platform in Microsoft Azure and see how to perform data interactions including reading, writing, and analyzing datasets. By the end of this tutorial, you will be able to use Azure Databricks to read multiple file types, both with and without a schema.
Prerequisites
You will need a valid and active Microsoft Azure account.
- Free Azure Trial: With this option, you will start with $100 Azure credit and will have 30 days to use it in addition to free services.
- Azure for Students: This offer is available for students only. With this option, you will start with $100 Azure credit with no credit card required. You'll get access to popular services for free whilst you have your credit.
How to Create Your Databricks Workspace
You must create an Azure Databricks workspace in your Azure subscription before you can utilize Azure Databricks. Go to the Azure portal to do this. As long as you've created a valid and active Microsoft Azure account, this will function.
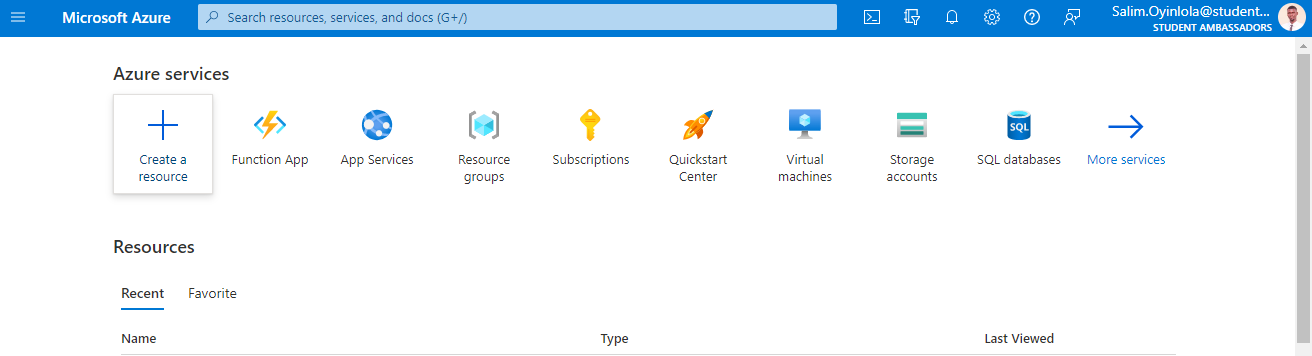 The Microsoft Azure Home Page
Once there, click the Create a resource button.
On the search prompt in the Create a resource page, search for Azure Databricks and select the Azure Databricks option.
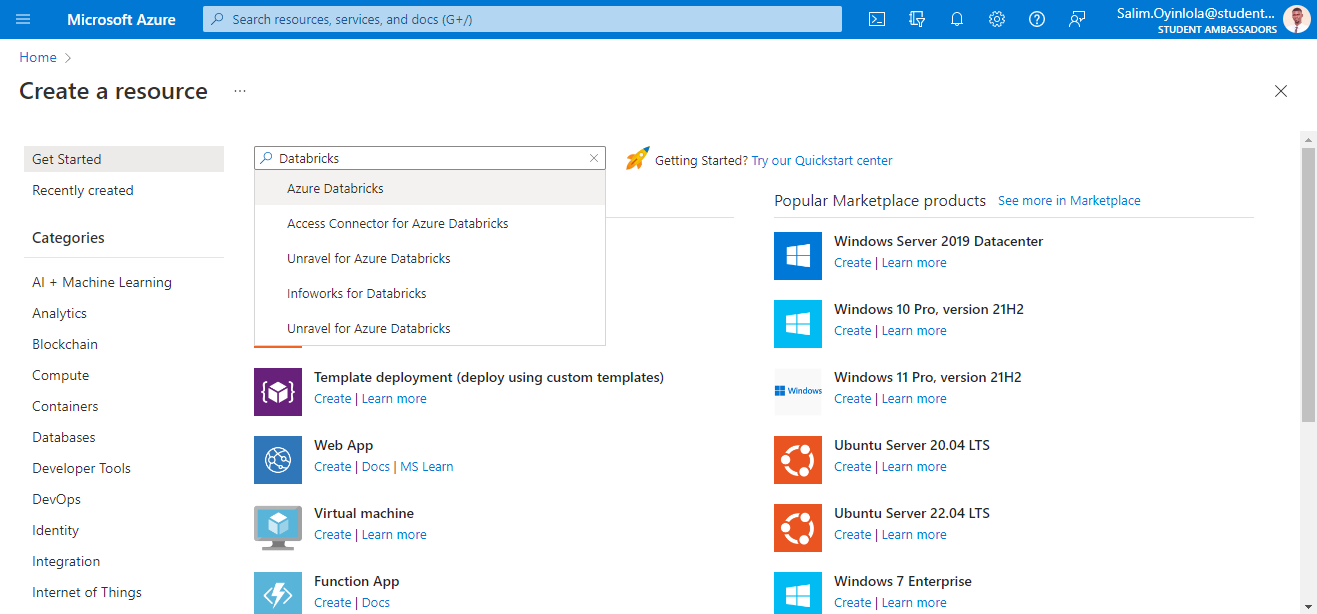 The Microsoft Azure page showing the list of popular resources
Open the Azure Databricks tab and create an instance.
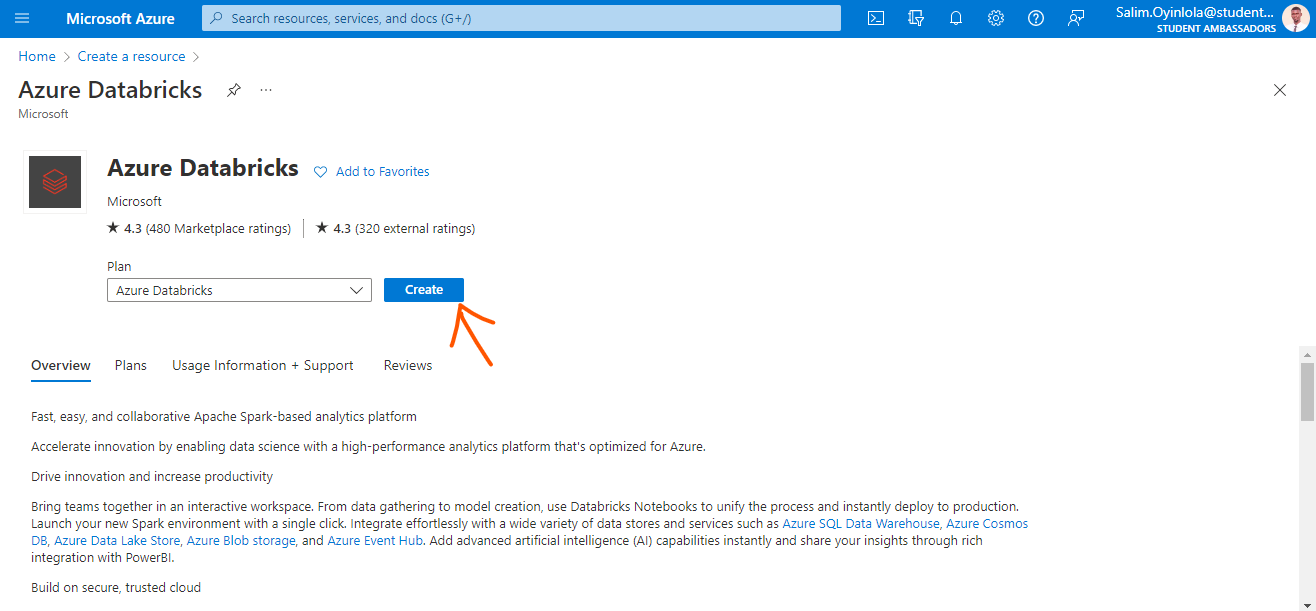 The Azure Databricks pane.
Click the blue Create button (arrow pointed at it) to create an instance.
Then enter the project details before clicking the Review + create button.
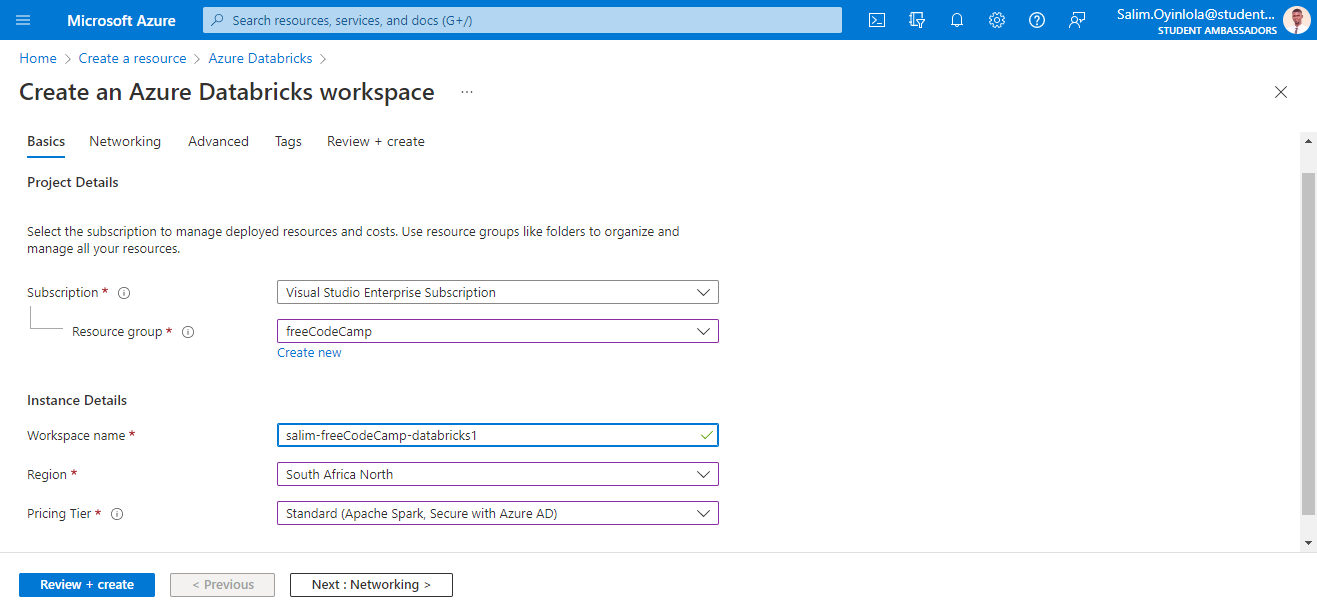 The Azure Databricks configuration page
It is important to note that the Subscription option shown above will differ from yours. It will depend on the Azure subscription you have available on your account.
Fill the Workspace name field with a globally unique name. Mine is named salim-freeCodeCamp-databricks1.
Enter the location closest to where you are in the Region option. A region is a set of physical data centers that serve as servers. Since I am based in Lagos, Nigeria, I selected South Africa North.
Select the Standard option which includes Apache Spark with Azure AD in the Pricing Tier option.
With all the configurations set, click the Review + create button. The validation process usually takes about two minutes.
With the validation and deployment processes completed for the workspace, launch the workspace using the Launch Workspace button that appears.
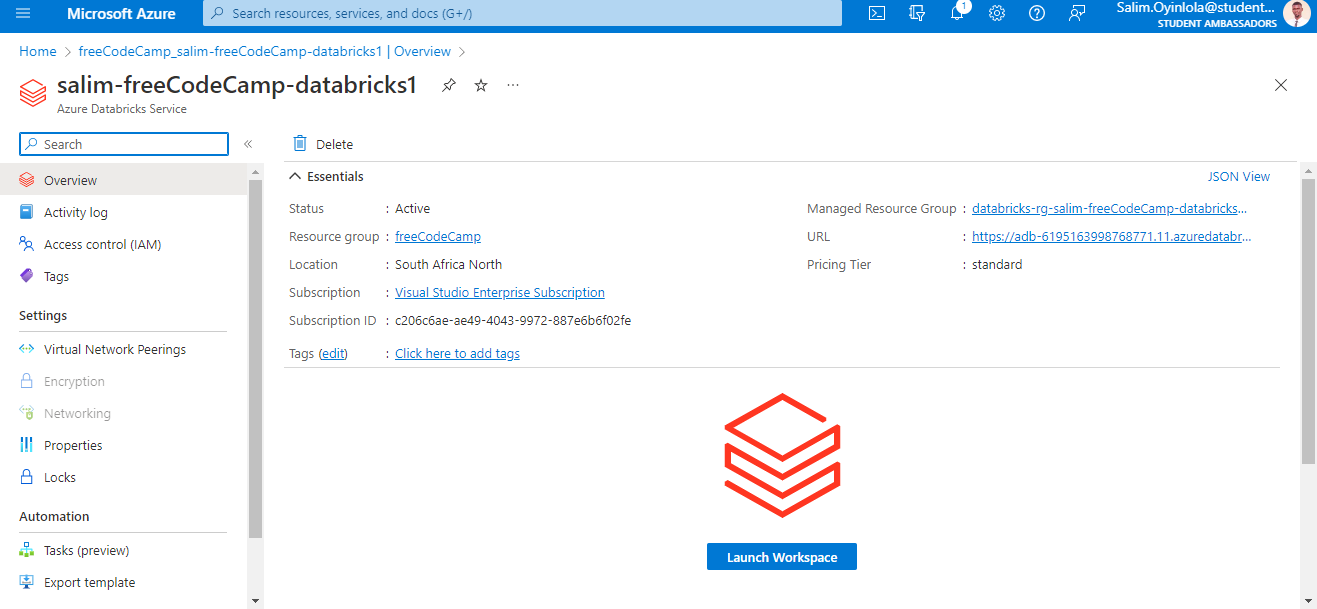 The home page for the created instance of Azure databricks -
 salim-freeCodeCamp-databricks
Click on the button and you will automatically be signed in using the Azure Directory Single Sign On.
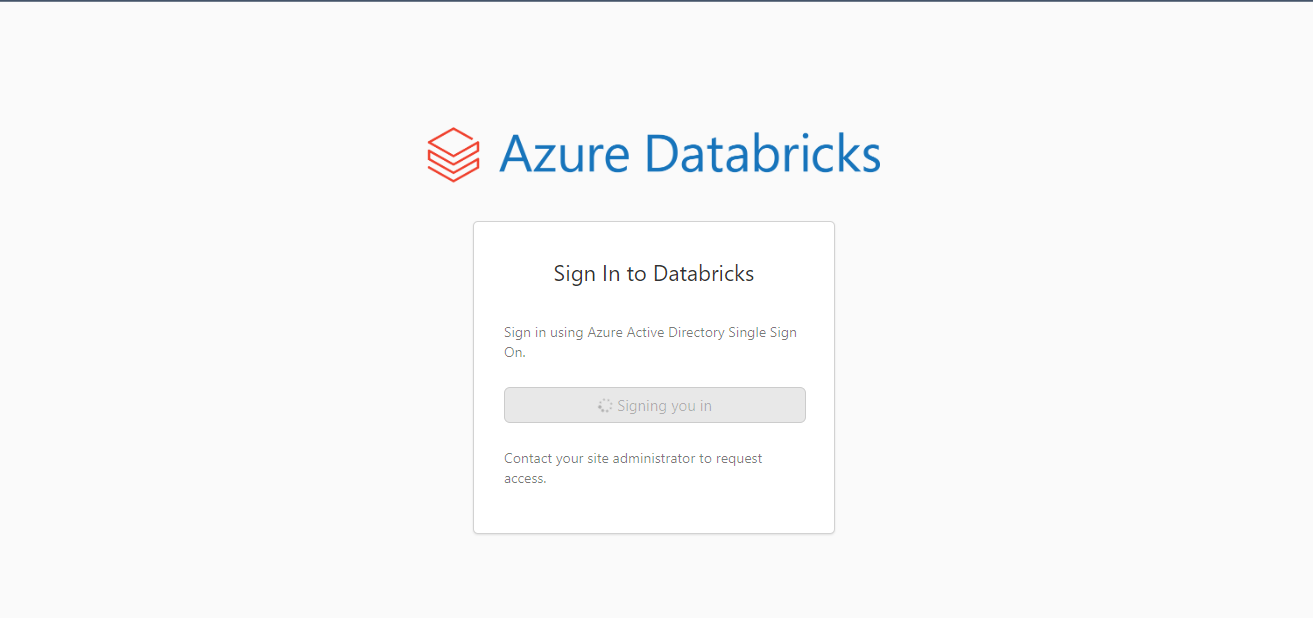 Signing into the workspace of the integration of Microsoft Azure and Databricks
The Microsoft Azure Databricks home page will come up in a new tab as shown below:
 The Microsoft Azure Databricks home page
With the workspace launch, create a cluster using the Create a cluster option on the left of the page.
After you have clicked the button and you have created any prior, you will pick one and build on it. Else, you will have to create a new cluster using the Create Cluster button.
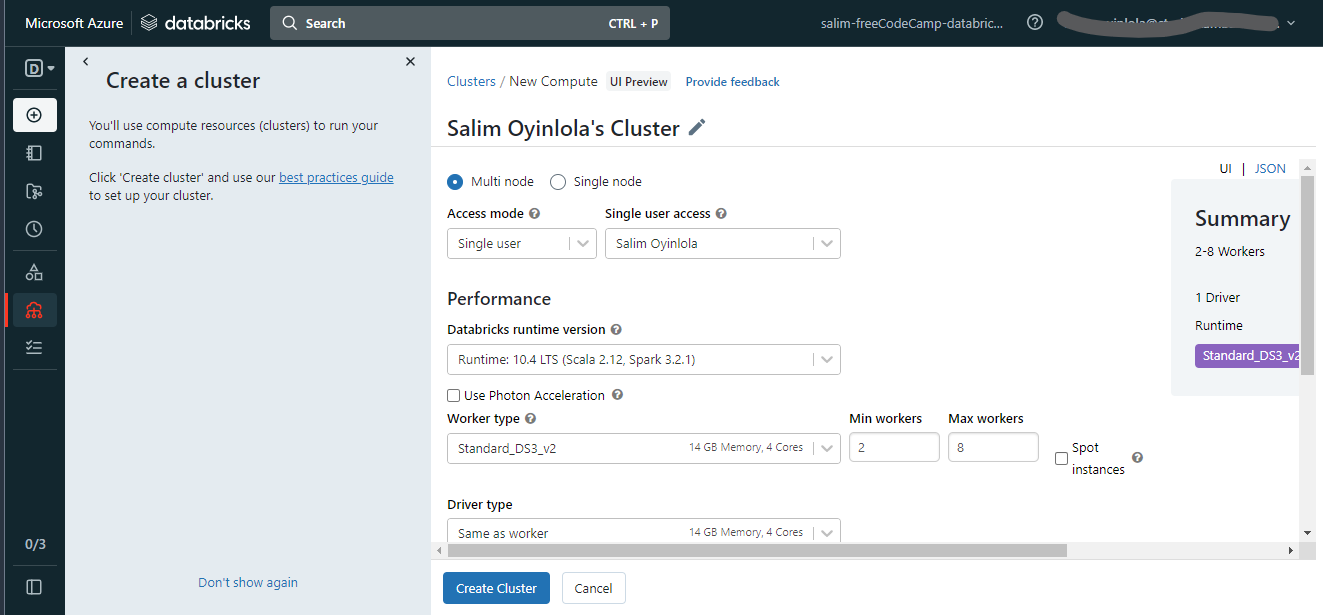 Set the configurations for the Azure Databricks cluster
To create the cluster, you have to set the configurations. Choose the Single node option, changing from the Multi node default option, and maintain the other options as default.
Click the Create Cluster button at the bottom of the page. Note that this will take a few minutes and that if the dataset is large, you can explore the Multi node option.
Having created the cluster, import some ready-to-use notebooks by navigating to Workspace > Users > your_account on the left taskbar.
Right-click and select the Import option on the dropdown menu.
With the cluster created, you will then have to import some ready to use notebooks.
To do this, using the left taskbar, you will navigate through Workspace > Users > your_account . Then right-click to see the dropdown menu. You will then select the Import option on the dropdown menu.
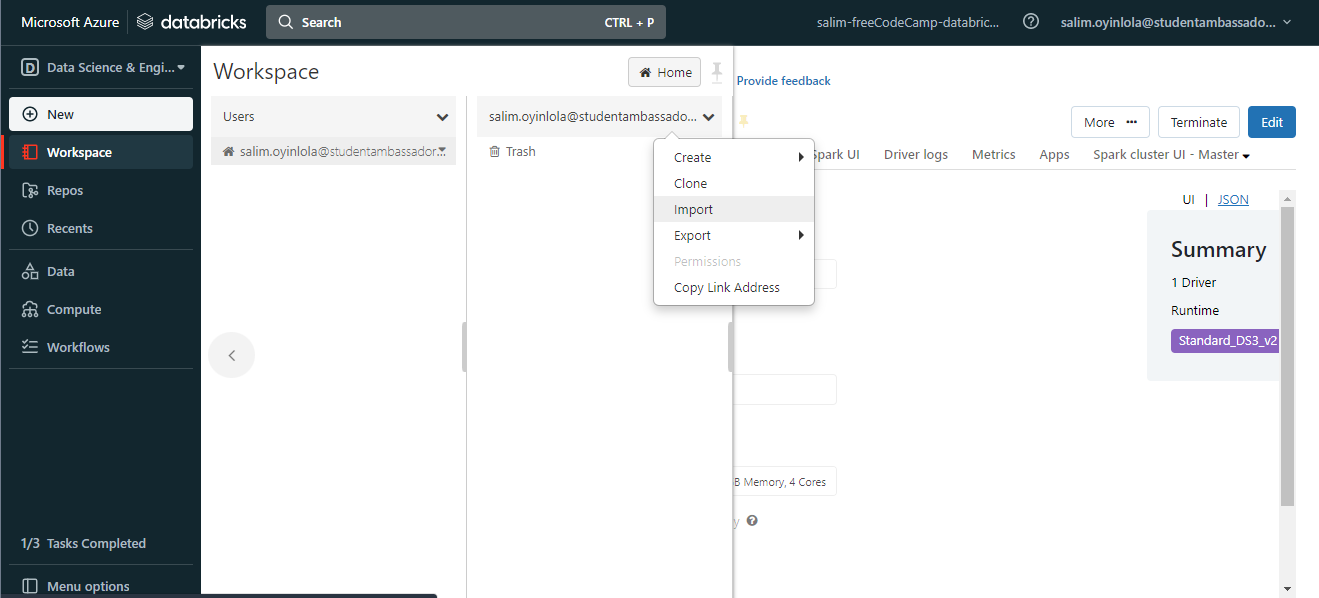 The
The import button will be used to import the dataset to be used
Once you click on the Import button, you will then select the URL option and paste the following URL:
https://github.com/salimcodes/microsoft-learning-paths-databricks-notebooks/blob/master/data-engineering/DBC/03-Reading-and-writing-data-in-Azure-Databricks.dbc
 The database folder named
 03-Reading-and-writing-data-in-Azure-Databricks.dbc will be used,
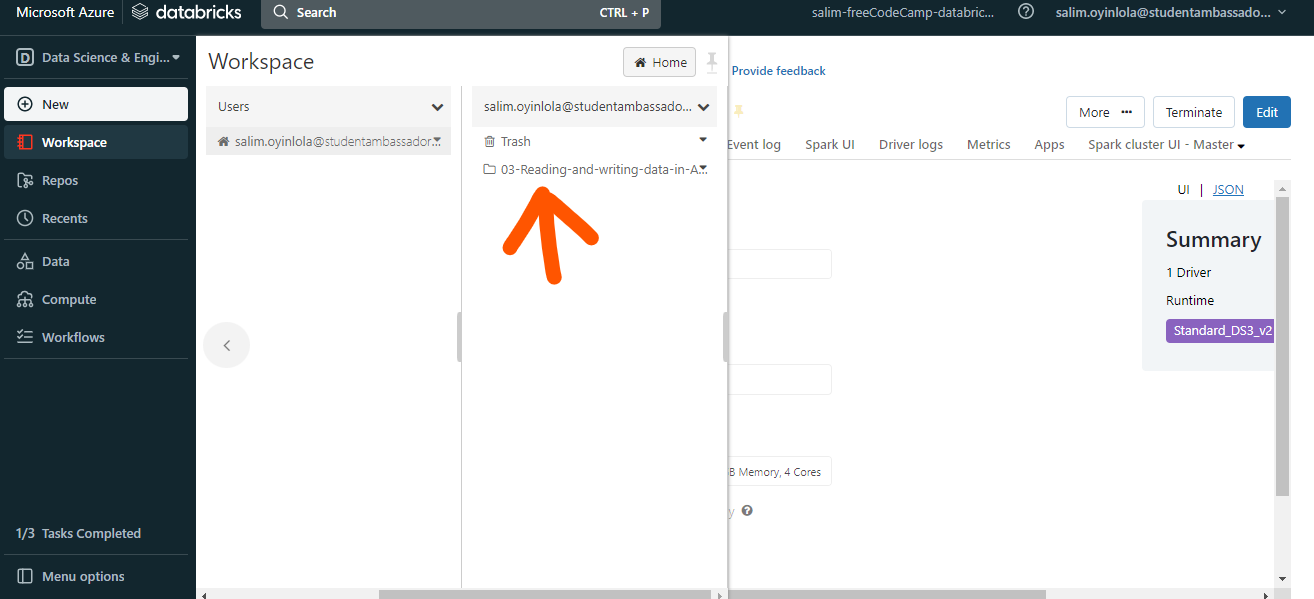
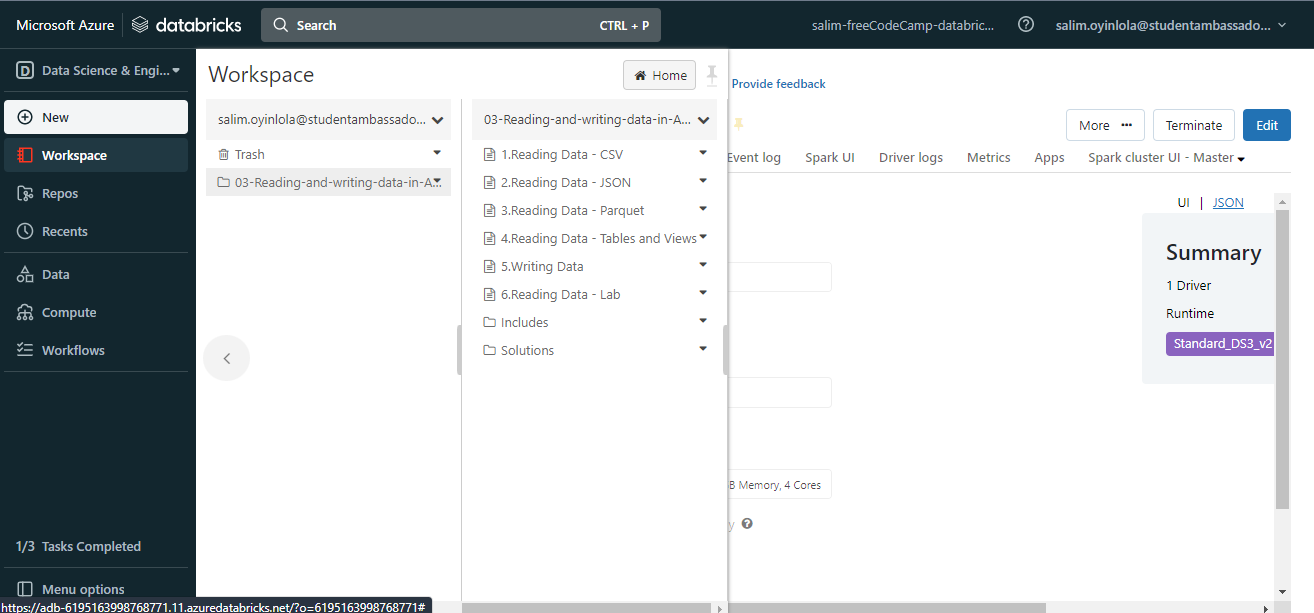 You will see he list of files in the
 03-Reading-and-writing-data-in-Azure-Databricks.dbc database folder
The image above is what the workspace will like after downloading the file. As such, you have created a Databricks workspace.
How to Read the Data in CSV Format
Open the file named Reading Data - CSV.
Upon opening the file, you will see the notebook shown below:
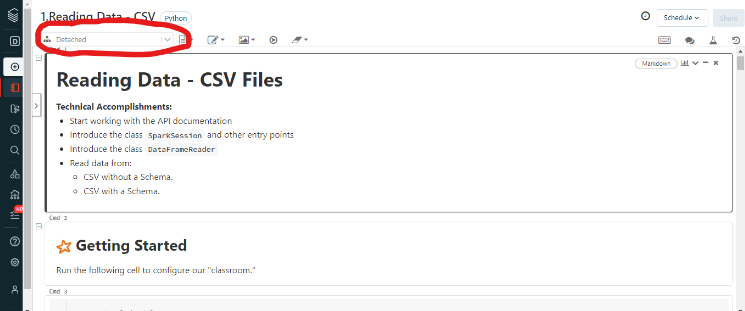 You will see that the cluster created earlier has not been attached.
On the top left corner, you will change the dropdown which initially shows Detached to your cluster's name. Mine is named Salim Oyinlola's freeCodeCamp Cluster.
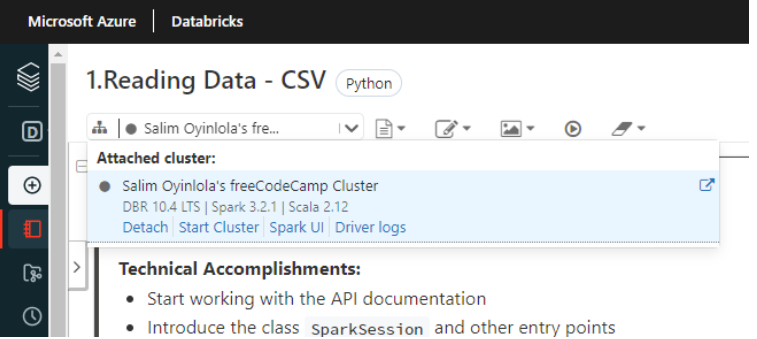 The cluster initially created is now attahed to the python notebook
With your cluster attached, you will then run all the cells one after the other.
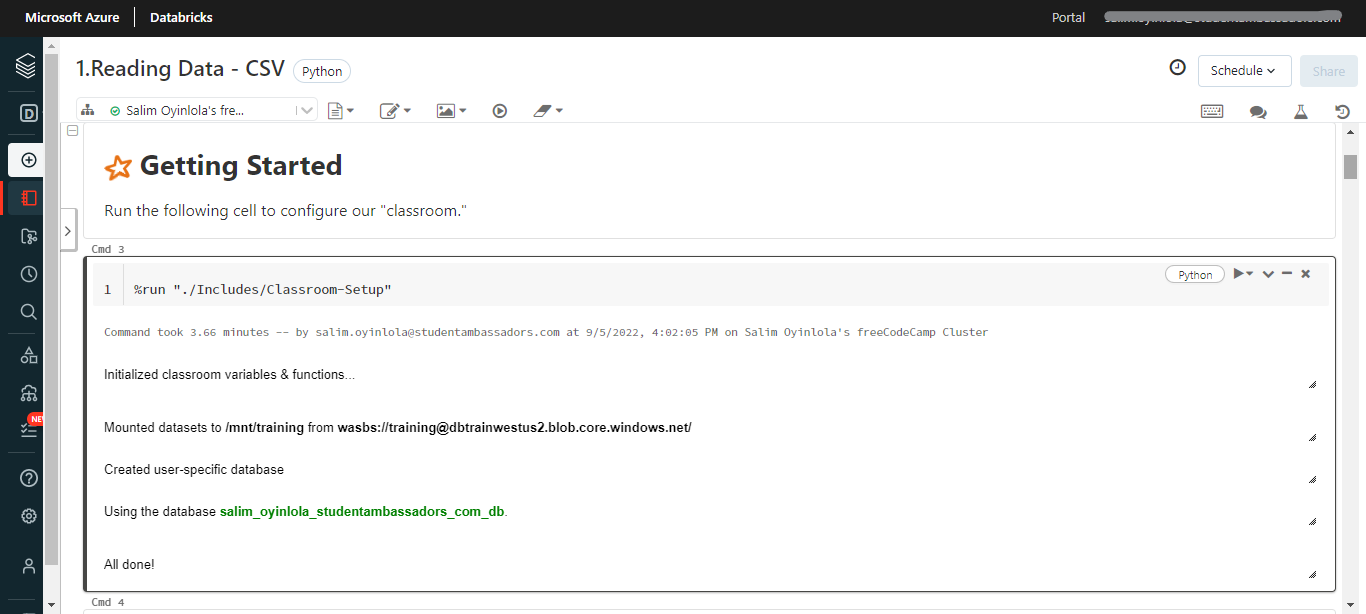 Running the first cell of the python notebook will initialize the classroom variables & function, mount the dataset and create user-specific database
At its core, the notebook simply reads the data in csv format. Then it adds an option that tells the reader that the data contains a header and to use that header to determine our column names.
You can also add an option that tells the reader to infer each column's data types (also known as a schema).
It is important to note that data can be read in different formats such as JSON (with or without schemas), parquet, and table and views. To achieve this, you can simply run the respective notebooks for each format.
How to Write Data into a Parquet File
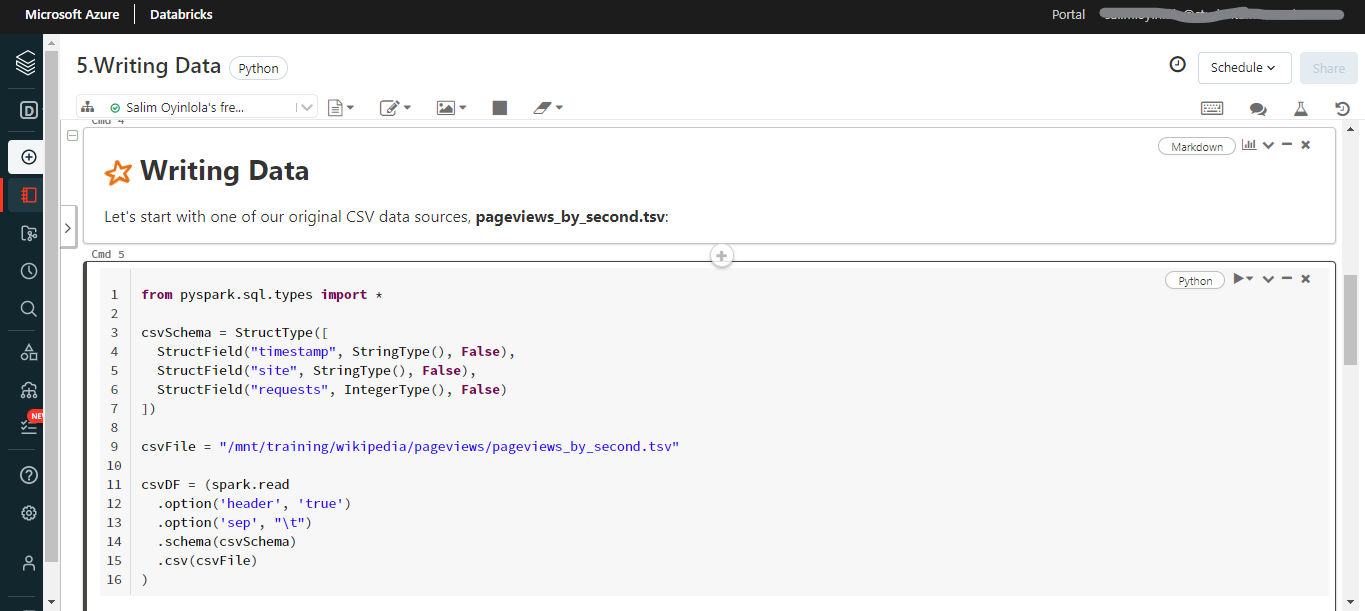
Just as there are many ways to read data, there are many ways to write data. But in this notebook, we'll get a quick peek of how to write data back out to Parquet files.
Apache Parquet is a column storage file format that Hadoop systems (such as Spark and Hive) use. The file format is cross-platform, language independent, and it stores data in a column layout using a binary representation.
Parquet files, which effectively store large datasets, have the extension .parquet.
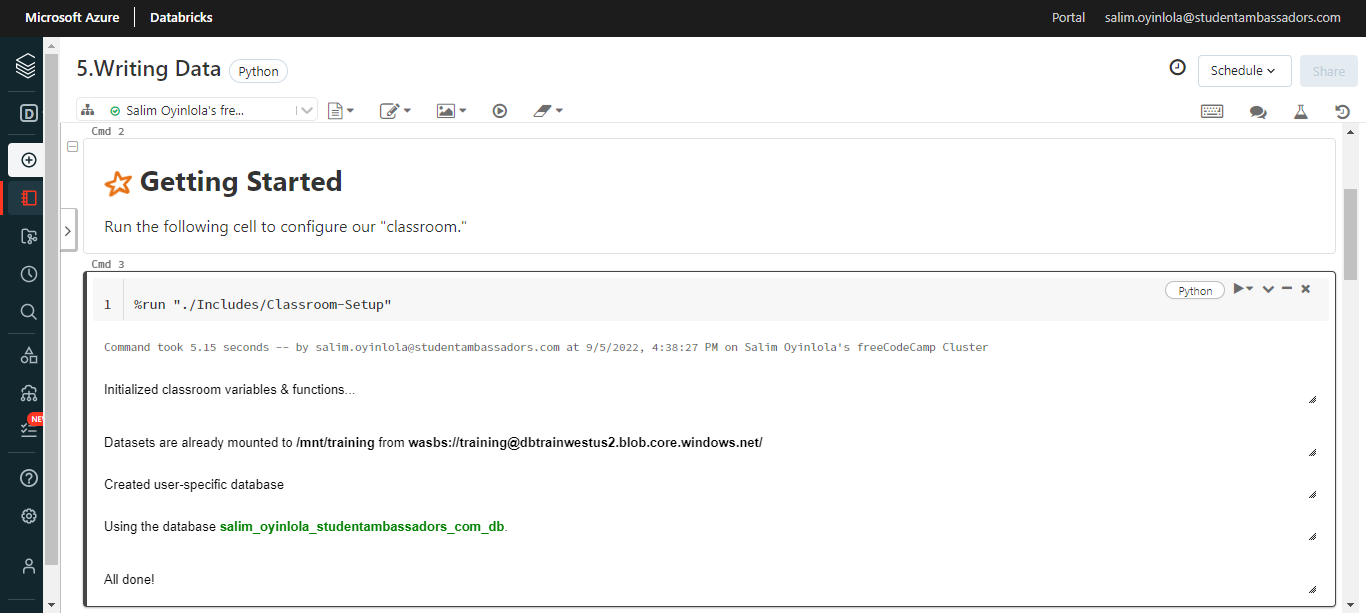
Like what you did when reading data, you will also run the cells one after the other.
 The cell to write data into a parquet file
Integral to writing into the parquet file is creating a DataFrame. You will be creating one by running this cell.
 This cell shows that the existing files are being overwritten
The .mode"overwrite" method shown below implies that by writing DataFrame to parquet files, you are replacing existing files.
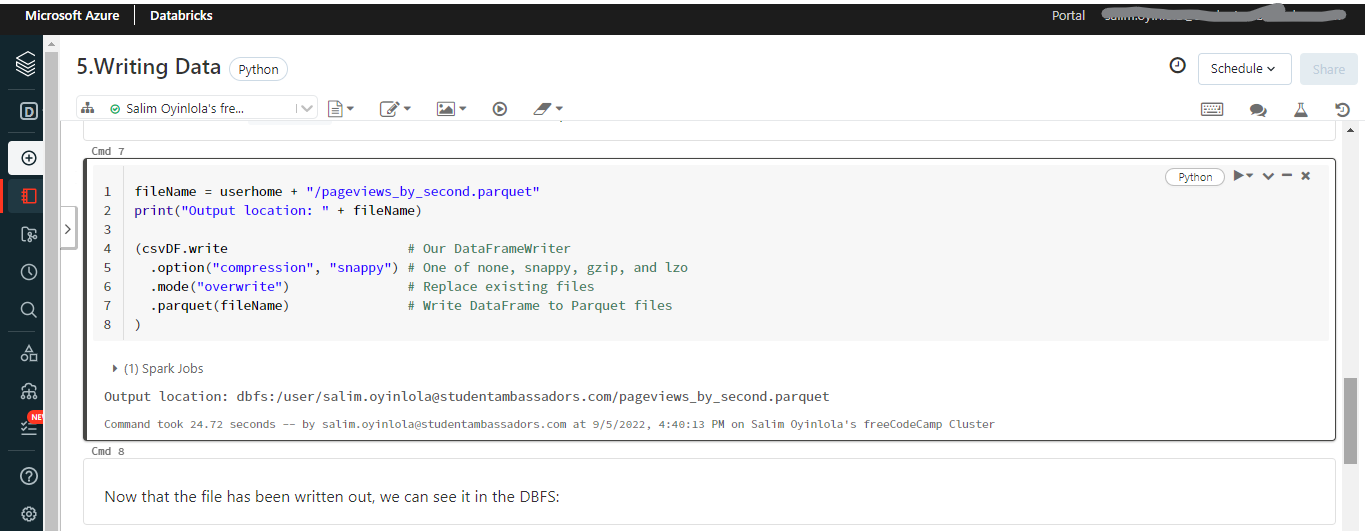 The file has been written and saved in an output location.
At its core, the notebook reads a .tsv file (the same used to read for the .csv file) and writes it back out as a Parquet file.
How to Delete the Azure Databricks Instance (Optional)
Finally, the Azure resources that you created in this tutorial can incur ongoing costs. To avoid such costs, it is important to delete the resource or resource group that contains all those resources. You can do that by using the Azure portal.
- Navigate to the Azure portal.
- Navigate to the resource group that contains your Azure Databricks instance.
- Select
Delete resource group. - Type the name of the resource group in the confirmation text box.
- Select
Delete.
Conclusion
In this tutorial, you have learned the basics about reading and writing data in Azure Databricks.
You now understand the basics of Azure Databricks, including what it is, how to install it, how to read CSV and parquet files, and how to read parquet files into the Databricks file system (DBFS) using compression options.
Finally, I share my writings on Twitter if you enjoyed this article and want to see more.
Thank you for reading :)