
By Yosra Emad
I've been using Windows Subsystem for Linux (WSL) for my OS class for quite a while now. And I love how I can use Linux commands in Windows in a straightforward way without the added complexity of installing a virtual machine or dual booting.
By the end of this article, you should be able to run Linux commands right from Windows like this:
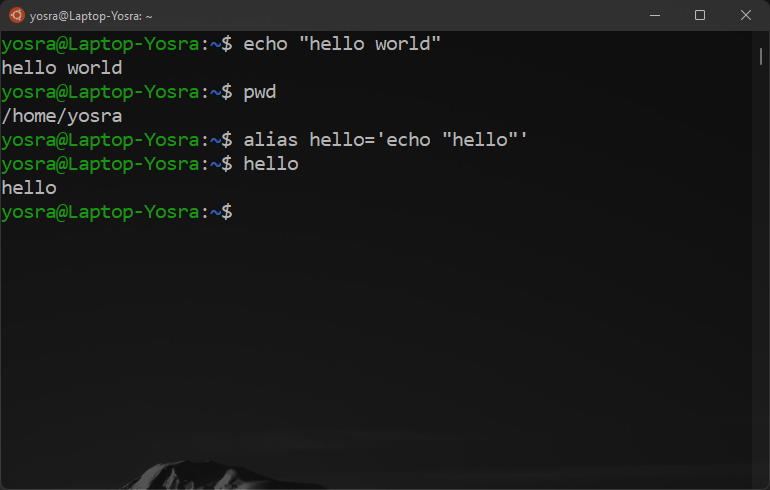 example of linux commands on windows
Prerequisites
To have WSL running effectively, I suggest you upgrade to Windows 11. WSL is also available on Windows 10, but it is way more efficient on Windows 11 based on my experience.
For Windows 10, you'll need to have build 21364 or higher.
This article will cover what you can do on both Windows 10 and 11
How to Install WSL
The command to run WSL is straightforward:
wsl --install
This will download the Linux kernel, set WSL 2 as the default, and install Ubuntu as the default distribution.
Don't want ubuntu? Here is the command for you:
wsl --install -d <distro name>
These are the available distributions as of now:
- Ubuntu
- OpenSUSE Leap 42
- SUSE Linux Enterprise Server 12 (SLES)
- Kali Linux
- Debian GNU/Linux
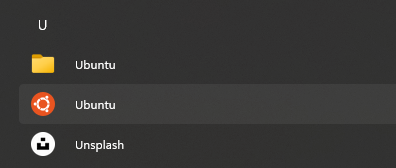
After this, you'll find an app called Ubuntu (or any other distro) in your start menu:
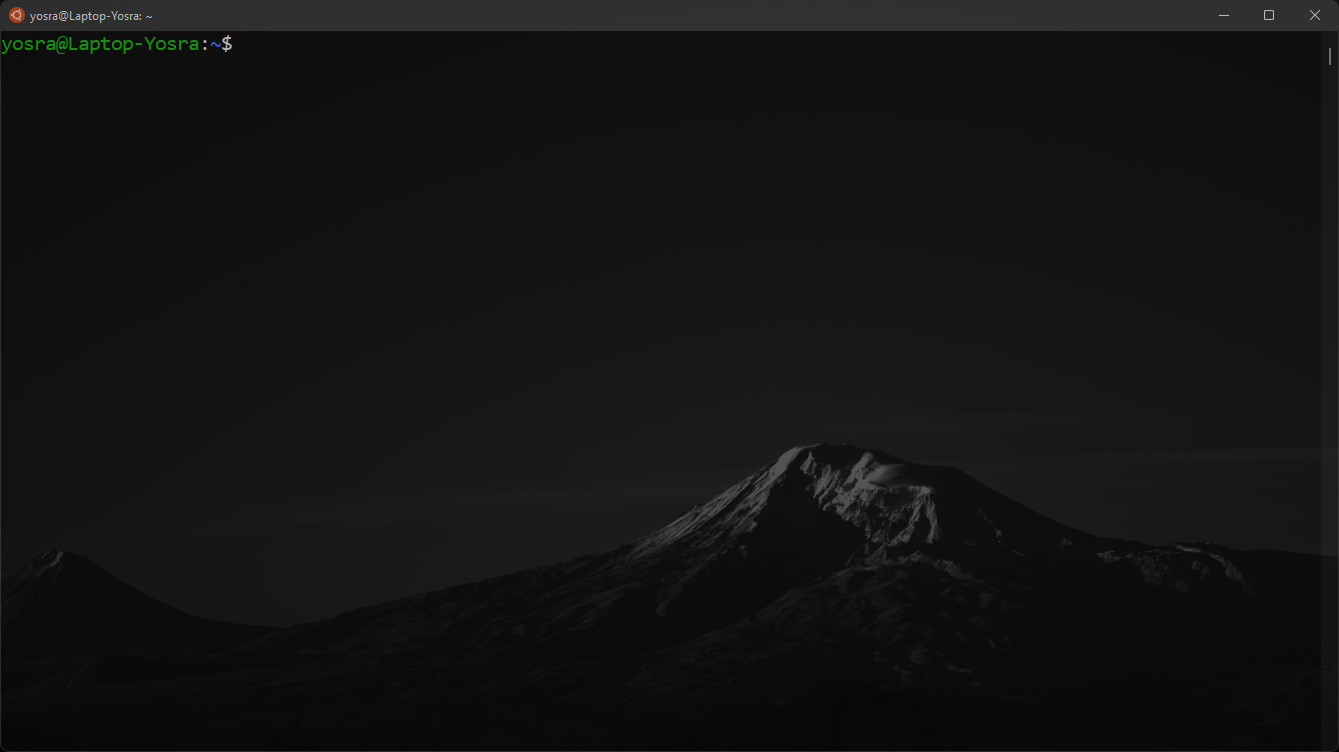
Open the Linux Terminal
Open the Ubuntu app that you just installed, and you'll be greeted with a Linux terminal! Try running some commands:
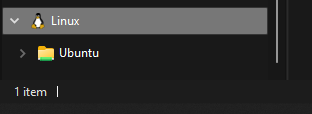
What if I want to access my Windows files?
If you go to your file explorer (winkey+E) you'll find a new Linux option on the left where all your Linux files exist. This is where when any files you create in the terminal will be located:
But what if you want to access your regular files?
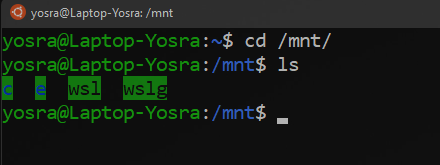
Luckily, you can do that easily. Just run the following command in your Linux terminal:
cd /mnt/
If you run ls here, you'll find your computer drives. This way you'll be able to cd your way into your files.
How to Create Aliases in WSL2
Do you ever have a long command to type and wish there were a shortcut for it? Then, aliases are your friends.
There are two ways to create aliases:
- per session
- permanently
How to create per session aliases in WSL2
To create an alias in your current session of Linux (the alias will be forgotten once you close the terminal), then you should run the following command:
alias <alias name>='<command>'
for example:
alias runc='gcc main.c -o main'
How to create permanent aliases in WSL2
We'll edit a file called .bash_aliases to save our aliases.
Run the following commands:
cd ~
ls -a
Look through the list of files that are printed out and look for .bash_aliases.
If you can't find it, run the following command:
touch .bash_aliases
Now in order to edit the file, run this command:
vi .bash_aliases
You'll be greeted with a screen like this:
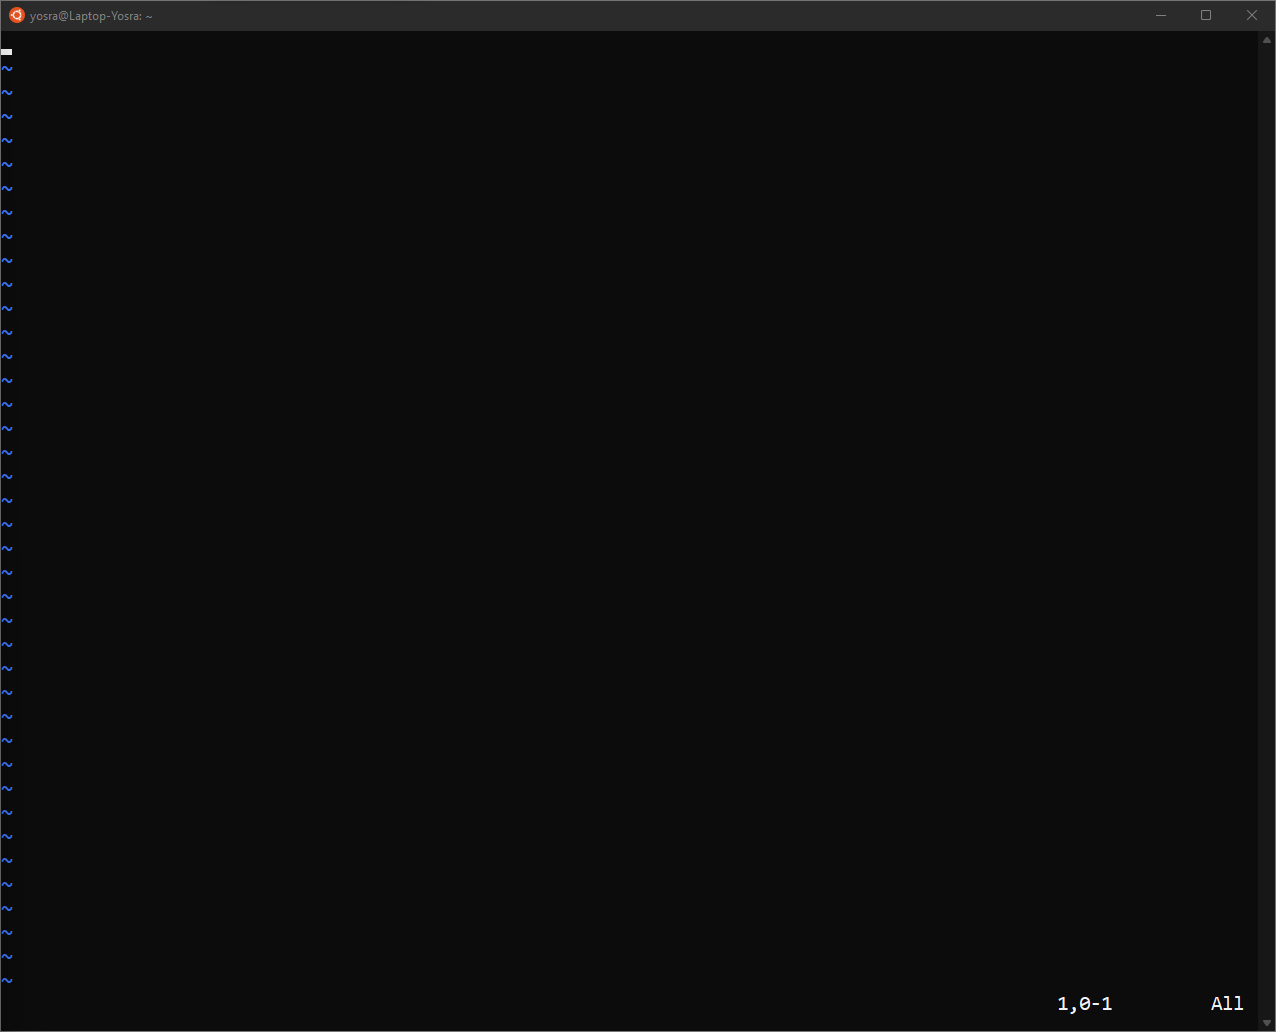
- Press "i" to start typing, and add as many aliases as you want.
For example:
alias runc='gcc main.c -o main'
alias hello='echo hello'
- To exit the typing mode, press "ctrl + c".
- To exit Vim and save the files type ":wq!" (I'm proud that I didn't have to google that.)
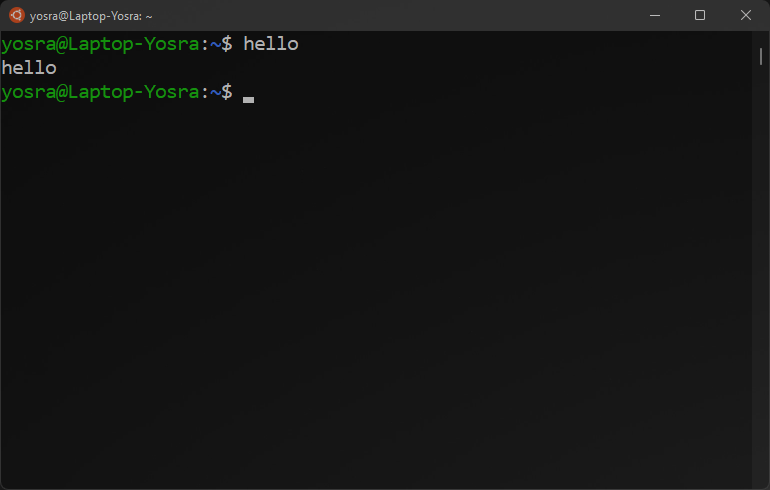
Now you're ready! Restart Ubuntu and start typing any of the following aliases above and it should work perfectly:
How to Run GUI Apps
Okay cool, now we know how to run command line apps from WSL2. But what if we want to run Linux GUI apps? The answer is simple – you just need to install the GUI app before running it. I'll use Firefox as an example.
To install Firefox:
sudo apt install firefox
To run Firefox:
firefox
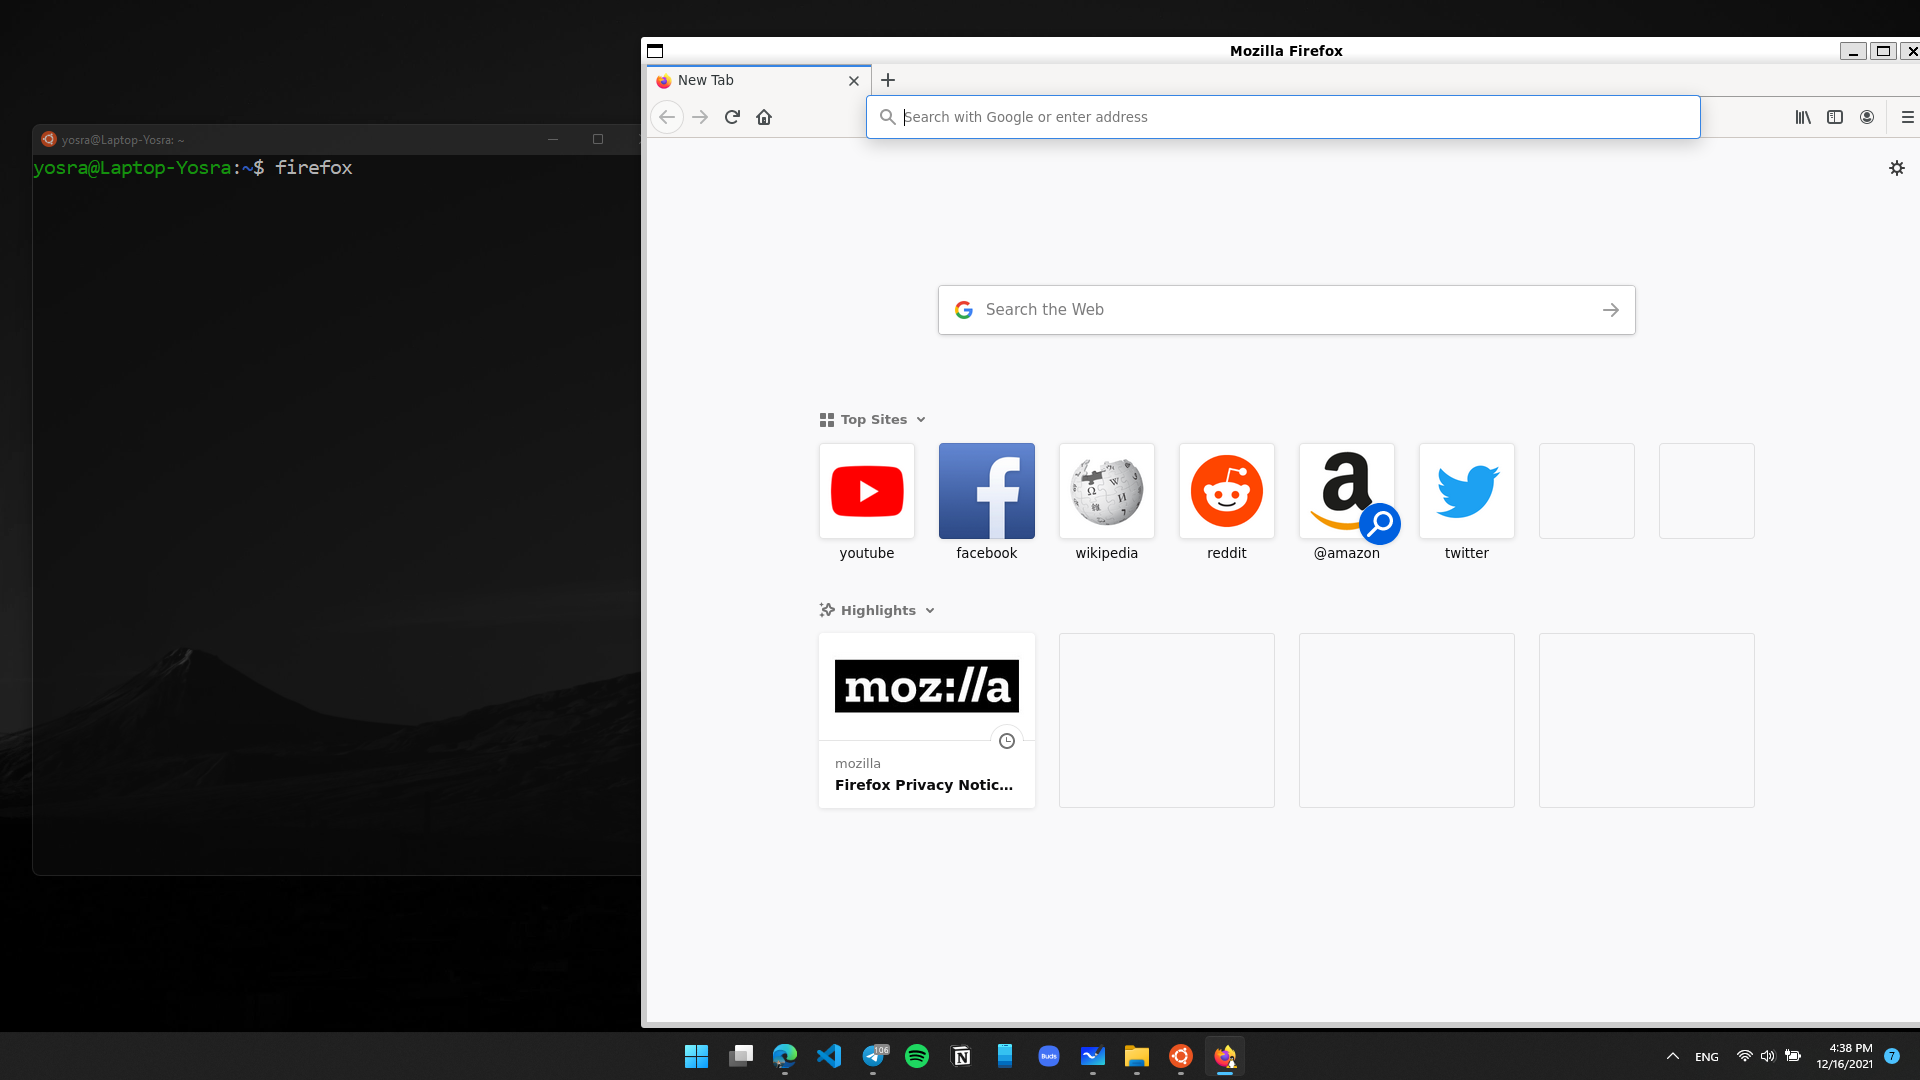
If you already have Firefox on your Windows machine, you'll find that it isn't open. That's because you're now running Firefox for Linux not Windows.
You can even run Firefox for Linux right from the start menu if you use Windows 11. You'll find it under your distro's folder.

Conclusion
This article covered how to run WSL 2 effectively. If you have any questions, feel free to contact me on any of my social media platforms