
If you're coming to macOS from a different operating system (like Windows or Linux), it might feel odd that, by default, macOS saves screenshots in the Desktop folder. This make the desktop look messy after a while if you take a lot of screenshots!
But it doesn't look messy if you create a specific directory for saving all the screenshots and your MacBook saves all the screenshots there automatically.
Configuring the settings might seem tricky for new MacBook users. So I will show you how you can do this within a few minutes with this step-by-step guide.
Keep in mind that although I am choosing the Pictures/Screenshots directory as my specific directory for saving all my screenshots, you can choose any directory you want.
For this article, I am using my newly purchased MacBook M1 Air (8/256) which is currently running on macOS Sonoma 14.4.1. But the same procedure is applicable for all the latest macOS versions as well.
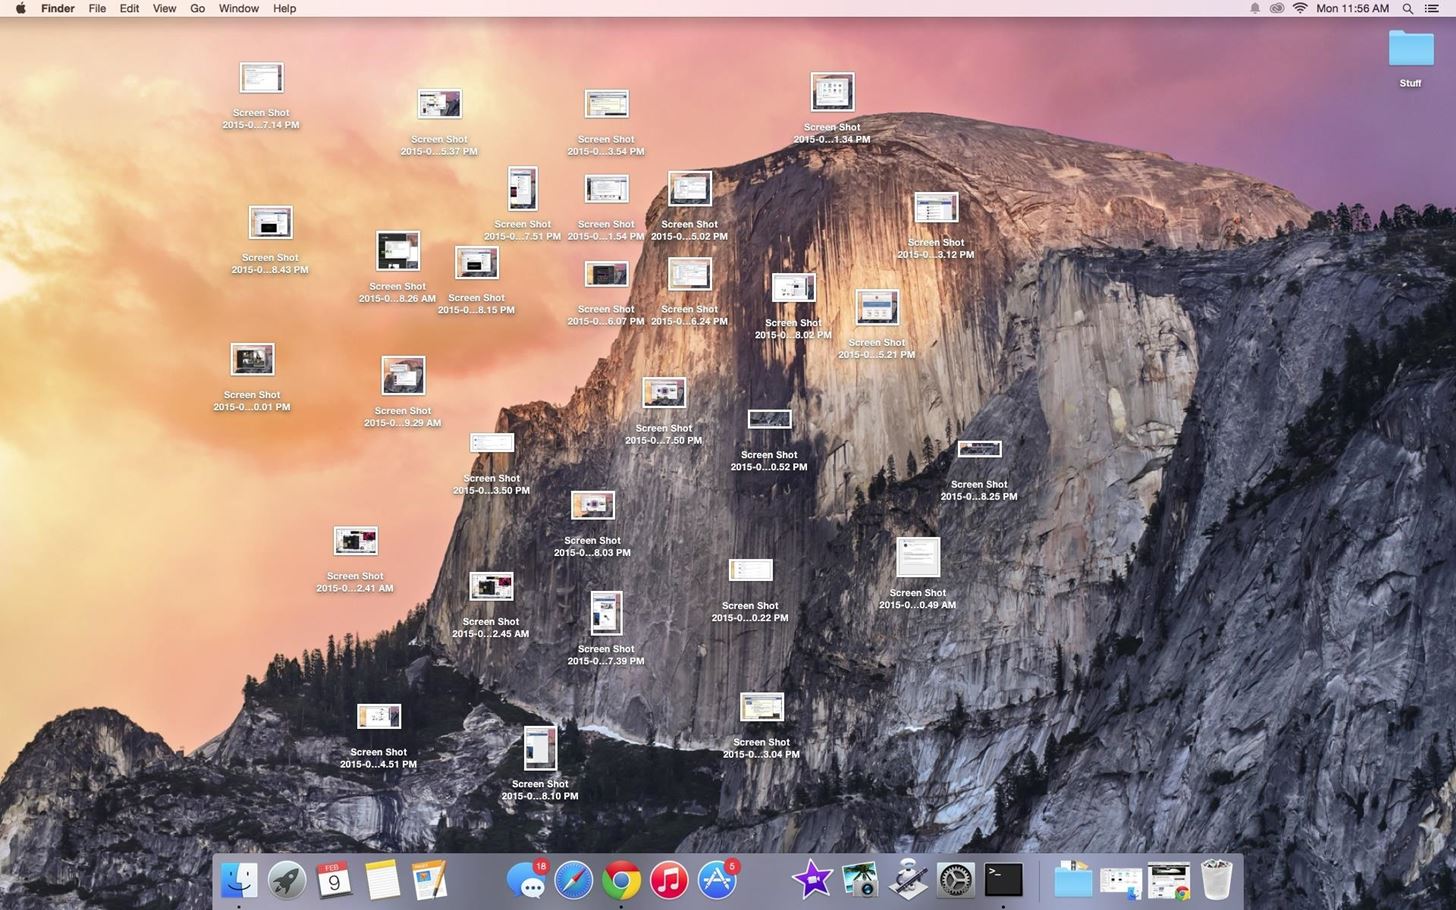 A messy desktop full of screenshots :( (Source: Internet)
How to Choose a Different Location
Firstly, you need to select a specific location where you want to save all the screenshots directly.
In my case, I created a separate folder for saving screenshots inside my "Pictures" directory.
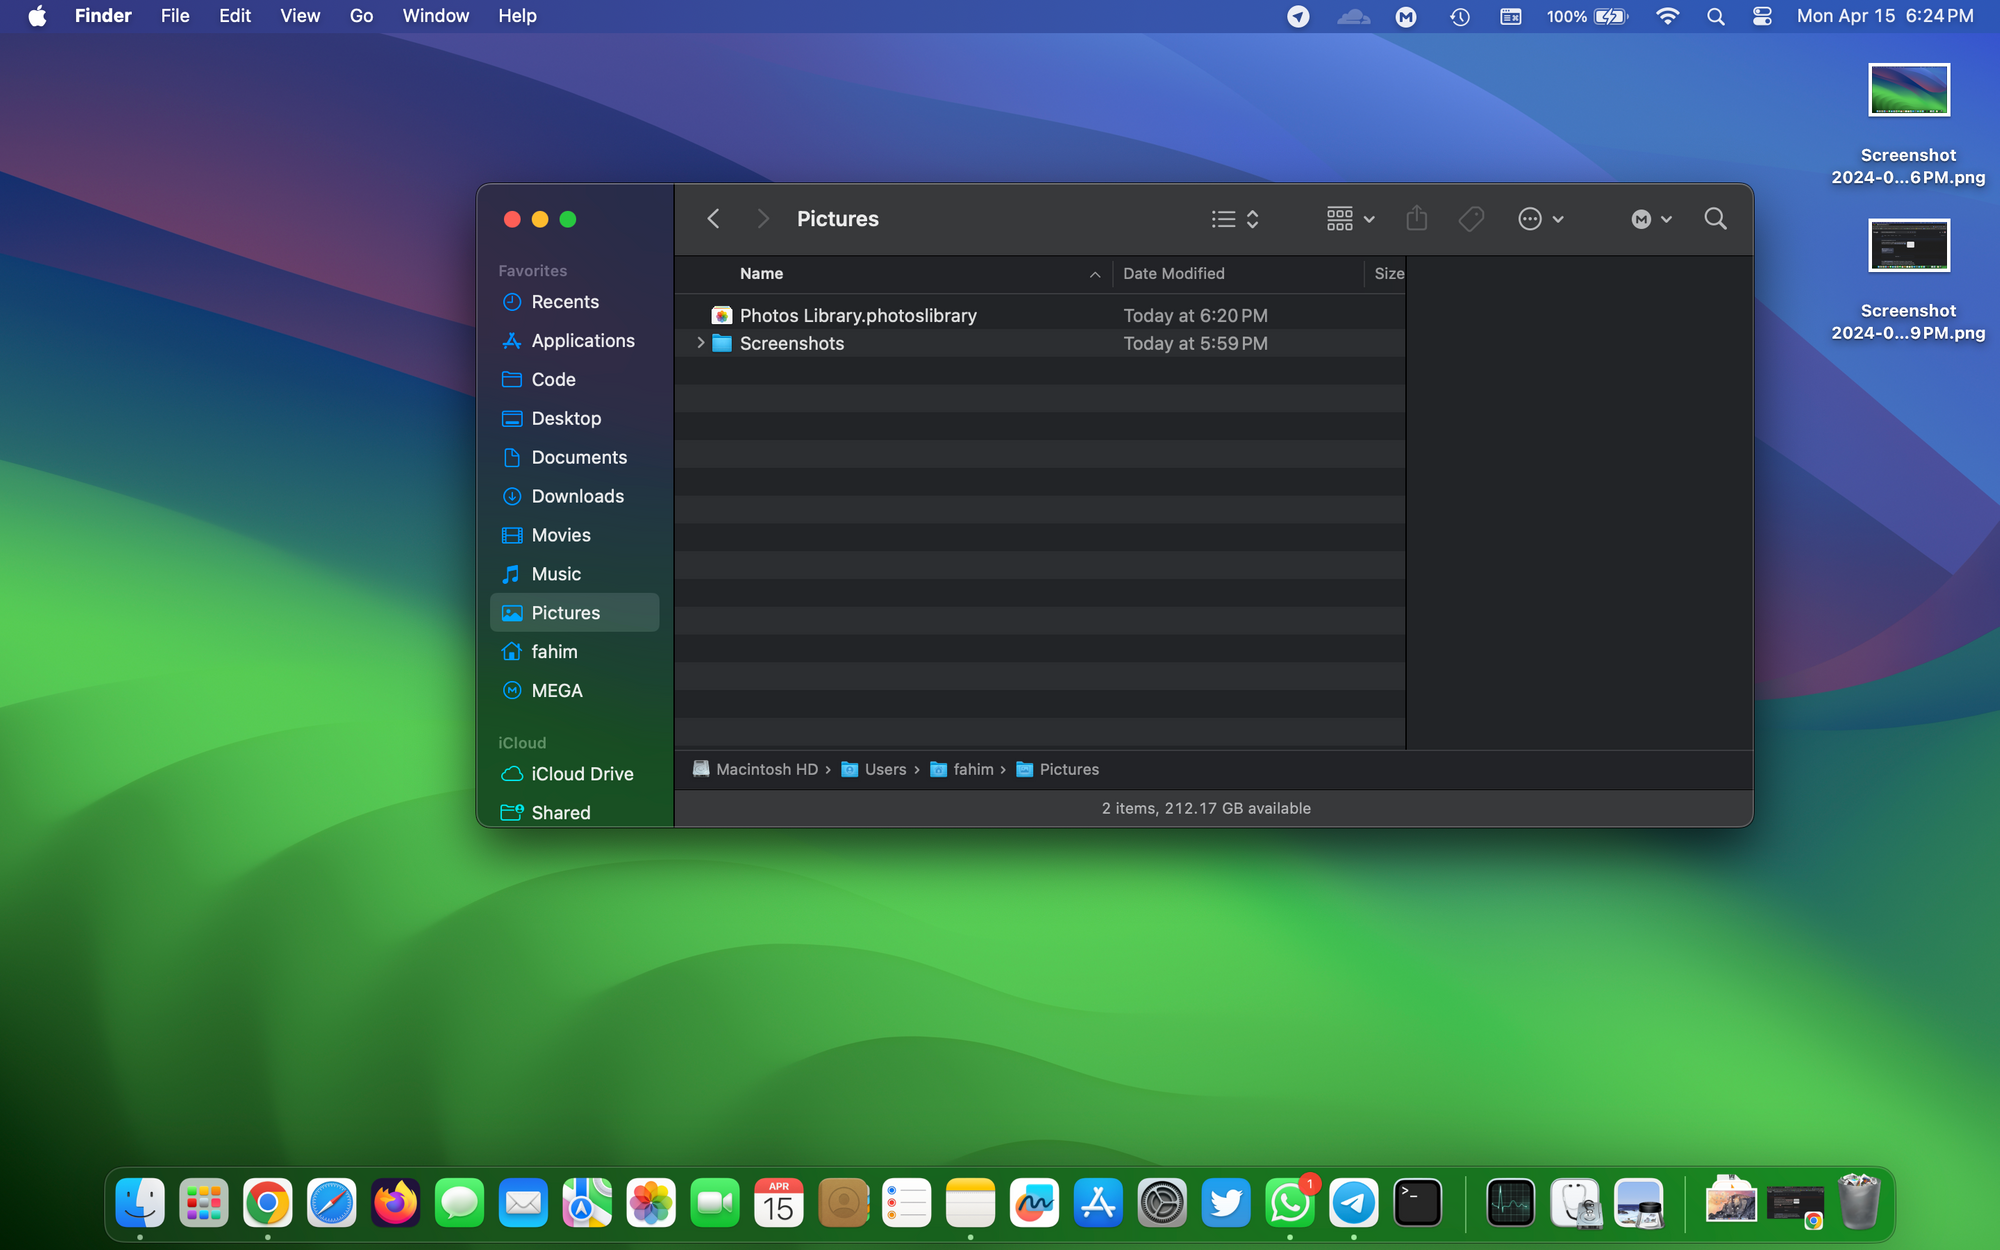 Directory where I want to save the screenshots automatically
How to Configure the Screenshot Tool
Now we need to configure the default screenshot tool on macOS so that it automatically saves the screenshot images to our desired location. Here's how you can do that:
- Use
Shift+Command+5to open the screenshot tool. - Click on "Options". Then click "Other Location...".
- Select that specific location that you created earlier.
- Now click "Ok", or "Open", or whatever it says to confirm that new location.
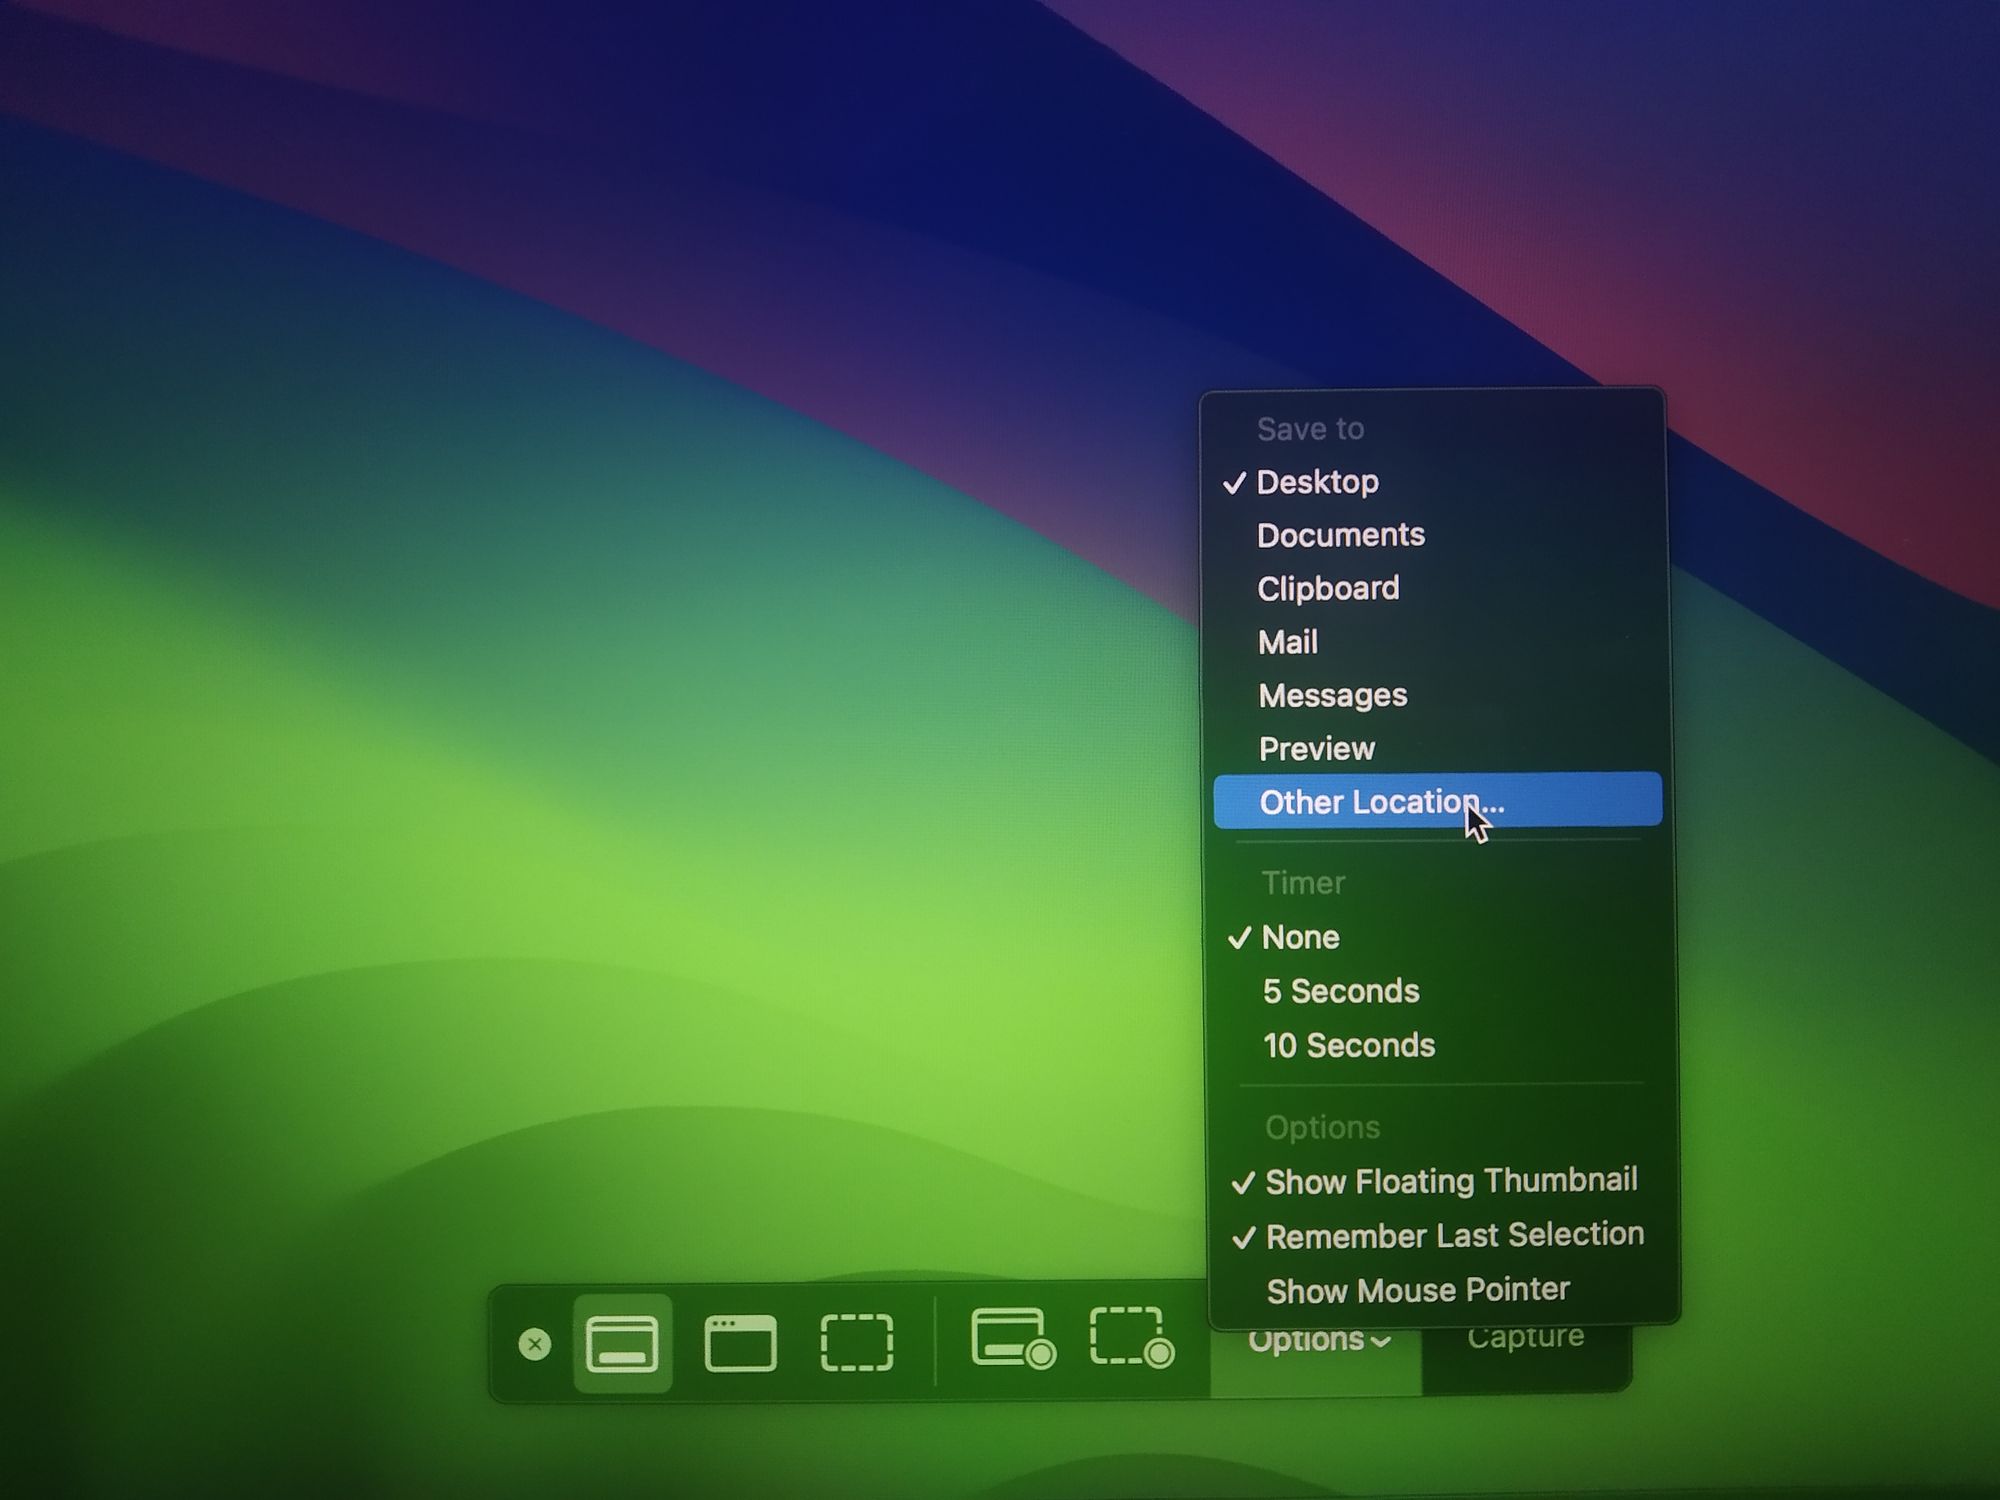 Screenshot tool's options. I captured it using my phone. :)
That's it! From now on, whenever you use the default screenshot tool, it will automatically save all the screenshots in that newly specified location. This will help your desktop remain clutter free!
Screenshot Shortcut
There are many people who still open the Screenshot tool using Spotlight or the launchpad. But there is a dedicated shortcut key for that!
You can use Shift + Command + 3 to take screenshot directly and save yourself a little time.
Conclusion
I hope you have learned something new from this article.
If you have enjoyed the procedures step-by-step, then don't forget to let me know on Twitter/X or LinkedIn. I would appreciate it if you could endorse me for some relevant skillsets on LinkedIn.
You can follow me on GitHub as well if you are interested in open source. Make sure to check my website (https://fahimbinamin.com/) as well.
Thank you so much! 😀
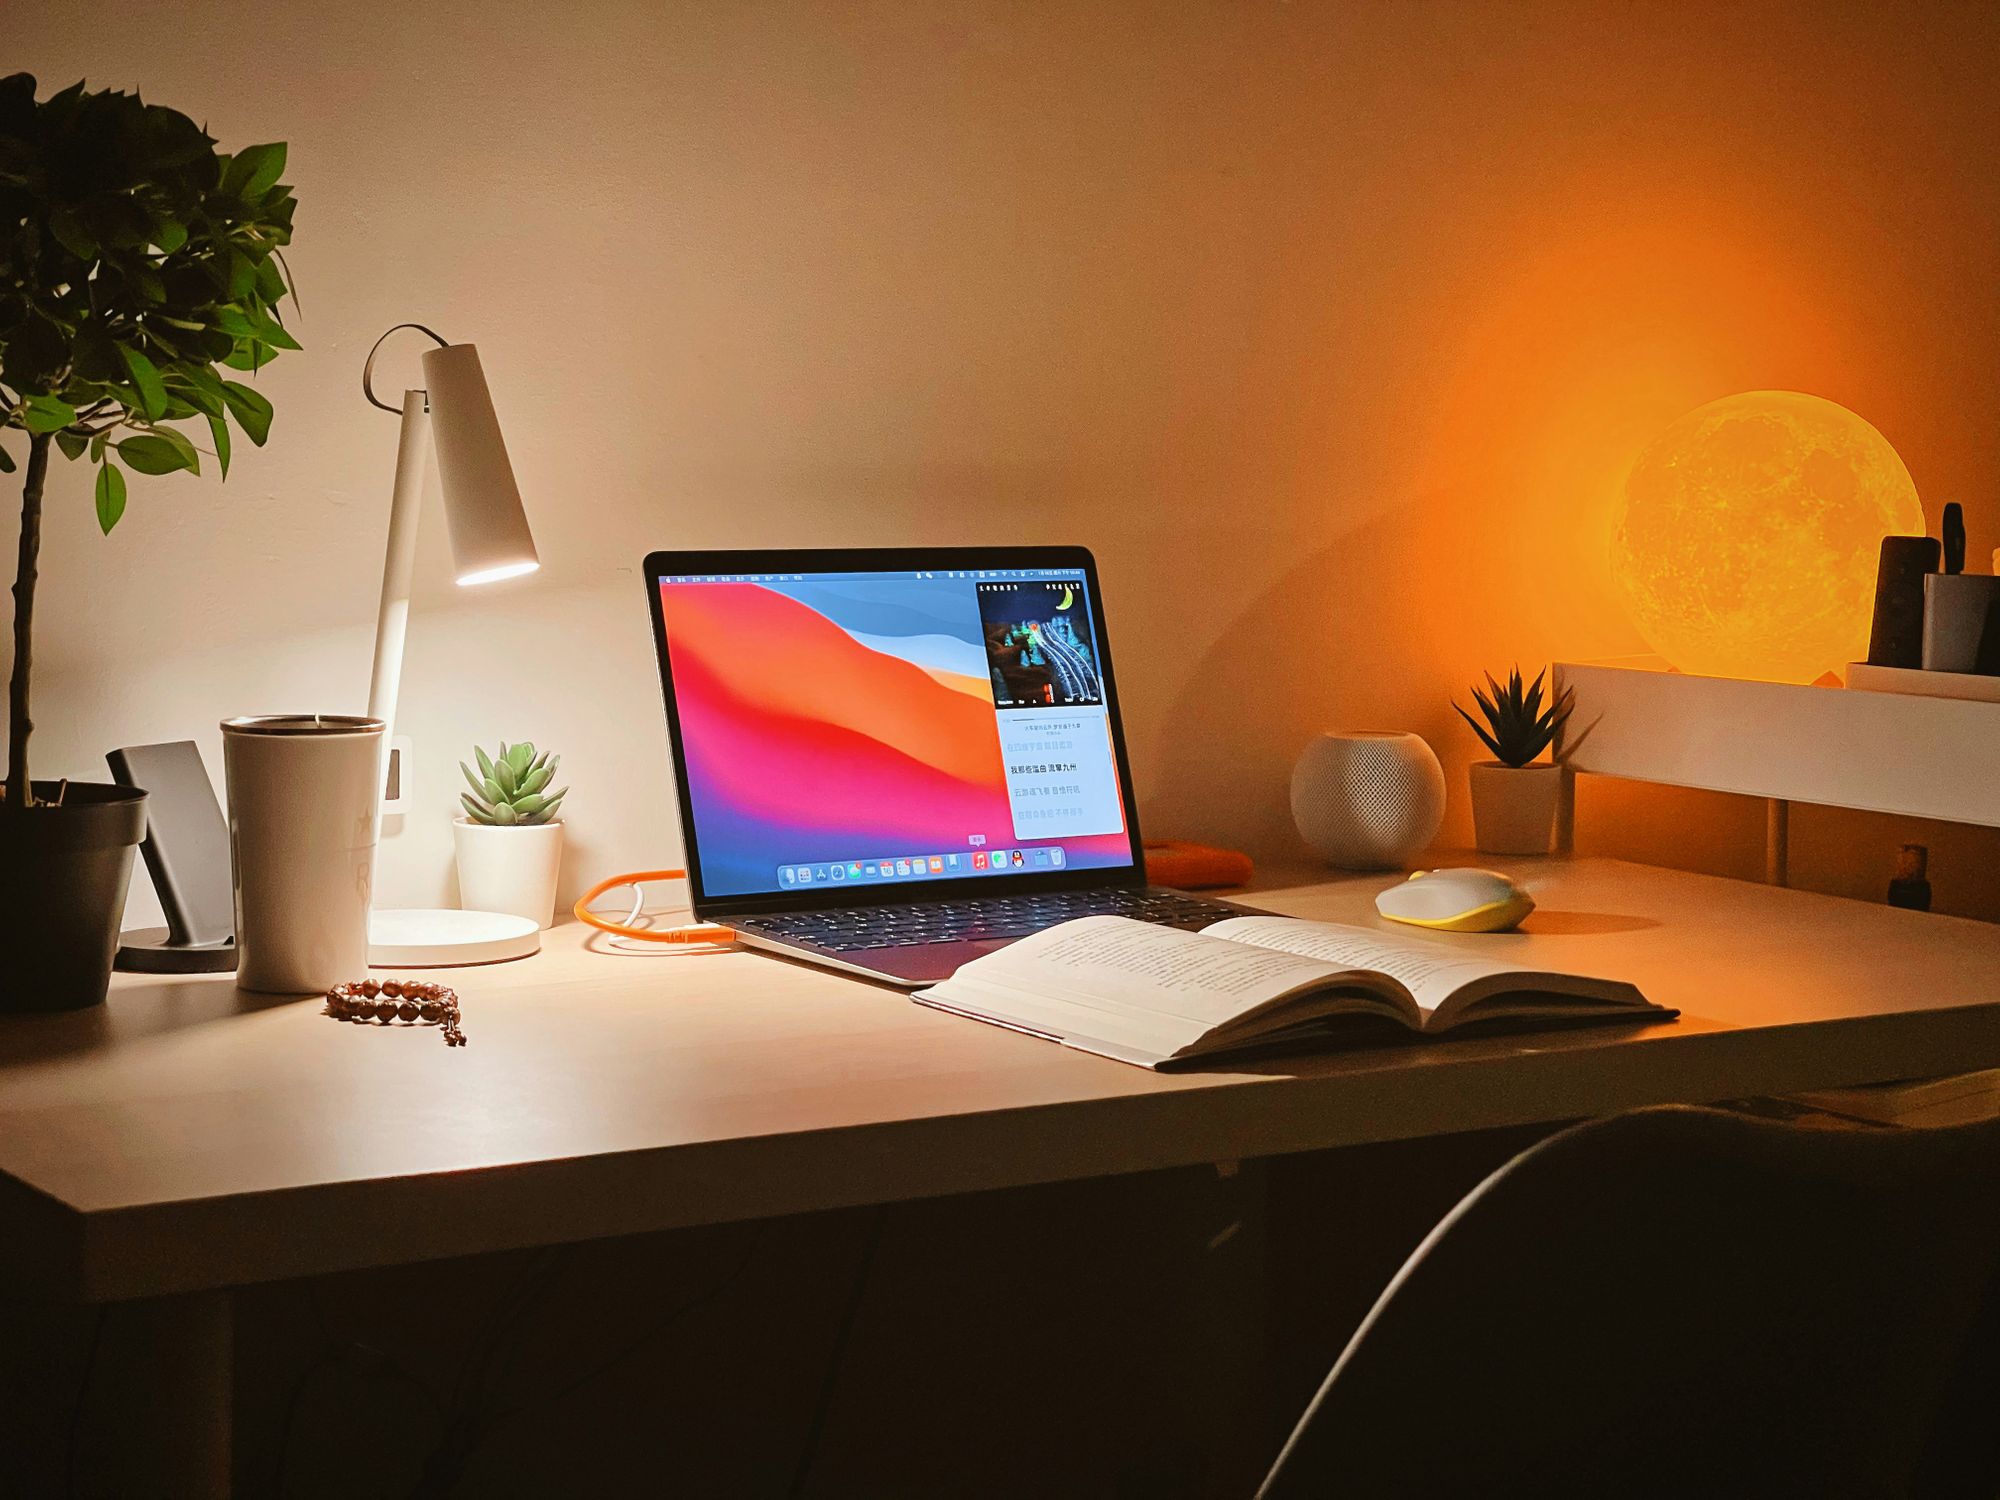
Cover image: Photo by Iewek Gnos on Unsplash