

GitHub is an incredibly useful OAuth provider, especially if you are building an application targeted toward developers.
In this article, we will give you a quick rundown of how to set up a GitHub OAuth application.
Create Your Application
Begin by navigating to your GitHub settings (make sure you are logged in!). Scroll down to the bottom of the sidebar and click "Developer Settings".
This will take you to the application page:
 You may see some applications you've previously authorised.
Click the "New OAuth App" button to create a new application.
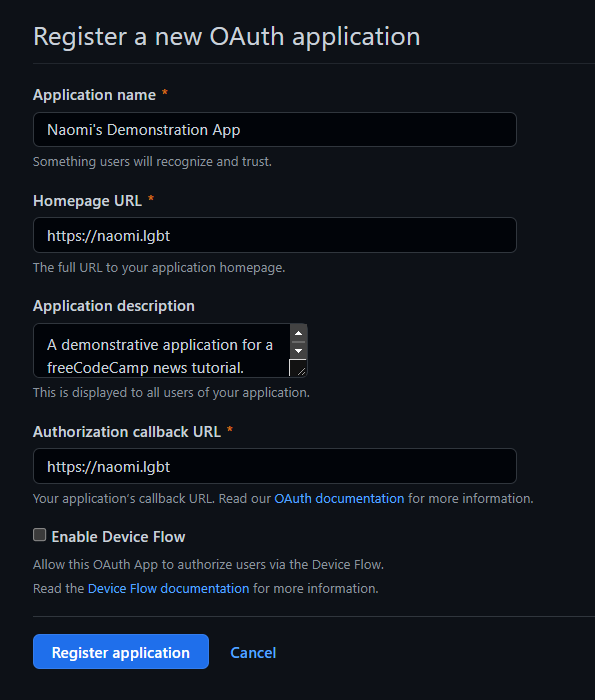
Fill in the form and click "Register application". This will create your application and take you to the settings page.
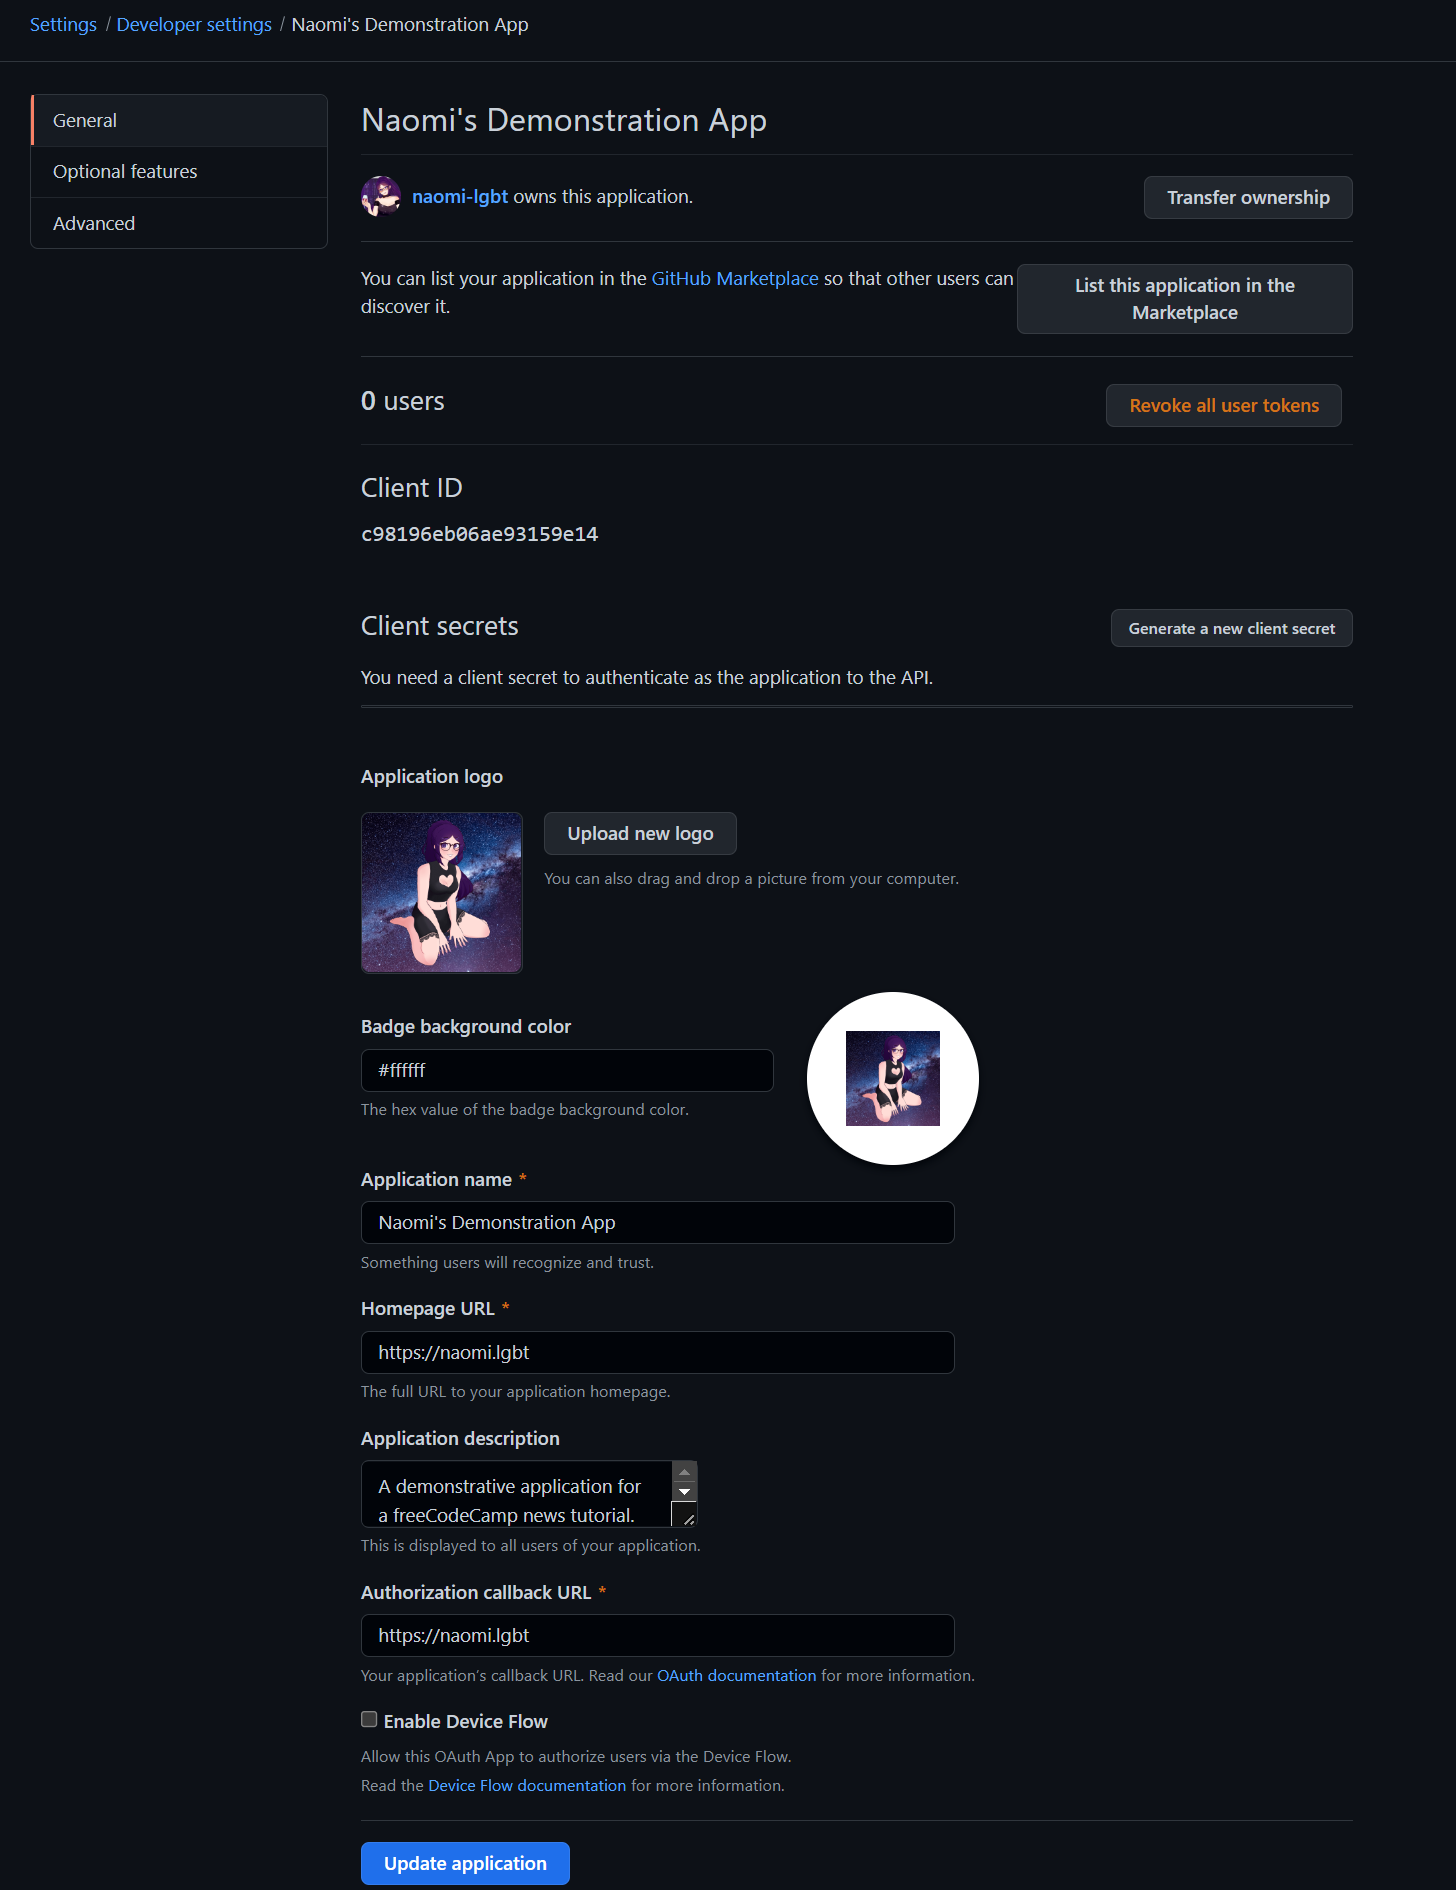
For OAuth applications, you will need the Client ID. You will also need to generate a client secret. Click the "Generate a new client secret" to do so.

Make sure to save this secret in a secure location as you will not be able to view it again.
Using Your New Application
Now that you have a client ID and secret, you can use your OAuth application in your project.
If you want to learn how to do so, freeCodeCamp's curriculum can teach you.
Happy coding!