
By Goran Aviani
A few days ago a Raspberry Pi I use for CI on my personal projects stopped working. The error was easily fixable, but since running anything on that PI was slow from day one, I decided not to proceed in that direction.
Also, because of the same issue I always wanted to switch to another OS – but I never had the proper motivation since everything worked on that Raspberry PI, right? Well the motivation came along with this article :)
Note: The original setup on the Raspberry PI was quite simple: Raspibian OS, VNC Server, and Jenkins.
For you that are new to Raspberries here is a little background at what they are, and what they can be used for.
Raspberry Pi's are basically small computers used most often used to learn programming skills, build hardware projects, do home automation, and some have even found usage in industrial applications.
There are a few different types of PI's on the market today. To learn more about them please visit the their Wikipedia page: https://en.wikipedia.org/wiki/Raspberry_Pi#Generations
Tools you'll needed to complete this tutorial:
- Raspberry PI
- Micro SD card
- Micro SD card adapter for your laptop
- Windows
- Mouse for Raspberry PI
- HDMI cable to connect your Raspberry PI to at TV or any other kind of screen
- Keyboard for Raspberry PI is good to have but not necessary as Ubuntu MATE offers on screen keyboard
Once we complete all the steps, this article will show you how to:
- Set up Ubuntu MATE on an SD card using Windows
- Install Ubuntu MATE to Raspberry PI
- Things to do after installing Ubuntu MATE
There are several OS options for Raspberry PI available, and Ubuntu Mate is just one option. For more info on other options you can check out this article:
Flashing Ubuntu MATE to Micro SD card
The SD card and USB sticks are called a Flash drives because they have a flash type memory in them. So flashing means creating a bootable drive with a specific operating system (OS) on it.
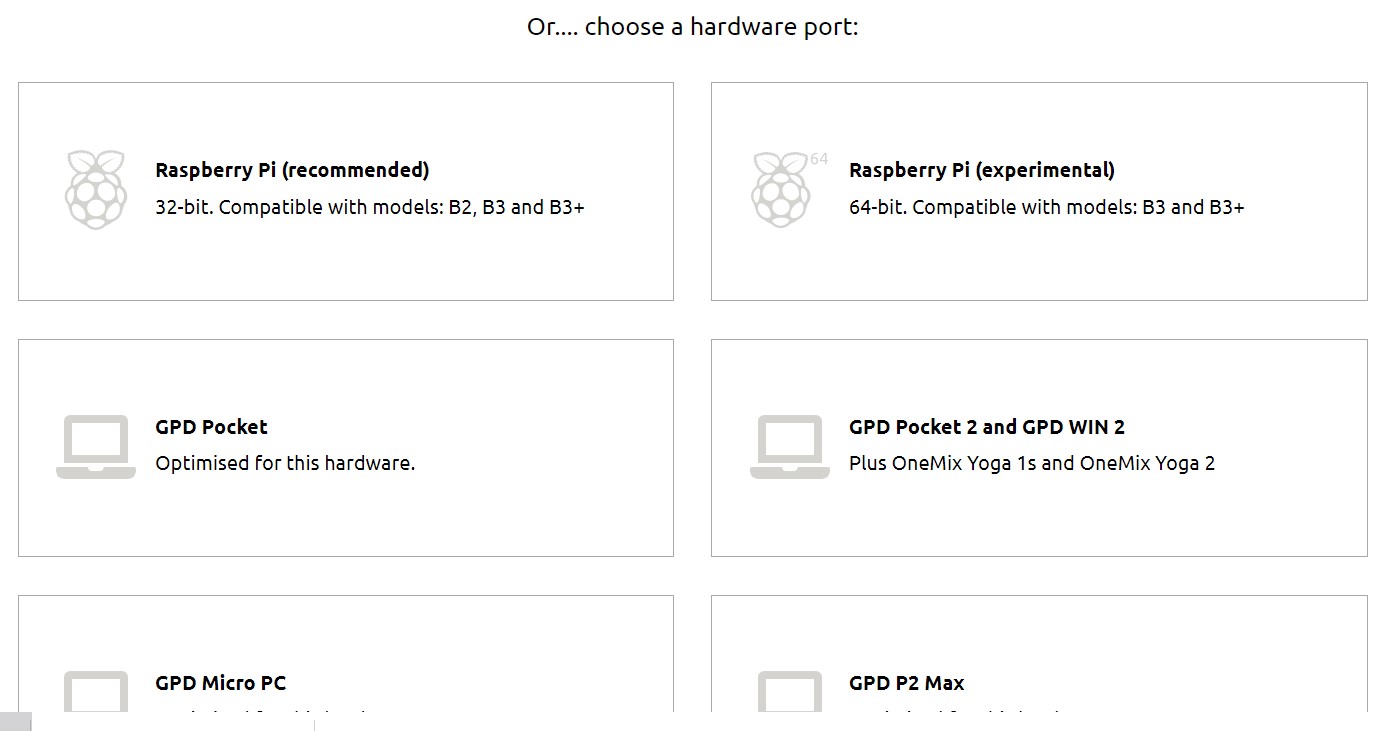
Navigate to the download page of Ubuntu MATE and download the recommended architecture image for Raspberry PI:
Setting Up the SD Card
After downloading the Ubuntu MATE image we need to write it to the SD card. To do that we will use the Balena Etcher tool. Etcher is a tool we will download from here:
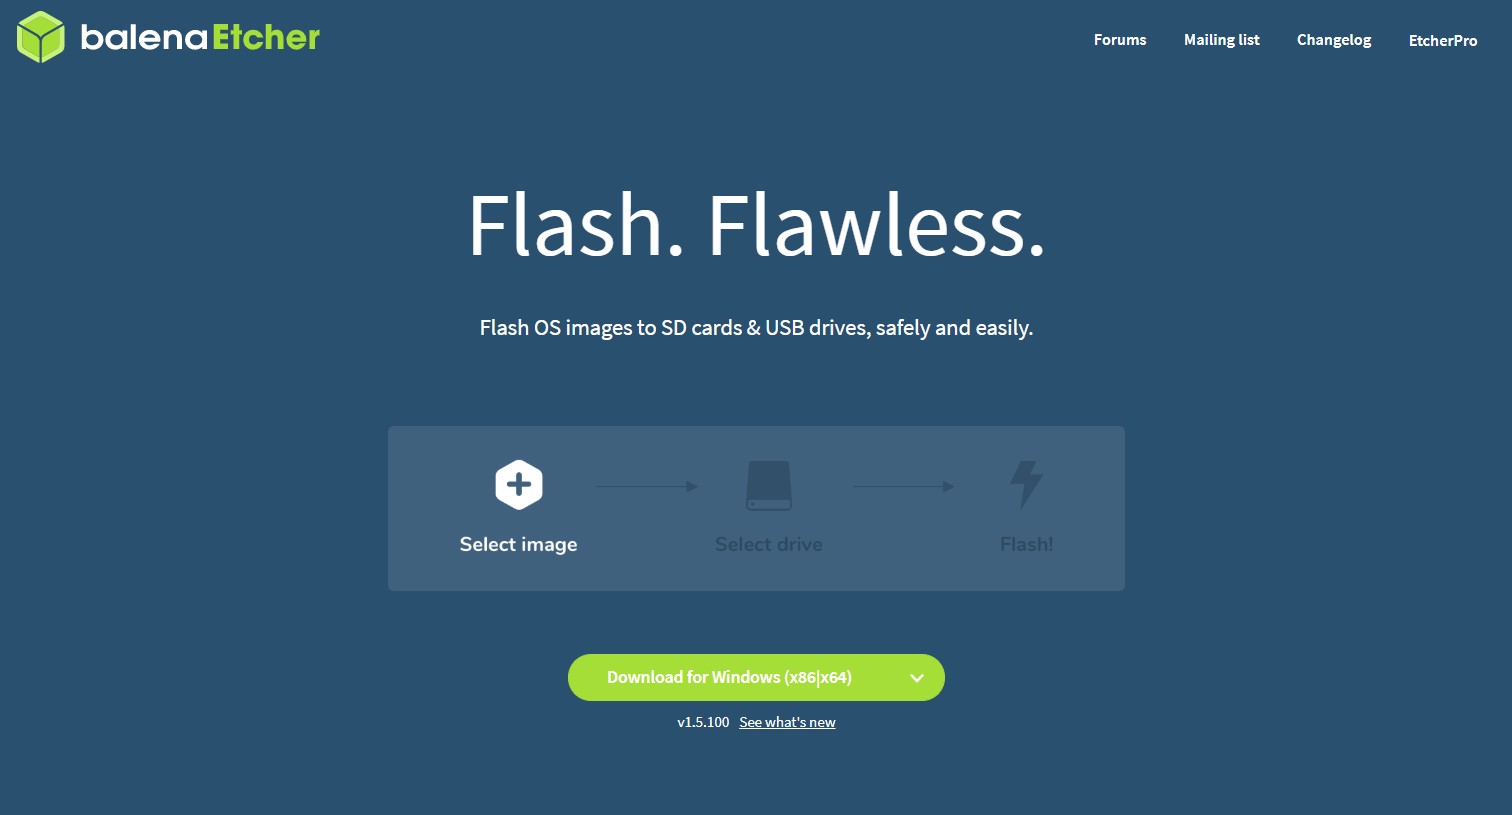
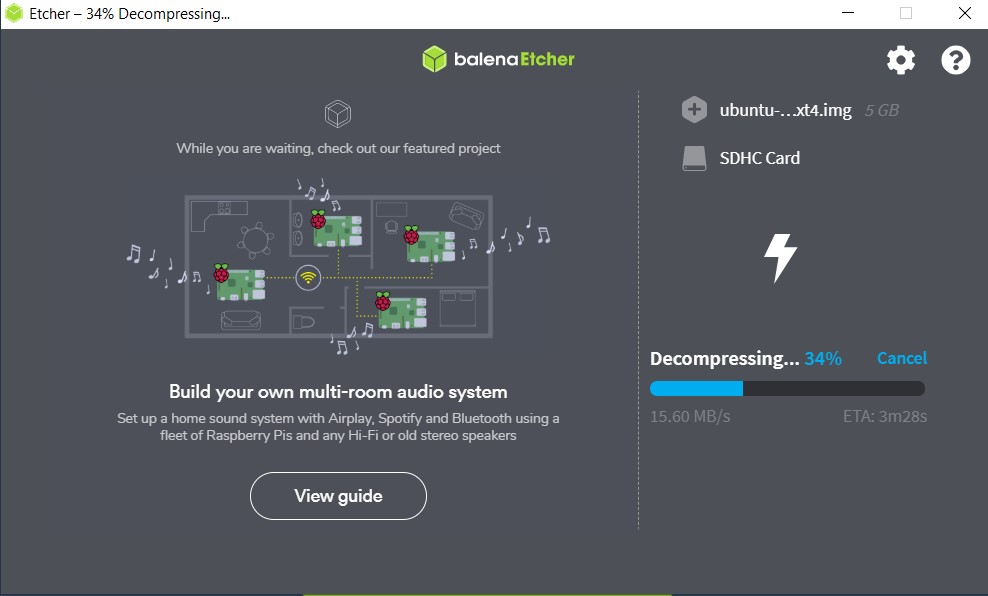
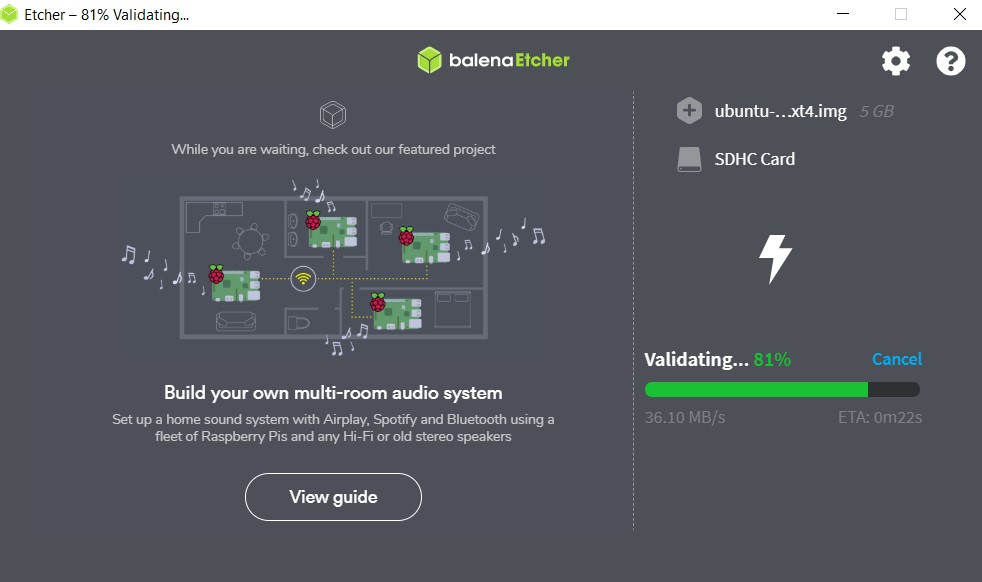
Install Etcher and launch it. Then select the Ubuntu MATE image file you previously downloaded, along with your SD card, and start the flashing process.
Note: Flashing Ubuntu MATE to the SD card takes some time, so feel free to get yourself a cup of coffee.
Once you are done with flashing, take out the SD card from the adapter and put it in the Raspberry PI. Also, this is the step where you will need to connect the PI with the mouse and a screen.
Installing Ubuntu MATE on Raspberry PI
Once you are done connecting all peripherals of the Raspberry PI, connect it to the power source and let it startup.
The Ubuntu MATE installation process is exactly the same as for ordinary Ubuntu. During this process you will be asked to to select your keyboard layout, timezone, username and password. Here is the step by step instalation guide for Ubuntu 18.04: Ubuntu installation.
After the installation is done you will be greeted by the desktop screen.
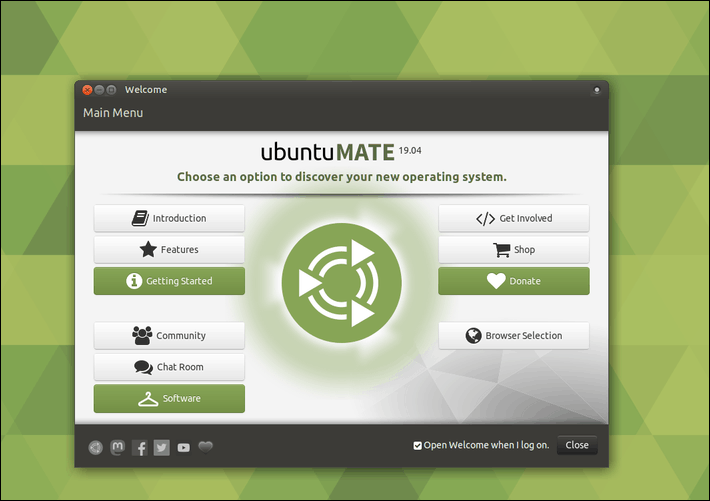 Ubuntu Mate desktop greeting screen
Things to do after installing Ubuntu MATE
Update the local database
This command updates/maps the local database of your local packages with updates, later allowing your system to fetch new versions of the packages.
sudo apt update
Upgrading the installed packages
This command fetches new versions of packages existing on the machine you previously mapped with sudo apt update command.
sudo apt upgrade
Note: Updating Ubuntu MATE takes a lot of time so feel free to get yourself another cup of coffee, and a pastry to go along with it. If you don't have any pastry around feel free to go to the nearest bakery, because by the time you get back you system will probably be 50% upgraded.
Installing the Ubuntu Software application
Software Boutique is the default software center on Ubuntu MATE. However, it has a very limited selection of applications, and one of the more interesting apps needed for my project is missing.
Luckily, since this is an Ubuntu distribution, there is a way to install the standard Ubuntu Software center which has more app choices.
Apparently there is a way of installing Ubuntu Software center via Software Bundle. But when selecting the option to doing that I was stuck and nothing seemed to happen for me so I just used the terminal command:
sudo apt install ubuntu-software
Bra gjort! You have just finished setting up the Ubuntu Mate OS on your Raspberry PI device!
Check out more articles like this on my freeCodeCamp profile, Medium profile, and other fun stuff I build on my GitHub page.