

In this article, you'll learn how to set up reCAPTCHA v3 in your Laravel project. This can be a bit tricky, so I'll help you simplify the process here.
What is reCaptcha?
reCaptcha is a Google service provided for free that helps you protect your websites from spam and malicious attacks.
The new version, V3, has many improvements over previous versions thanks to the new captcha challenges. It returns a score and analytics you can use to take appropriate action for your website.
Here's what the previous version of reCaptcha looks like – but as of the latest release (v3), reCaptcha has changed a lot and has a better user experience.
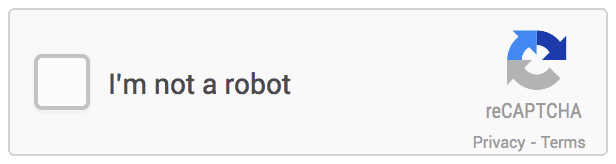 Previous reCaptcha Version
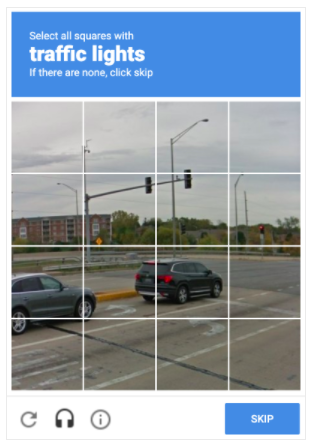 Previous reCaptcha Version
What you'll learn
By the end of this article, you'll have learned the following:
- How to integrate the reCaptcha v3 into your Laravel project
- How to setup a Google reCaptcha admin dashboard
- How to view your website reCaptcha scores and analytics to help you make better security decisions
How to Setup reCaptcha in a Laravel Project
You can follow these simple steps to get reCaptcha set up on your project.
- Install this laravel project if you haven't done so yet
- In the terminal, pull the open-source package into your project with composer.
composer require biscolab/laravel-recaptcha
- Publish the
recaptcha.phpwith this command:
php artisan vendor:publish --provider="Biscolab\ReCaptcha\ReCaptchaServiceProvider"
This will create a file in the config directory, called config\recaptcha.php, where we will add more reCaptcha configurations.
- Visit this link to create a reCaptcha admin account for yourself.
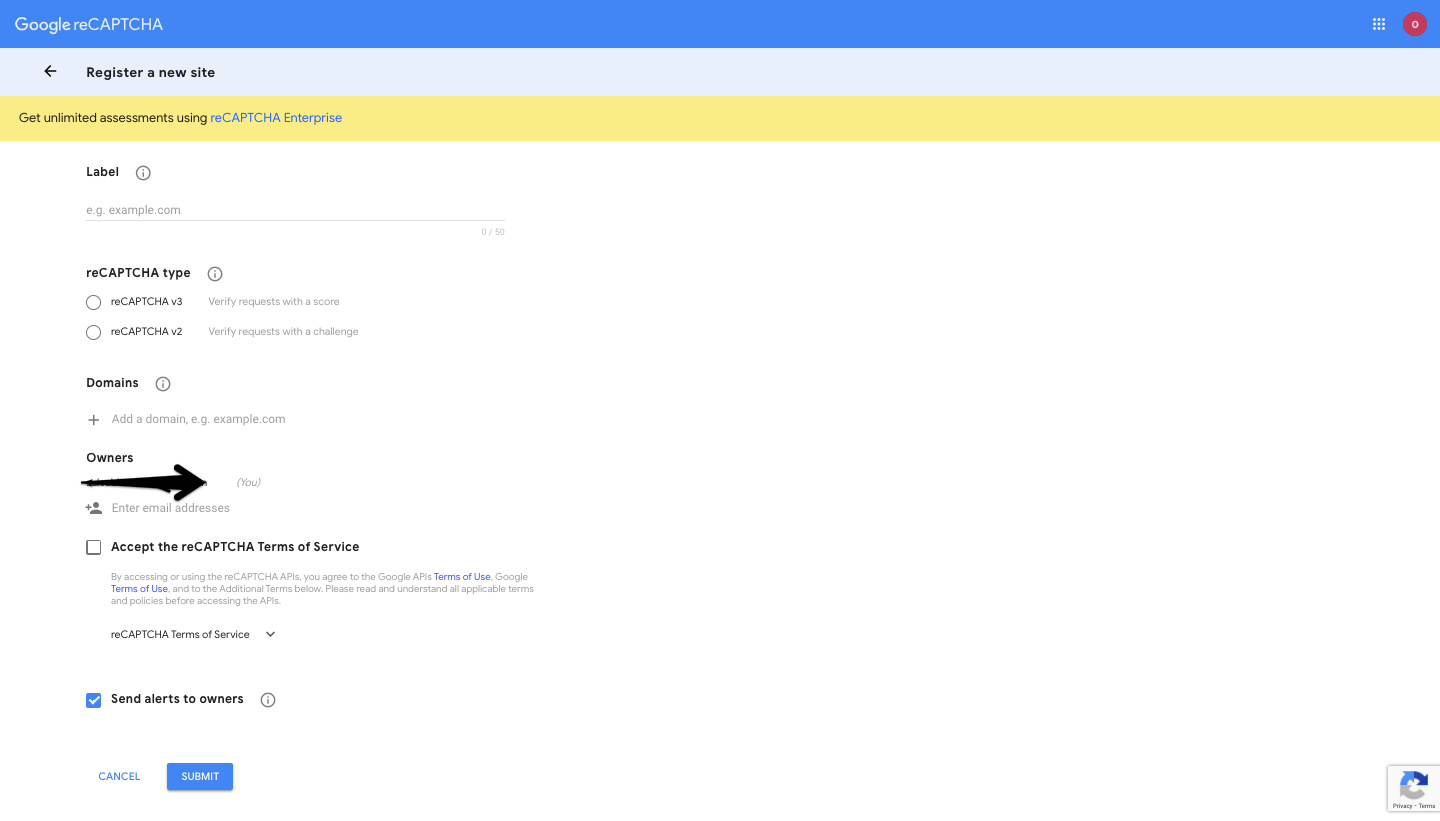 Register reCaptcha v3
To create the reCaptcha admin, you can do the following:
- Add your site name to the label –
localhostorexamplesite.com - Select v3 as the reCaptcha type
- Include domains in the domain section (
localhostorexamplesite.com) - Add the owner's email address to the owner's section
- Check the "accept terms and service" box
Just a note – the localhost is for the sole purpose of developing locally. As such, it should be updated before moving to a production environment.
- Add the reCaptcha to your site
Click the submit button and save your secret keys.
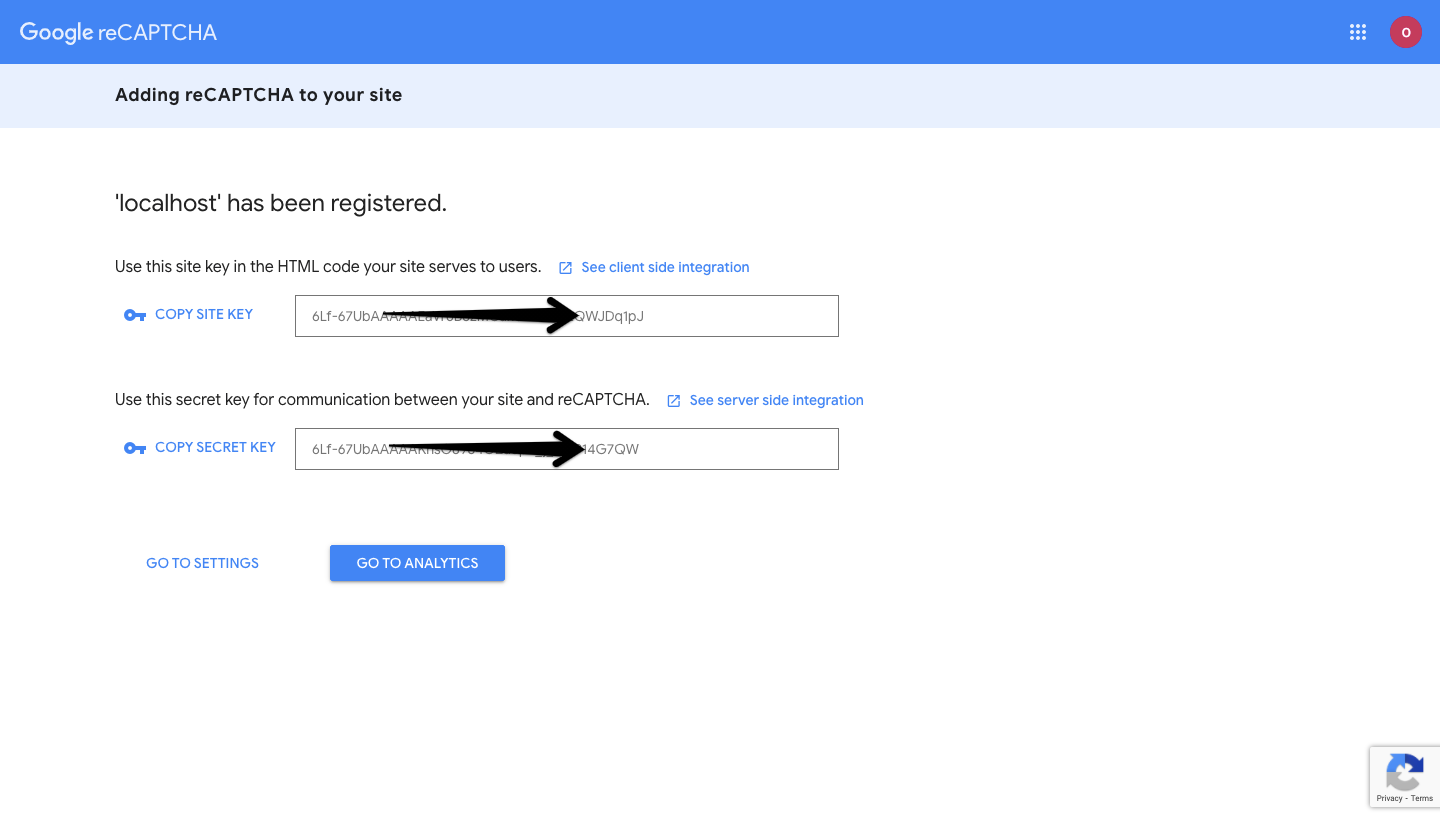 Adding reCaptcha to your site within the .env
- Add the site keys to the
.envfile of your project:
RECAPTCHA_SITE_KEY=ADD_YOUR_SITE_KEY
RECAPTCHA_SECRET_KEY=ADD_YOUR_SECRET_KEY
RECAPTCHA_SITE=https://www.google.com/recaptcha/admin/
Since you have made changes to the .env, it's best to clear all cached configurations so that the new changes take effect. Use php artisan optimize:clear in your terminal.
- Within the
config > recaptcha.phpfile, update the property of the version to V3. It's also important to note that theapi_site_keyandapi_secret_keygenerated via the admin dashboard will be referenced from what we set in the .env file of the project.
return [
    'version'                      => 'v3'
]
You can now head over to the analytics page of the reCaptcha admin to view how well your site is performing, view your scores, and make decisions when you're in a production environment.
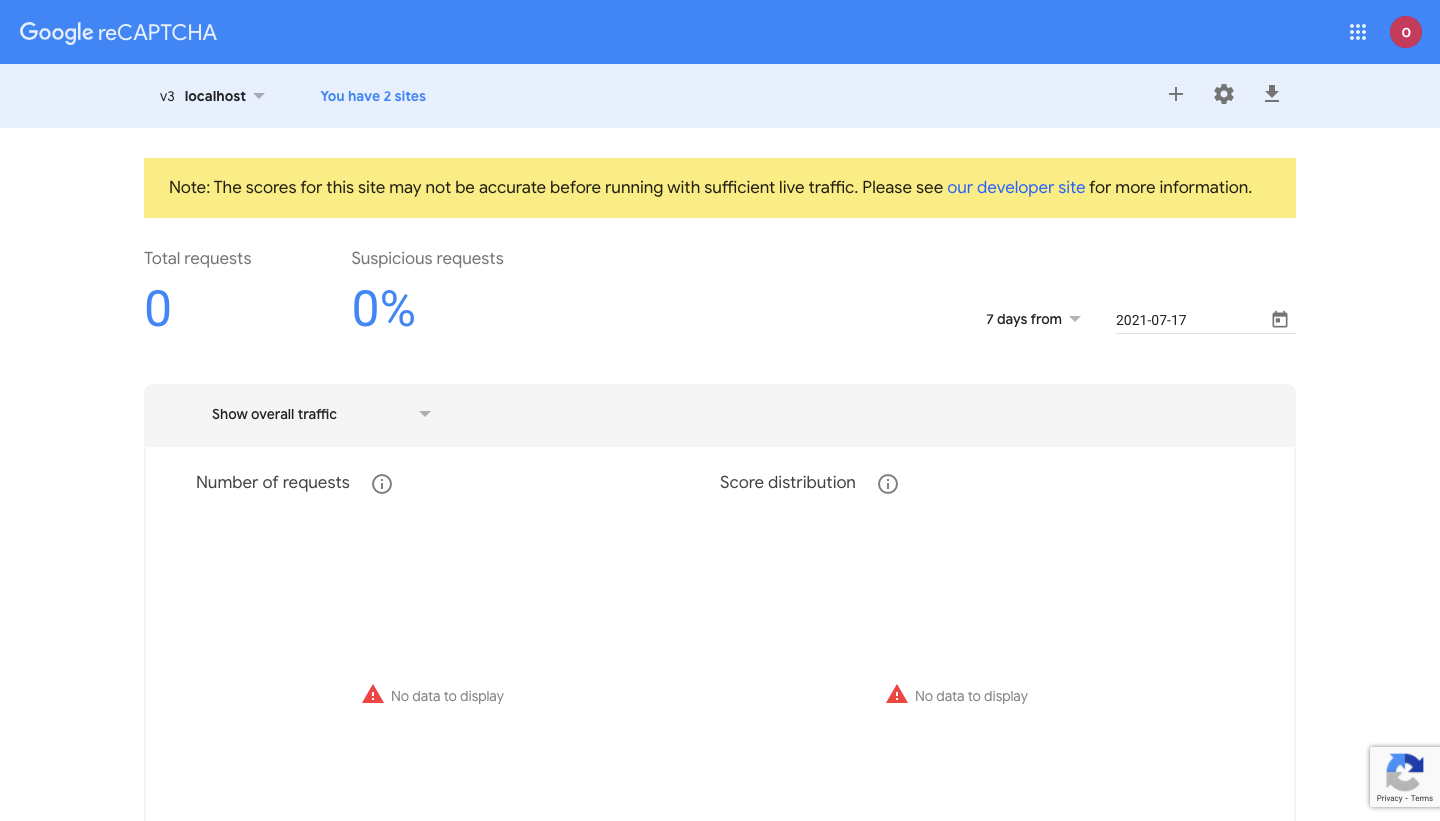 reCaptcha analytics page
The below image shows that reCaptcha has been implemented.

Conclusion
At the end of this article, I hope you'll find it easier to set up reCaptcha and that you'll have a better understanding of what it's all about. Now you should be able to set up the most recent version within your Laravel project.