
By Juliet Ofoegbu
As a developer, what comes to mind when you hear the word "API"? For me, I think of the word "connector", something that connects one thing to another.
So, what exactly is an API? API stands for Application Programming Interface. APIs connect different software applications, websites, and web services and let them share information and interact with each other.
In this tutorial, you'll learn what Web APIs are and why they're useful. Then you'll see how to implement them in a React project. To follow along with this article, you'll just need some basic coding knowledge.
What Are Web APIs?
Web APIs allow different software applications to communicate and interact with each other over the internet. These APIs give developers the ability to access external data from third-party providers like payment gateway platforms, social media platforms, weather services, video streaming platforms, crypto platforms, and so on.
Let's say you're about to leave the house and you're skeptical about the weather. You pick up your phone and open the weather app to check what the weather will be like for that day.
Remember that there are many people like yourself who will also check their phones for the weather that day. They may be in different locations and may want to check what their specific weather will be like.
These weather apps installed on people's phones aren't storing all the weather data everyone needs every day. Instead, they use an API to connect to a remote weather service on the internet. The API gives the app access to the latest weather information like temperature, humidity, and weather forecast and it can then display that info on the app or tell you what the weather is like or will be like.
APIs are used practically everywhere, from banking to social media, music and video streaming as well as lots of other stuff on the internet.
Web developers rely on external data when building web applications to enhance the functionality of their apps and create a great user experience for their users.
In this article, we'll be exploring the benefits and use cases of web APIs in development. We'll also go through the basic steps for integrating an API in an application. Ready to dive in? Let's get started.
Benefits of Using APIs
There are some benefits that come with using APIs in building applications. Let's discuss them now.
Enhanced User Experience
Web APIs enhance users' experience by offering them services like social media log-in options, geolocation services, weather forecast, and so on.
Now imagine a situation where users visit your logistics app, and they can't perform complex operations like tracking their goods or making use of map functionalities. There's just static data present there. That doesn't sound like an app that provides a good experience for users.
This is where Web APIs come in, and allow you to provide those services to your users.
Reduced Development Time
Developers can leverage existing APIs to build web applications with specific functionalities instead of building them from scratch.
For example, let's say I want to build a food-ordering web app. I'd need to have access to a list of foods I'd want to provide. If there wasn't an API available on the internet, I'd have to build it from scratch or at least create a database of food items right there on my application.
Fortunately, there's a list of food APIs that'll make this easier and faster for me, so I don't have to waste time and effort building this complex functionality from scratch. I'll just go ahead and focus on the main aspects of my web app. That is another benefit of web APIs in development.
Enriched Applications
You'll often need to build applications that provide real-time and up-to-date data from various sources in order to enrich your applications. APIs can provide you with real-time data for weather conditions and forecasts, sporting events, and so on.
APIs like OpenWeatherMap, SportsPageFeed, and Amazon Price are just a few examples of real-time APIs available on the internet. There are even a few real-time APIs for getting real-time price updates for cryptocurrencies.
Staying Updated
Users of your web apps need to stay updated with current news, the weather forecast, or updates. Now if you build an application with static data that may become outdated or obsolete, this could be a problem.
To make sure that users still use your app, you would need to go back to your development codebase and make the necessary changes there.
But if you fetch data from an API instead, those changes to the data are automatically updated on your app. This is because third-party APIs often receive updates and improvements and so the app benefits from the additional features and updates.
Use Cases of Web APIs in Web Development
Here I'll be discussing some common use cases of web APIs in building web applications.
Payment Gateways
When building an e-commerce website or application or any application that basically requires users to make payments, payment APIs like Paystack, Paypal, and Stripe allows developers to integrate a secure payment processing method into their applications.
Social Media Integration
I'm not sure about you, but when I visit an application that requires me to sign up and log in, I prefer being able to log in using a social media platform or Google. Social media sites such as Twitter, Facebook, and Instagram allow developers to include social media login options and share buttons in their apps using APIs.
Weather Services
Weather APIs provide real-time weather information for various geographical regions. You can utilize these APIs to create a functional website or application, such as a weather app.
Video and Audio Streaming
Platforms like YouTube and Vimeo provide APIs that enable developers to integrate video and audio content into their web applications.
Assume you want to build a Spotify clone. You certainly can't input all the music available out there, one song after the other, into the application. That'd be stressful and nearly impossible, considering there are many millions of songs available online.
Spotify provides an API that allows you to simply implement this feature by retrieving data from an API endpoint.
Email Service Integration
You might have come across a website or app where users can send emails directly from the application. You can utilize email service APIs like Emailjs, Sendgrid, and Mailchimp to implement this feature.
This can be useful when building a portfolio, for example, as you can create a "Contact me" form that potential clients can message you from to request your services. This message, along with the sender's name and email, will be sent directly to your specified email address.
Geolocation and Mapping
Developers can embed geolocation and interactive maps on their applications by using related APIs on the internet like the Google API.
For example, assume you're creating a website for a restaurant that operates offline. Some users may choose to visit the location in person rather than ordering in. You can integrate an interactive map API into your website so that users can locate the restaurant easily.
Content Access
Do you want to build applications that retrieve news data from a variety of industries? There are lots of APIs that provide this information and you can leverage them to build interactive web applications.
For example, say you publish articles on platforms such as Dev.to, Medium, or Hashnode and want to display your work on your portfolio. Instead of manually adding your blogs to your site, you can utilize the platform's APIs to pull them and add them to your portfolio site.
How to Implement Web APIs in Your Projects
Now let's talk about how you can implement APIs in your applications. I'll go over the general process first, and then we'll look at a concrete example.
First, you'll need to register on the specific API provider's platform you intend to use in order to get an API key or access token. This is a unique identifier given to each user/developer.
Before integrating the Paystack payment processing tool, for example, you'll need to register and login to the platform before you're granted access to the API key in your profile settings.
These API keys can be public or private. They can also be in test or live mode, just like Paystack. The image below displays the Paystack platform's settings page, where you can obtain an API key.
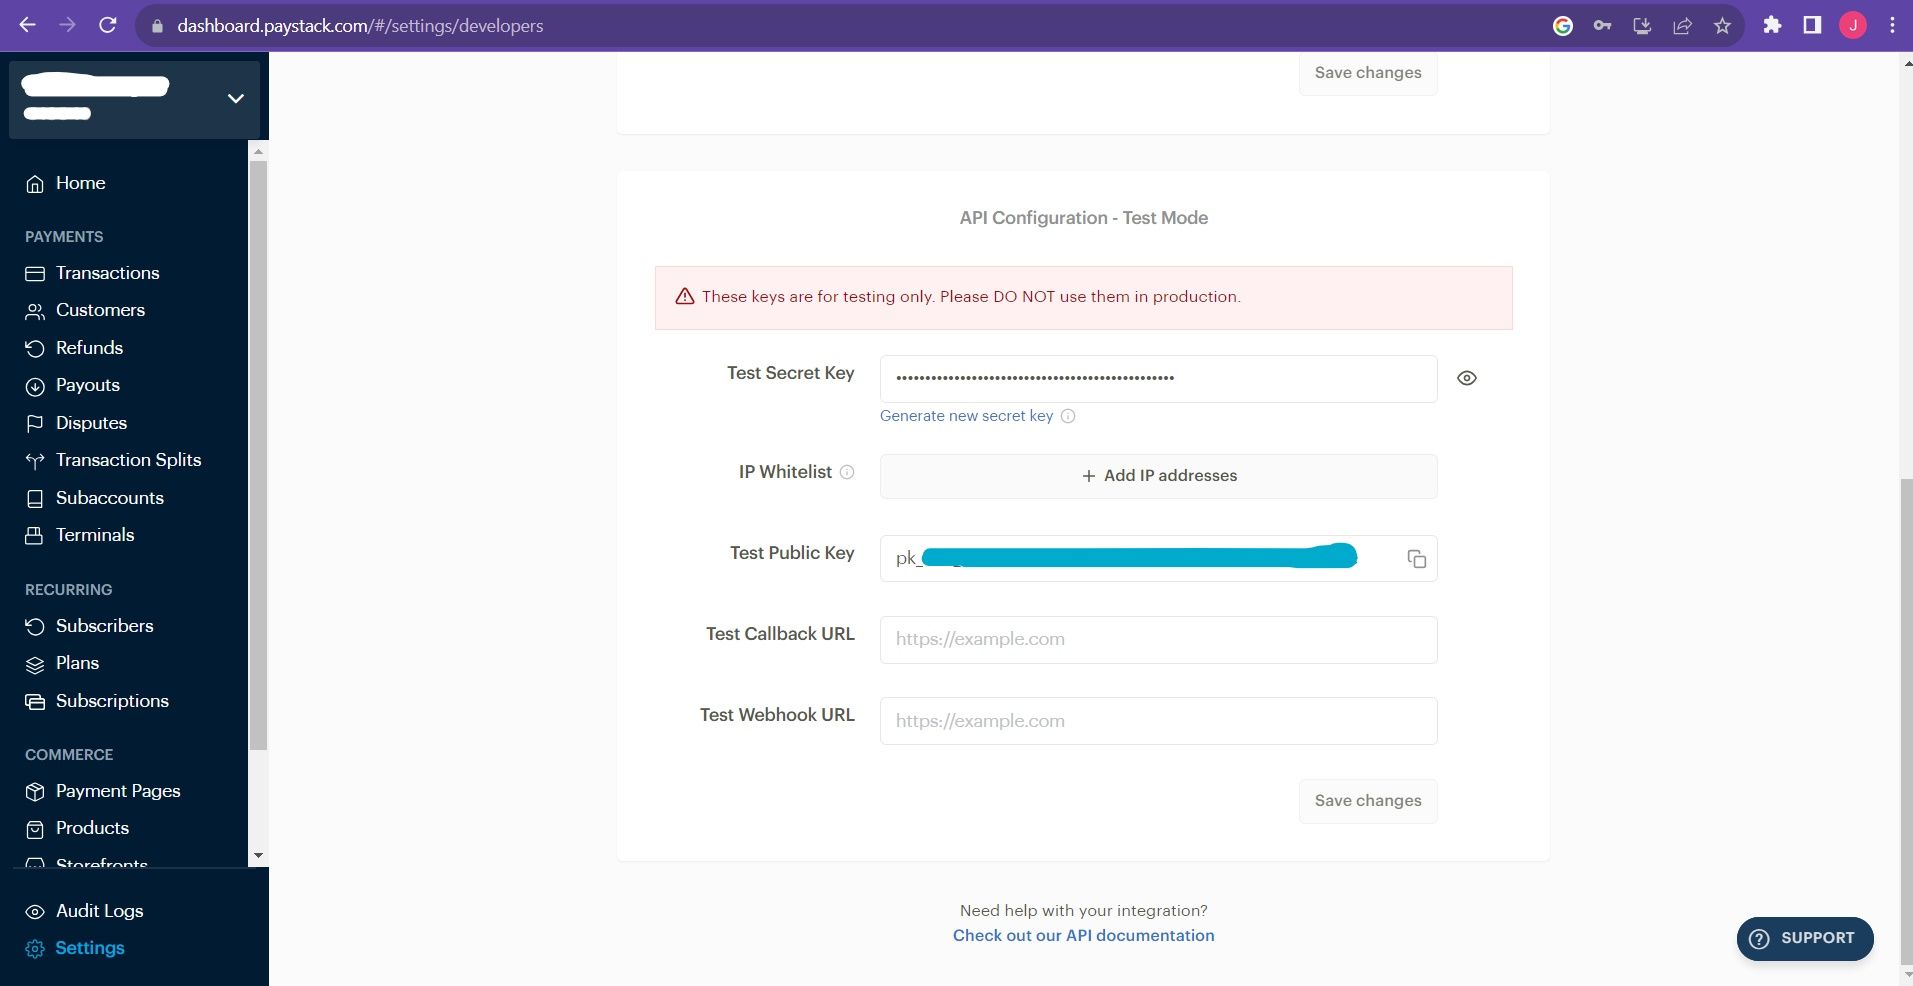 Paystack settings page
Next, you'll start making API requests. You'll need to use different HTTP request methods like GET, POST, PUT, and DELETE to interact with these API endpoints and retrieve data from the API.
Finally, you'll need to parse the API responses. When these data are retrieved, the API responses are often in JSON or XML format. You'll need to parse these responses in order to extract the information that's relevant to your applications.
After extracting the data, depending on what you're building, you can then make it available for users to utilize and perform certain operations on your application.
Practical Example of Using Web APIs
To give you a quick demo of how you can use web APIs in the real world, I'll be building a basic food recipe app. This app will perform a simple operation of fetching some data relating to food users are searching for.
To follow along with this example, you'll need to signup for or log in to Edamam (it's free). It's a site that has a food database API, recipe search API, and so on.
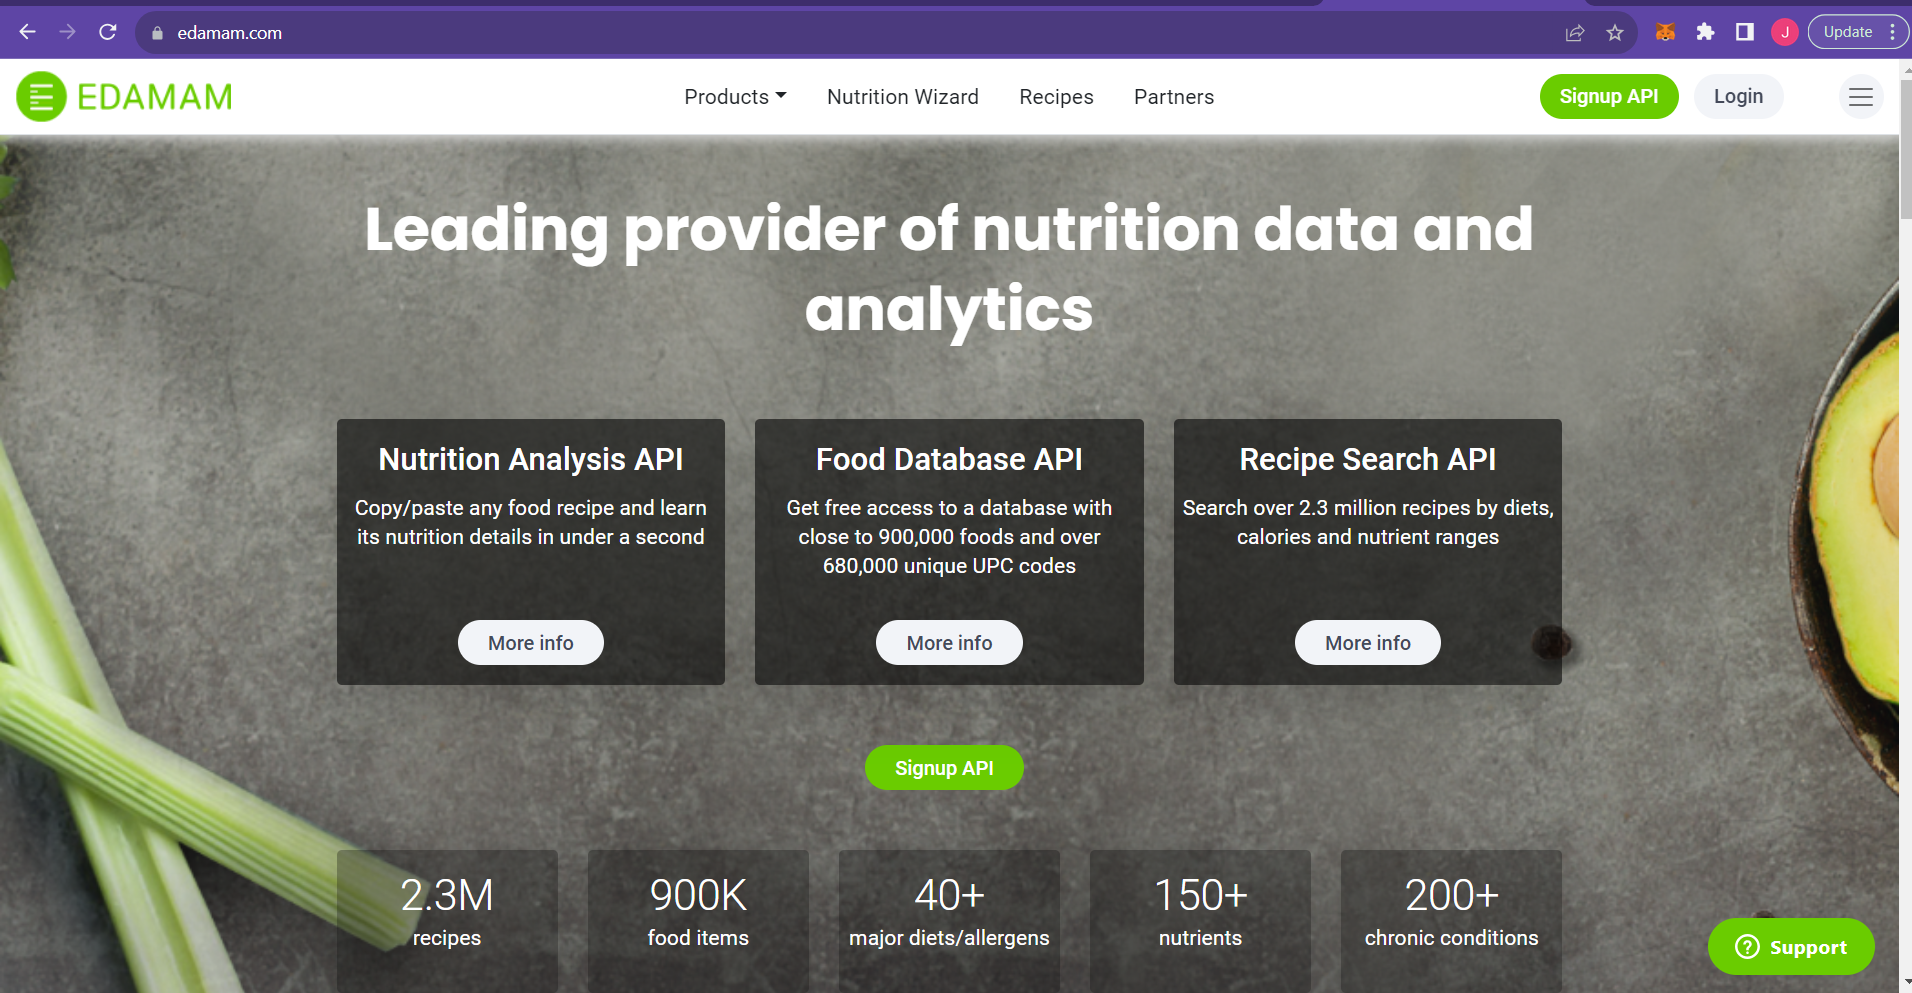
After you've successfully logged in to the site, go to your dashboard and select the "Applications" tab. Click the "view" button to view your App ID and App key. You'll use these values in the main code so keep them handy.
Start up a project in your code editor. In this case, we'll use a React application set up using npm or Vite.
You'll be making use of two files for this example. One is the App.js or App.jsx that comes by default in React. You'll create the other file/component yourself. You can name it whatever you want to. I named mine Recipe.js.
How to Build the App Component
Paste the lines of code below into your App component. I'll explain what these lines of code mean below:
import React, { useState, useEffect } from "react";
import Recipe from "./Recipe";

function App() {
  const APP_ID = "Your_API_ID";
  const APP_KEY = "Your_API_Key";

  const [recipes, setRecipes] = useState([]);
  const [search, setSearch] = useState("");
  const [query, setQuery] = useState("Rice");


  useEffect(() => {
    const getRecipes = async () => {
    const response = await fetch(`https://api.edamam.com/searchq=${query}&app_id=${APP_ID}&app_key=${APP_KEY}`
      );
      const data = await response.json();
      setRecipes(data.hits);
      console.log(data.hits);
    };
    getRecipes();
  }, [query]);

  const updateSearch = (e) => {
    setSearch(e.target.value);
  };


  const getSearch = (e) => {
    e.preventDefault();
    setQuery(search);
    setSearch("");
  };

  return (
    <>
      <section>
        <form onSubmit={getSearch}>
          <input
            type="text"
            value={search}
            onChange={updateSearch}
            placeholder="Input food" />
          <button type="submit">
            Search
          </button>
        </form>

        <article>
          {recipes.map((recipe) => (
            <Recipe
              key={recipe.recipe.label}
              title={recipe.recipe.label}
              image={recipe.recipe.image}
              ingredients={recipe.recipe.ingredients}
              cuisine={recipe.recipe.cuisineType}
              dish={recipe.recipe.dishType}
            />
          ))}
        </article>
      </section>
    </>
  );
}

export default App;
So what does the above code do? This App component is the main component for rendering the entire food app.
- First, we import the
useStateanduseEffecthooks as they're used to manage the state and lifecycle of the application. - Remember the API ID and API key that you got from the Edamam website on your profile, as you'll need them now. Replace those in the code above with your own values.
- Then we'll set three states. The first state,
recipes, will be used to store an array of recipes objects that will be fetched from the Edamam API. The second state,search, will store the user's input for searching for a particular food recipe. The last state,query, will represent the query string that will be used to fetch the food recipe based on what users' input. - The
useEffecthook will be implemented here to fetch food recipes from the API whenquerystate changes. It sends a request to the API with the user's input (stored in thequerystate) and sets the retrieved recipes to therecipesstate. - The
updateSearchfunction updates the search state whenever the user types something in the search input field. ThegetSearchfunction is triggered when the user submits the form, and it updates thequerystate with the value of search to fetch the appropriate recipes. - This App component will then iterate through the
recipesstate using the map function and render the Recipe component for each recipe. Then it passes the recipe's data as props to the component. The Recipe component has been imported in the second line of code.
How the API Works
So how does this API work that allows us to connect to it and fetch information? Let's go through how we use this external API provided by Edamam to these fetch recipe data in the application
First, we have our API endpoint. An endpoint is like a URL that you can use to make requests to get some information about something. In this simple application, the API endpoint is made up of the APP_ID and APP_KEY (authentication tokens) along with the user's search query – https://api.edamam.com/search?q=${query}&app_id=${APP_ID}&app_key=${APP_KEY}.
When a user enters a search item and submits it, the app will send a request to this endpoint.
The app sending this request is simply asking the server, in this case, the Edamam server, to provide a response containing the recipe data for the food item entered.
You can use a fetch function to make this request. In this app, the getRecipes function uses the query state to specify the type of recipes to fetch.
Next, the Edamam API server processes this request and sends back a response containing the data requested. API responses come in different forms like JSON, XML, CSV, and so on. In this case, the response is in JSON format, and it contains an array of recipe objects.
The last step involves updating the state. The setRecipes function is used to update the recipes state with an array of recipe objects that the API response provides. The component is re-rendered, and the app then displays the updated recipe information on the page.
How to Build the Recipe Component
Now let's move on to the Recipe component. This component renders the details of the food recipe that will be fetched from the API.
import React from "react";

const Recipe = ({ image, title, cuisine, dish, ingredients }) => {
  return (
    <>
      <section>
          <div>
            <article>
              <figure>
                <img src={image} alt="food" />
              </figure>
              <div>
                <h2>{title}</h2>
                <p>Cuisine type: {cuisine}</p>
                <p>Dish Type: { dish}</p>
                <div>
                  <p>Ingredients:</p>
                  <ol>
                    {ingredients.map((ingredient) => (
                      <li>• {ingredient.text}</li>
                    ))}
                  </ol>
                </div>
              </div>
            </article>
          </div>
      </section>
    </>
  );
};

export default Recipe;
- This component takes some props as input: image, title, cuisine, dish, and ingredients. Each of them contains details of the food recipe.
- The Recipe component then renders the recipe details using these props. Each recipe is displayed as a card with the following information: The recipe image, the recipe title, the cuisine and dish type, and the ingredients displayed as an ordered list with each ingredient as a list item.
So, in summary, the App component uses the Recipe component to render the food recipes based on the user's search input. Each recipe is displayed as a card with its corresponding details. And that's it. That's how to build a simple food recipe web app.
Add Some Styling (Optional)
If you've been following along to build this simple app, your app won't look so great because no styling was added. Go ahead and style your app as you like. Here's how mine looks like after styling:
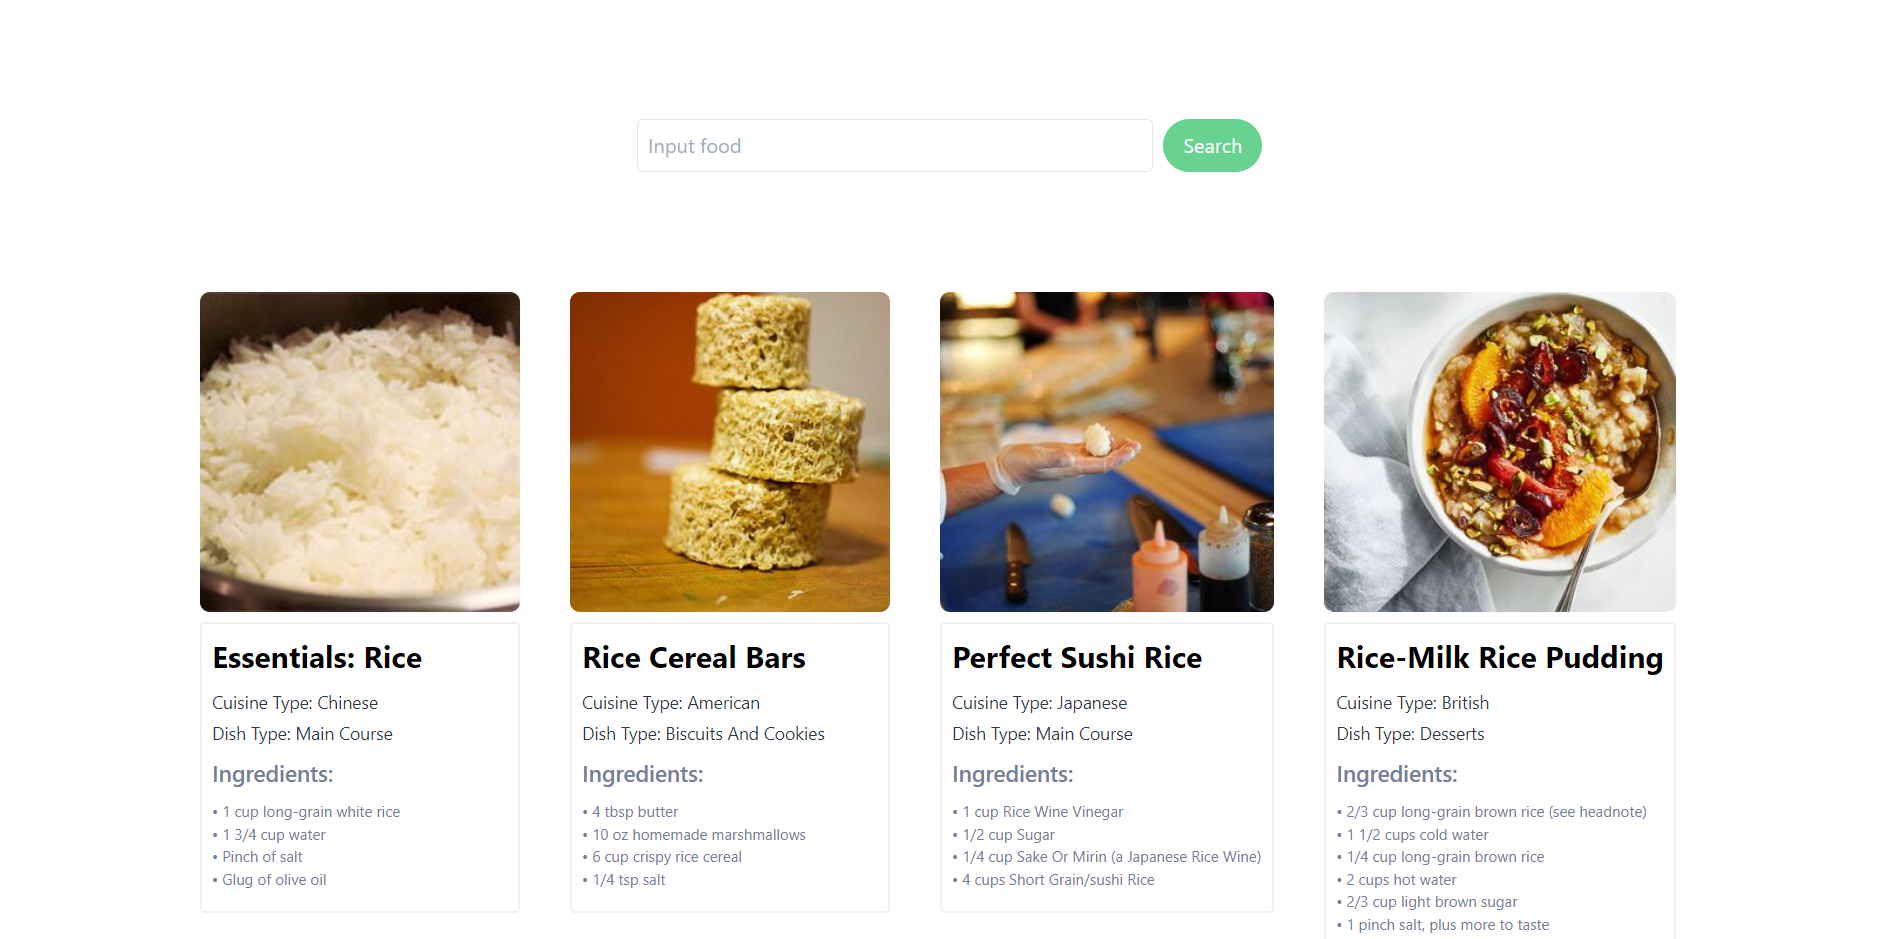
The reason my app is showing some rice recipes by default is that in the App component where I defined the query state, I set the initial value of the state to be "Rice". You can set it to whatever dish you want like noodles, burgers, and so on.
This is a simple app demonstrating how to use APIs in an application. As developers, you might have to build more complex projects that will require you to fetch data from an API. The above example should give you a clue as to how you can do this.
Now it's important to note that web APIs can be integrated into other kinds of applications aside from web applications. You can also use them in mobile applications and desktop applications.
Wrapping Up
Knowing how to use web APIs is an essential concept for developers to learn in order to build interactive applications that enhance user experience.
In this article, you learned about the benefits and use cases of web APIs, and how to implement APIs in development. So now you can go ahead and build applications that integrate APIs.
One important skill for developers to possess is the ability to read and understand API documentation as this will give you an idea on how to integrate a particular API in your project.
Looking for a YouTube video that covers everything a backend, frontend, mobile, or app developer needs to know about APIs? Check out this freeCodeCamp video on YouTube.
Happy Coding!