

In my previous tutorial we talked about what version control is, how Git and GitHub work, and how to setup an account with GitHub.
Today we will be looking at how to use some basic Git commands in a real project.
I created a simple project that we'll be using in this tutorial.

Project interface
By going through this tutorial, you'll learn how to:
Create a repository in GitHub
Initialize Git in your project
Add and commit your project
Push your project to GitHub
Add and remove a file from a repository
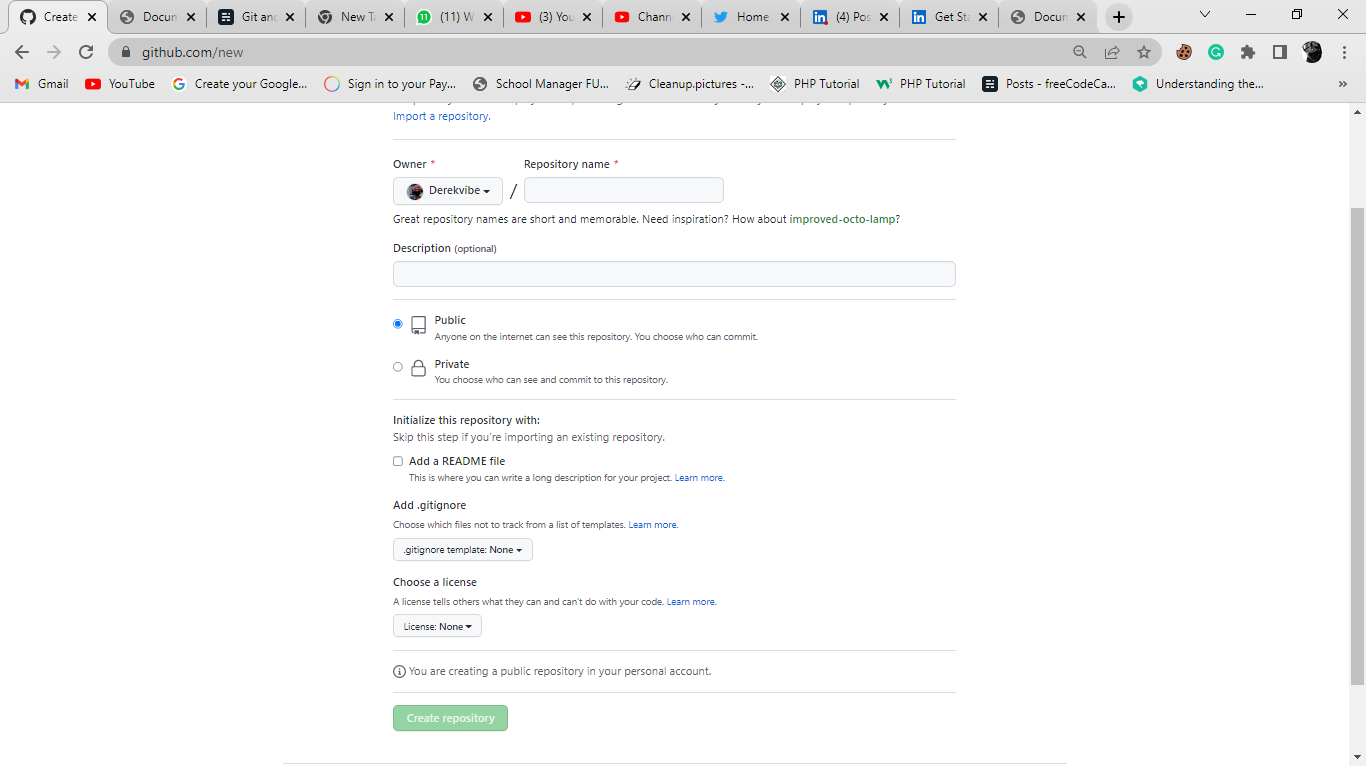
How to Create a Repository in Github
I built the sample project above using HTML and CSS. To initialize Git to the project, I will have to create a new repository in my GitHub account.
I can do this by logging into my account, then clicking on the new button located at the top right of the screen. When it opens, I will input my repository name, the description, then choose if I want my project to be accessed publicly or privately. Then I'll click on "Create repository."
How to Initialize Git
We can't make use of Git in our project if we do not initialize/start it first with the git init command.
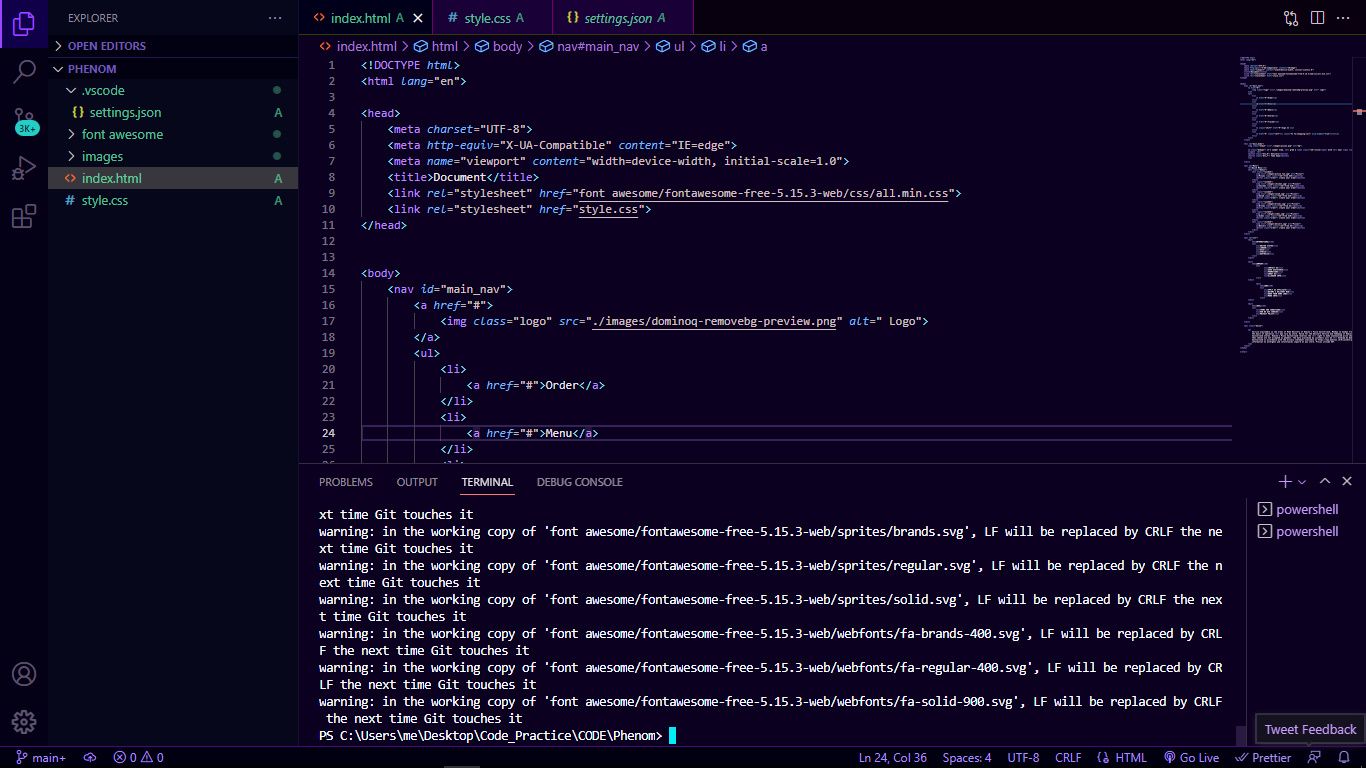
So after creating the repository in GitHub, I'll open the project in my VS Code editor, go to my terminal, and then use the git init command to initialize/start.
When you run this command in your terminal, you will notice some changes in color in your project. You will also see a U symbol which means your files are untracked.
Also, when you open the folder where your project is stored/located, you will see another folder named .git which was automatically created when you ran the git init command.

git add
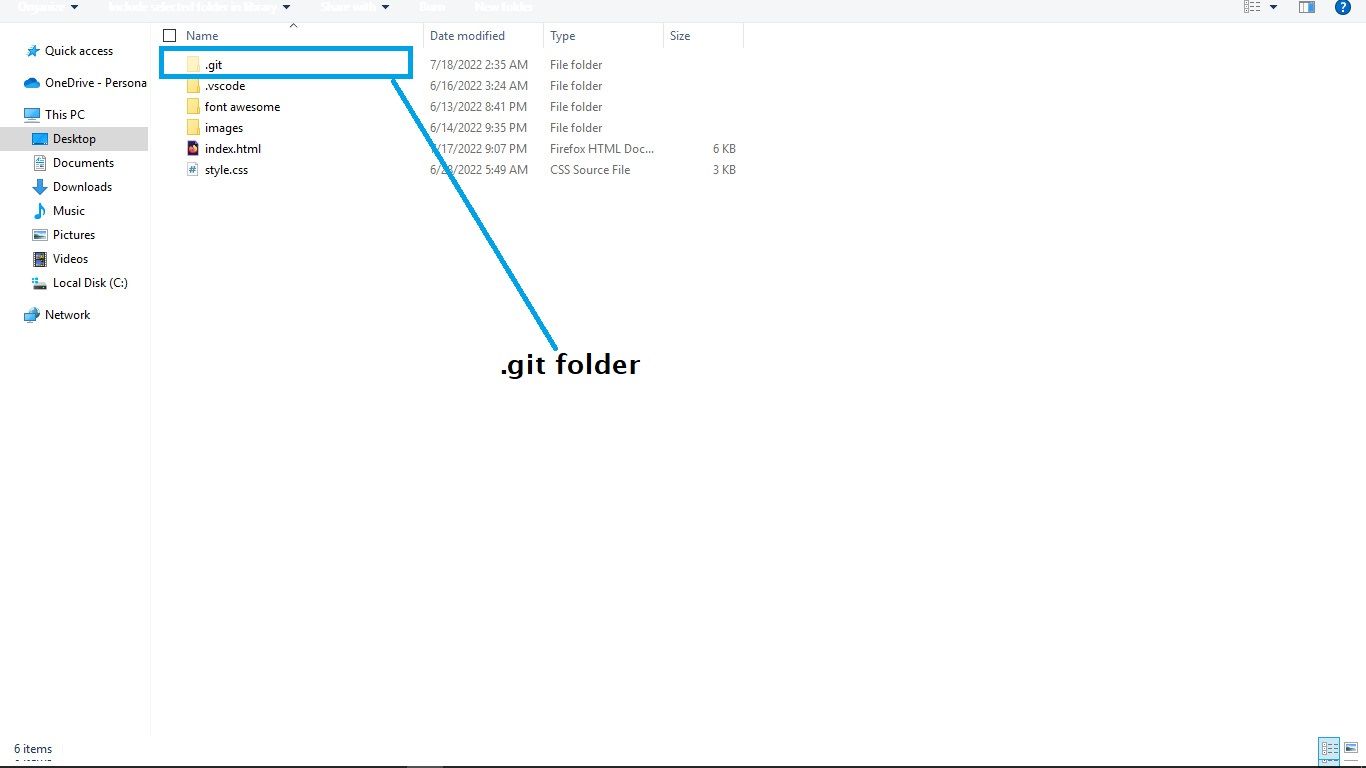
.git folder
How to Add and Commit your Project
How to use the git add command
Adding the project to the staging area helps Git track your project and see changes you have made to it.
To add your project to the staging area, run the git add . command. When you run this command, you will see that the U symbol automatically changes to A. This means that your files have been added to the staging area and are now being tracked by Git, waiting to be committed.
git add
How to use the git commit command
By running the git commit command, you are saving this particular stage and t he changes to your project permanently in the Git repository. And although you might make few changes to the project in the future and commit them as well, this particular commit you made now will still be saved in the Git repository and can be accessed anytime.
So after your project has been added to the staging area, the next thing you'll want to do is commit it by using the git commit –m “first commit” command.
When you run this command, you should notice that the A symbol in the project in no longer there, and the project looks as you'd expect once again.
How to Push your Project to GitHub
Pushing your project to Github helps prevent your project from getting corrupted/lost in the local storage. It also lets you access the GitHub repository freely from anyplace, with any computer (not necessarily your personal computer).
To be able to push your project to the GitHub repository, you will have to add the remote repository you created in GitHub initially.
To do this, you will use the git remote add origin (repository name) command. In my case my repository name is https://github.com/Derekvibe/FoodResturant.git. Writing it in the terminal should look like this:
git remote add origin [https://github.com/Derekvibe/FoodResturant.git](https://github.com/Derekvibe/FoodResturant.git)

If you're are not sure of the current branch you're working on, use the git branch command. If it displays the branch as master, we will change it to the main branch by running the git branch –M main command.
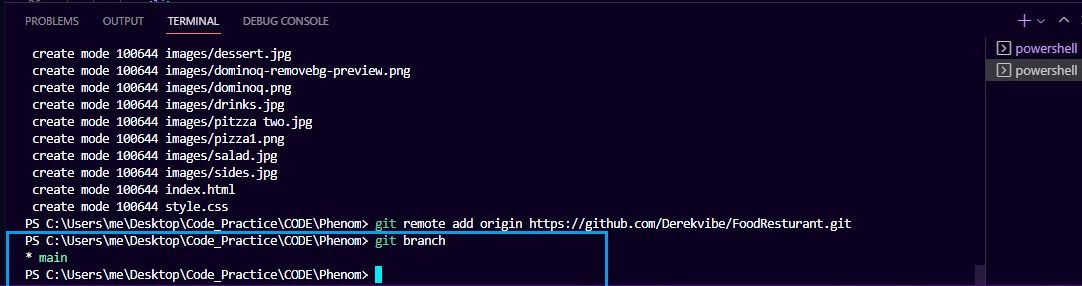
(my git branch)
In my case I had already configured my default branch to be branch main when I installed Git on my computer by running the git config –global init.default branch main command. So I don’t need to run the git branch –M main command again.
Finally, after adding the remote repository where you want to upload the project and changing the branch to main, you'll want to push your project to GitHub.
To achieve this, run the git push –u origin main command and wait for it to load completely.
When this is done, go to the Git repository you created in GitHub and refresh the page. You will see that all your projects in the local repository have been uploaded to the GitHub repository.
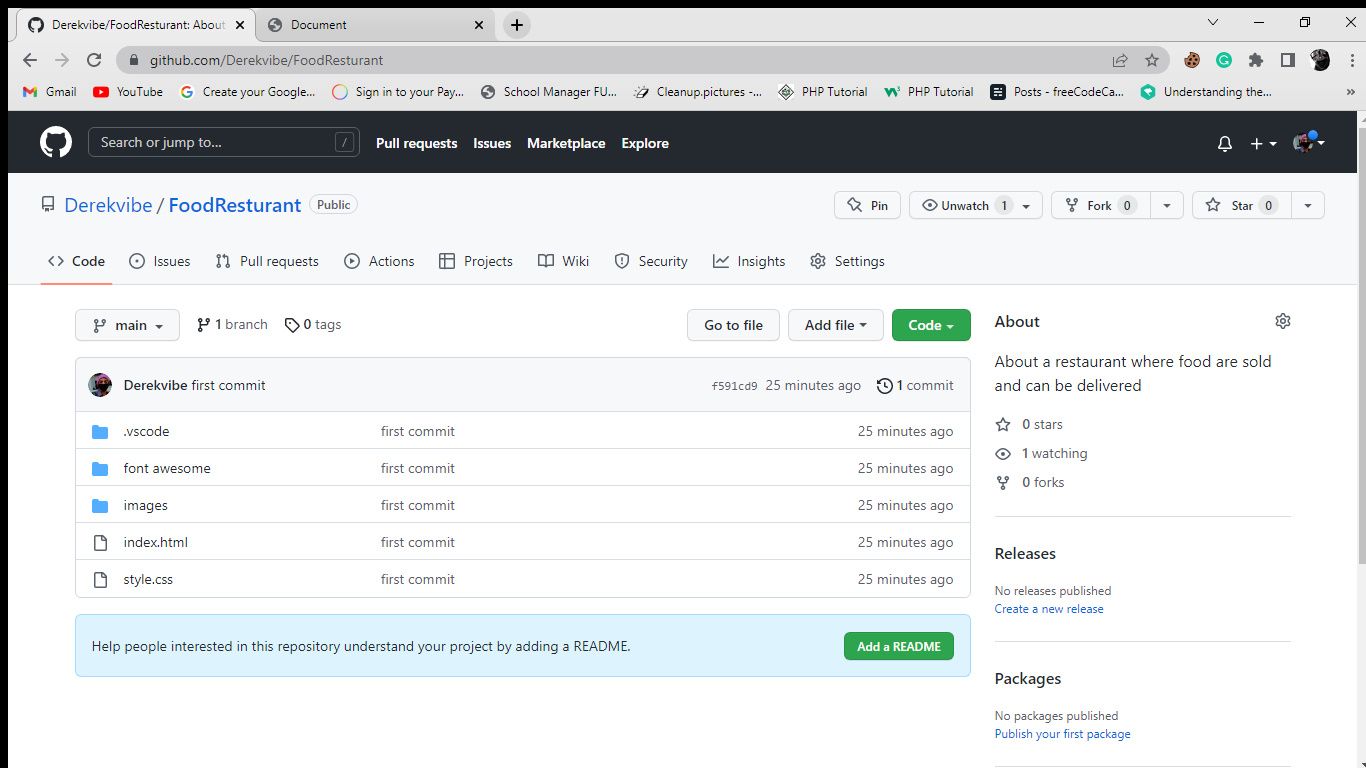
From this point forward, after making changes to the project, you just have to add the changes to the staging area by running the git add . command. Then you can commit it using git commit –m “(commit name)” and push it to the Git repository by using the git push –u origin main.
How to Add and Remove a File from a Repository
At this point I will be showing you how to add and remove a new file to a GitHub repository.
How to add a new file to an existing repository
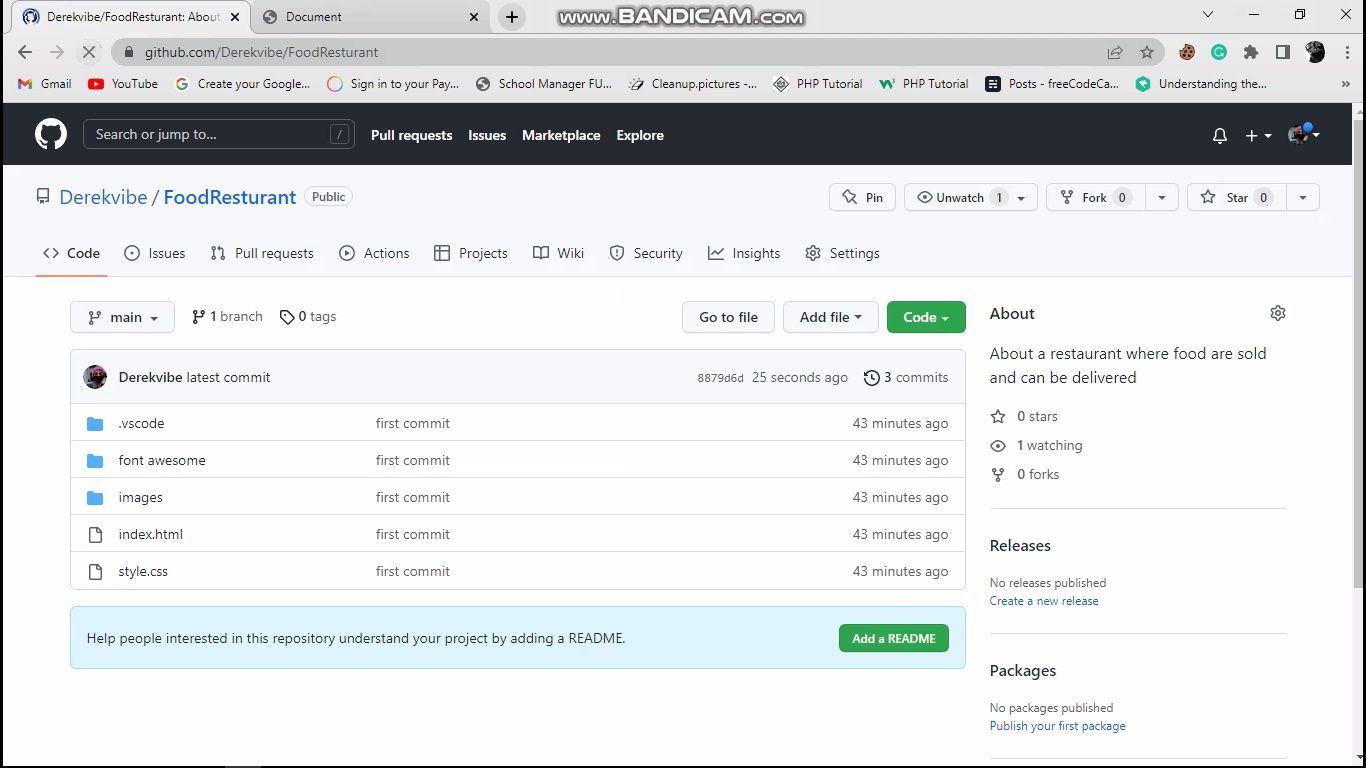
Just to recap: I added a new file to my project with the name newfile.txt. I added it to the staging area by running git add newfile.txt, then committed it using git commit –m “new commit” and pushed it to GitHub just like we did when we wanted to upload the entire project to GitHub.
When I refreshed my GitHub page, I should see the new file which I created being displayed.

How to remove a file from an existing repository
If I want to delete/remove the file I just created from my project in GitHub, I can do this by running the git rm newfile.txt command in the terminal.
When I run this command in my terminal, I will add the changes to the staging area using the git add ., and then commit and push the changes to the GitHub repository.
When I refresh my GitHub page, the file will be removed from my GitHub repository. Also, when I go to my local storage, the file should be deleted from there as well.

Conclusion
In this tutorial, you learned how to use the basic Git commands to manage your projects.
Click here to access my GitHub repository for this project so you can try it out on your own.
Hope this tutorial was helpful to you.
Have fun coding!