By Shayan
In this article, I'll explain what Twitter Emoji – or Twemoji – are and why you might want to use them.
Why should you use Twitter Emojis?
A couple of months ago, I started working on a project of mine, and I needed to allow users to select different icons for their input.
After giving it some thought, I decided to use emojis instead of icons, as everyone already knows about them, and they are available almost everywhere.
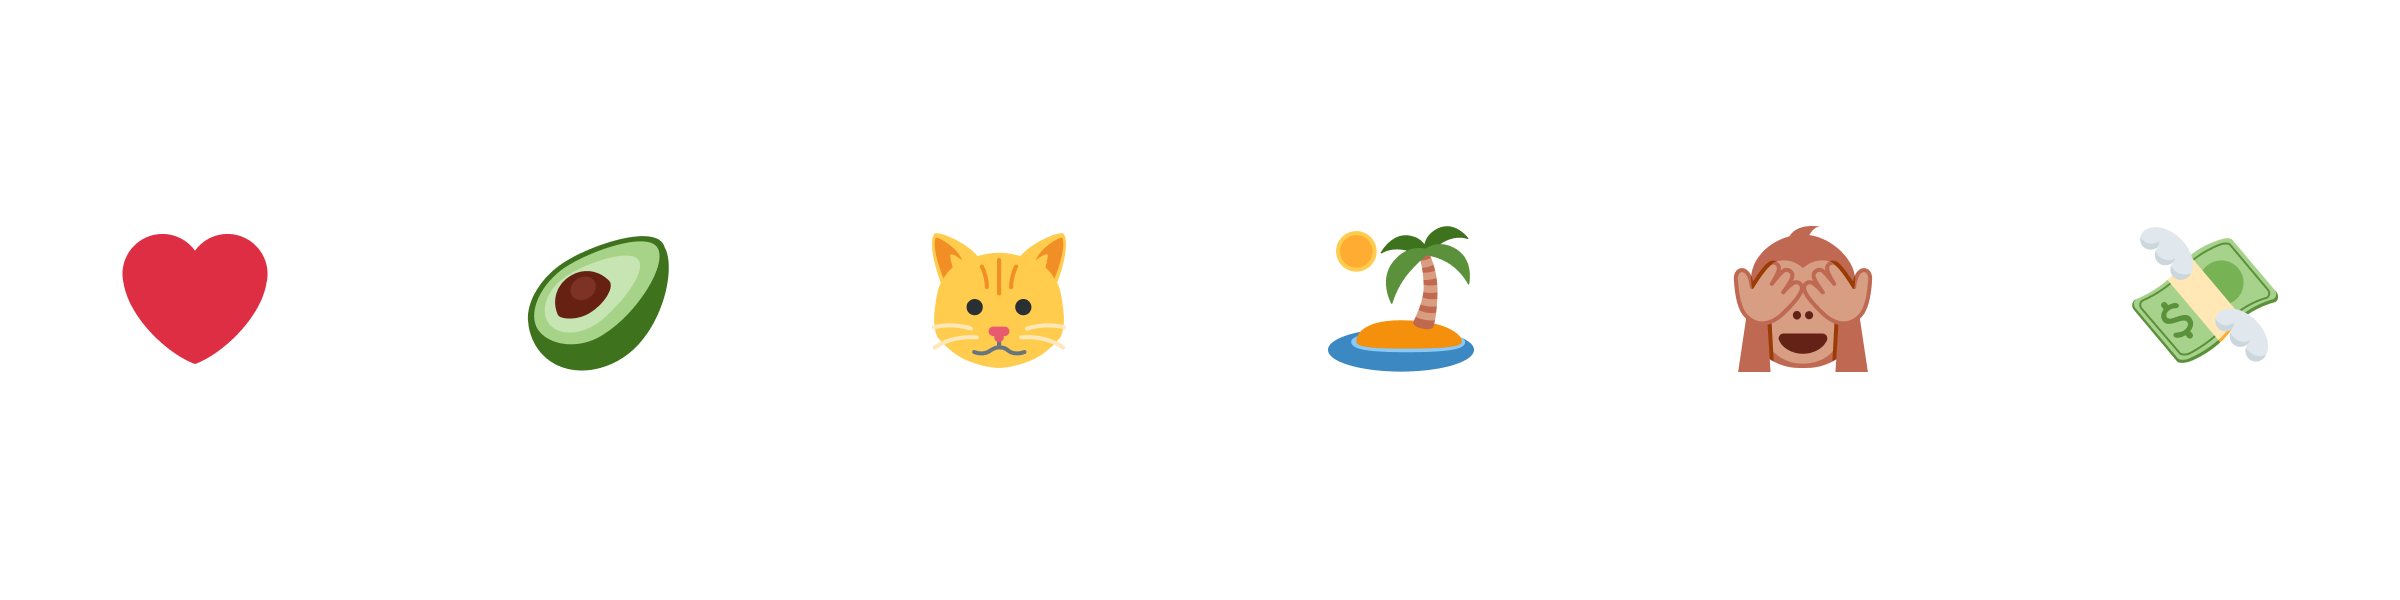
 Web app example with native emojis
Easy enough, right? Well, not really. Like everything else, emojis come with their own problems that you may not know about until you spend some time working with them.
One of the most common issues with emojis is that they are very inconsistent in design and support across different operating systems and even different browsers.
For example, if you select a specific emoji on your phone, it may look very different on your laptop, or it may end up showing as a square or as a box if your OS doesn’t have the latest Unicode support.
If you have a lot of emojis all over your project, this could turn into a significant user experience problem and start annoying your users. So it was time for me to figure out a way to fix it before it began driving users away from the project.
After doing some research, I came across Twitter’s emoji set! Twemoji is an open-source library that provides standard emoji support across all the platforms. It makes it very easy to support all the latest emojis across different OSs and browsers and have them all look the same.
This is all I needed, so I didn’t hesitate a minute to integrate it into my project, and it solved all of my problems.
 Web app example with Twitter emojis
Alright, that’s pretty much the backstory. Let’s get our hands dirty with some code now and see how Twemoji works.
How Does Twemoji Work?
In short, Twemoji has an alternative SVG and PNG for each Unicode emoji. It allows us to import them from either their CDN or locally and render each as an image instead of Unicode text.
This means that they are supported everywhere, and we always have access to the latest emojis.
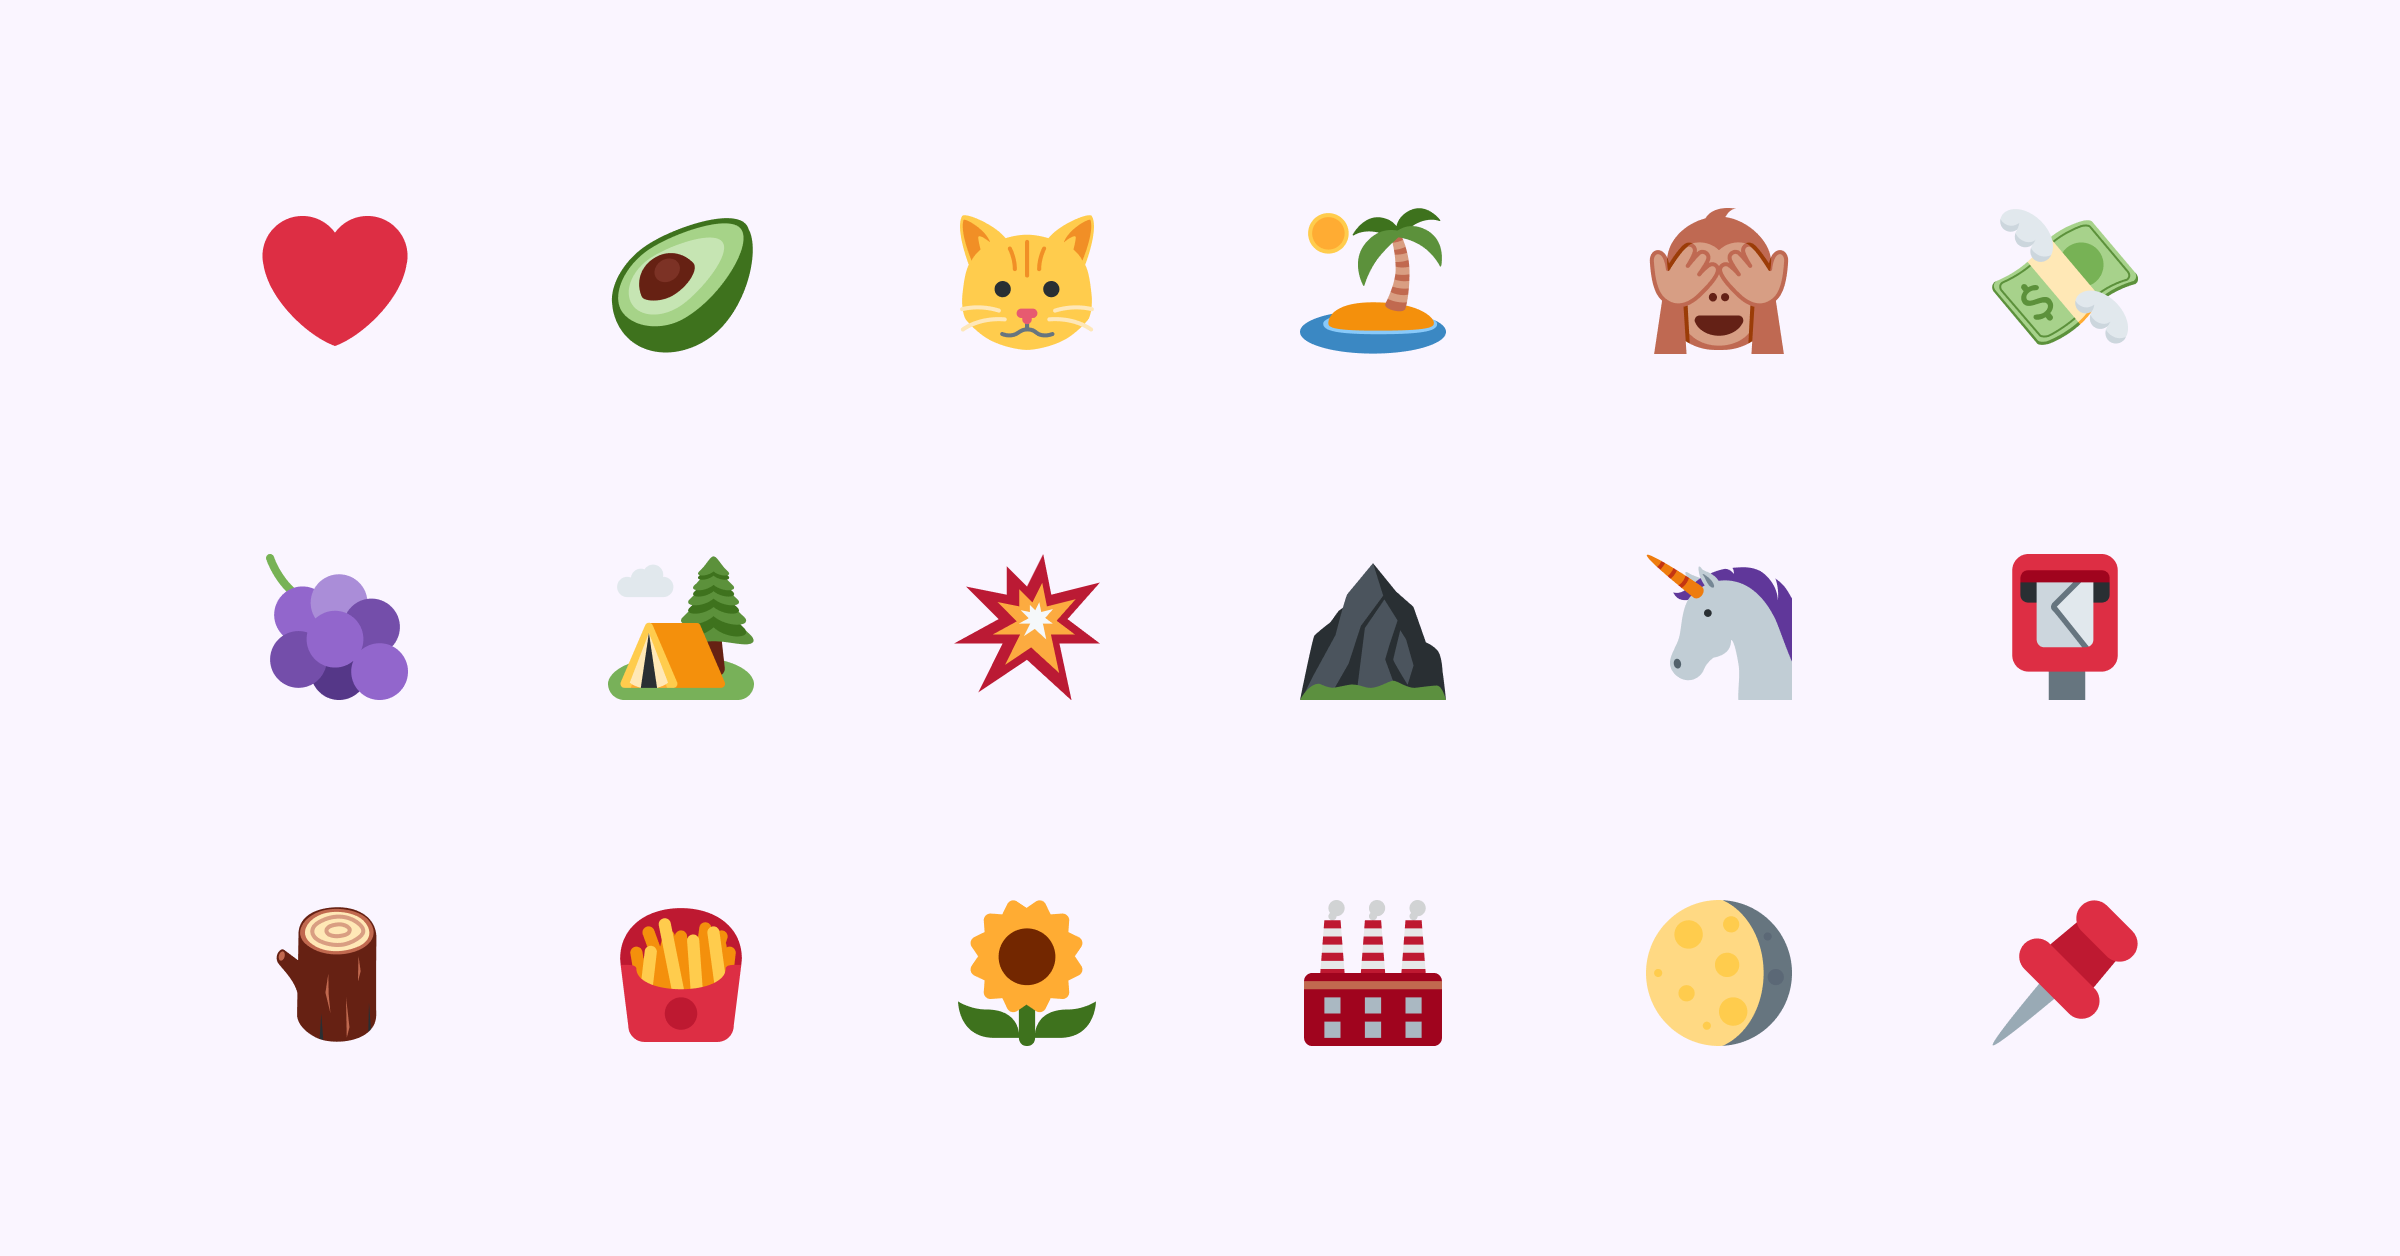
 Twemoji Examples
How to Get Started with Twemoji
To get started, we have to import Twemoji into our HTML document. To do so, let's copy and paste the following into our document's <head> tag.
<script src="https://twemoji.maxcdn.com/v/latest/twemoji.min.js" crossorigin="anonymous"></script>
Next, we have to use the library that we just imported and have it parse our Unicode into Twemojis.
There are two ways to go about parsing your emojis, and I’m going to cover both and let you decide which one suits your needs the better.
Parse the entire Body contents
The first and easier option is to have Twemoji parse our entire DOM and automatically convert each Unicode emoji and replace it with a Twemoji.
To implement this, all we have to do is use the package that we have just imported and pass our document body to it like this:
twemoji.parse(document.body);
Once we call twemoji.parse and pass document body to it as our argument, it will parse everything inside the body. And it will replace the text Unicode emojis with Twemoji images without compromising any surrounding notes.
At this point, your HTML document should look like the following. Once you open it in the browser, you should see the Twemoji.
<html>
    <head>
        <script src="https://twemoji.maxcdn.com/v/latest/twemoji.min.js" crossorigin="anonymous"></script>
    </head>
    <body>
        📮
    </body>
    <script>
        twemoji.parse(document.body)
    </script>
</html>
Keep in mind that this method comes with some performance penalties as we are running this operation across every element inside our body, which could be pretty costly.
Manually parse each Emoji
For my project, I ended up going with the manual parsing route. It gave me more control over how things wer being processed and reduced the performance penalty over parsing the entire document.
But this method is more involved, and I wouldn’t recommend it unless you have a good reason to decide on manually parsing your emojis instead of parsing the entire document.
To understand the difference here, it is important to know how the parse method works:
If the first argument to the twemoji.parse is an HTMLElement, the method will automatically parse the element and replace the emojis within the document. But if the first element is a string, the method will parse that single emoji and allow us to receive the data in a callback function that we can define.
Back to our HTML document, let’s pass in our emoji as a string, provide a callback method, and print the arguments to the console.
const emoji = "📮"
twemoji.parse(emoji, {
    callback: (icon, options) => {
        console.log(icon, options)
    }
})

// Console output
// 1f4ee {base: 'https://twemoji.maxcdn.com/v/14.0.2/', ext: '.png', size: '72x72', callback: ƒ, attributes: ƒ, …}
As you can see, the callback options give us all the information that we need to construct the source URL and add it to our document as an image.
Next, let’s define a method that takes the options and constructs our source URL.
function constructTwemojiURL(icon, options) {
    return ''.concat(
        options.base,
        options.size,
        '/',
        icon,
        options.ext
    );
}
We can now call this method from the callback to get the source URL, then create a new image tag and append it to our document.
const emoji = "📮"
twemoji.parse(emoji, {
    callback: (icon, options) => {

        // create the image tag
        const img = document.createElement('img');

        // assign the image source
        img.src = constructTwemojiURL(icon, options)
        img.alt = "Twemoji"

        // append the tag to our document body
        document.body.append(img)

    }
})
Finally, if we open the HTML document in our browser, we should see our Twemoji. Your HTML document should look like the following at this point:
<html>
    <head>
        <script src="https://twemoji.maxcdn.com/v/latest/twemoji.min.js" crossorigin="anonymous"></script>
    </head>
    <body></body>
    <script>
        function constructTwemojiURL(icon, options) {
            return ''.concat(
                options.base,
                options.size,
                '/',
                icon,
                options.ext
            );
        }

        const emoji = "📮"
        twemoji.parse(emoji, {
            callback: (icon, options) => {

                // create the image tag
                const img = document.createElement('img');

                // assign the image source
                img.src = constructTwemojiURL(icon, options)
                img.alt = "Twemoji"

                // append the tag to our document body
                document.body.append(img)

            }
        })


    </script>
</html>
Conclusion
That’s pretty much it! In this article, we talked about why you may decide to use Twemojis in your web app, and we have covered two different ways of implementing this depending on your use case.
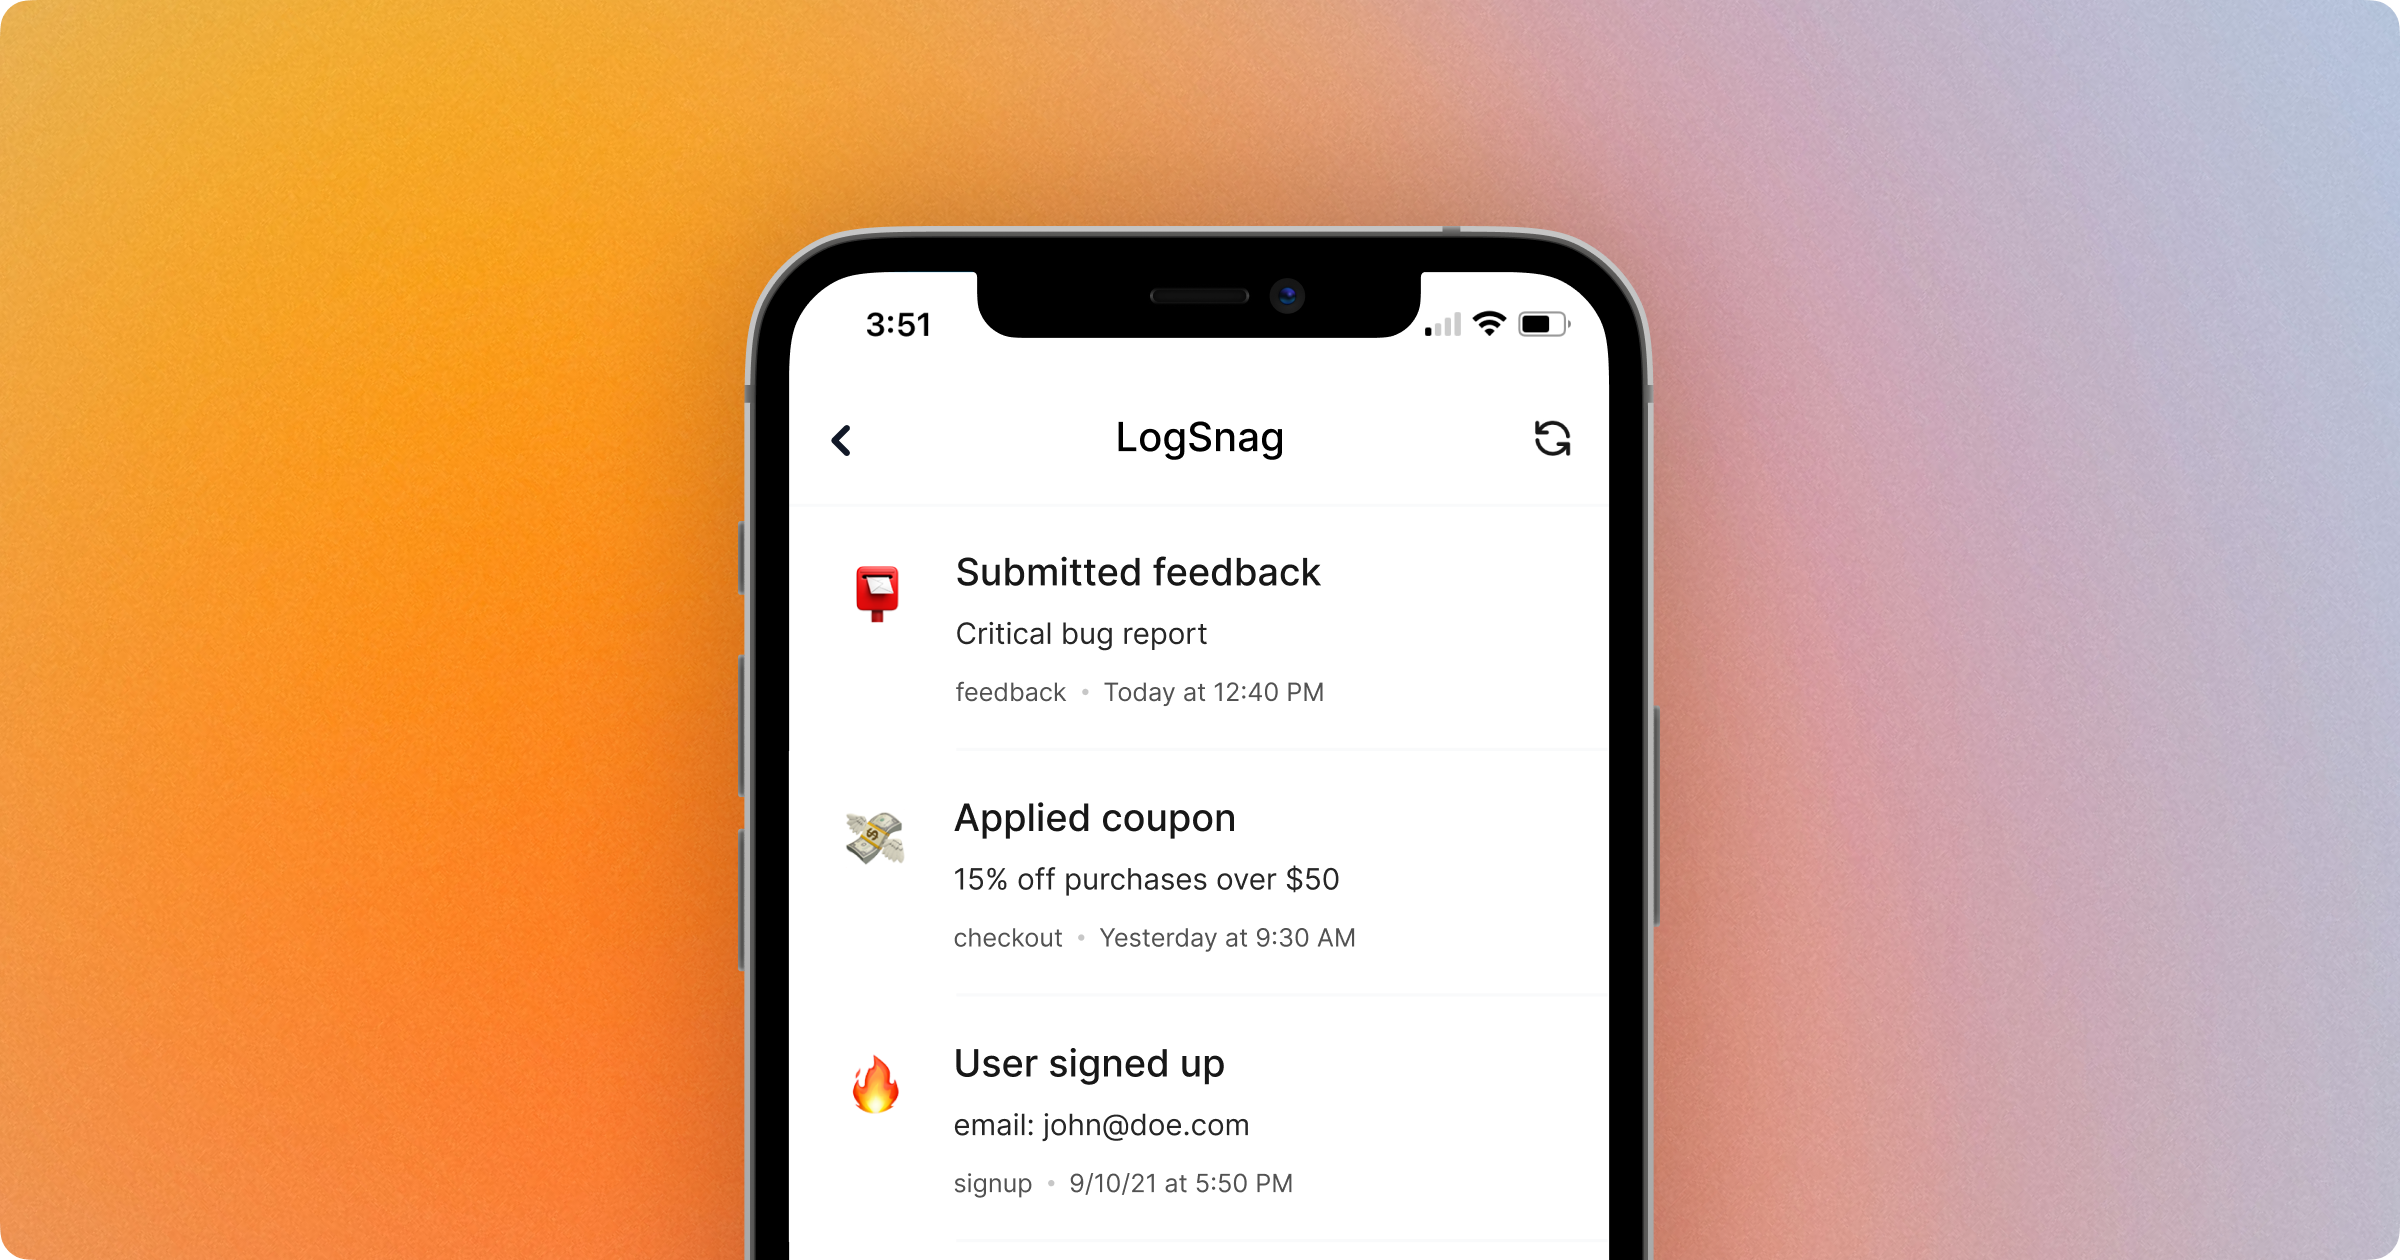
If you are interested in the project that I am building, it is called LogSnag.
LogSnag is a simple event tracking tool that makes it easy to track anything important within your projects in real-time and receive personalized push notifications. You can checkout logsnag.com to learn more about the project.
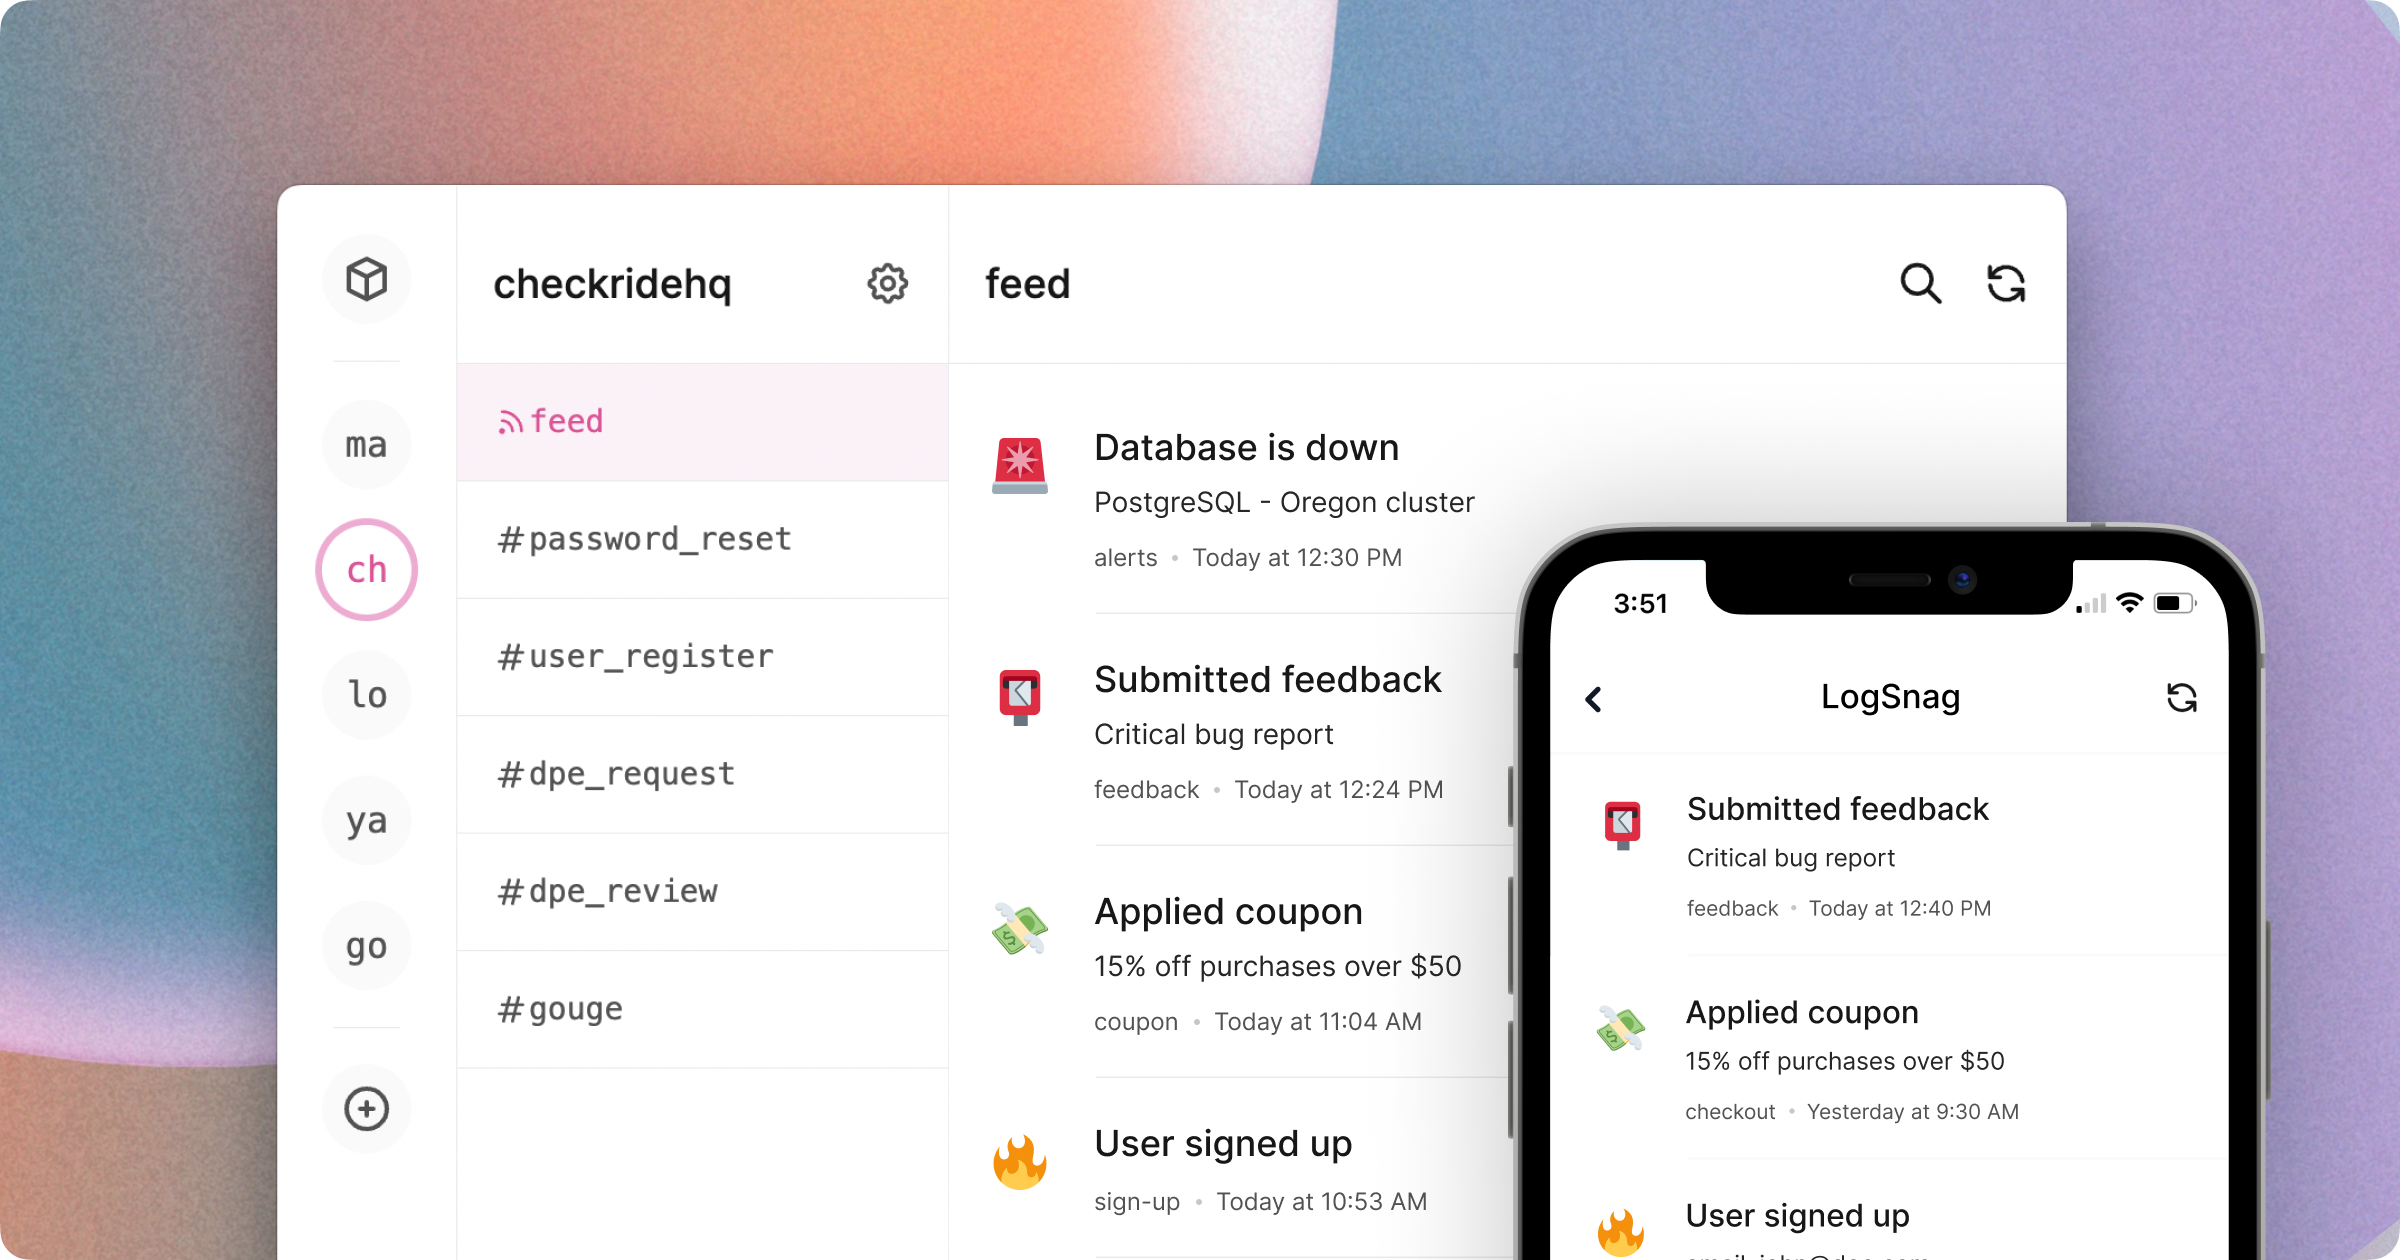 LogSnag Screenshot