
Documentation is critical to a successful product. Without documentation, it's more difficult for people to use your product, and it's just as important if you're running an open-source project, too.
Creating a documentation site can be challenging, especially if you're not familiar with front-end development.
I have been a front-end developer for the past 8 years. During that time, I have used many frameworks to build documentation, like Next.js, nextra, content layer, Ghost CMS, lume (deno), docusaurus, and Mark doc.
But to use many of these, you need to have essential knowledge about JavaScript, Next.js, and React. You may run into some challenges, like:
- Lack of knowledge of JavaScript, React, or other necessary tools
- Documentation versioning
- Configuration
- Deployment
In this guide, I'll introduce you to a powerful tool that can help you write documentation without needing as much technical knowledge.
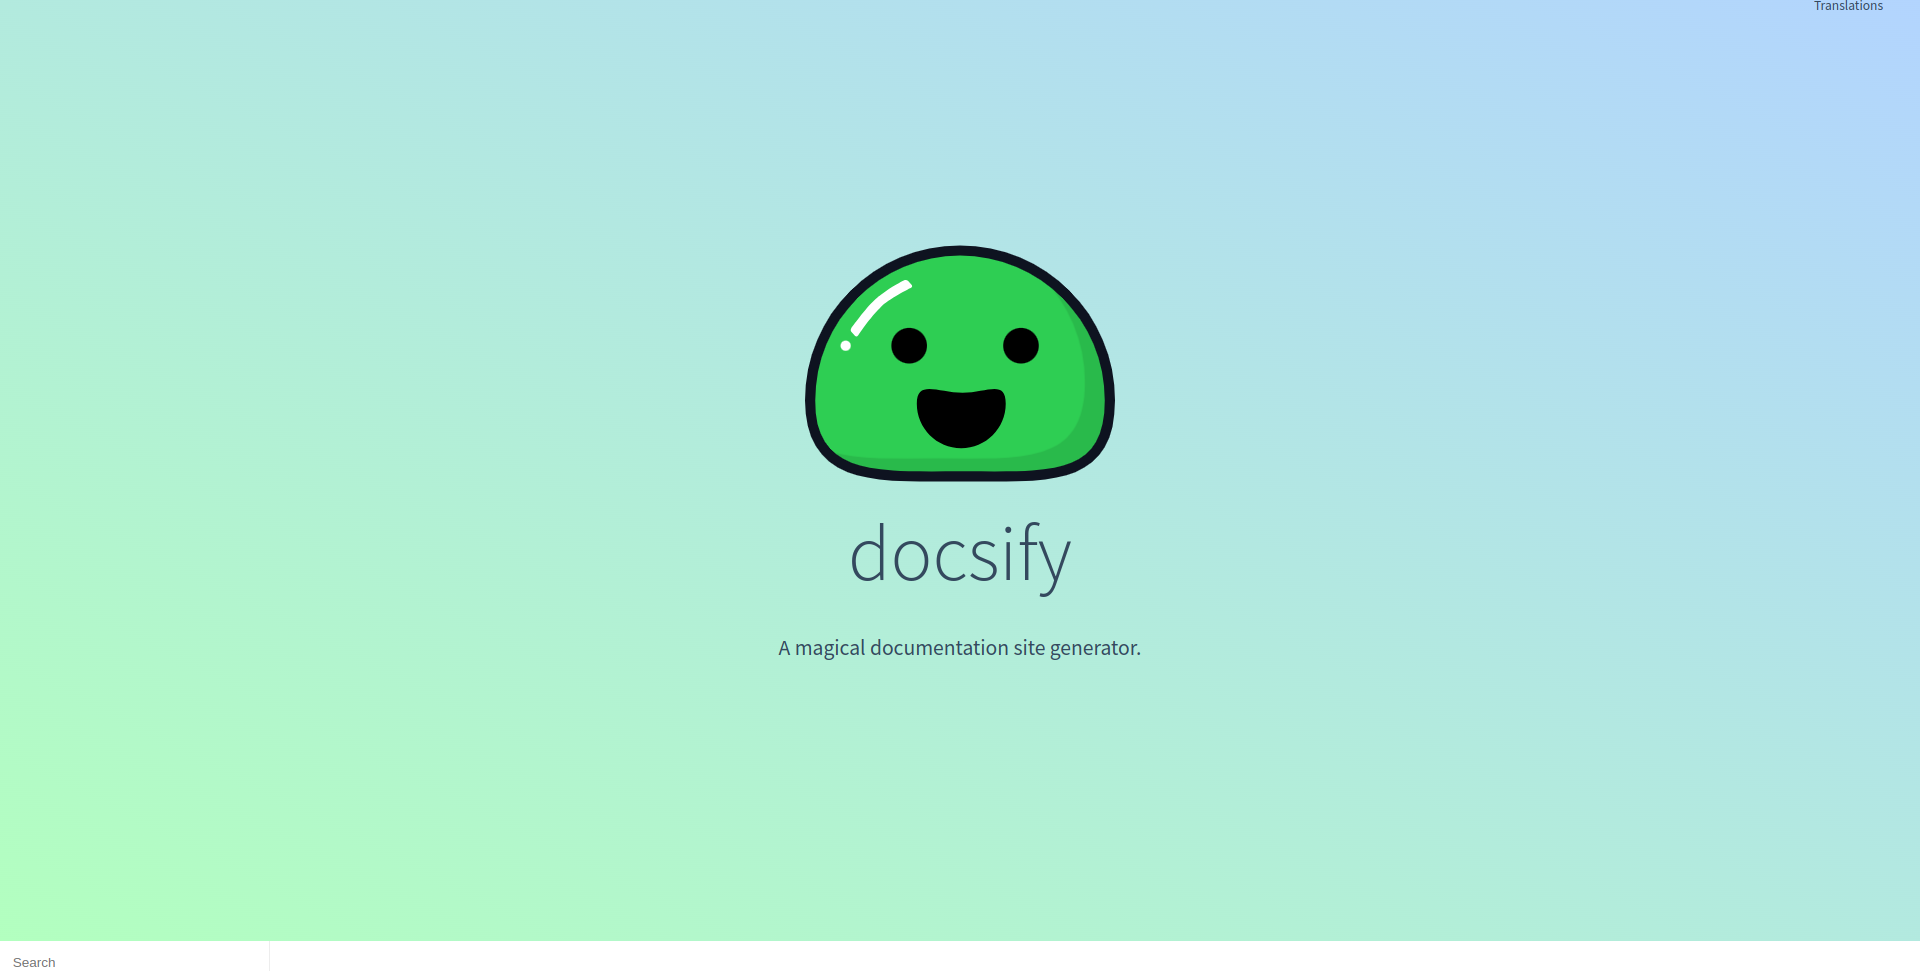
What is Docsify?
To help you solve this problem, I'd recommend a tool called docsify. Docsify is a simple and lightweight documentation generator. You can start using it without having any knowledge of JavaScript or React.
Docsify comes with zero configuration, no statically built HTML files, multiple theme support, inbuilt plugin API, and full-text search support with a plugin. It also deploys on a wide range of platforms like GitHub pages, GitLab Pages, Firebase Netlify, Vercel, and others.
I created a demo project to show you how to use it – the source code is available on GitHub. You can also check out the live demo site.
How to Setup and Use Docsify
You can create a new project with the docsify-cli. To use docsify-cli, you need to install Node and NPM if you don't already have them installed.
npm install -g docsify-cli
# or
yarn add -g docsify-cli
# or
pnpm add -g docsify-cli
The command output looks like this:
❯ pnpm add -g docsify-cli

Packages: +198
+++++++++++++++++++++++++++++++++++++++++++++++++++++++++++++++++++++++++++++++
Progress: resolved 199, reused 114, downloaded 84, added 198, done
.pnpm/docsify@4.13.1/node_modules/docsify: Running postinstall script, done in 196ms

/home/rajdeepsingh/.local/share/pnpm/global/5:
+ docsify-cli 4.4.4
+ pnpm 8.7.0

Done in 13.9s
Create your new project with the docsify-cli init option.
➜ docsify init docs

Initialization succeeded! Please run docsify serve ./docs
You can also specify the --theme and --plugins.
➜ docsify init docs --theme buble --plugins
You can read more about docsify-cli on the documentation page.
 Install the plugins with the docsify init option.
Next, start your local development server using docsify-cli. For that, run the following command:
docsify serve docs
# or
docsify serve .
Your local server runs on a 3000 port locally.
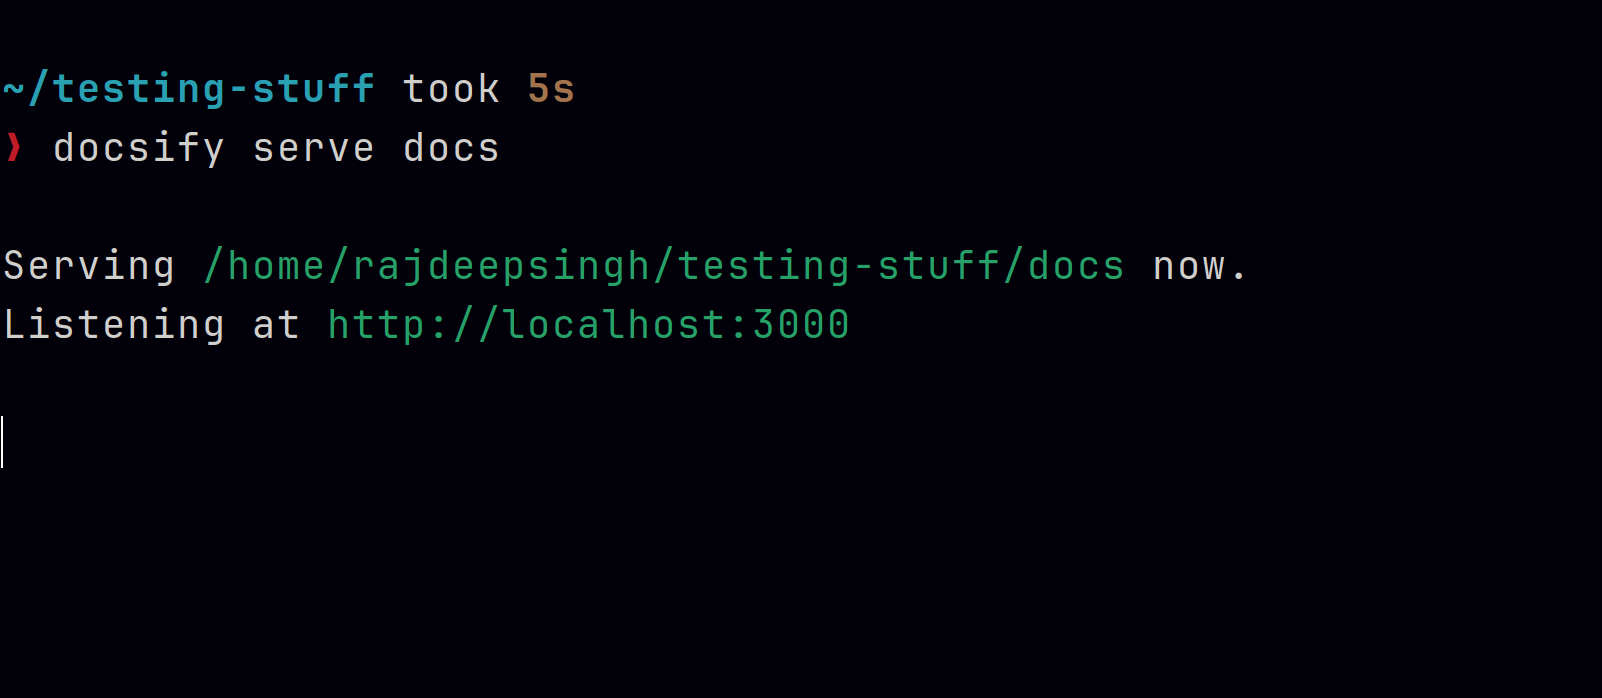 Run docsify serve
Your website should look like this when you open it in the browser:
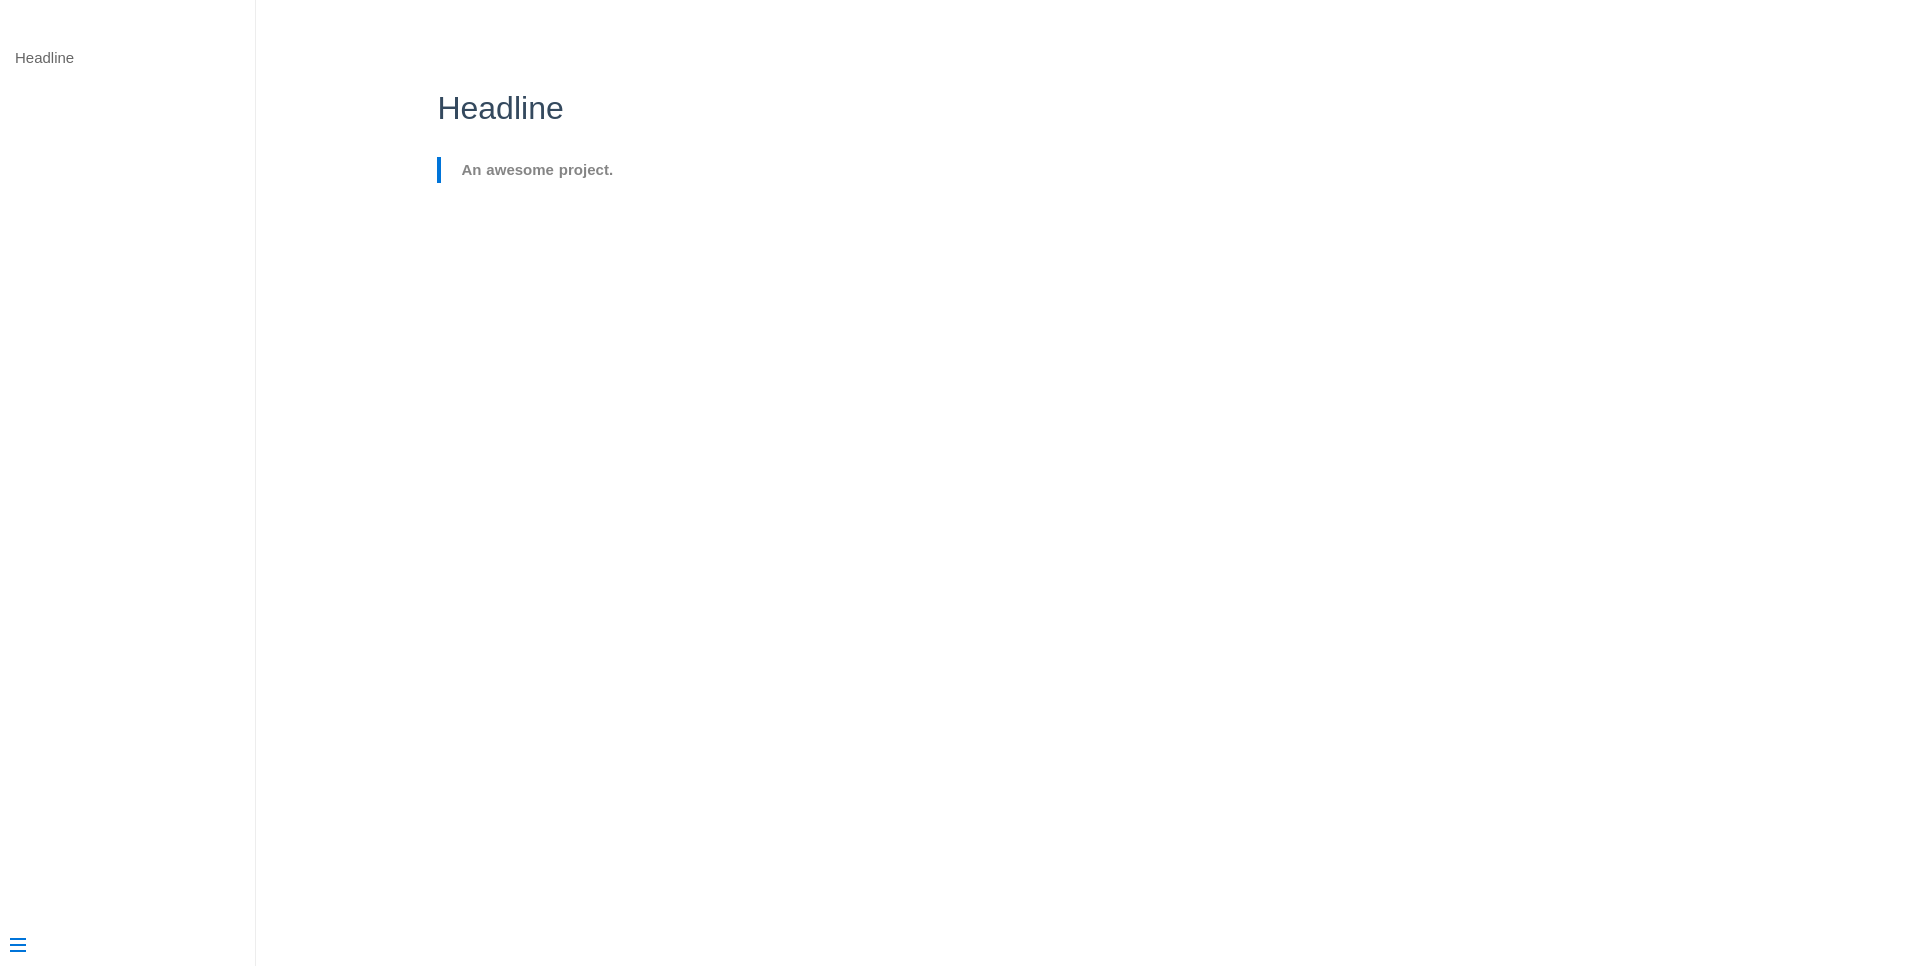 Demo Doctify
Docsify Folder Structure
Docsify has a straightforward folder structure. By default, when you create a new project with docsify-cli, there are three main files:
├── index.html // This is an HTML entry file.
├── .nojekyll  // This is helpful when you deploy your project on GitHub pages.
└── README.md  // This is the home page or / router
How to Customize Docsify
Docsify comes with lots of customization options, and you don't need any additional knowledge to configure it – it's pretty straightforward, just like copying and pasting code.
In this guide, we'll explore some of the most common customization options. For advance configuration, you can check out the Docsify documentation.
Basic configuration
In the basic configuration, you can change or add a logo, a name, add your GitHub repository link, a theme color, and so on.
Here's the code to do that – you can fill in your own details.
 <!-- index.html -->
 <script>
      window.$docsify = {
        logo: '/_media/icon.svg',  <!-- add logo -->
        name: "Document",  <!-- Website name it appears in sidebar. -->
        nameLink: '/',  <!-- url for name -->
        repo: "officialrajdeepsingh/docsifyjs",<!--github repository-->
        maxLevel: 2,  <!-- Maximum Table of content level. -->
        themeColor: '#3F51B5', <!-- Customize theme color -->
      };
</script>
Loading screen
Enabling a loading screen or dialogue is typically very tricky, especially if you come from the JavaScript and React.js ecosystem.
 Loading screen in Docsify
In Docsify, you can enable a loading screen without any configuration. You just simply write some text along with an HTML element inside your app ID, which will then show as a loading screen. It looks like this:
<!-- index.html -->
<div id="app">Please wait...</div>

<!-- or -->

<div id="app">
<h1> Please wait... </h1>
</div>
Sidebar
By default, the sidebar shows the table of contents. But you can customize it very easily. First, you'll need to enable the sidebar.
<!-- index.html -->
<script>
   window.$docsify = {

        loadSidebar: true, <!-- Enable sidebar -->

   };
</script>
Then create a new _sidebar.md file at the root level and paste the following code:
- [Home](README.md)
- [Draft Article](draft-article.md)
- [Guide](guide.md)
- [First](page-first.md)
- [Second](page-second.md)
- [Third](page-third.md)
- [Four](page-four.md)
Your sidebar should now look like this:
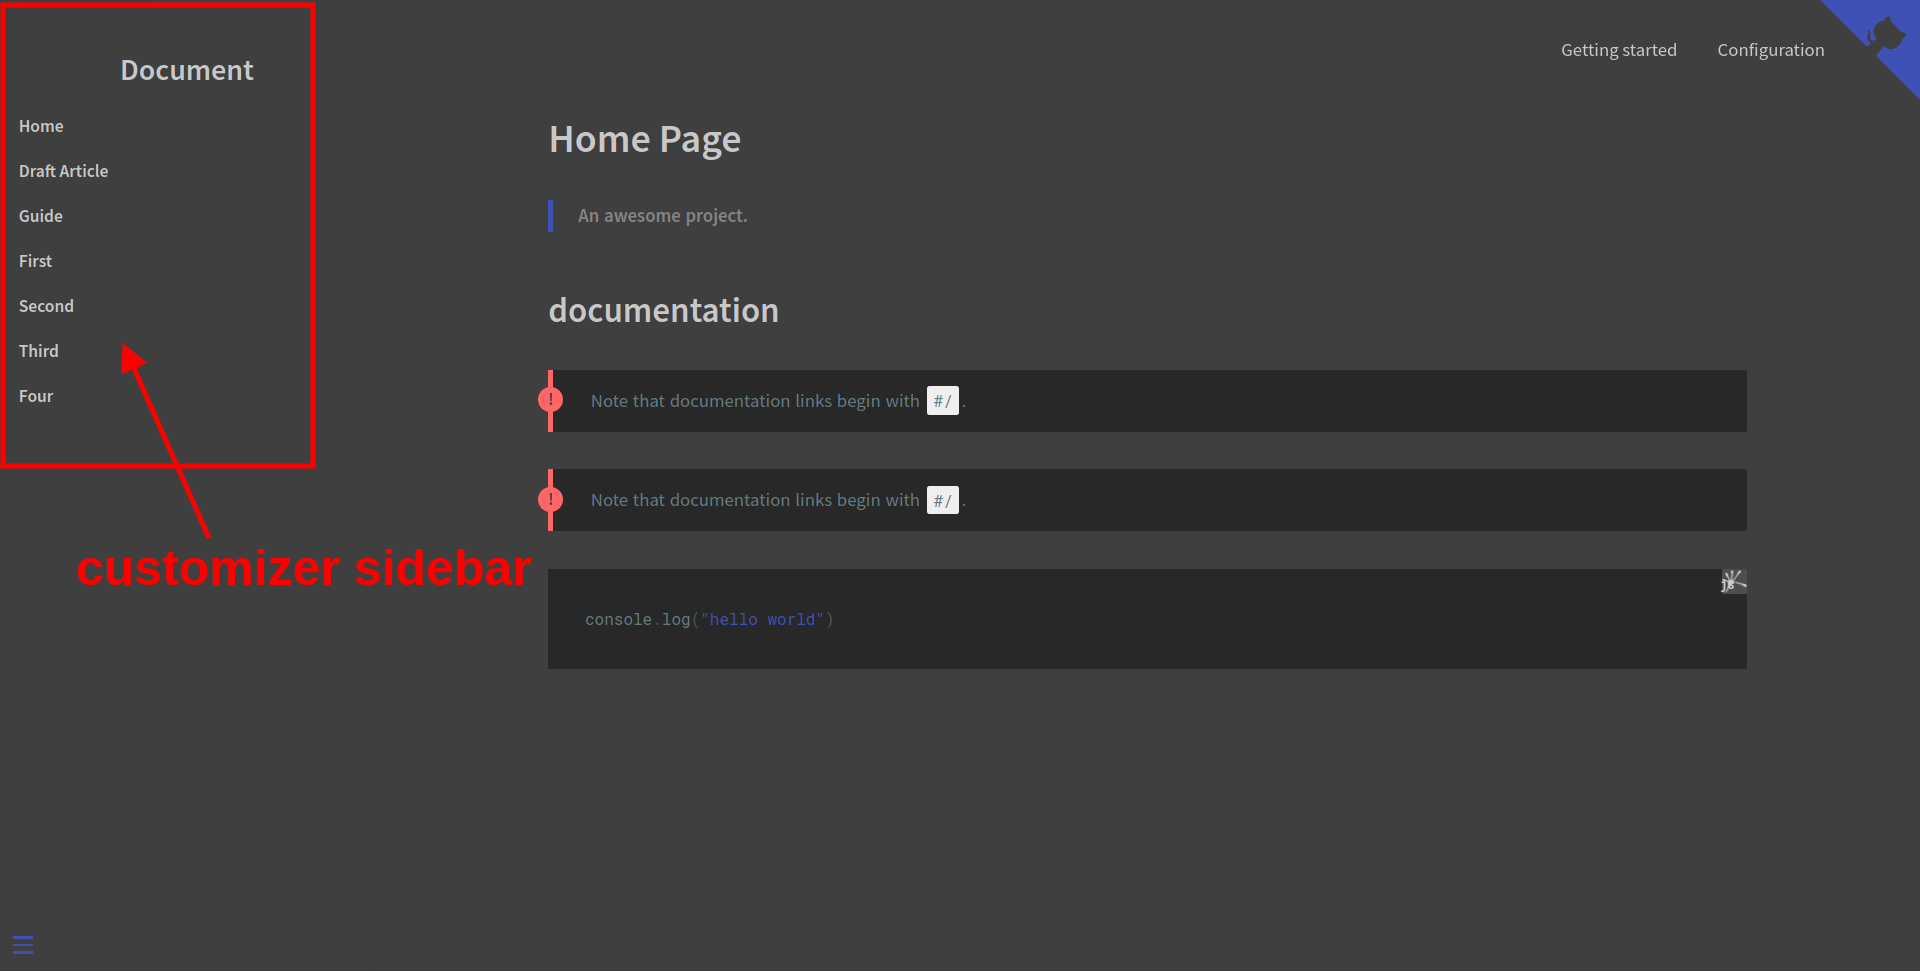 Your sidebar looks like this.
Header
By default, you won't be able to see the Navbar on your Docsify site:
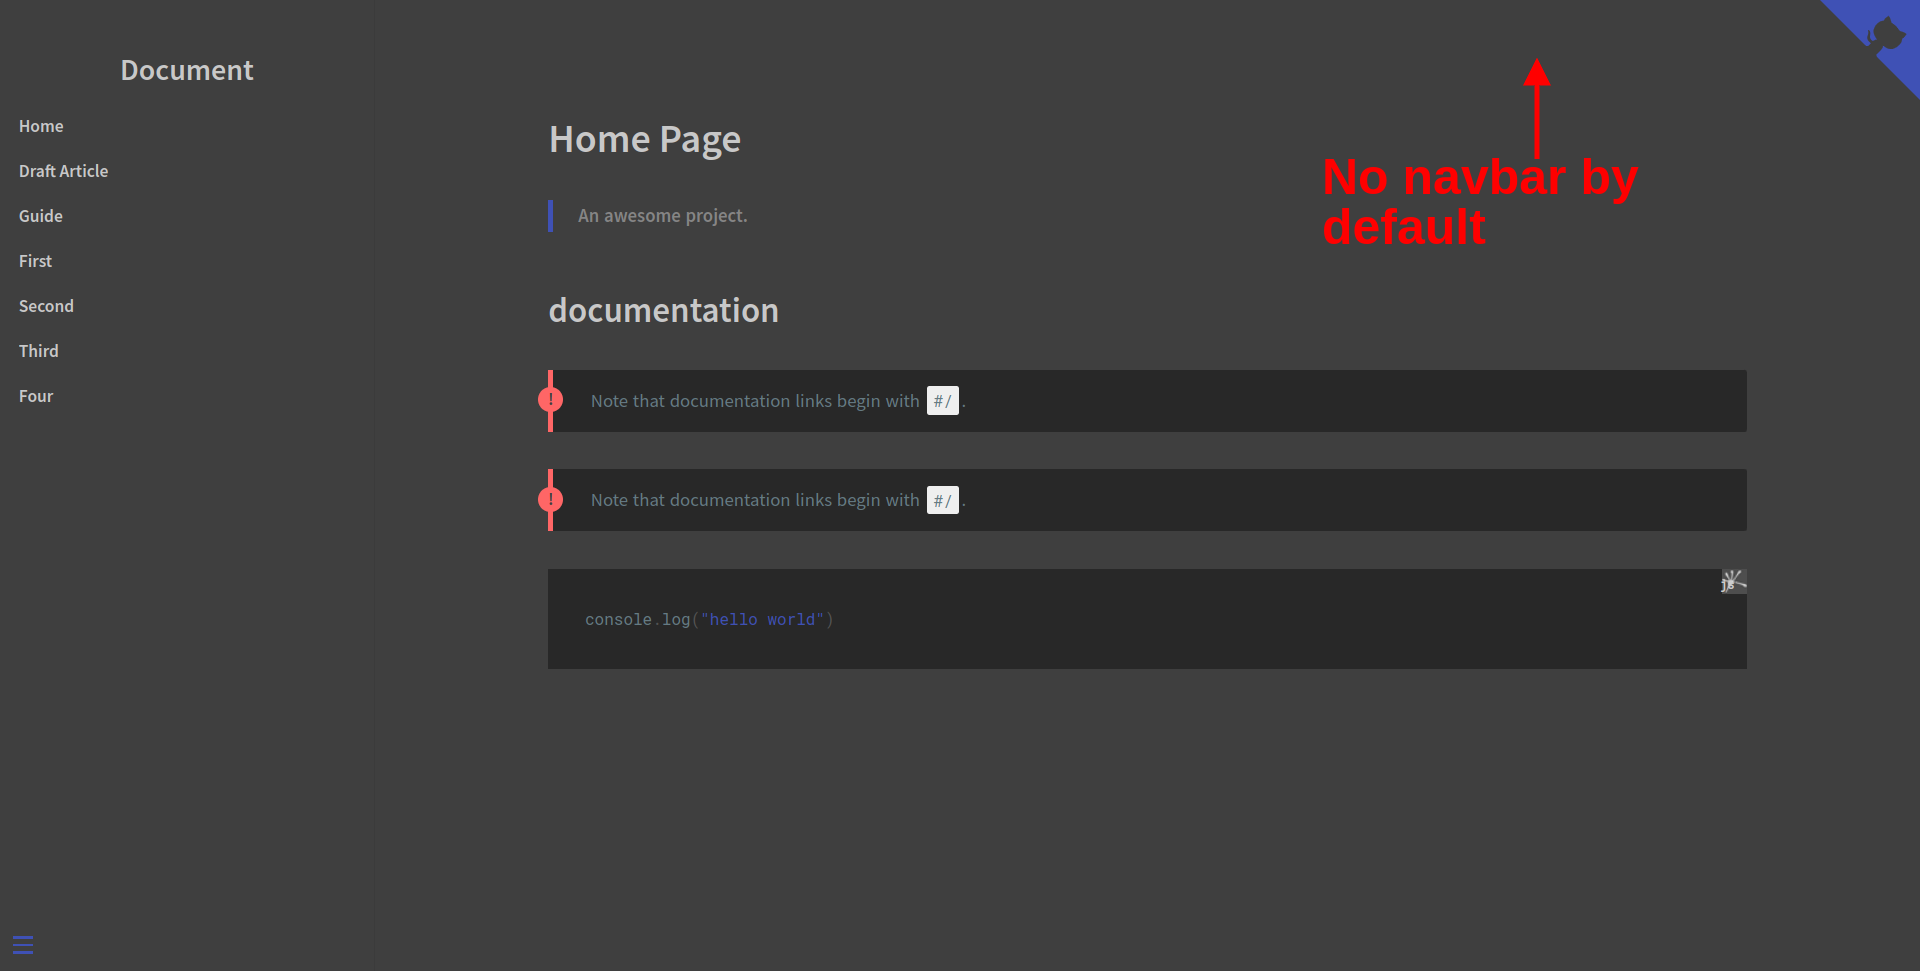 No Navar
But don't worry, you can change that. To show the Navbar, you first have to enable it like this:
<!-- index.html -->
    <script>
      window.$docsify = {


        loadNavbar: true,     <!-- enable navbar -->

      };
    </script>
  </body>
</html>
Then create a new _navbar.md file at the root level and paste the following code:
* Getting started

  * [Quick start](quickstart.md)
  * [Writing more pages](more-pages.md)
  * [Custom navbar](custom-navbar.md)
  * [Cover page](cover.md)

* Configuration
  * [Configuration](configuration.md)
  * [Themes](themes.md)
  * [Using plugins](plugins.md)
  * [Markdown configuration](markdown.md)
  * [Language highlight](language-highlight.md)
Your Navbar should now look like this:
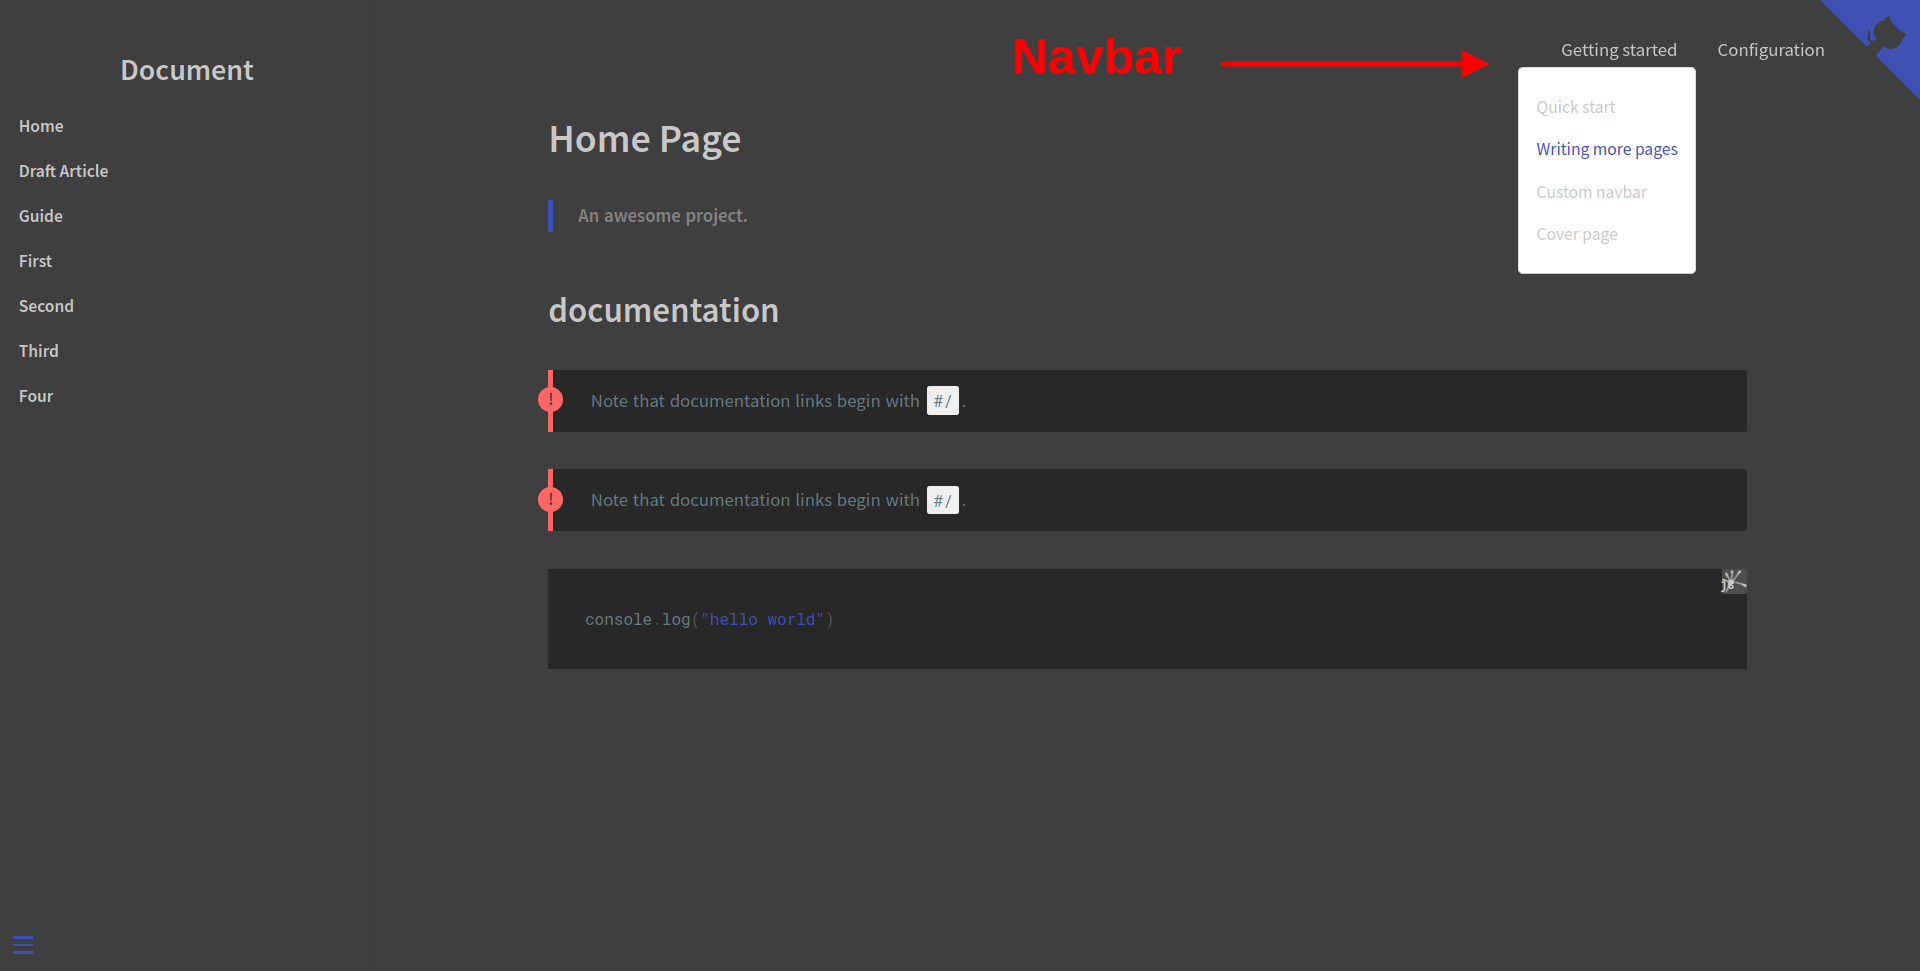 Customize Navbar in Docsify
Cover Page
First, enable the cover page in docsify with the following code:
<!-- index.html -->
<script>
      window.$docsify = {

        coverpage: true,     <!-- enable coverpage -->

      };
</script>
The next step is to create a new _coverpage.md file.
# Learn Docsify
### Learn the docsify start from beginner.

[Start Learn]()
[Github](#/README)
Your website cover page should look like this:
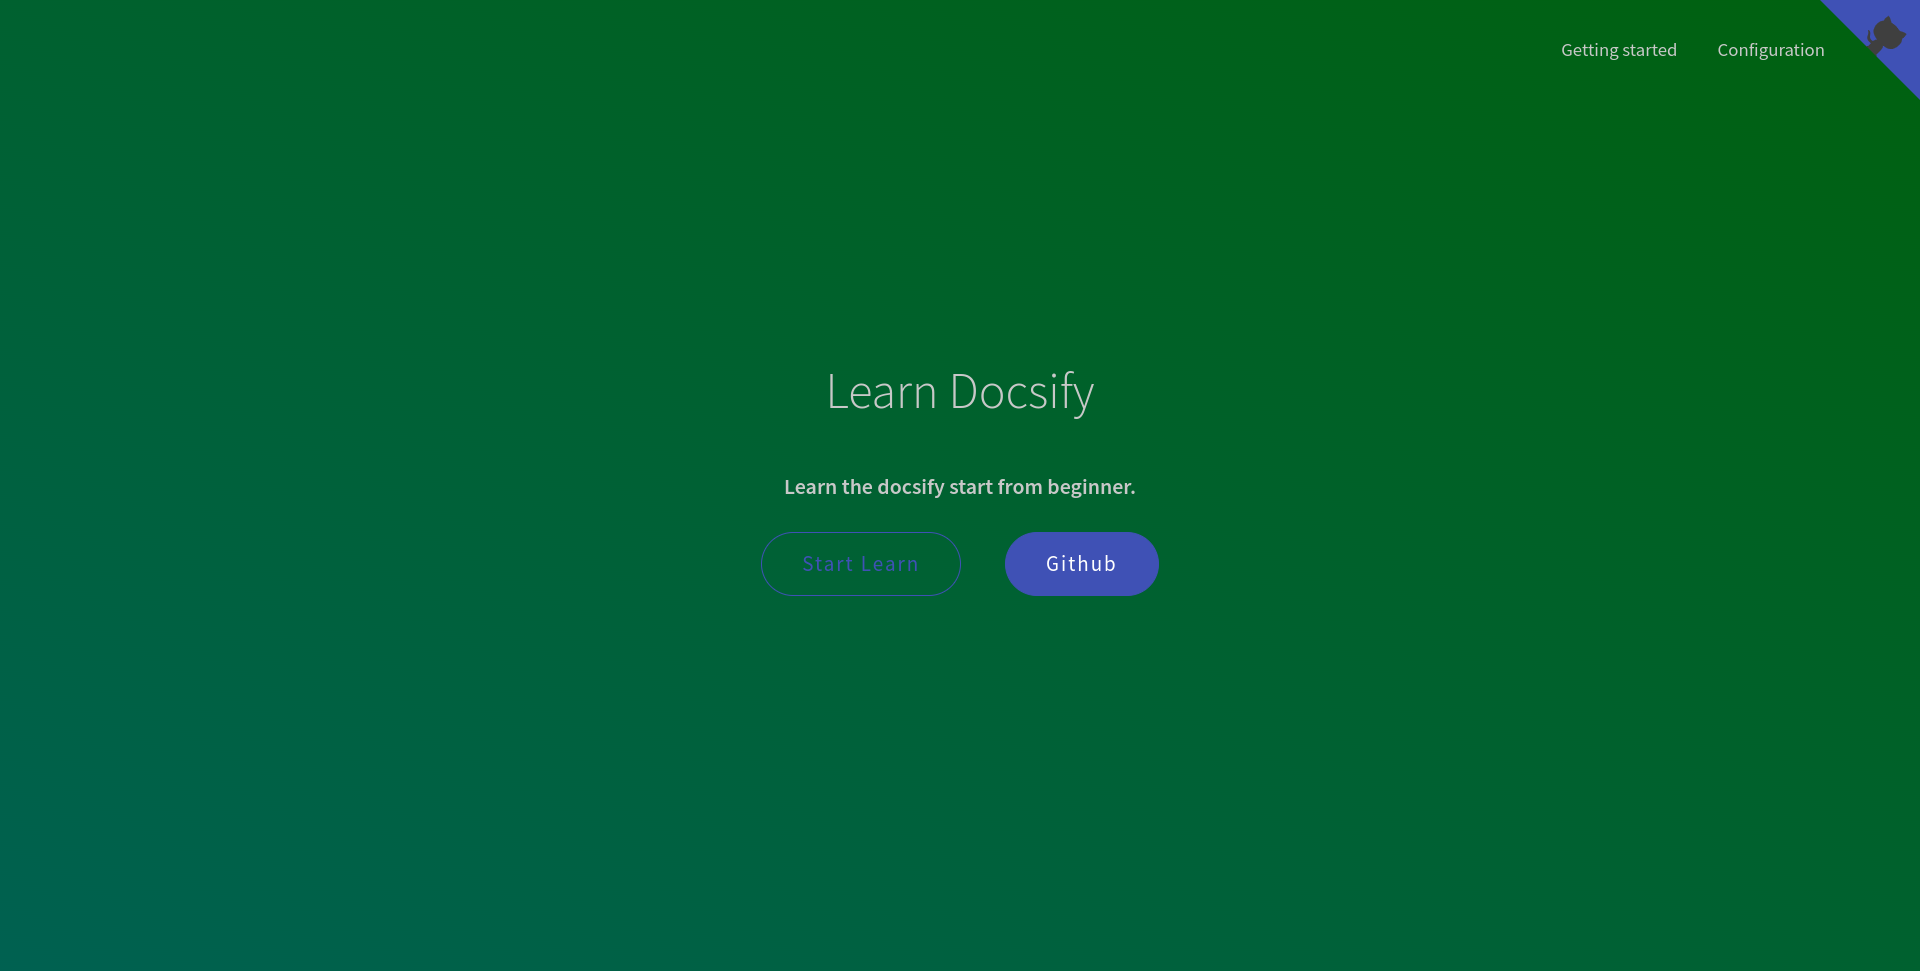 Your cover page
The cover page and your UI depend on the theme, so they'll differ from theme to theme.
Plugins
Plugins help provide additional functionality and features to Dicsify and enhance the user experience as well.
You can create and use plugins according to your own requirements. [Docsify](https://github.com/docsifyjs/awesome-docsify) has many plugins available that are open-source and created by various contributors.
You can use any plugin by just copy-pasting the code. Even you can create your own plugins with docsify.
How to use third-party plugins
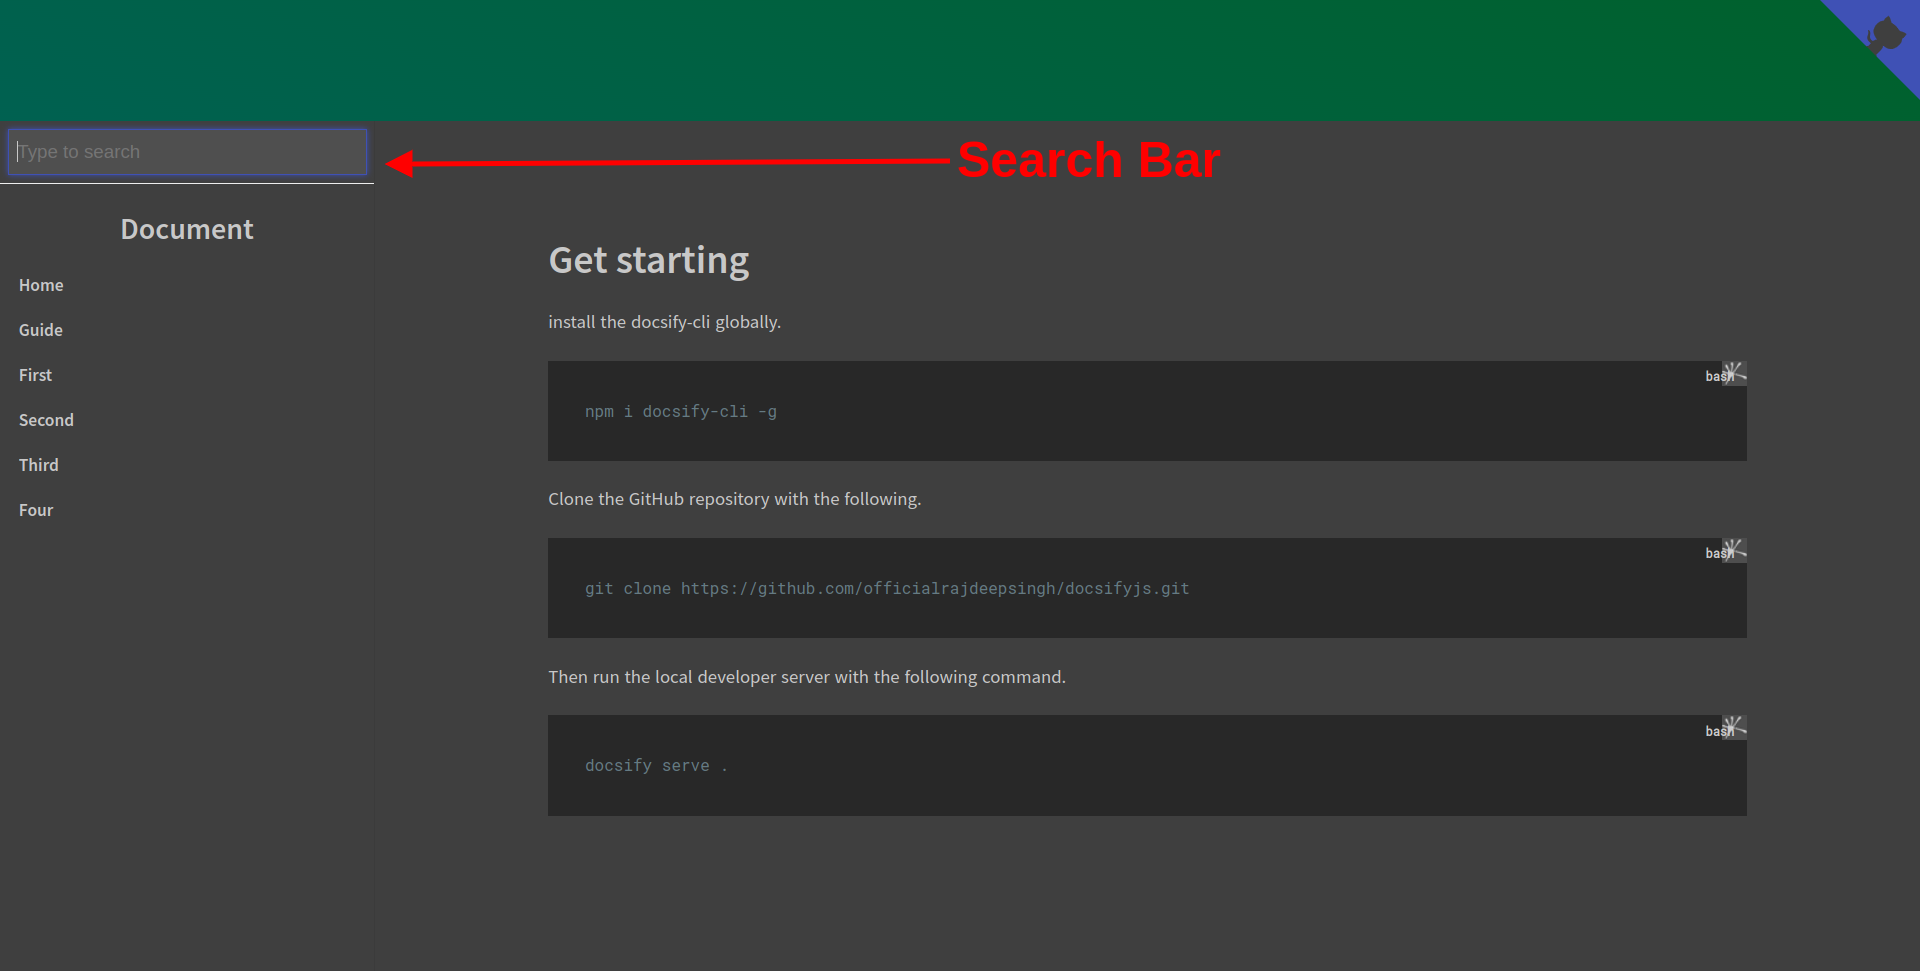
In this example, we'll enable the search bar functionally with the help of the docsify plugin.
To enable the search bar, copy and paste the following script inside your index.html file:
<script src="//cdn.jsdelivr.net/npm/docsify/lib/plugins/search.min.js"></script>
Now the search bar will appear and work on your site. With the search plugin, you can also configure various functionality – read more about it on the search plugin installation and configure page.
 Docsify Search plugin
How to create your own plugin with docsify
To create your own plugin in docsify, there's an inbuilt hook you'll need to use for the plugin.
Docsify has six inbuilt hooks: init, mounted, beforeEach, afterEach, doneEach, and ready.
init: gets invoked one time when the docsify script is initialized.mounted: gets invoked one time when the docsify instance has mounted on the DOM.beforeEach: gets invoked on each page load before the new markdown is transformed to HTML.afterEach: called on each page load after the markdown has been turned into HTML.doneEach: gets invoked on each page load after new HTML has been appended to the DOM.ready: gets invoked one time after rendering the initial page.
With the help of these hooks, you can create a plugin. To learn more about creating your own plugins, check out the custom plugin document page.
In this example, we'll create an edit button using the beforeEach plugin hook. It shows the EDIT DOCUMENT button on every page.
<!-- index.html -->
    <script>
      window.$docsify = {

        plugins: [

        <!-- write own custom plugin -->
        function editButton(hook, vm) {

          // call the hook
          hook.beforeEach(function (html) {

            var url = "https://github.com/officialrajdeepsingh/docsifyjs/edit/master/" + vm.route.file;

              // basic route fix
            let tempFile = url.replace("docsifyjs/README.md", "README.md",)
              ? url.replace("docsifyjs/README.md", "README.md")
              : url;

            // Add Edit Button
            var editHtml = "[📝 EDIT DOCUMENT](" + url + ")\n";

            // Add edit button on top of file
            return editHtml + html + "\n----\n" + "Last modified " + editHtml;
          });
        },
        ],


      };
    </script>
Themes
Docsify has both official and community-made themes. You can use any of them, and the good part is you do not need to write any extra code when you switch themes.
<!--vue theme -->
<link rel="stylesheet" href="//cdn.jsdelivr.net/npm/docsify/themes/vue.css" />

<!-- buble theme -->
<link rel="stylesheet" href="//cdn.jsdelivr.net/npm/docsify/themes/buble.css" />

<!-- dark theme -->
<link rel="stylesheet" href="//cdn.jsdelivr.net/npm/docsify/themes/dark.css" />

<!-- pure theme -->
<link rel="stylesheet" href="//cdn.jsdelivr.net/npm/docsify/themes/pure.css" />
You can choose to compress or not compress theme CSS files. The compressed CSS file is a minified version of the theme, and it is a lightweight CSS file for production. Other the other hand, a non-compressed theme CSS file is helpful for development.
You just copy the CSS theme (Vue, bubble, dark, and pure) file and paste it inside the head element. And with that, your theme is changed.
In terms of non-official themes, I think the docsify-themeable theme is the best option for you.
Deployment
Docsify has various options for deployment. You can deploy your Docsify site on GitHub pages, GitLab Pages, Firebase Hosting, VPS (Nginx), Netlify, Vercel, AWS Amplify, and Docker.
In some platforms like GitHub pages, you deploy your docsify site directly with the GitHub repository without writing any configuration.
Here's the process to do that:
You'll go to Settings > Pages > Source > and then select Deploy from a branch > Branch > Select your branch with folder and click on the save button.
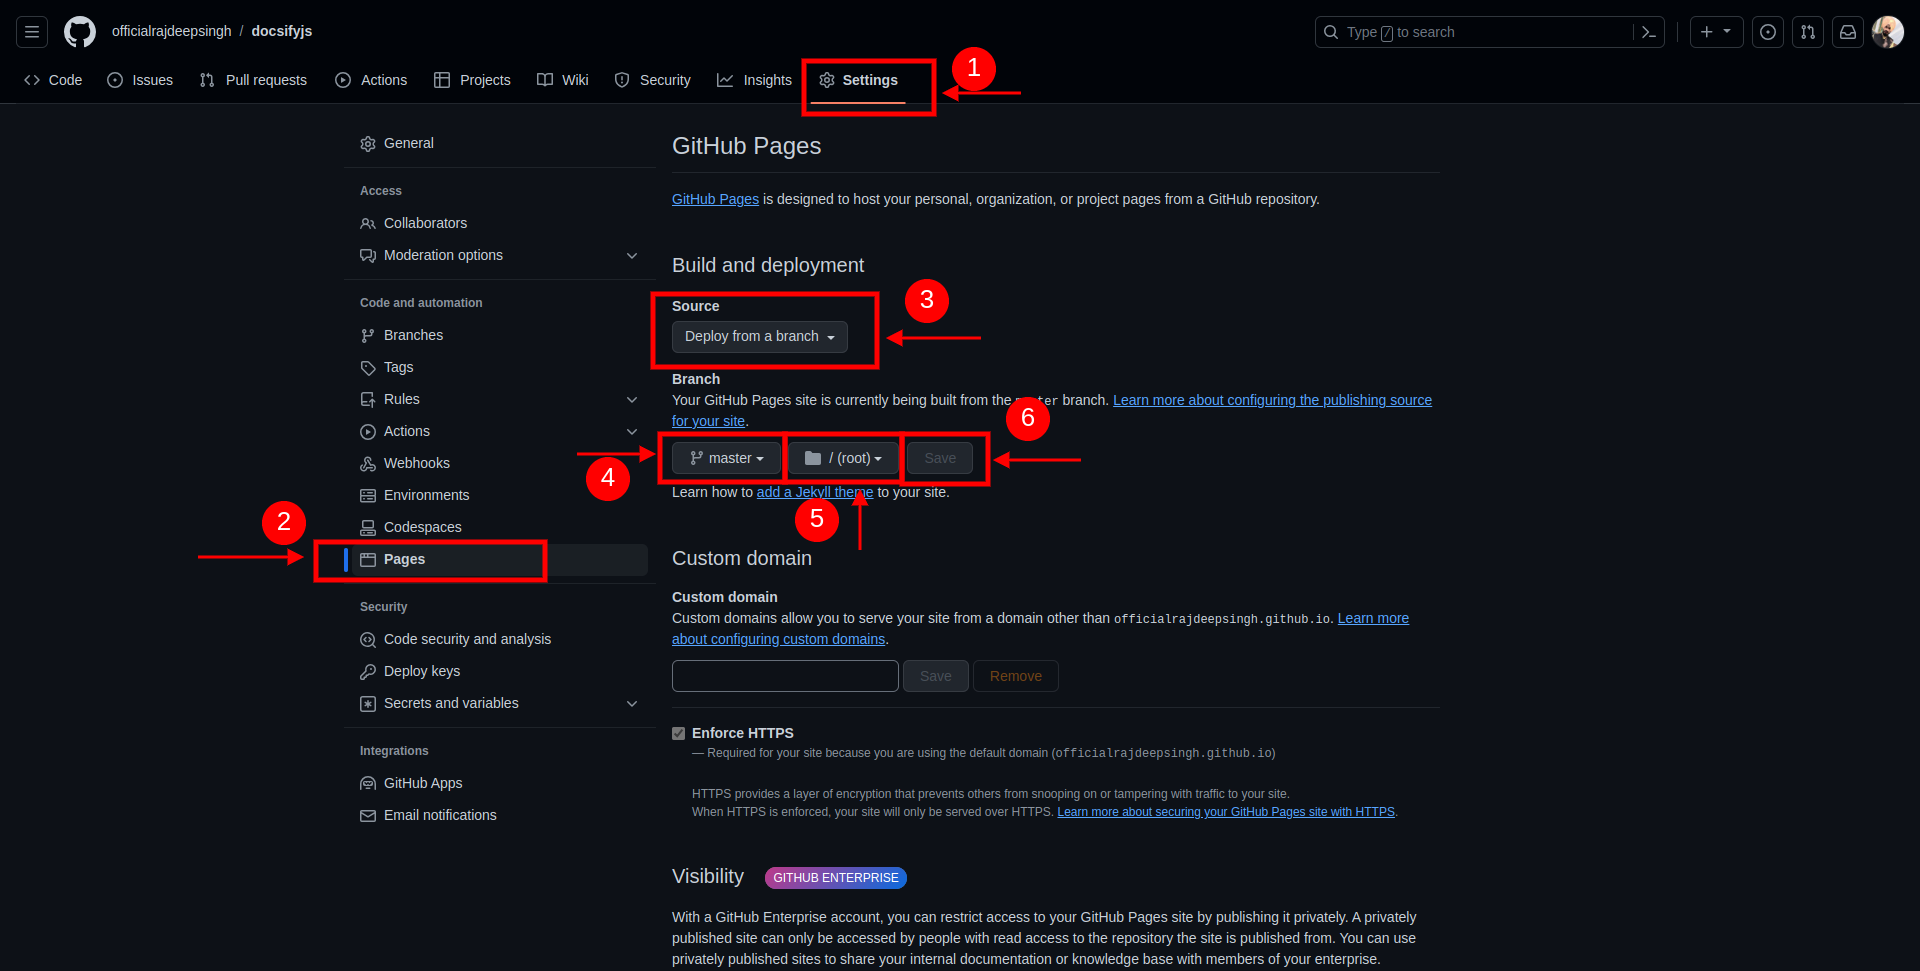 Deploy docsify with GitHub pages
It will take some time, depending on your website size. After deployment finishes, you should see your production URL.
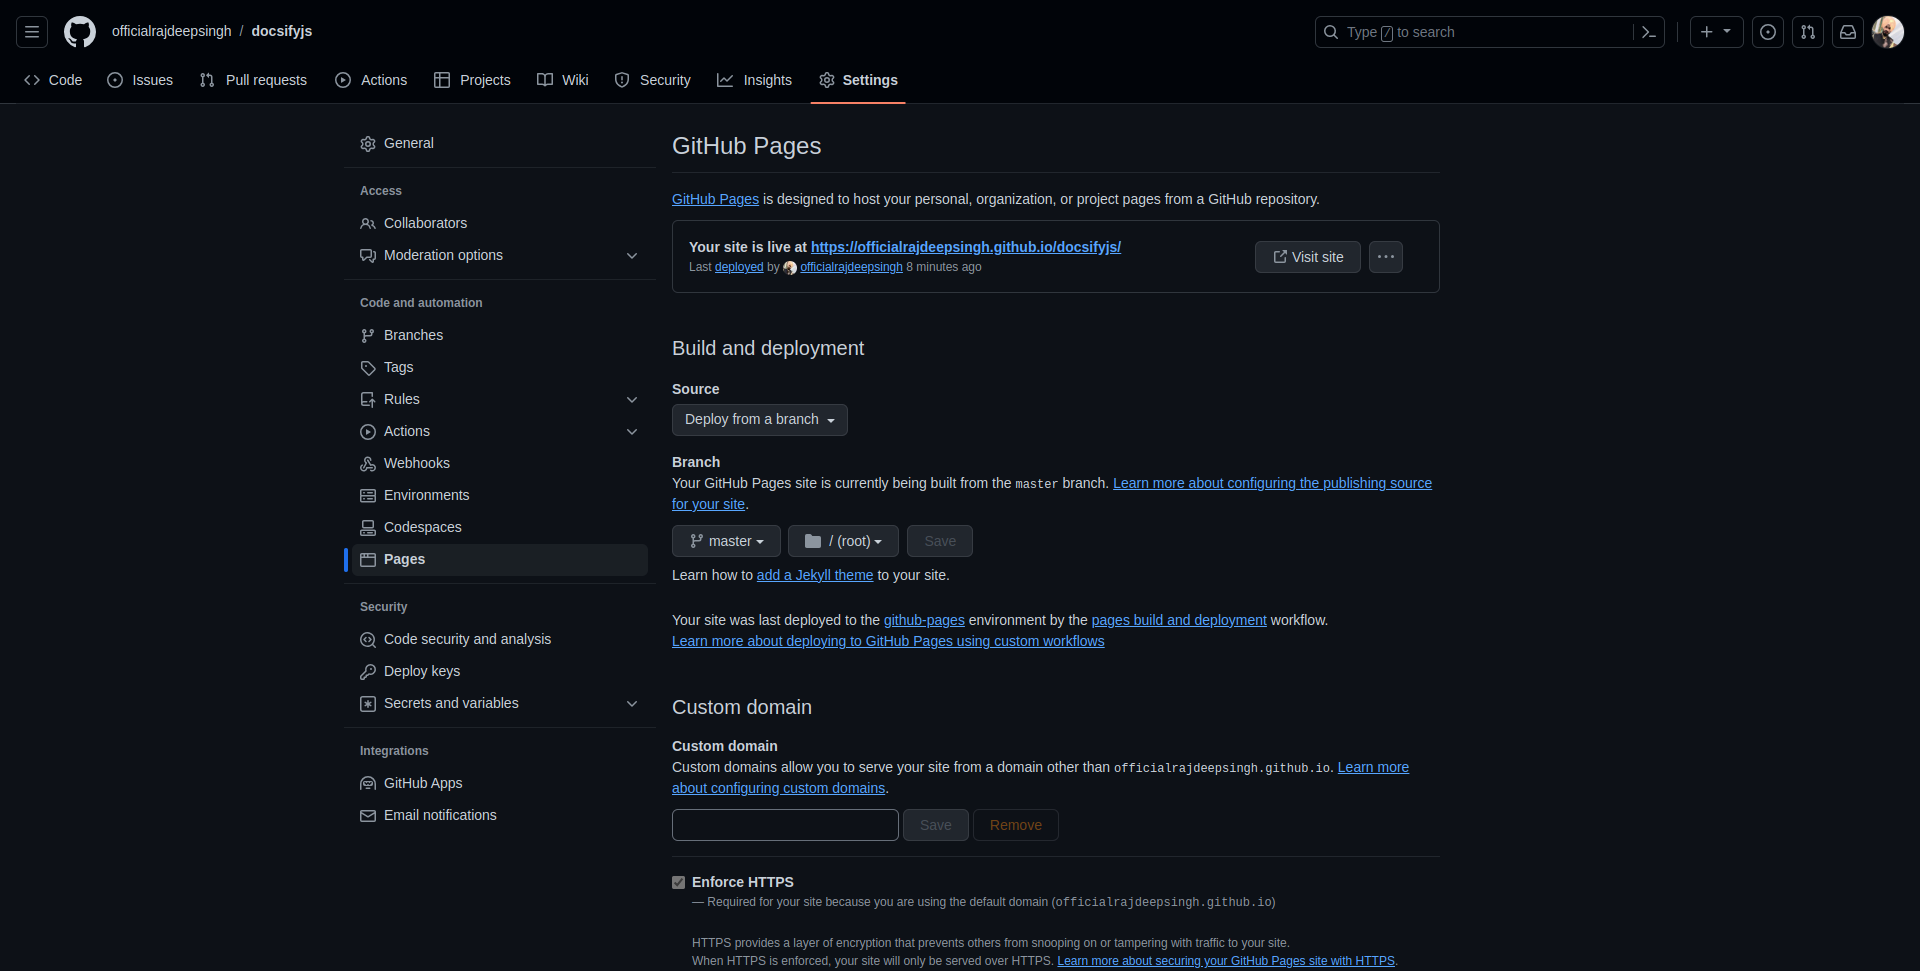 Finish the deployment
Conclusion
Docsify is a powerful tool for generating documentation sites. In docsify, you can focus on documentation writing, not UI design.
Docsify is a good option for developers who aren't that familiar with JavaScript. If you focus more on low-level languages like C++ or rust, docsify can help you get started writing your documentation with one command.
I recently used docsify for my awesome-nextjs repository. You can easily deploy on the GitHub page without any configuration.
Just keep in mind that there are two downsides to docsify:
- Docsify does not generate dynamic SEO meta tags for a page. It only generates a title and description.
- The docsify theme does not provide a modern UI feel.
But it's still very useful! Enjoy creating your documentation :)