
When you're building a project that needs to represent data visually, you will need a good way to display the information so it's easy to read and understand.
Now, depending on the type of data, you can select between different representation methods using HTML elements.
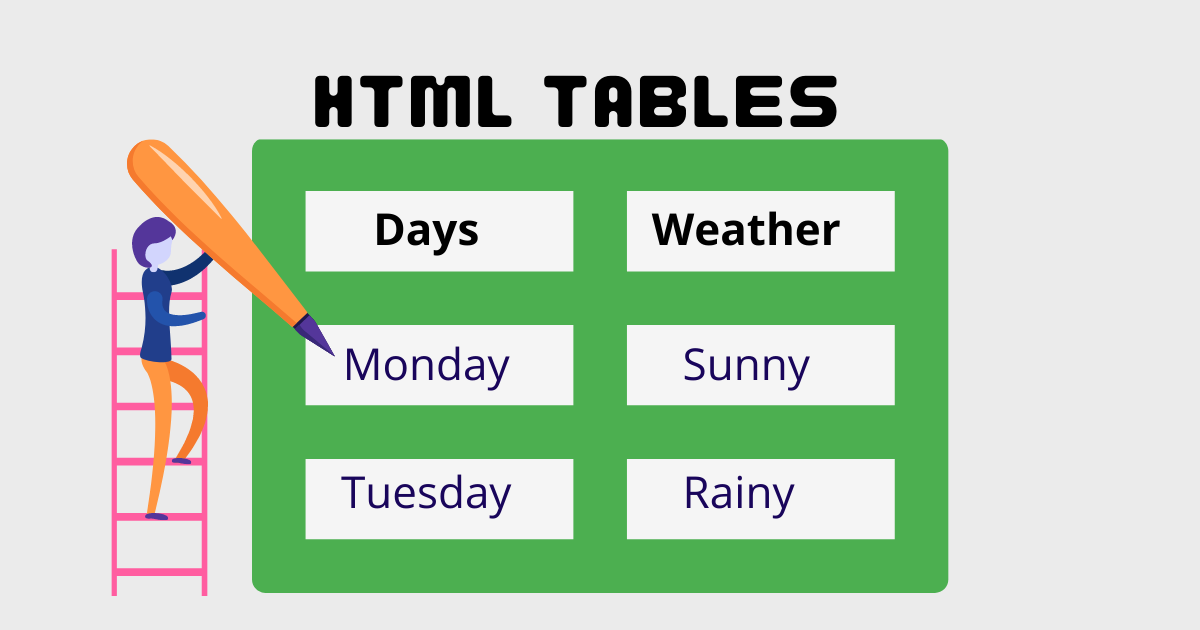
In most cases, tables are more convenient to display large amounts of structured data nicely. That’s why, in this article, we are going to learn how to use tables in HTML and then how to style them.
Here's an Interactive Scrim about HTML Tables
But, first things first – what is a table in HTML?
What is a Table in HTML?
A table is a representation of data arranged in rows and columns. Really, it's more like a spreadsheet. In HTML, with the help of tables, you can arrange data like images, text, links and so on into rows and columns of cells.
The use of tables in the web has become more popular recently because of the amazing HTML table tags that make it easier to create and design them.
To create a table in HTML you will need to use tags. The most important one is the <table> tag which is the main container of the table. It shows where the table will begin and where it ends.
Common HTML Table tags
Other tags include:
<tr>- represents rows<td>- used to create data cells<th>- used to add table headings<caption>- used to insert captions<thead>- adds a separate header to the table<tbody>- shows the main body of the table<tfoot>- creates a separate footer for the table
HTML Table Syntax:
<table>
  <tr>
    <td>Cell 1</td>
    <td>Cell 2</td>
    <td>Cell 3</td>
  </tr>
  <tr>
    <td>Cell 4</td>
    <td>Cell 5</td>
    <td>Cell 6</td>
  </tr>
</table>
| Cell 1 | Cell 2 | Cell 3 |
| Cell 4 | Cell 5 | Cell 6 |
Now that you have an understanding of what an HTML table is all about and how you can create it, let's go ahead and see how we can make use of these tags to create tables with more features.
How to Add a Table Heading in HTML
The <th> is used to add headings to tables. In basic designs the table heading will always take the top row, meaning we will have the <th> declared in our first table row followed by the actual data in the table. By default the text passed in the Heading is centered and Bold.
An example with use of <th>
<table>
  <tr>
    <th>First Name</th>
    <th>Last Name</th>
    <th>Email Address</th>
  </tr>
  <tr>
   <td>Hillary</td>
   <td>Nyakundi</td>
   <td>tables@mail.com</td>
  </tr>
  <tr>
    <td>Lary</td>
    <td>Mak</td>
    <td>developer@mail.com</td>
  </tr>
</table>
| First Name | Last Name | Email Address |
|---|---|---|
| Hillary | Nyakundi | tables@mail.com |
| Lary | Mak | developer@mail.com |
From the example above, we are able to tell what column contains which information. This is made possible with the use of <th> tag.
How to Add a Caption to a Table
The main use of adding a caption to table is to provide a description about the data represented in the table. The caption can either be placed at the top of the table or the bottom and by default it will always be centered.
To insert a caption into a table, use the <caption> tag.
Caption Syntax
<table>
  <caption></caption>
  <tr> </tr>
</table>
An example with use of <caption>
<table>
  <caption>Free Coding Resources</caption>
  <tr>
    <th>Sites</th>
    <th>Youtube Channels</th>
    <th>Mobile Appss</th>
  </tr>
  <tr>
    <td>Freecode Camp</td>
    <td>Freecode Camp</td>
    <td>Enki</td>
  </tr>
  <tr>
    <td>W3Schools</td>
    <td>Academind</td>
    <td>Programming Hero</td>
  </tr>
  <tr>
    <td>Khan Academy</td>
    <td>The Coding Train</td>
    <td>Solo learn</td>
  </tr>
</table>
| Sites | Youtube Channels | Mobile Appss |
|---|---|---|
| Freecode Camp | Freecode Camp | Enki |
| W3Schools | Academind | Programming Hero |
| Khan Academy | The Coding Train | Solo learn |
How to Use the Scope Attribute in HTML Tables
The scope attribute is used to define whether a specific header is intended for either a column, row, or a group of both. I know the definition might be challenging to understand but hold on – with the help of an example you will better understand it.
The main purpose of the scope element is to show the target data so that the user does not have to rely on assumptions. The attribute is declared in the header cell <th>, and it takes the values col, row, colgroup and rowgroup.
The values col and row indicated that the header cell is providing inforamation for either the rows or columns respectively.
Scope Syntax
<table>
 <tr>
   <th scope="value">
 </tr>
</table>
An Example with use of <scope>
<table>
  <tr>
    <th></th>
    <th scope="col">Semester</th>
    <th scope="col">Grade</th>
  </tr>

  <tr>
    <td>1</td>
    <td>Jan - April</td>
    <td>Credit</td>
  </tr>

  <tr>
    <td>2</td>
    <td>May - August</td>
    <td>Pass</td>
  </tr>

  <tr>
    <td>2</td>
    <td>September - December</td>
    <td>Distinction</td>
  </tr>
</table>
| Semester | Grade | |
|---|---|---|
| 1 | Jan - April | Credit |
| 2 | May - August | Pass |
| 2 | September - December | Distinction |
What the scope attribute has done, is that it shows whether a header cell belongs to either the column, row, or a group of both.
In this case the headers belong to the column because it's what we set in the code. You can play around by changing the attribute to see the different behaviors.
How to Use Cell Spanning in an HTML Table
Perhaps you have come across cells that stretch across two or more columns or rows in a table. That's called cell spanning.
If you worked in programs like MS office or Excel you have probably used the function by highlighting the cells and clicking the command, and voilà! You have it.
The same features can be applied in an HTML table by using two cell attributes, colspan for horizontal spanning and rowspan for vertical spanning. The two attributes are assigned numbers greater that zero which shows the number of cells you wish to span.
An Example with use of span
<table>
  <tr>
    <th>Name</th>
    <th>Subject</th>
    <th>Marks</th>
  </tr>
  <tr>
    <td rowspan = "2">Hillary</td>
    <td>Advanced Web</td>
    <td>75</td>
  </tr>
  <tr>
    <td>Operating Syatem</td>
    <td>60</td>
  </tr>
      <tr>
    <td rowspan = "2">Lary</td>
    <td>Advanced Web</td>
    <td>80</td>
  </tr>
  <tr>
    <td>Operating Syatem</td>
    <td>75</td>
  </tr>
  <tr>
    <td colspan="3">Total Average: 72.5</td>
  </tr>
</table>
| Name | Subject | Marks |
|---|---|---|
| Hillary | Advanced Web | 75 |
| Operating Syatem | 60 | |
| Lary | Advanced Web | 80 |
| Operating Syatem | 75 | |
| Total Average: 72.5 |
In the example above, we have a cell spanning of 2 cells in the rows and 3 cells in the column as indicated. We have managed to apply the span both vertically and horizontally.
When using the attributes
colspanandrowspan, make sure to declare the values assigned correclty to avoid overlapping of cells.
How to Add a Table Header, Body, & Footer in HTML Tables
Just like how a website or any other document has three main sections – the header, body, and footer – so does a table.
In a table they are divided by using attributes namely:
<thead>- provides a separate haeder for the table<tbody>- conatins main content of the table<tfoot>- creates a separete footer for the table
An Example with use of <thead>, <tbody> & <tfoot>
<table>
  <thead>
    <tr>
      <th colspan="2">October</th>
      <th colspan="2">November</th>
    </tr>
  </thead>

  <tbody>
    <tr>
      <td>Sales</td>
      <td>Profit</td>
      <td>Sales</td>
      <td>Profit</td>
    </tr>
    <tr>
      <td>$200,00</td>
      <td>$50,00</td>
      <td>$300,000</td>
      <td>$70,000</td>
    </tr>
  </tbody>

  <tfoot>
    <tr>
      <th colspan= "4">November was more produstive</th>
    </tr>
  </tfoot>
</table>
| October | November | ||
|---|---|---|---|
| Sales | Profit | Sales | Profit |
| $200,00 | $50,00 | $300,000 | $70,000 |
| November was more produstive |
In the above example, the header is represented by the name of the months, the part with the figures of both sales and profit represents the table body, and finally the part with the statement represents the footer of our table.
Another important thing to note is that a table can have more than one body part. In a scenario like this each body groups the rows that are related together.
How to Style HTML Tables using CSS
Even though tables are widely used today, it is very rare to find one that has not been styled. Most of them use different forms of styles, whether that's colors, fonts, highlighting important values and so on.
Styling helps make the tables appear proffesional and appealing to the eyes. After all, you wouldn't want your reader to stare at data divided by only a single line.
Unlike styling with other languages or tools, in HTML you will need to get an extra file with a .css extension created where you will add your styles and link it to your HTML file.
Below, attached is a code playground with an example of a styled table. Feel free to play around with it to see how different styling will affect the display.
In the code playground above, we have created a table and styled it using some of the attributes we covered in the article.
We styled it using a CSS file, where we have added the color and border to our table to make it more readable and beautiful. The table also has a fixed header so you can scroll through the large amount of data and still see the header of a particular column.
So, we have seen what a table is, we've created a few of them, and even gone a step ahead and applied styling.
But having the knowledge and not knowing how to apply it won't be of any help. So that being said, where or when do you need to make use of tables in your design?
When to Use a Table
There are many situations where tables might come in handy when developing your projects:
- You can use tables when you want to compare and contrast data with shared characteristics like the differences between A and B or scores of team X to those of Y.
- You can also use one if you want to give an overview of numerical data. A good example of this is when you are trying to represent marks of students or even the scores of teams like the EPL table.
- And a table can help readers quickly find specific information laid out in a clear way. For example if you are going through a long list of name a table can be used to sub devide the list which make it easy for readers.
Wrap Up
Tables are a great way to represent tabular data, and you can create them using basic HTML elements like <table>,<tr>, <td>.
And you can also add some styling to make them look good and present the data clearly with the help of a CSS file.
Before we wrap up, let's do one more task:
Create a table using what we learned to summarize what we have covered in the article today. After that compare your design with my pinned code playground below: