

Before the advent of HTML 5, web developers had to embed video on a web page with a plugin like Adobe flash player.
Today, you can easily embed videos in an HTML document with the <video> tag.
In this article, we'll see how the <video> tag works in HTML.
Table of Contents
- Basic Syntax
- Attributes of the
<video>Tag - The
srcAttribute - The
posterAttribute - The
controlsAttribute - The
loopAttribute - The
autoplayAttribute - The
widthandheightAttributes - The
mutedAttribute - The
preloadAttribute - Conclusion
Basic Syntax
Just like the <img> tag, <video> takes an src attribute with which you need to specify the source of the video.
<video src="weekend.mp4"></video>
By default, it is displayed like an image in the browser:

This CSS centers everything in the web page and change the background color:
 body {
      display: flex;
      align-items: center;
      justify-content: center;
      min-height: 100vh;
      background-color: #d3d3d3;
    }
In addition, you can specify multiple video sources for the <video> with the <source> tag. This <source> tag has to carry its own src attribute too.
You can use multiple <source> tags to make different formats of the same video available. The browser will then play the format it supports.
<video controls>
   <source src="weekend.mp4" />
   <source src="weekend.ogg" />
   <source src="weekend .webm" />
</video>
Attributes of the <video> Tag
The <video> tag supports global attributes such as id, class, style, and so on.
If you're wondering what global attributes are, they are attributes supported by all HTML tags.
The specific attributes supported by the <video> tag include src, poster, controls, loop, autoplay, width, height, muted, preload, and others.
The src Attribute
The src attribute is used to specify the source of the video. It could be a relative path to the video on your local machine or a live video link from the internet.
<video src="weekend.mp4"></video>
It’s optional because you can use the <source> tag instead of it.
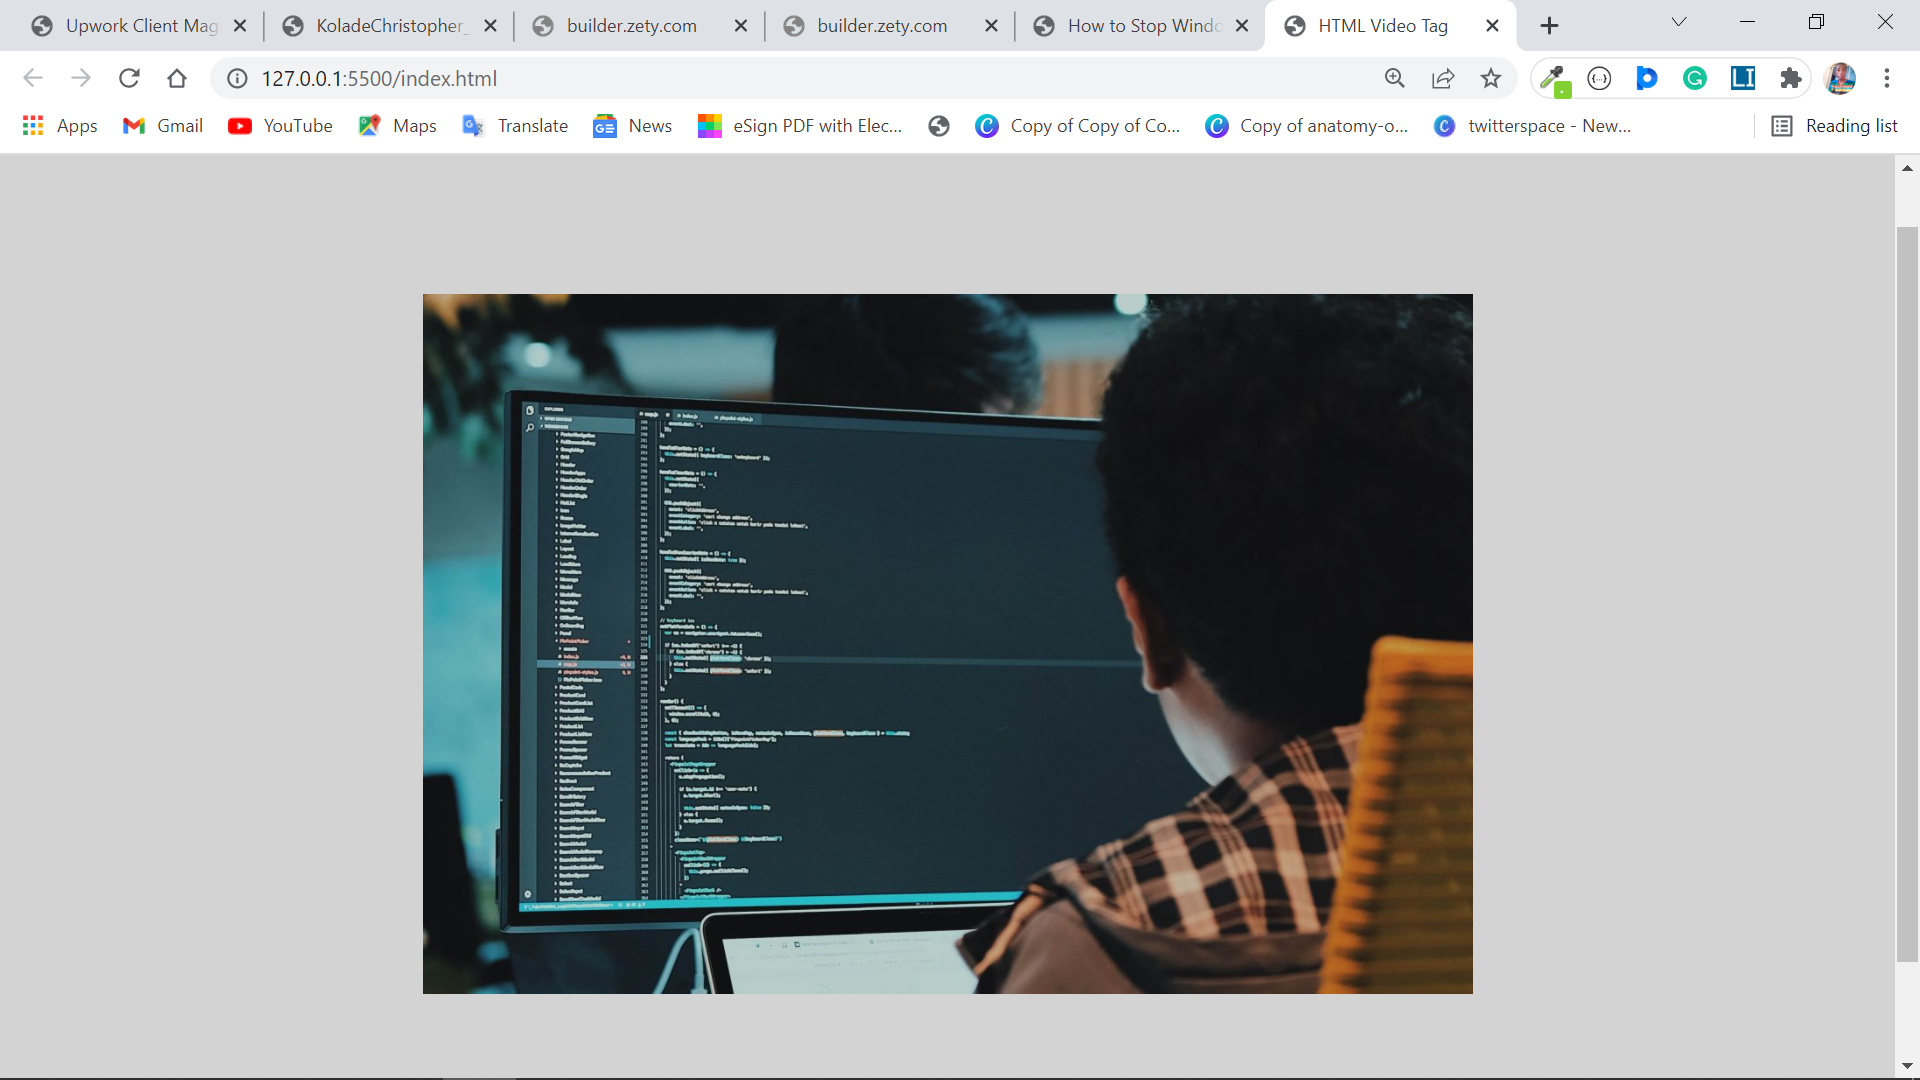
The poster Attribute
With the poster attribute, you can incorporate an image to show before the video starts playing or while it is downloading.
<video src="weekend.mp4" poster="benefits-of-coding.jpg"></video>
Instead of the image of the first scene of the video, the browser will show this image:
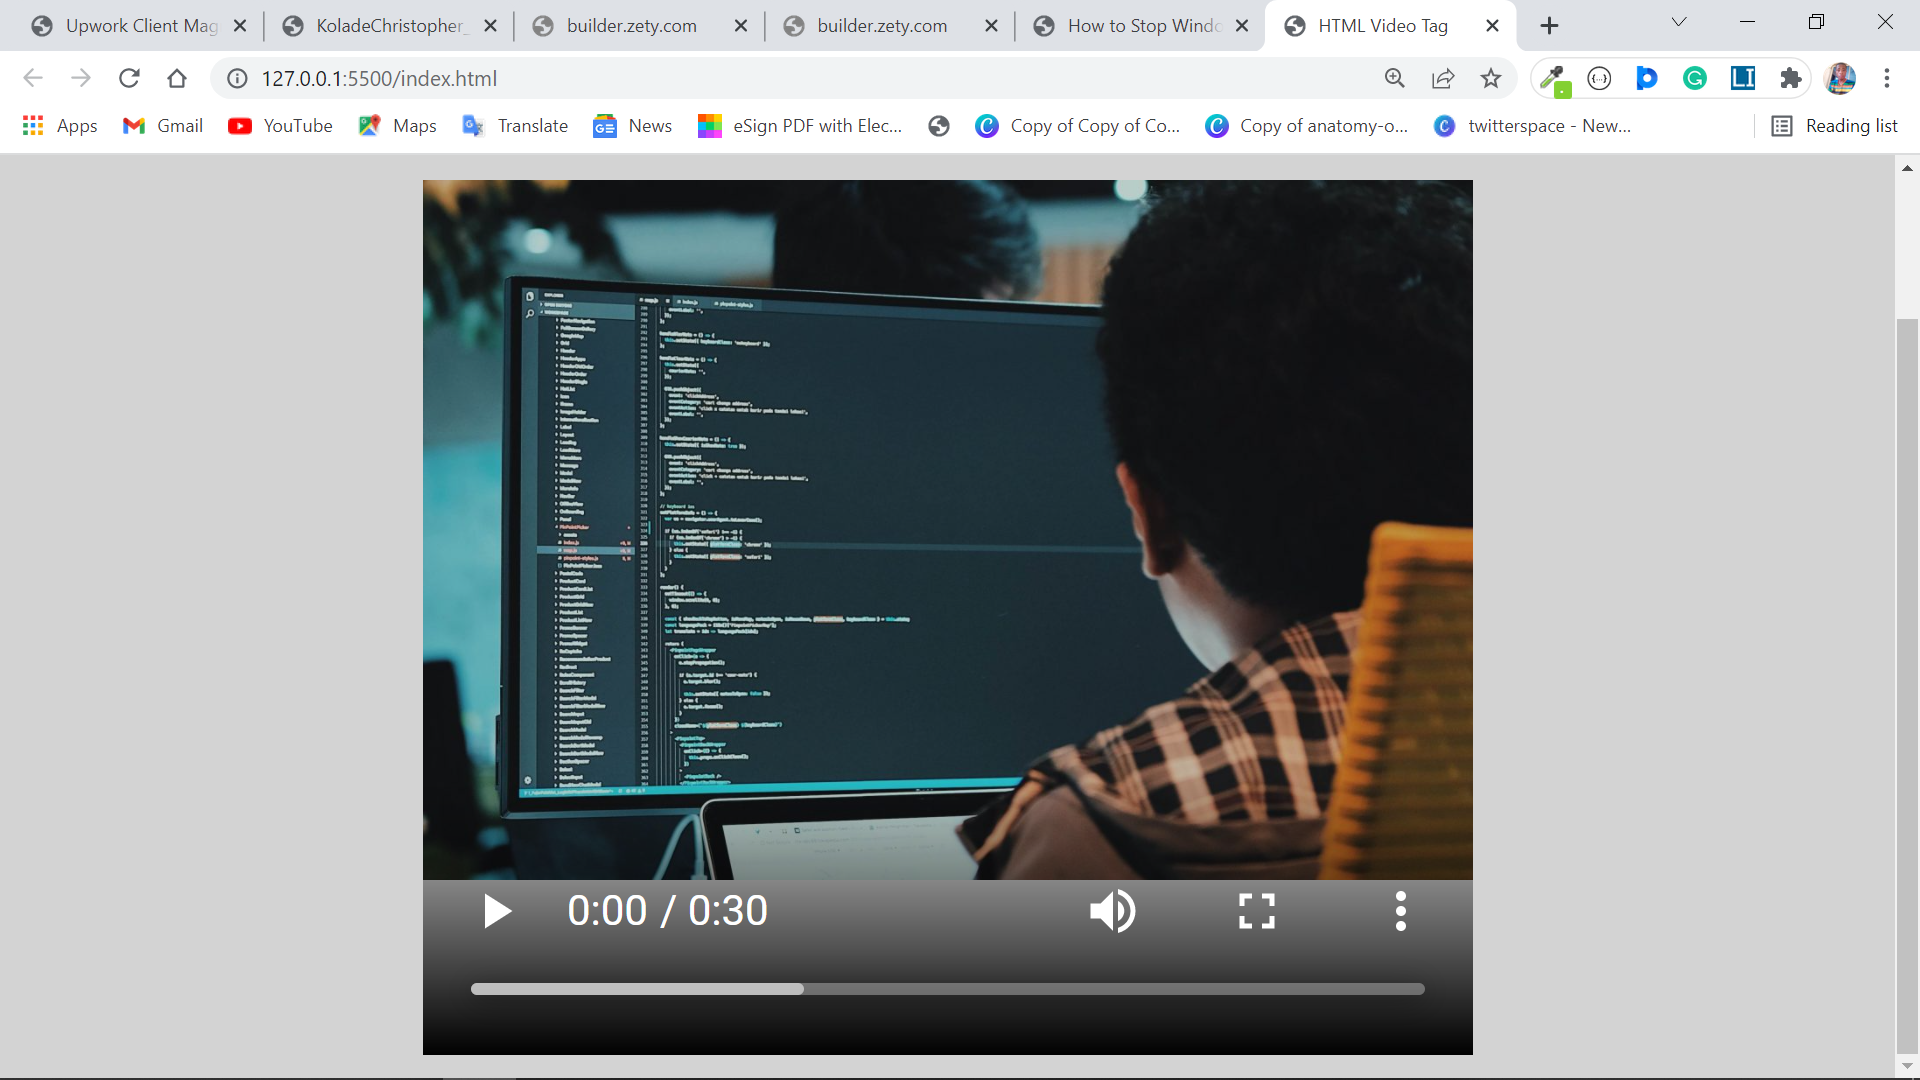
The controls Attribute
When you use control, it lets the browser show playback controllers such as play and pause, volume, seek, and so on.
<video
      controls
      src="weekend.mp4"
      poster="benefits-of-coding.jpg"
></video>
The loop Attribute
With the loop attribute, you can make the video repeat automatically. That is, make it start playing again every time it stops playing.
<video
      controls
      loop
      src="weekend.mp4"
      poster="benefits-of-coding.jpg"
></video>
The autoplay Attribute
The autoplay attribute lets you make the video start playing automatically immediately after the page loads.
<video
      controls
      loop
      autoplay
      src="weekend.mp4"
      poster="benefits-of-coding.jpg"
></video>
The width and height Attributes
You can use the width and height attributes to specify a width and height for the video in pixels. It accepts only absolute values, for example, pixels.
<video
      controls
      loop
      autoplay
      src="weekend.mp4"
      width="350px"
      height="250px"
      poster="benefits-of-coding.jpg"
></video>
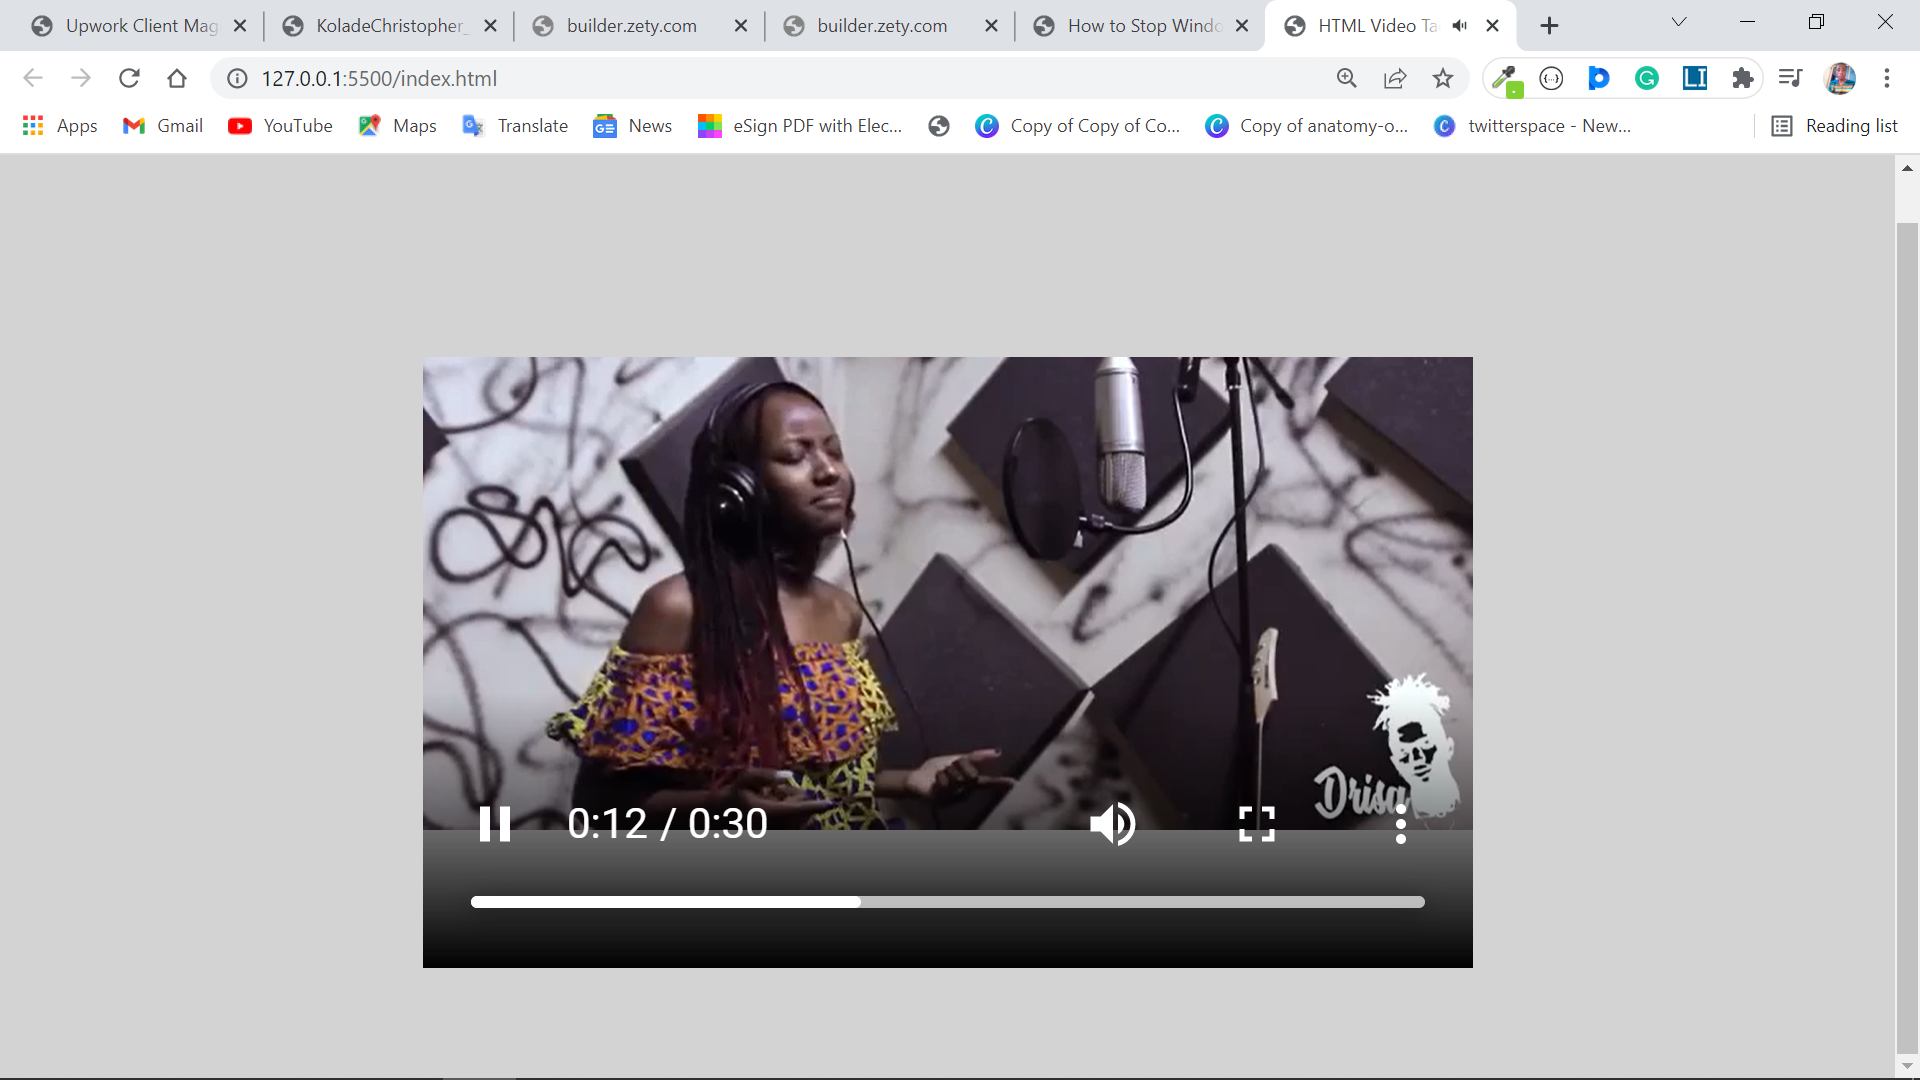
The muted Attribute
You can use the muted attribute to tell the browser not to play any sound associated with the video when it starts playing.
<video
      controls
      loop
      autoplay
      muted
      src="weekend.mp4"
      width="350px"
      height="250px"
      poster="benefits-of-coding.jpg"
></video>
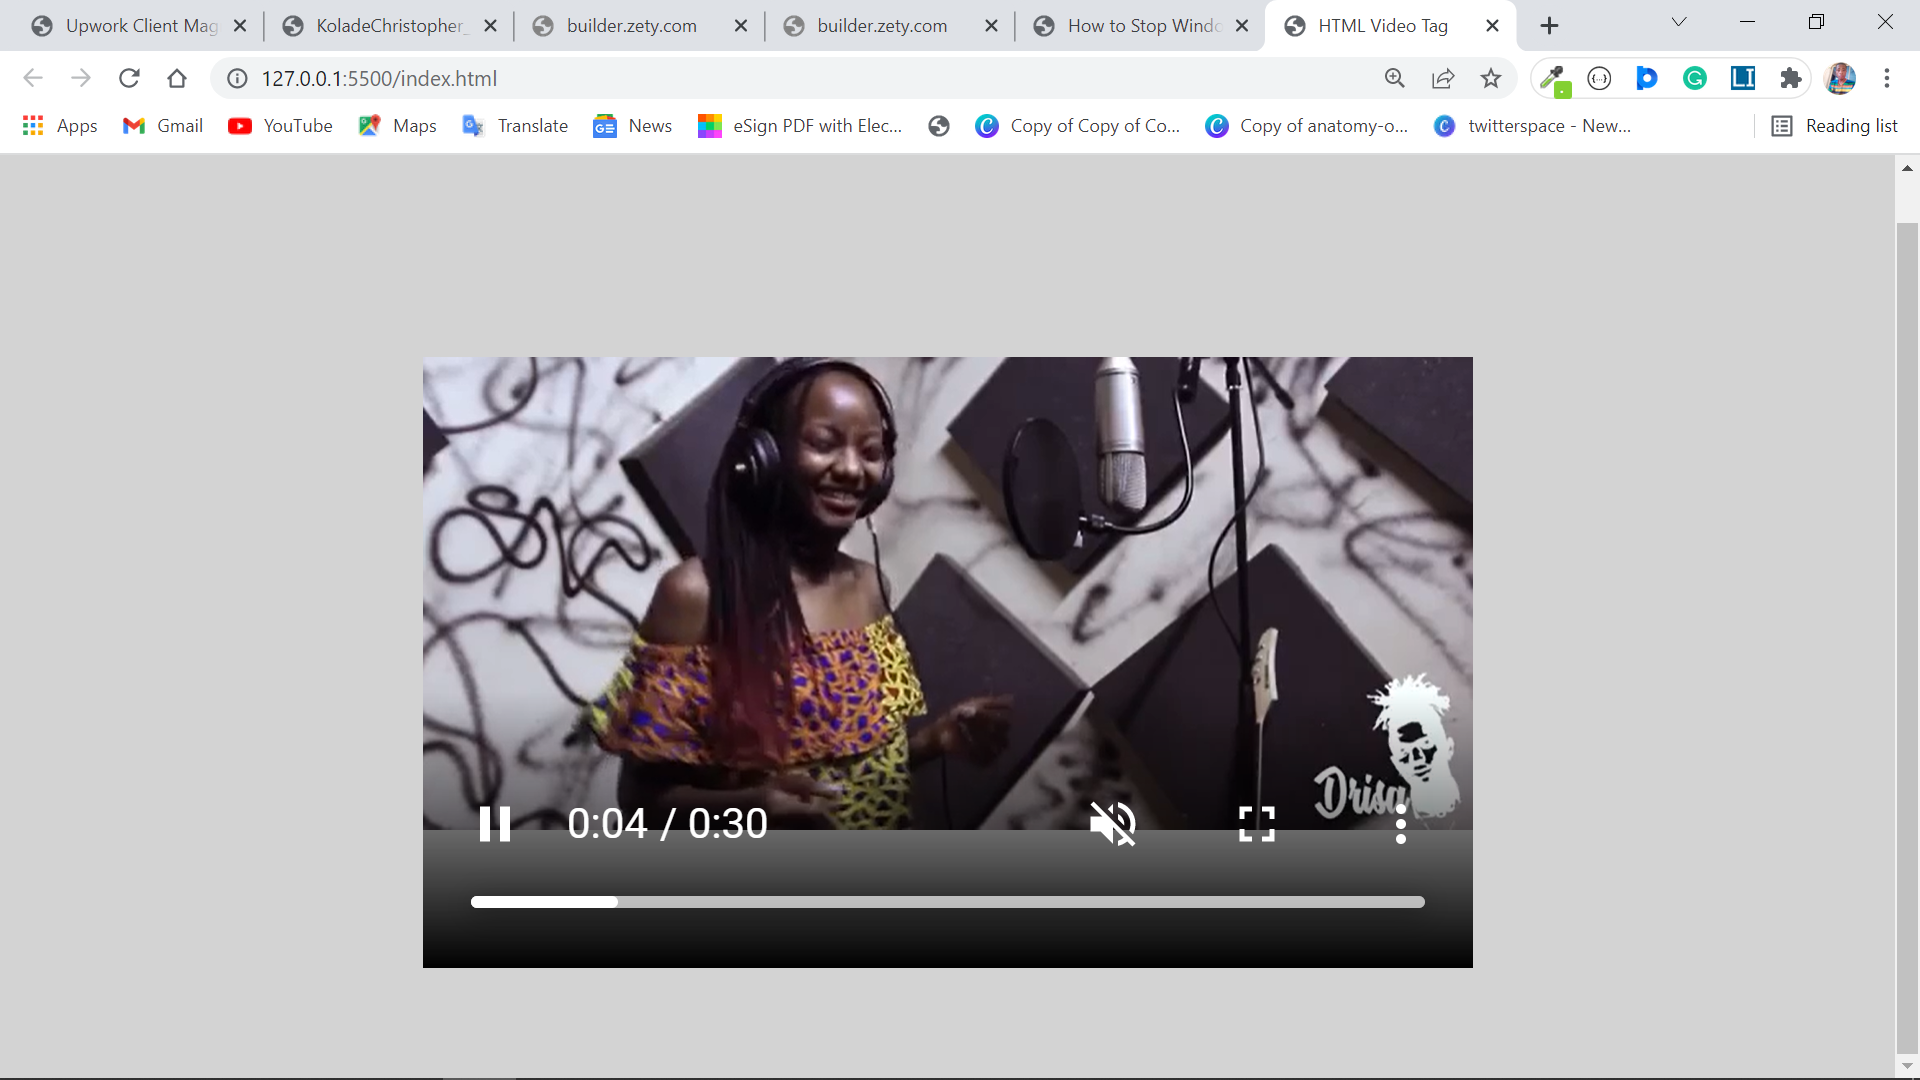
If the controls attribute is specified, the user can click the volume button to unmute.
The preload Attribute
With the preload attribute, you can provide a hint to the browser on whether to download the video or not when the page loads.
This attribute is crucial for user experience.
You can use 3 values with the preload attribute:
none: specifies that the video won't load until the user presses play
auto: specifies that the video should be downloaded even when the user doesn't press play
metadata: specifies that the browser should collect metadata such as length, size, duration, and so on.
<video
      controls
      loop
      autoplay
      muted="true"
      preload="metadata"
      src="weekend.mp4"
      width="350px"
      height="250px"
      poster="benefits-of-coding.jpg"
></video>
Conclusion
In this article, you learned about the HTML5 <video> tag and its attributes, so you can use it in your projects the right way.
Since audio is an important part of a complete video, you can also use the <video> tag to put an audio file on a web page. But in most cases, you should use the <audio> tag for this purpose for the appropriate user experience.
If you find this article helpful, share it with your friends and family so it can reach more people who might need it.