

In the modern digital landscape, user experience (UX) has become a central focus of web development. Providing a smooth, captivating, and aesthetically pleasing interface can really influence user satisfaction and retention.
Route animation is a frequently underestimated aspect of UX that can substantially improve a website's interactivity.
In this tutorial, I'll walk you through the steps of incorporating route animations in React applications using Framer Motion, a powerful and user-friendly animation library.
Importance of Animating Routes in Web Applications
Animating routes can make transitions between different pages or sections of a website more visually appealing and interactive. Smooth route animations enhance the overall user experience by providing a sense of continuity and fluidity. They can also minimise perceived loading times and keep users engaged while new content is fetched or rendered.
If you’re like I am, and you're a sucker for aesthetic animations, you’d agree that websites that have silky animations and transitions, especially between their parts (routes), tend to leave a stronger impression and keep you browsing longer than less animated ones.
A Brief Introduction to React and Framer Motion
React has become a widely-used JavaScript library for crafting user interfaces, especially in the context of single-page applications (SPAs). As an SPA-focused solution, React loads a single HTML page and dynamically alters the content based on user navigation within the app, through route changes.
Framer Motion, an open-source animation library designed for React, delivers a straightforward and expressive API for generating intricate animations.
The library boasts an extensive array of animation capabilities, including spring physics, gesture handling, and server-side rendering support. This makes Framer Motion an ideal choice for implementing route animations in React applications.
How to Set Up Your Development Environment
Before you can begin animating routes in a React application, you need to set up your development environment. This includes installing Node.js and npm (Node Package Manager) on your computer.
How to Create a React Project
Once you have Node.js and npm installed, you can create a new React project using the Create React App command-line tool. Run the following command in your terminal:
npx create-react-app react-framer-animation
After that, open that folder with your code editor. It should look something like this:
 Setting up and opening your React App
Note: in this tutorial, I'll be using the VSCode Editor for development but any modern text editor should suffice.
Next, you rid yourself of all the boilerplate styles and unnecessary files in your app.
 Clearing the clutter files
Your next setup step is to install framer motion and react-router in your React app. Simply open your code editor’s terminal and run:
npm install framer-motion react-router-dom
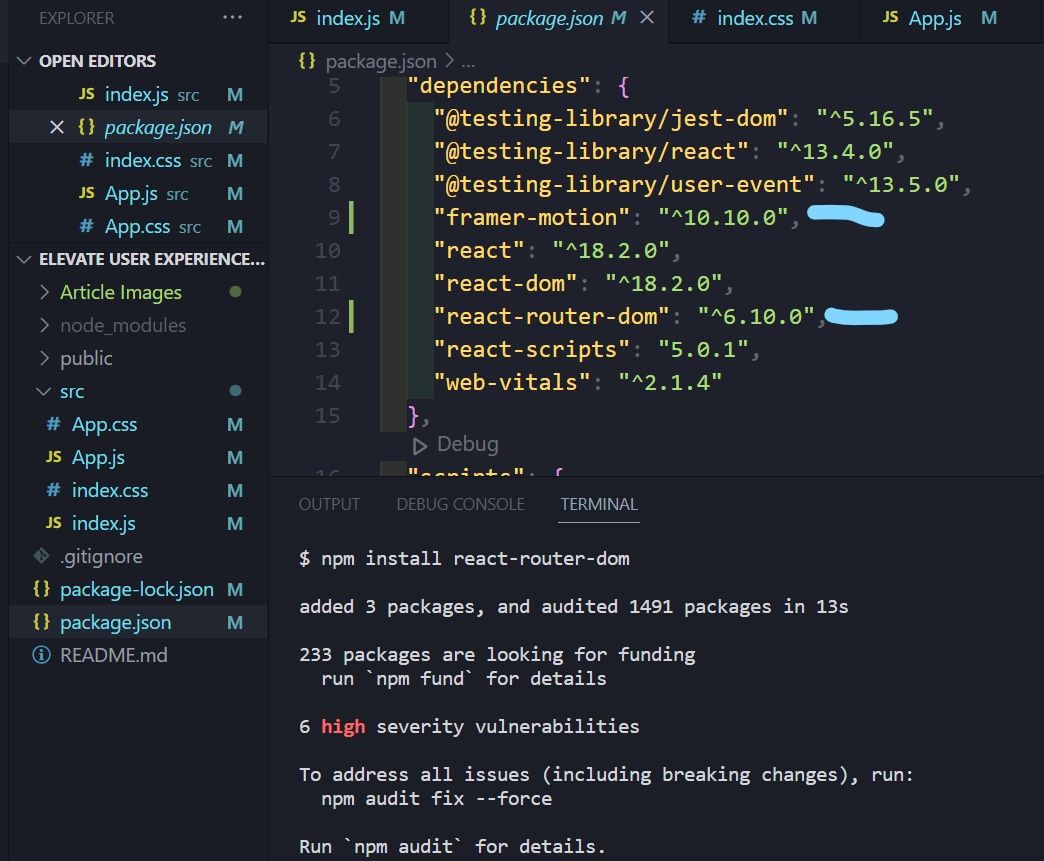 Installing the necessary dependencies
All that’s left is to run npm start which starts up a development server on your browser that opens a blank page.
How React Router Works
React Router is a widely-used library for managing navigation and routing in React applications. It allows developers to create dynamic routes and handle route changes seamlessly (that is, navigating between pages or components).
To help you gain a better understanding, let’s set up routes for our project.
First, import all the necessary functionalities into your App component
import { BrowserRouter, NavLink, Route, Routes } from "react-router-dom";
Then create the rest of the components which you’ll navigate through. To prevent tedious back and forths between components, all components will be created in the App.js component.
function Home() {
  return (
    <div
      className="home component"
    >
     <h1>  Home Component </h1>
    </div>
  );
}

function Header() {
  return (
    <div className="header">
      <span>Header Component</span>
      <ul>
      </ul>
    </div>
  );
}

function About() {
  return (
    <div
      className="about component"
    >
      <h1> About Component </h1>
    </div>
  );
}

function Contact() {
  return (
    <div
      className="contact component"
    >
      <h1> Contact Component </h1>
    </div>
  );
}
To render these components on the browser, you simply embed them in the App component.
function App() {
  return (
    <div classname=”App”>
      <Header />
      <Home />
      <About />
      <Contact />
    </div>
  );
}
At an initial glance, your app should look something like this in the browser:
 Initial rendering of your components without any styling
To make your app look better, add these stylings:
@import url("https://fonts.googleapis.com/css2?family=Rajdhani:wght@600&display=swap");

body {
  font-family: "Rajdhani", sans-serif;
  margin: 0;
  padding: 0;
  box-sizing: border-box;
}
.header {
  padding: 20px;
  box-shadow: 3px 3px 5px rgba(0, 0, 0, 0.2);
  display: flex;
  align-items: center;
  justify-content: space-between;
  margin-bottom: 10px;
}
.header span {
  font-size: 20px;
}

.header ul {
  display: flex;
  gap: 20px;
}

.header ul a {
  text-decoration: none;
  border: 1.5px solid #555;
  padding: 5px 10px;
  color: #333;
}

.component {
  font-size: 30px;
  height: 87vh;
  display: flex;
  justify-content: center;
  align-items: center;
}

.home {
  background: rgb(214, 223, 135);
}
.about {
  background: rgb(115, 139, 243);
}

.contact {
  background: palevioletred;
}
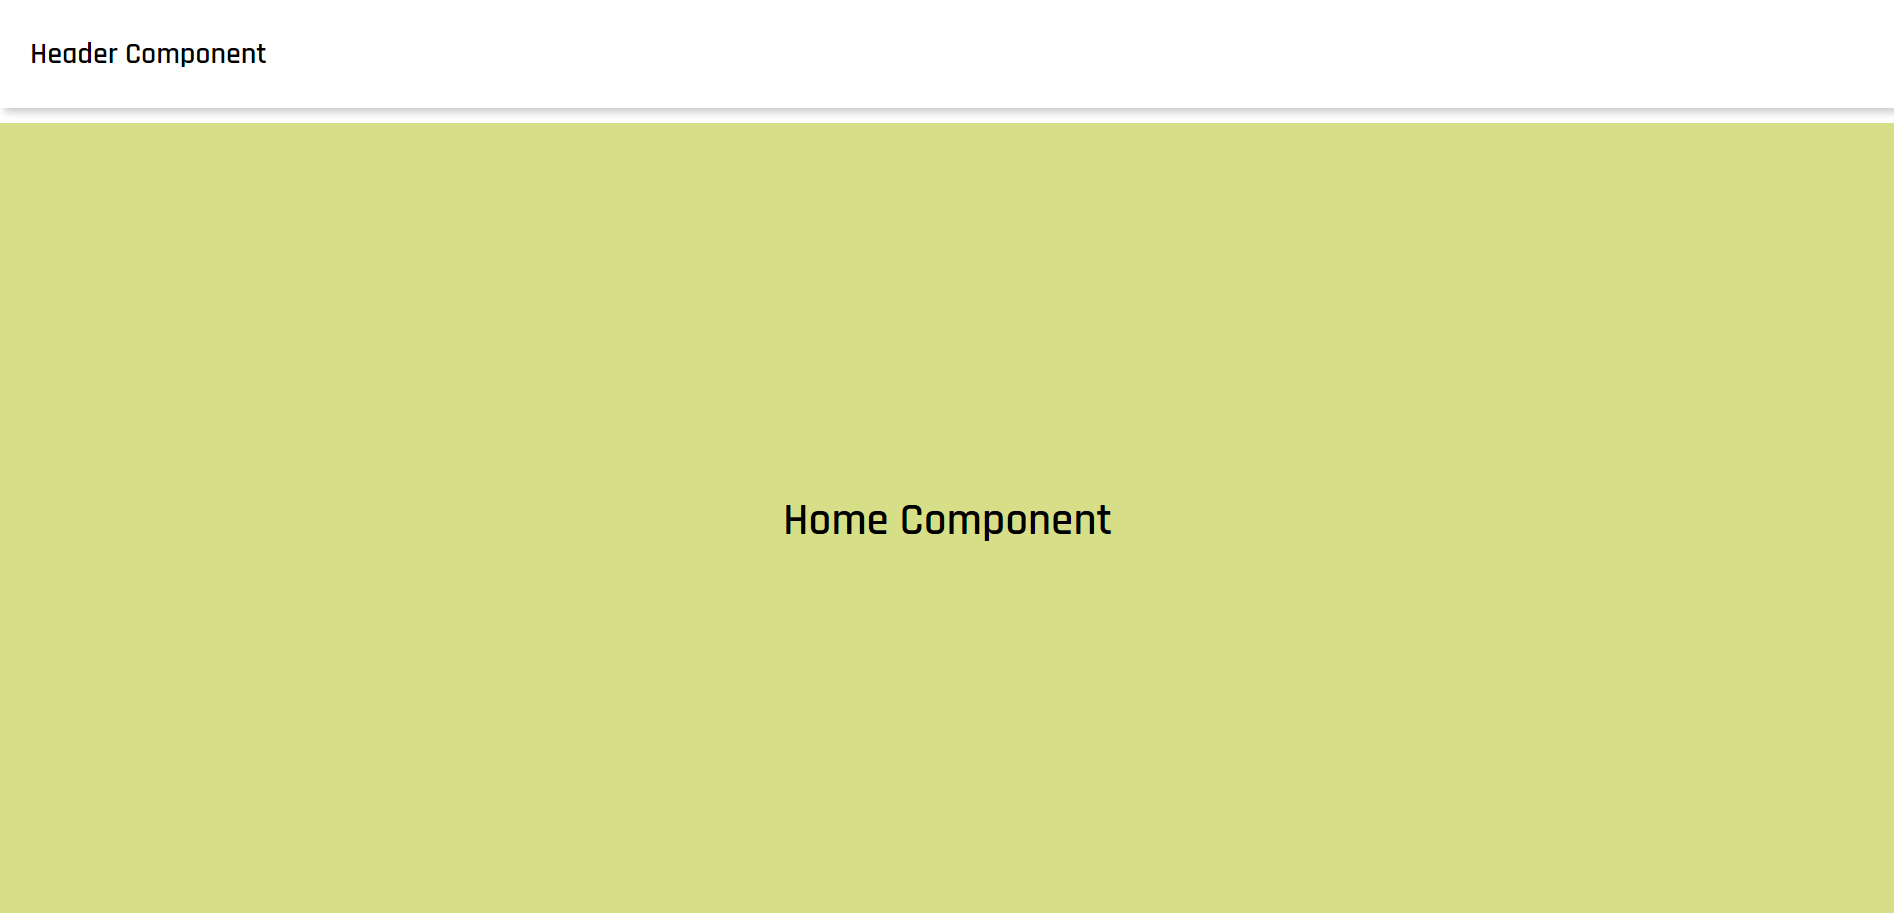
Here's what it'll look like now:
 App after applying CSS
With your components styled, you can begin setting up the routes.
First, wrap the contents of your App component with the BrowserRouter, then further wrap the contents with the Routes function. You do this to specify the components you can route (navigate) between.
function App() {
  return (
    <div className="App">
      <BrowserRouter>
        <Header />
        <Routes>
          <Home />
          <About />
          <Contact />
        </Routes>
      </BrowserRouter>
    </div>
  );
}
Keep in mind the header component is not placed inside the Routes component because it’s going to appear on the page irrespective of the route you navigate to.
Then, you assign a route path to each component.
function App() {
  return (
    <div className="App">
      <BrowserRouter>
        <Header />
        <Routes>
          <Route path="/" element={<Home />} />
          <Route path="/about" element={<About />} />
          <Route path="/contact" element={<Contact />} />
        </Routes>
      </BrowserRouter>
    </div>
  );
}
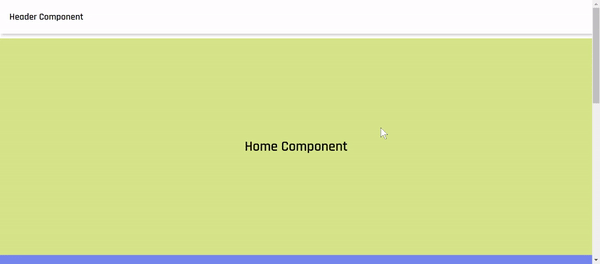
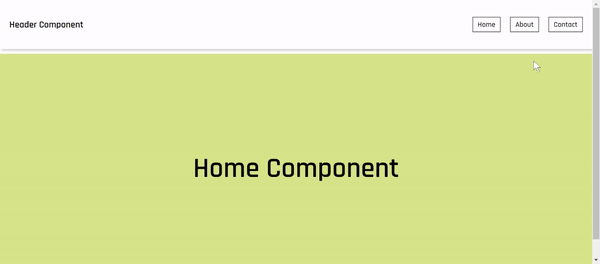
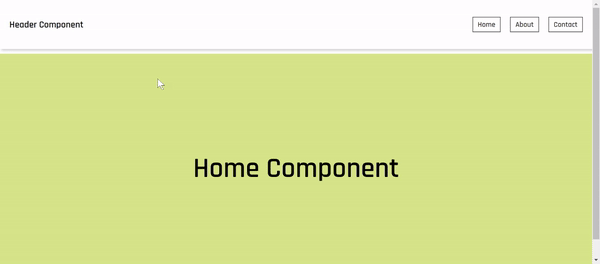
At the moment, since you’re in the root route (/), only the home component is visible.
 Home page after setting up the routes
In order to navigate between pages, you use the NavLink element in your header ul and specify a different route per NavLink. This would enable easy routing per NavLink you click on.
function Header() {
  return (
    <div className="header">
      <span>Header Component</span>
      <ul>
        <NavLink to="/">Home</NavLink>
        <NavLink to="/about">About</NavLink>
        <NavLink to="/contact">Contact</NavLink>
      </ul>
    </div>
  );
}
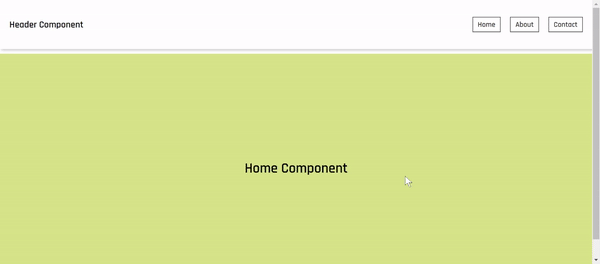
With that, you’ve successfully set up route buttons for your components!
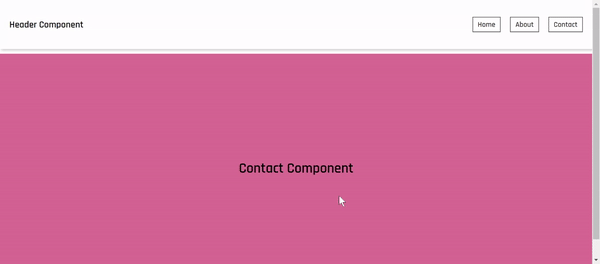 After setting up routing buttons
How to Set Up Your Routes for Animation
Now, to my favourite part of this article – animating the routes. To animate routes in React with framer motion, you first import 2 properties.
import { motion, AnimatePresence } from "framer-motion";
The motion property turns whatever element you prefix it to into a motion element that can be animated with Framer, and the AnimatePresence component enables smooth animations when adding, removing, or changing components from a React component tree (visual representation or hierarchy of all the components used in a React application).
To animate the routes, you start by wrapping the content of the BrowserRouter with the AnimatePresence component.
function App() {
  return (
    <div className="App">
      <BrowserRouter>
        <AnimatePresence>
          <Header />
          <Routes>
            <Route path="/" element={<Home />} />
            <Route path="/about" element={<About />} />
            <Route path="/contact" element={<Contact />} />
          </Routes>
        </AnimatePresence>
      </BrowserRouter>
    </div>
  );
}
On its own, the AnimatePresence component can’t tell when a component has mounted or unmounted so you’ll need to listen for that change.
To do this, you use the useLocation hook which listens for when there’s a change in the URL of your app (that is, when the route has changed). But you’re plighted with an error when you import and invoke the useLocation hook in your App component.
import { useLocation } from "react-router-dom"
const location = useLocation();
 Error using useLocation
This error is caused because the useLocation hook can only be used within a Router component (a component that’s not a descendant of a Router component), which provides the routing context for the hook.
To solve this, you need to do a little refactoring. First, you create a LocationProvider component. This component is a wrapper component that returns the AnimationPresence.
function LocationProvider() { return <AnimatePresence></AnimatePresence>; }
You then pass in the children prop to the LocationProvider which the AnimatePresence component uses to wrap any child element that would have a routing animation when mounted or unmounted.
function LocationProvider({ children }) {
  return <AnimatePresence>{children}</AnimatePresence>;
}
Then you create a RoutesWithAnimation component where you specify each route and the element to be mounted in that route. In this component, you can now use the useLocation hook to check for when there’s a route change.
function RoutesWithAnimation() {
  const location = useLocation();

  return (
    <Routes location={location} key={location.key}>
      <Route path="/" element={<Home />} />
      <Route path="/about" element={<About />} />
      <Route path="/contact" element={<Contact />} />
    </Routes>
  );
}
Note: A key prop was passed in the Routes component which React uses to render the correct component when the location changes.
Finally, you clear the App component of all the routing logic you defined earlier and replace it with the RoutesWithAnimation nested in the LocationProvider.
function App() {
  return (
    <div className="App">
      <BrowserRouter>
        <Header />
        <LocationProvider>
          <RoutesWithAnimation />
        </LocationProvider>
      </BrowserRouter>
    </div>
  );
}
To confirm that you’re keeping track of the route changes, log the location value to the console and toggle between routes.
![]()
As you can see, each time you change the route, the route path is logged to the console, along with a unique key property.
How to Animate Routes with Framer
To animate anything in Framer, you need to specify the following.
- Variants: Variants are a way to define and animate the properties of a component. A variant is an object that contains one or more named sets of properties, where each set represents a different animation state. To create a variant for your routes, you first define a variant object:
const routeVariants = {}
- Initial animation state: In your variant, you specify the initial state of the animation by creating an initial animation object. For this project, the animation you’re creating involves each component sliding in from the bottom (y-axis) of the page. To do this, you initially translate the entire component out of the viewport:
const routeVariants = {
    initial: {
        y: '100vh'
    }
}
- Final animation state: Next, you specify the animation when the component is mounted by specifying a final animation state:
const routeVariants = {
    initial: {
        y: '100vh'
    }
    final: {
        y: '0vh'
    }
}
In order to apply these new animation properties to your components, you first make each component a motion element by prefixing the motion keyword to it.
function Home() {
  return <motion.div className="home component">  <h1> Home Component </h1></motion.div>;
}

function About() {
  return <motion.div className="about component"> <h1> About Component </h1></motion.div>;
}

function Contact() {
  return <motion.div className="contact component"> <h1> Contact Component </h1></motion.div>;
}
Then, you pass in the variants object and each of the variants states to each component you wish to animate. The initial state is the unmounted state of the component and the animate state is the mounted state of the component.
function Home() {
  return (
    <motion.div
      variants={routeVariants}
      initial="initial"
      animate="final"
      className="home component"
    >
    <h1> Home Component </h1>
    </motion.div>
  );
}

function About() {
  return (
    <motion.div
      variants={routeVariants}
      initial="initial"
      animate="final"
      className="about component"
    >
     <h1>  About Component </h1>
    </motion.div>
  );
}

function Contact() {
  return (
    <motion.div
      variants={routeVariants}
      initial="initial"
      animate="final"
      className="contact component"
    >
    <h1> Contact Component </h1>
    </motion.div>
  );
}
With this, your animation should already be working.
 Initial routing animation with extra bouncy effect achieved
And voilà! You’ve successfully animated the routes in your React app. Kudos! 🚀
One thing you’d notice is how bouncy our transition is. It slightly spills into the header component when entering the page. This is because the default animation type in Framer is spring which behaves as such.
To reduce the effect, you can simply specify a mass property on the final animation state.
final: {
    y: "0vh",
    transition: {
      type: "spring",
      mass: 0.4,
    },
  },
This property specifies the mass of the animated component. An increase in value of the mass of the animated component results in a more bouncy effect and vice versa.
Note: The mass value is usually kept between 0 and 1. (0 being no springiness and 1 being a lot of springiness). Setting your animated mass to 0.4 yields the following:
 Extra routing bouncy effect solved
Children Animations
We can take this even further by animating the route separately from the content of that route.
Start by creating a child variants object for the headings in each component.
const childVariants = {
  initial: {
    opacity: 0,
    y: "50px",
  },
  final: {
    opacity: 1,
    y: "0px",
    transition: {
      duration: 0.5,
      delay: 0.5,
    },
  },
};
The childVariant animates the children elements by moving them up 50px and making them visible by increasing the opacity. Finally, the delay makes that animation fire slightly after the parent component animation fires.
To make this animation effective, you make each h1 a motion element. After that, you define your variants and animation states in all the child elements you want to animate. Each h1 element should look something like this:
 <motion.h1 variants={childVariants} initial="initial" animate="final">
        // Whatever component name was in here.
</motion.h1>
 Final result with both routing and children animation achieved
And with that, you’ve implemented a pretty sleek routing animation with Framer, congratulations! 🎉
For reference, here’s the full code:
import {
  BrowserRouter,
  NavLink,
  Route,
  Routes,
  useLocation,
} from "react-router-dom";

import { motion, AnimatePresence } from "framer-motion";

const routeVariants = {
  initial: {
    y: "100vh",
  },
  final: {
    y: "0vh",
    transition: {
      type: "spring",
      mass: 0.4,
    },
  },
};

const childVariants = {
  initial: {
    opacity: 0,
    y: "50px",
  },
  final: {
    opacity: 1,
    y: "0px",
    transition: {
      duration: 0.5,
      delay: 0.5,
    },
  },
};

function App() {
  return (
    <div className="App">
      <BrowserRouter>
        <Header />
        <LocationProvider>
          <RoutesWithAnimation />
        </LocationProvider>
      </BrowserRouter>
    </div>
  );
}

function LocationProvider({ children }) {
  return <AnimatePresence>{children}</AnimatePresence>;
}

function RoutesWithAnimation() {
  const location = useLocation();
  console.log(location);

  return (
    <Routes location={location} key={location.key}>
      <Route path="/" element={<Home />} />
      <Route path="/about" element={<About />} />
      <Route path="/contact" element={<Contact />} />
    </Routes>
  );
}

function Header() {
  return (
    <div className="header">
      <span>Header Component</span>
      <ul>
        <NavLink to="/">Home</NavLink>
        <NavLink to="/about">About</NavLink>
        <NavLink to="/contact">Contact</NavLink>
      </ul>
    </div>
  );
}

function Home() {
  return (
    <motion.div
      variants={routeVariants}
      initial="initial"
      animate="final"
      className="home component"
    >
      <motion.h1 variants={childVariants} initial="initial" animate="final">
        Home Component
      </motion.h1>
    </motion.div>
  );
}

function About() {
  return (
    <motion.div
      variants={routeVariants}
      initial="initial"
      animate="final"

      className="about component"
    >
      <motion.h1 variants={childVariants} initial="initial" animate="final">
        About Component
      </motion.h1>
    </motion.div>
  );
}

function Contact() {
  return (
    <motion.div
      variants={routeVariants}
      initial="initial"
      animate="final"

      className="contact component"
    >
      <motion.h1 variants={childVariants} initial="initial" animate="final">
        Contact Component
      </motion.h1>
    </motion.div>
  );
}
export default App;
Here’s a link to the repository: GitHub
And the live version: Netlify
Final Thoughts
I’ve got to say, I had lots of fun writing this article and building this animation, and I hope you did too. (I also refreshed one too many times because I liked the animation effect 😉).
I was really motivated to put this article out there because when I learnt Framer motion a few weeks ago, I struggled to find up-to-date resources to teach me how to use it, especially ones that implemented it with the latest version of both tools (react-router v6 and Framer motion 10). So I hope this article provides a reference to a much more recent approach to routing animations with Framer.
Resources
To learn more about framer motion and the react-router, here are a couple of resources I’d recommend
Conclusion
In conclusion, animating routes in a React application using Framer Motion can enhance the user experience by creating smooth and seamless transitions between different pages.
By incorporating components like AnimatePresence, motion, and variants, you can customize your app's animations, making it more engaging and visually appealing.
Implementing animations can improve the overall flow and navigation of your app, creating a more enjoyable and responsive experience for your users.
Contact Information
Want to connect or contact me? Feel free to hit me up on the following:
- Twitter: @jajadavid8
- LinkedIn: David Jaja
- Email: Jajadavidjid@gmail.com