

GitHub is a collection of web-based tools that helps you work with version control and Git methodologies.
With the help of GitHub, you can create, manage, and collaborate on projects with multiple other team members. You keep the project folders and files in a store (file system) on GitHub. This store is called a repository.
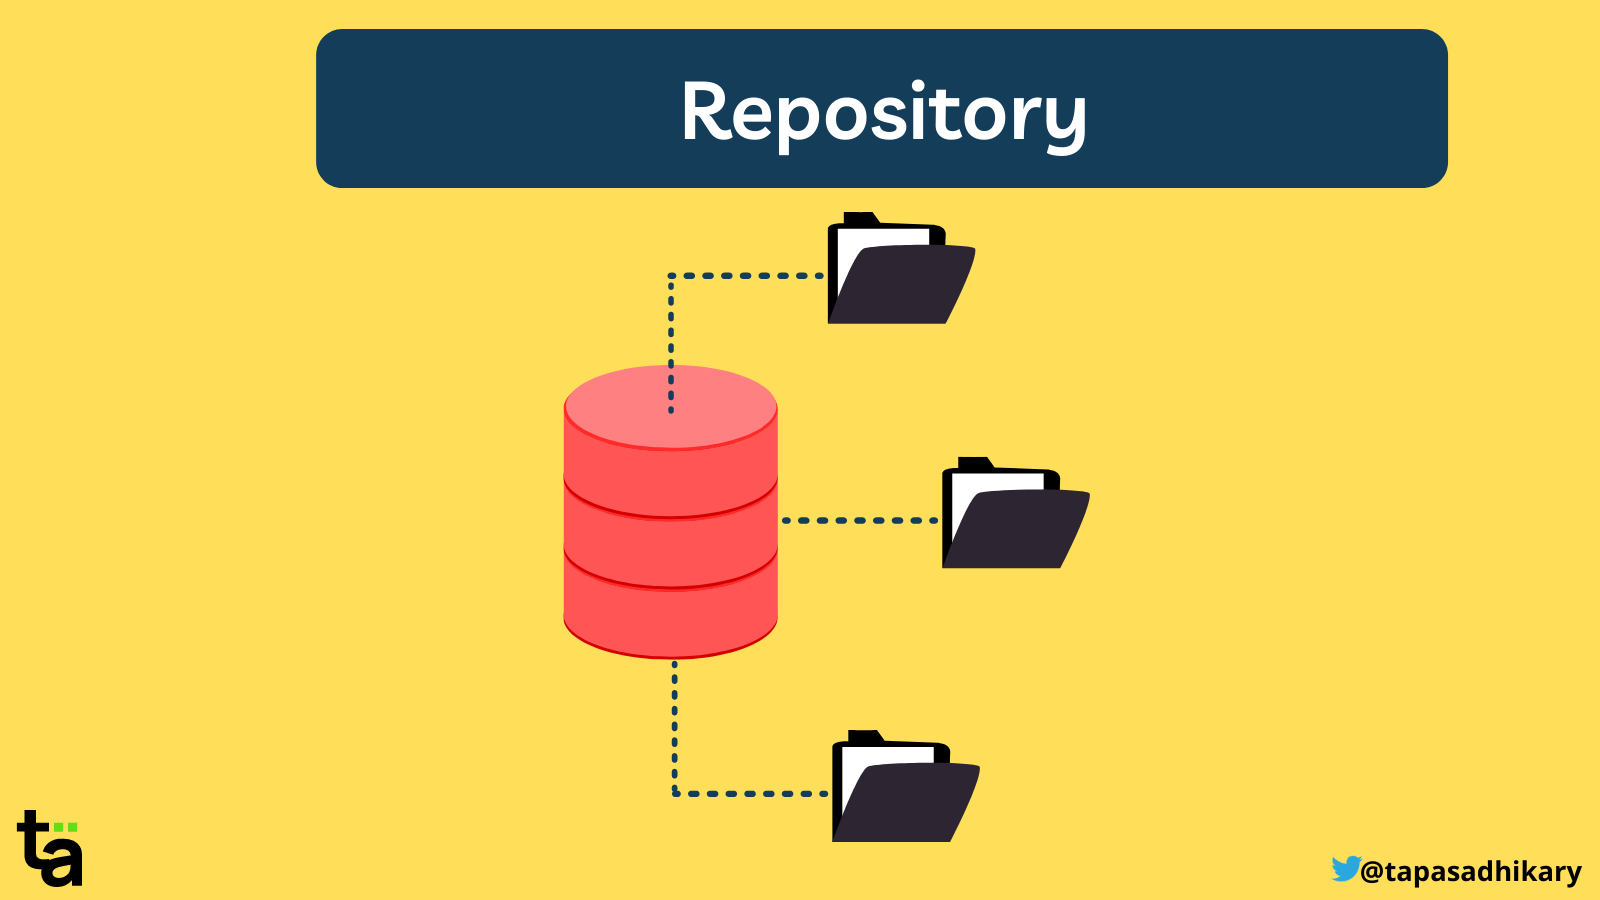 A repository may contain multiple folders and files
A repository may contain multiple folders and files. Your GitHub account may have multiple repositories. You can create a repository and set it to public (visible to everyone with the repository URL) or private (visible only to you and the few you want to have access).
And if you have public repositories, you'll want to read on.
In this article, you will learn about 10 essential tips to make your public GitHub repositories more visible to people in the developer community. This will help you:
- Get more engagement with your repos
- Find more code contributors
- Gain acknowledgment for your work (like stars and sponsors)
- Build up followers on GitHub
But before we start, do note:
Git != GitHub
These two tools are not the same. Git is a version control system that you use to manage and track your files and folders by maintaining a history of changes. GitHub is a powerful tool to help you do all that with ease.
Alright, let's dive into these 10 tips.
If you like to learn from video content as well, this article is also available as a video tutorial here: 🙂
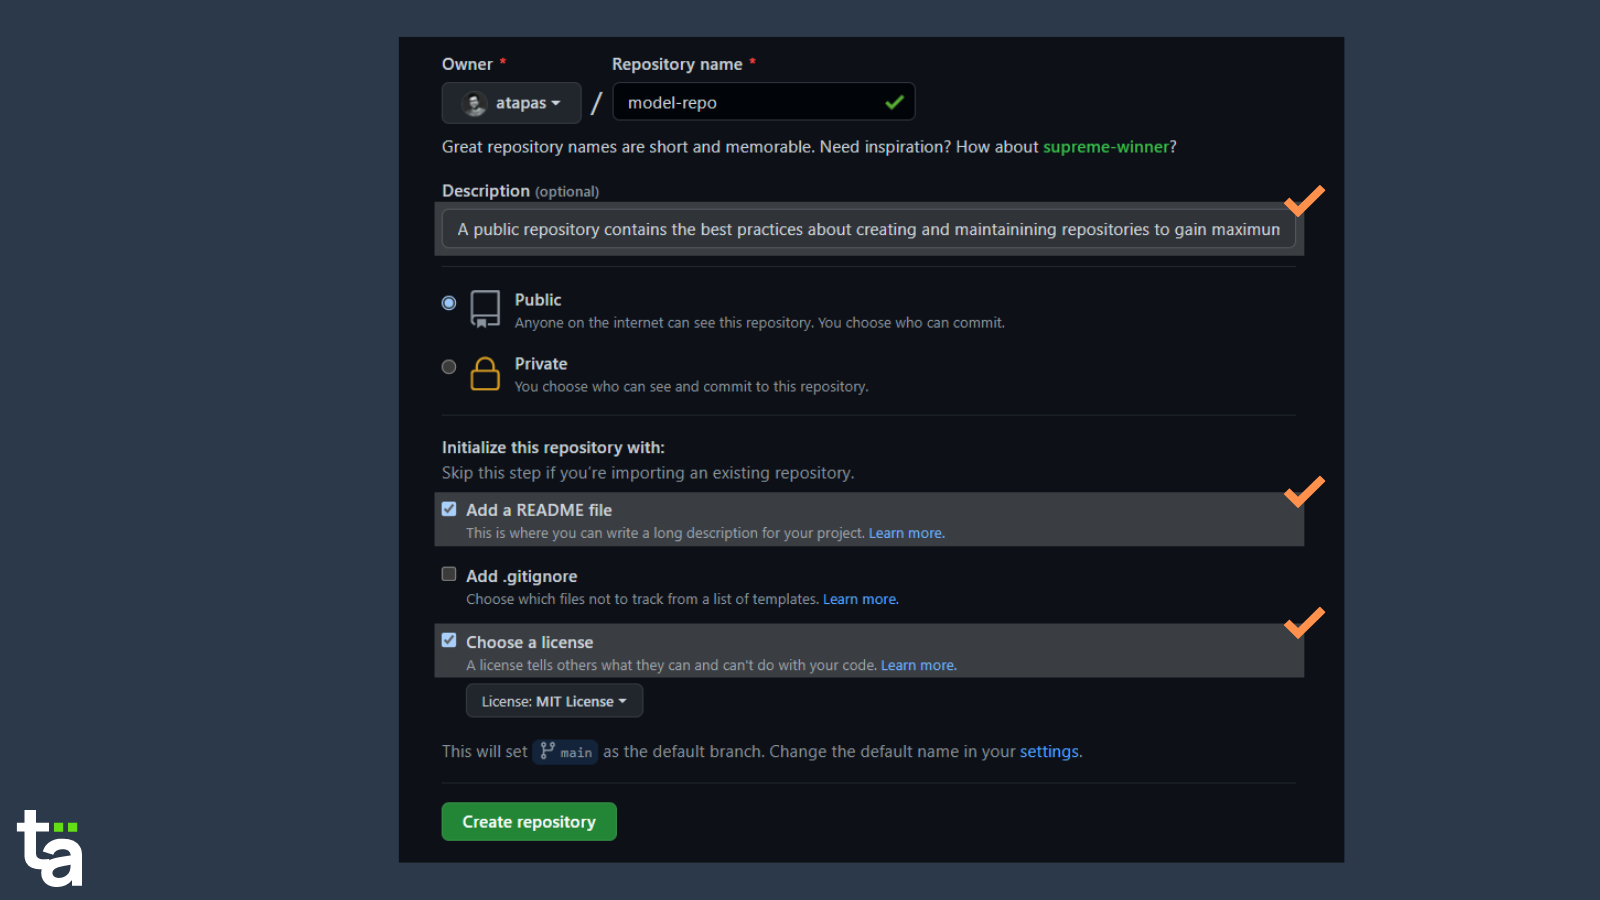
1. Set Repository Metadata
Create the repository with a clear description and intent. The description tells a user about the work being done in the repository. It is where you create the first impression that helps anyone take an interest in your work.
Always opt for adding a README MD file. The readme file is the face of your repository. You need to add all the relevant details to this file (and we will see how to do that in a while).
Next, select a LICENSE type. If you are unsure what license type to select, this link may help you with it.
After creating the repository, add your website/portfolio link (if any) and relevant keywords. These keywords can help people find your repository based on a search.

2. Design and Document the Readme.md File
After the source code, the readme file is the most crucial artifact in your repository. If source code is the heart of a repository, the readme file is the face of it. You use the markdown format to document information in this file.
At a minimum, you should include this information in the readme file:
- Project name, logo (if any).
- An introduction to the project (if possible with an image)
- How to run the project locally. Provide all the steps after you've tested it out.
- Demo link (if any)
- What kind of features does the project support? Provide a list of them.
- If possible, list down the upcoming features at a high level.
- Describe the technologies used in the project.
- Provide deployment information. Here you have an opportunity to add deploy buttons to deploy your project on services like Vercel, Netlify, and more.
- Provide stats about the repository. You can use shields to create intuitive buttons to show the stars, forks, licenses, and many other details.
- Provide clear information on how to contribute to your project.
- Thank all the Stargazers (people who have starred your repo).
- Feel free to use emojis in your readme file, but don't overdo it.
Are you looking for an example? Here is an example readme where most of the points are captured:
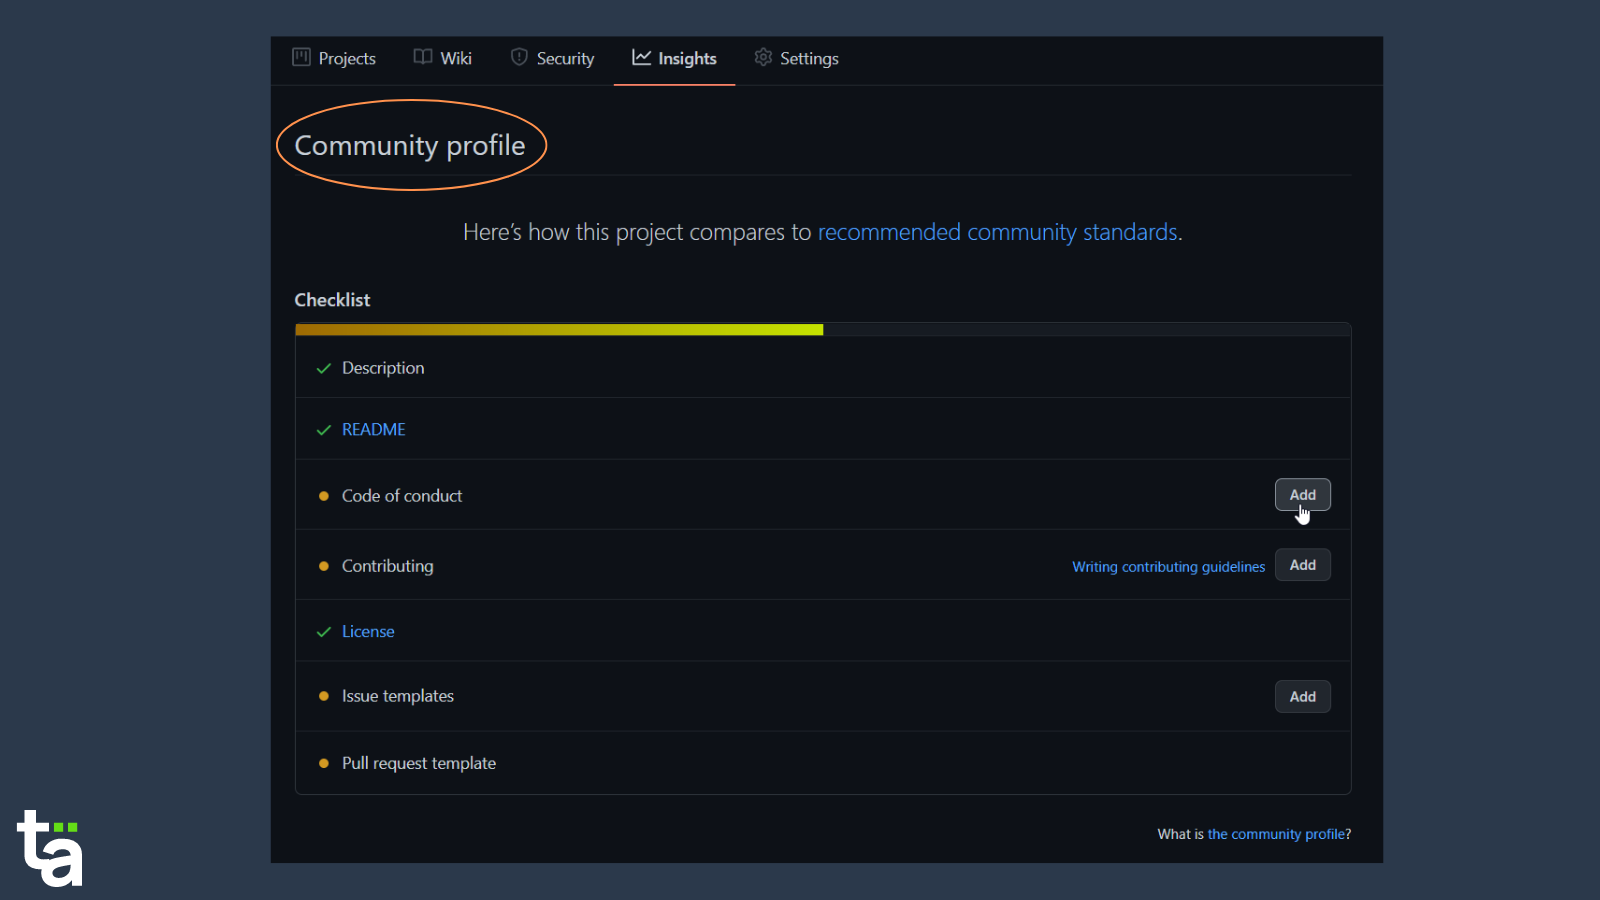
3. Build Your Community Profile
A community profile helps the open-source repository maintainers review your work and learn how to help it grow. Doing it right will capture people's interest, contributions, and help build trust.
To get started, go to the Insights tab and select the Community menu item from the left navigation pane. Now you should see the Community profile.
If you do not see the green tick for all the options, it means it is incomplete. Let's COMPLETE it.
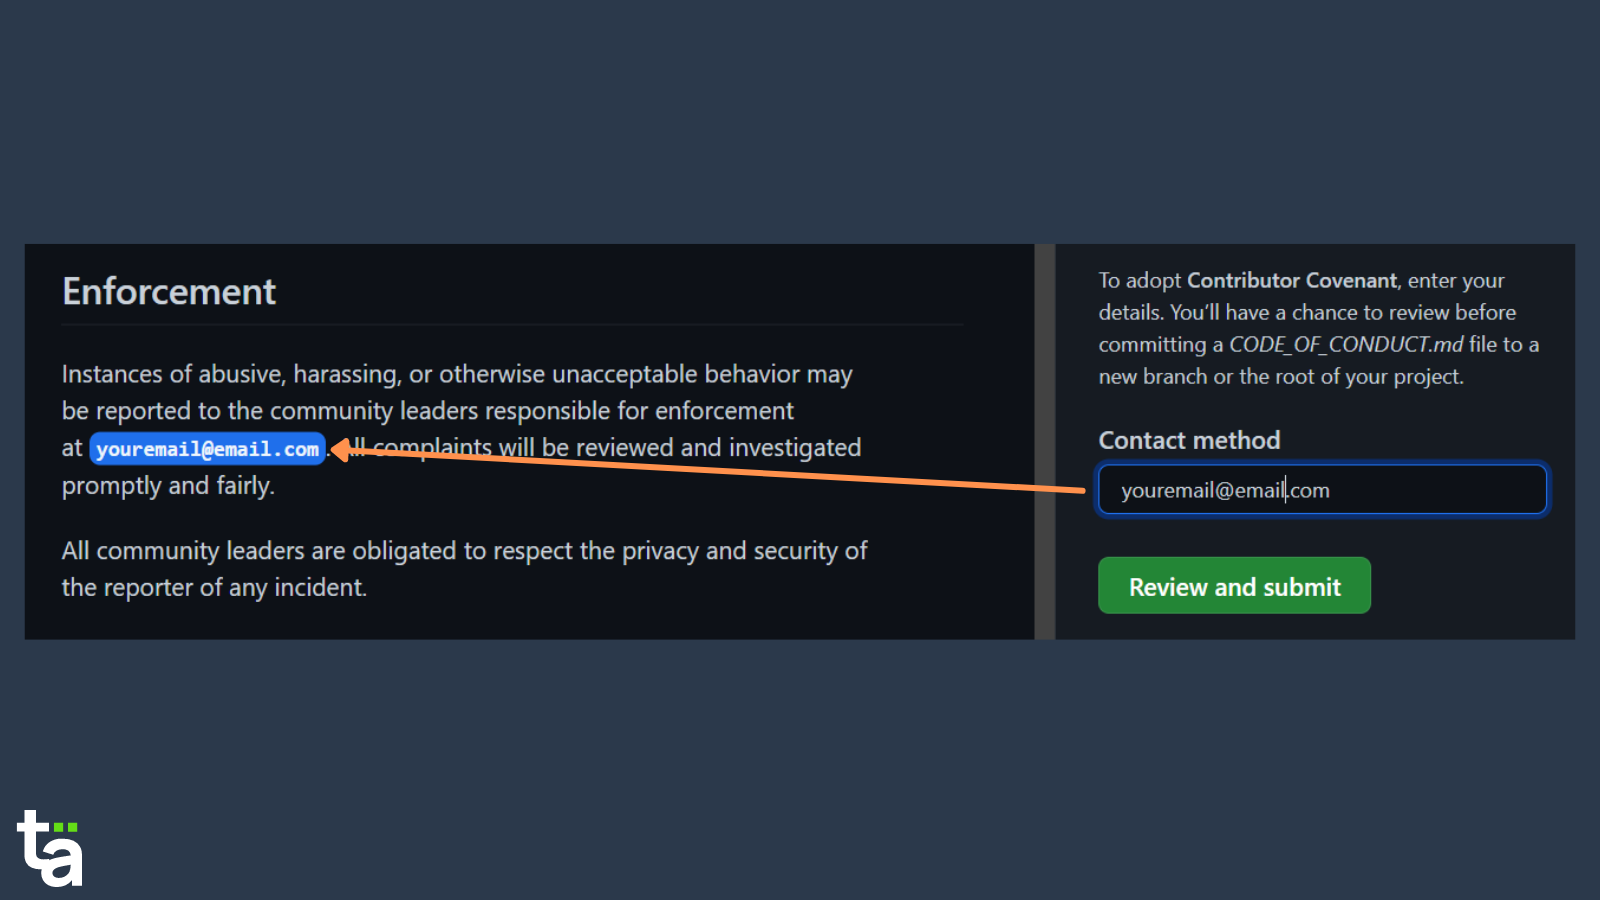
4. Establish a Code of Conduct
A CODE of CONDUCT(CoC) document helps define the standards for engaging with a project or community. As the community grows, you have people joining from different geographies, cultures, and mindsets. As the owner of the repository, it is your responsibility to set some guidance for how contributors should behave.
GitHub provides a couple of options to select from. You can also choose to write your own or take inspiration from a few existing ones. Here are a few examples,
Do NOT forget to mention the email id of the person/org responsible for listening and taking care of any concerns.
5. Create a Contributing Guide
Next is the CONTRIBUTING guide. You may want to set some expectations for contributors to the repository. Here you can explain how to create an issue or pull request, under what circumstances a pull request (PR) may get rejected or accepted, and so on.
Create a Contributing.md file from your Community profile. Unlike the Code of Conduct file, you will not find any suggestions for the content of the contributing file. But there are plenty of templates available online to get started, like this one.
Again, do not forget to provide the email id of the repository owner in the document under the Enforcement section.

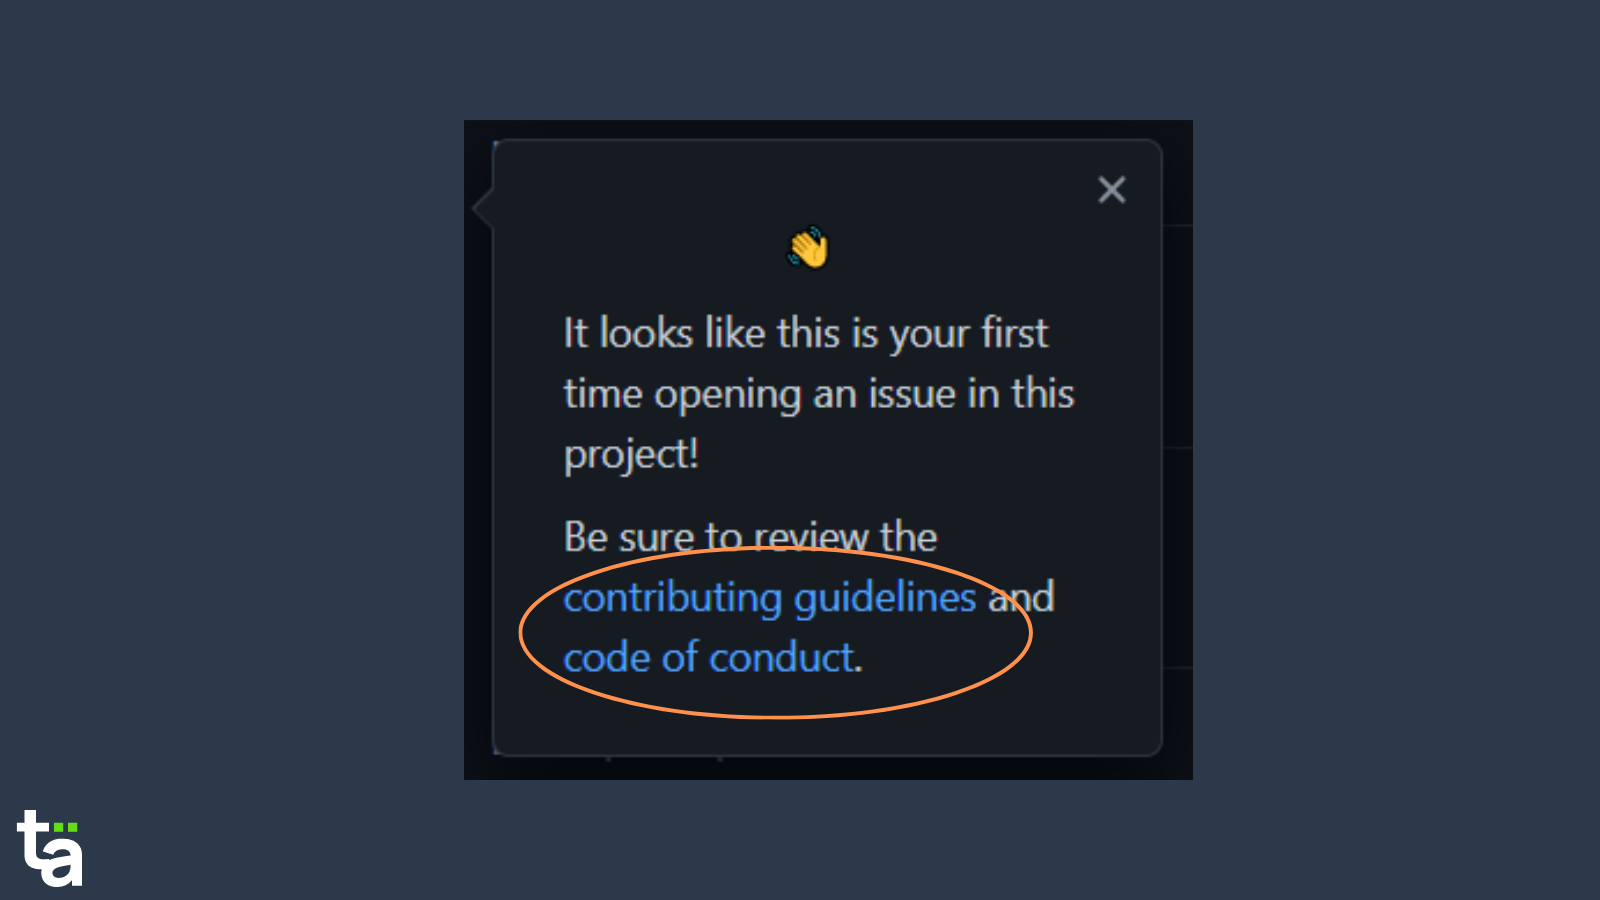
The best part is that anyone who attempts to open issues or pull requests on your repository will be asked to read these guides first. That's cool, right?
6. Decide on the Issue Templates
It can be frustrating to see an issue raised with a one-liner. You may want the contributor to explain it more thoroughly to the community.
The best way to manage this is to direct your contributors with pointers while tackling bugs and creating enhancements on the repository.
To do that, you can use GitHub's template and create your own custom issue template.
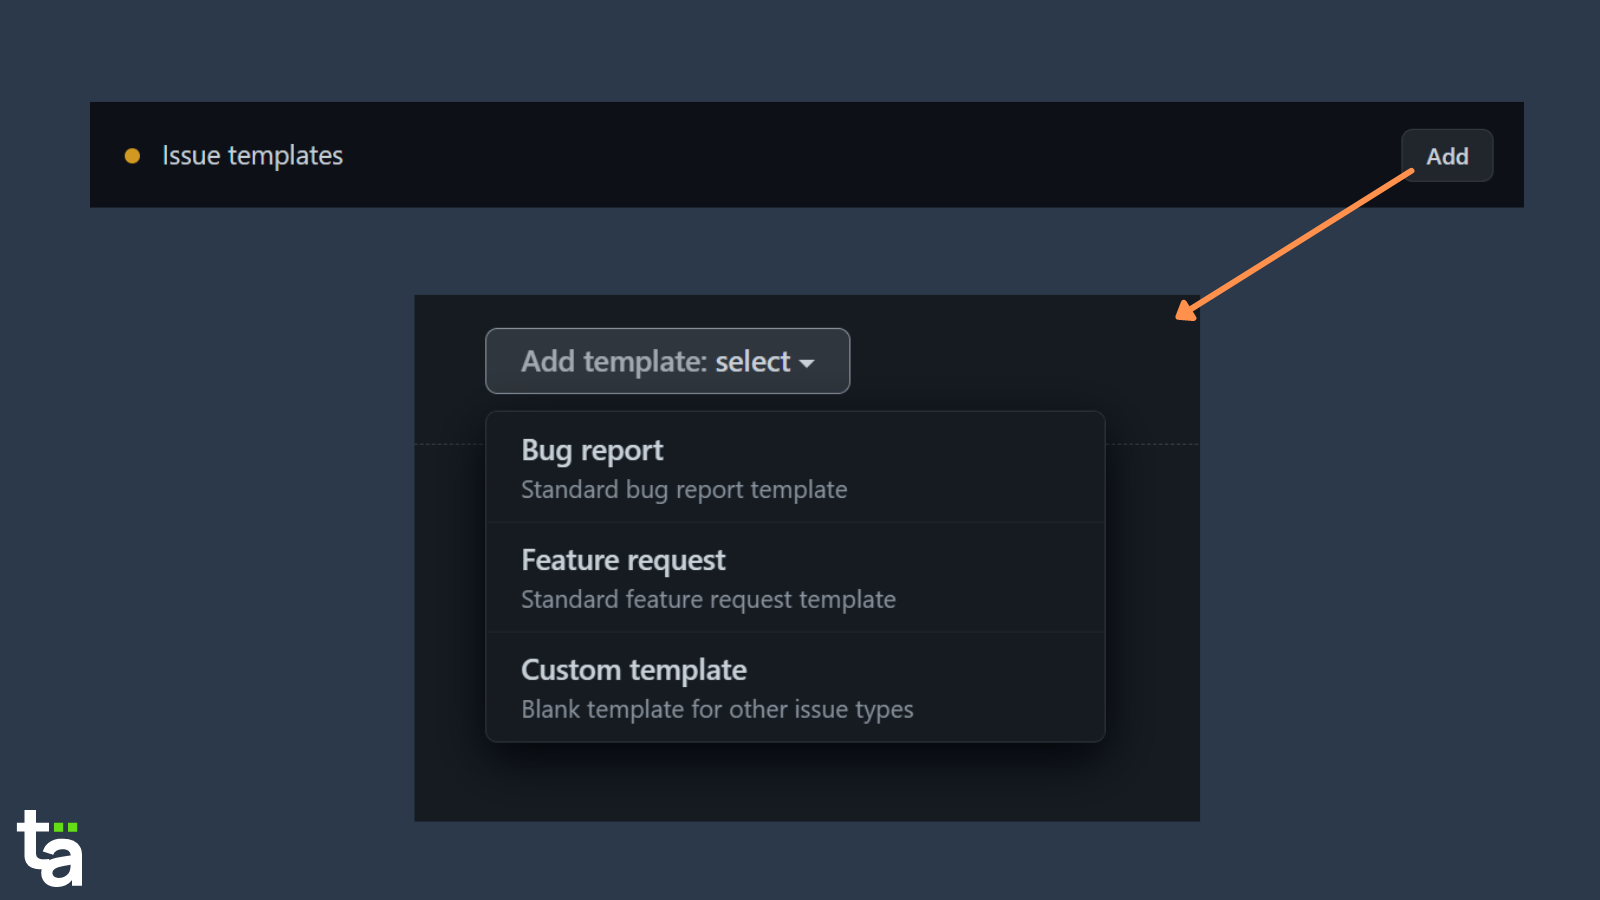
These templates will be placed inside the .github repository by default. Once you create the templates, it appears while creating the issue on the repository.
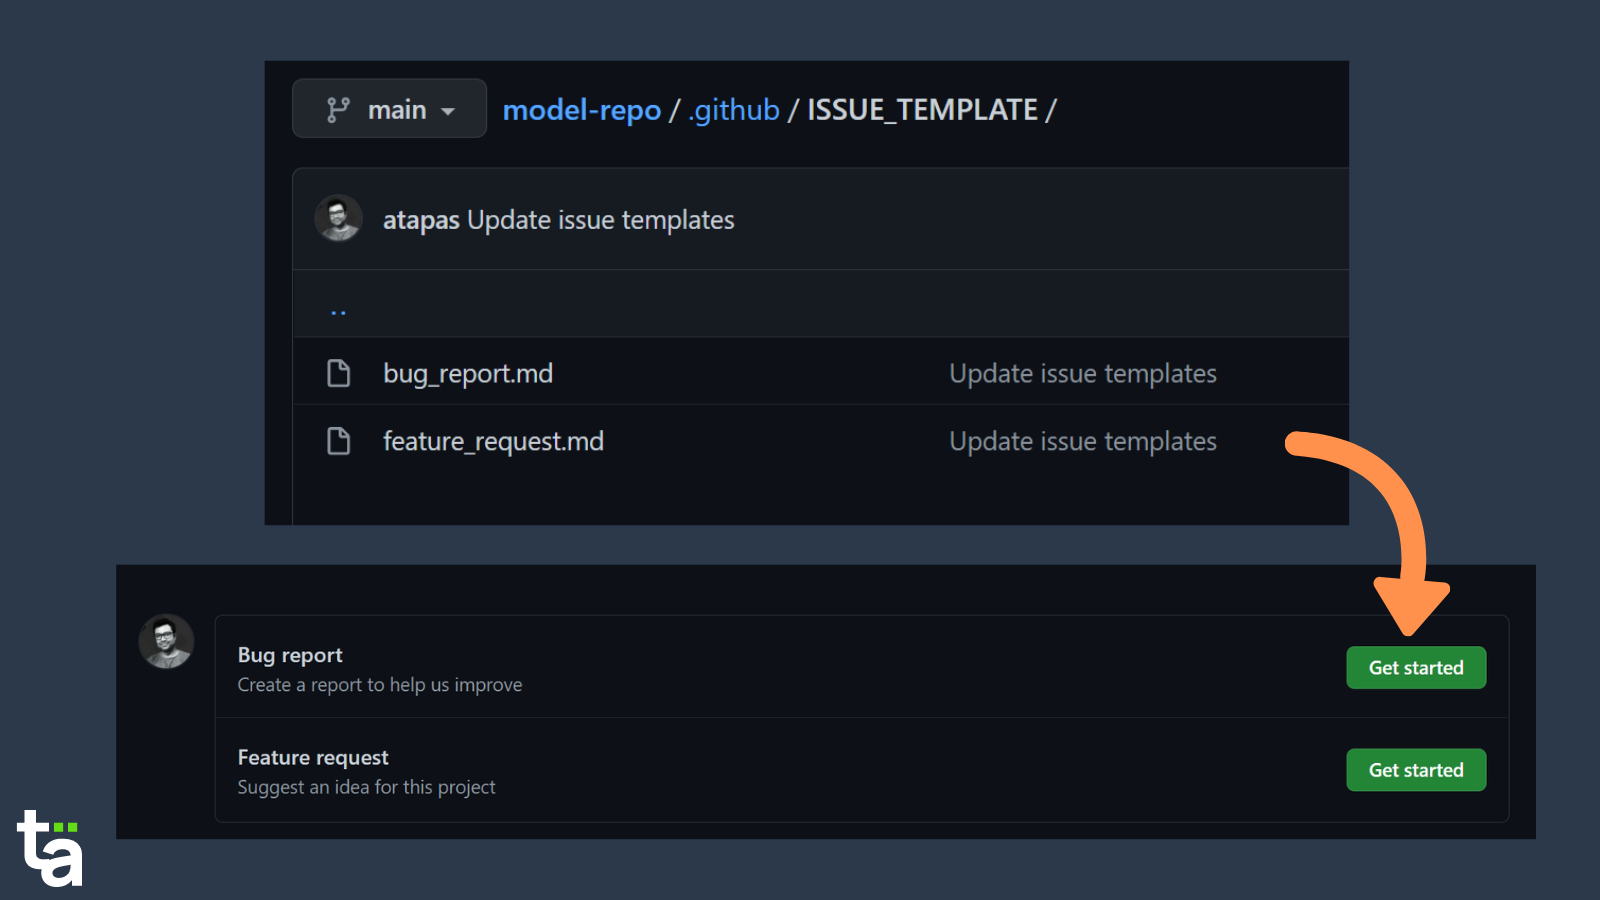
Here is an example of a custom template.
7. Create a Pull Request (PR) Template
Like the issue templates, you should also guide your contributors by creating a Pull Request (PR) template.
To do that,
- Click on the
Add filedropdown. - Click on the
Create new fileoption. - Add the template file name as
pull_request_template.md(I prefer keeping it under the .github folder) - Add your PR template content.
That's it! Next time someone tries to create a PR, they will be given this template to fill.

Great, now check back your Community profile. Congratulations! It is COMPLETE.
8. Go Social – Add a Social Image
You can add a social image to your repository so that it looks better when you share on social media or embed it in your articles. It conveys an important message about your repo early on to consumers and future contributors.
To do that,
- Go to the
Settingstab of the repository. - Click on the
Optionsmenu and move to theSocial previewsection. - Now upload an image of your choice. Just make sure to maintain the required dimensions of the image as mentioned on the page.

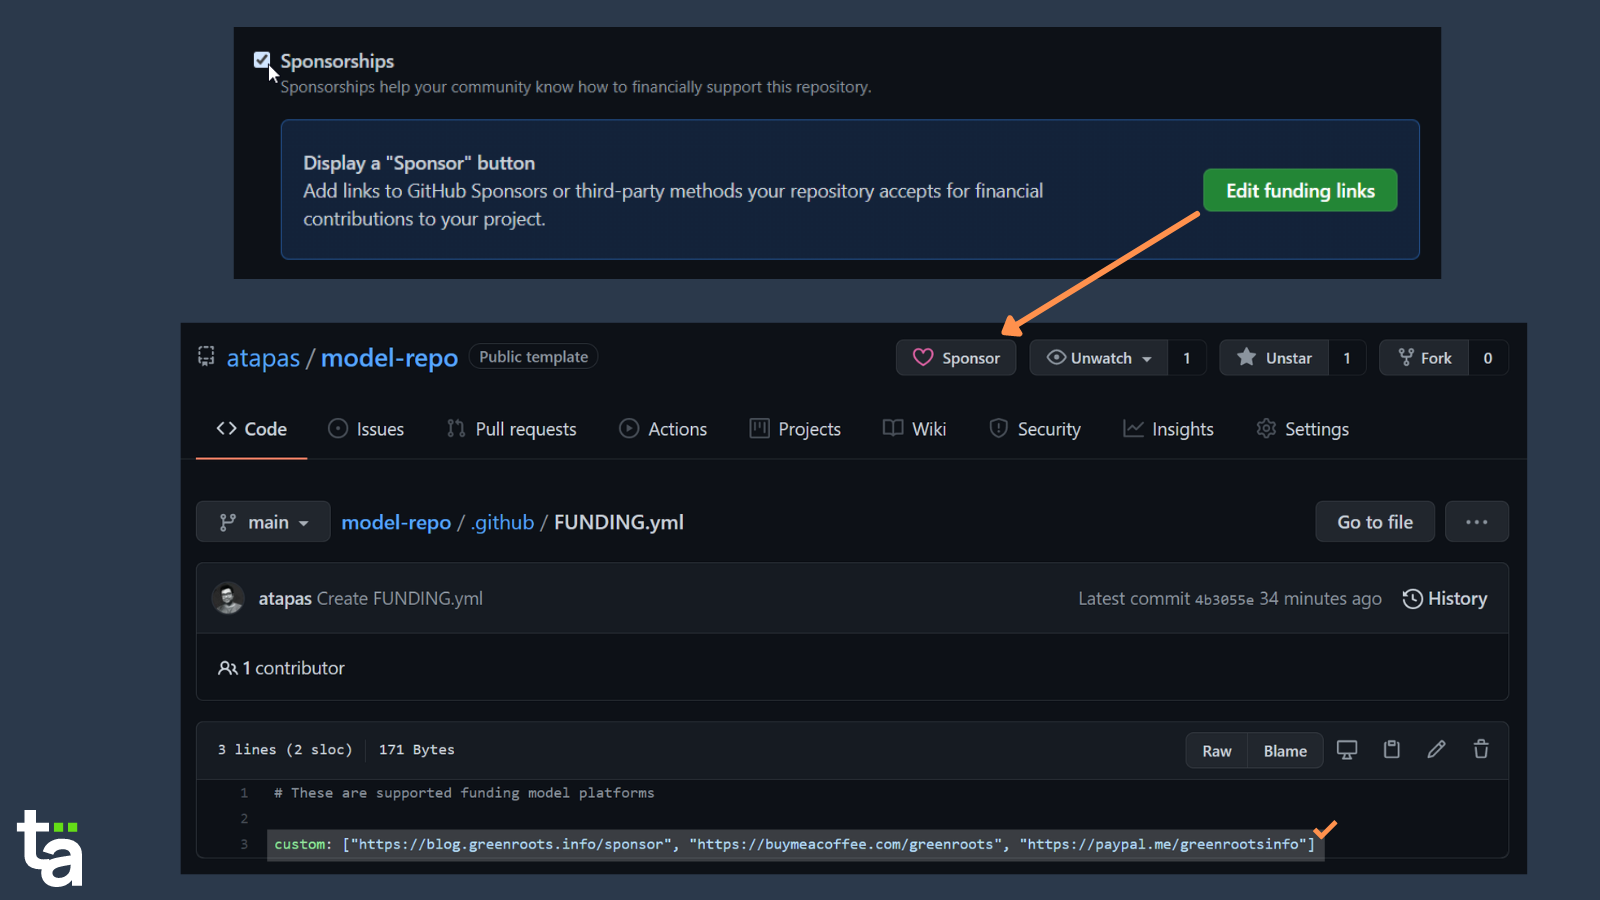
9. Activate GitHub Sponsors (if you want)
You can activate the Sponsors button for your repository if you'd like people to be able to support you financially. People may like your work and decide to sponsor you by contributing a certain amount.
To enable sponsorship,
- Go
Settings - Check the
Sponsorshipscheckbox - Follow the instructions to add
fundinglinks.
You can also add custom funding links like the image shows below:
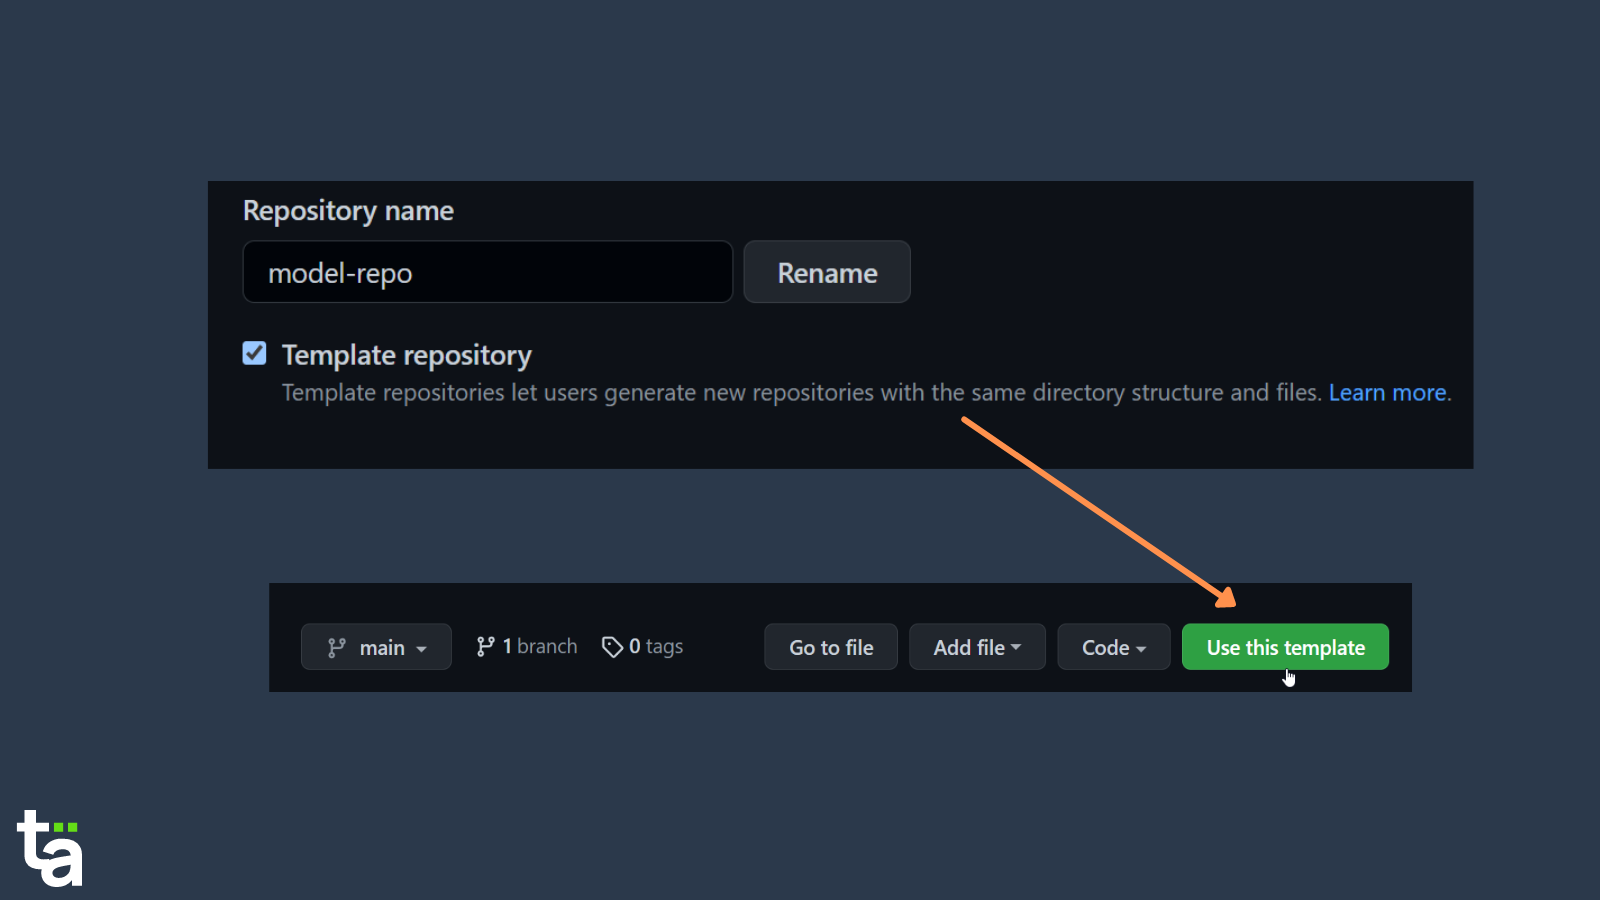
10. Make the Repo a Template So It's Reusable
Did you know you can make your repository a template so that others can create their repositories based on yours?
- Go to
Settings - Check the
Template repositorycheckbox
Now everyone will see the Use this template button in your repository when they're creating theirs.
A Model Repository for You
I hope you will use these tips to showcase your work.
I have created a template repository with all the points we have discussed so far. You can use this as a template to create a repository with an MIT license, README structure, Code of Conduct guide, Contributing Guide, Issue, and PR templates, and funding.yml file.
After creating your repository from the template, you can make further modifications to make it your own. Feel free to use/modify/contribute to it.
I shared these 10 points briefly as a Twitter thread a few days back. Please check it out for any additional comments/discussions if interested.
Before We End...
That's all for now. I hope you've found this article insightful and informative.
Let's connect. You can follow me on Twitter (@tapasadhikary), My Youtube channel, and GitHub (atapas).
Are you looking for some side-project ideas? Here are a few I've been working with that all are open source projects: