
By Ekapope Viriyakovithya
Say no to pip install in the command line! Here's an alternative way to install TensorFlow on your local machine in 3 steps.
 _Photo by [Unsplash](https://unsplash.com/@kowalikus?utm_source=ghost&utm_medium=referral&utm_campaign=api-credit">Krzysztof Kowalik / <a href="https://unsplash.com/?utm_source=ghost&utm_medium=referral&utmcampaign=api-credit)
Why am I writing this?
I played around with pip install with multiple configurations for several hours, trying to figure how to properly set my python environment for TensorFlow and Keras.
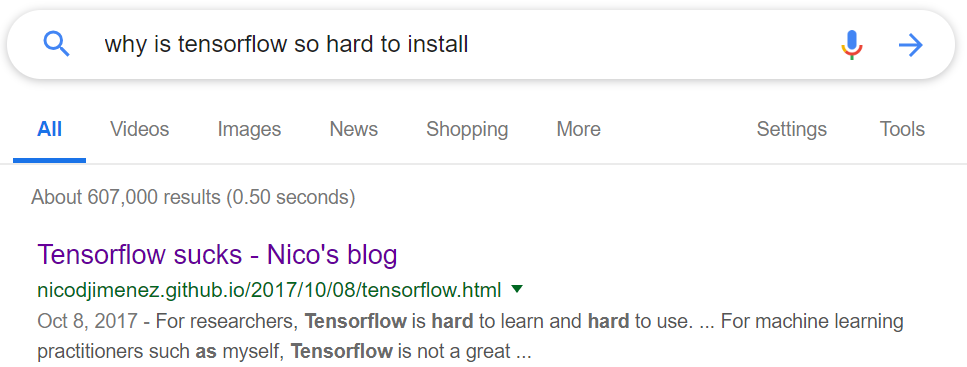 why is tensorflow so hard to install — 600k+ results
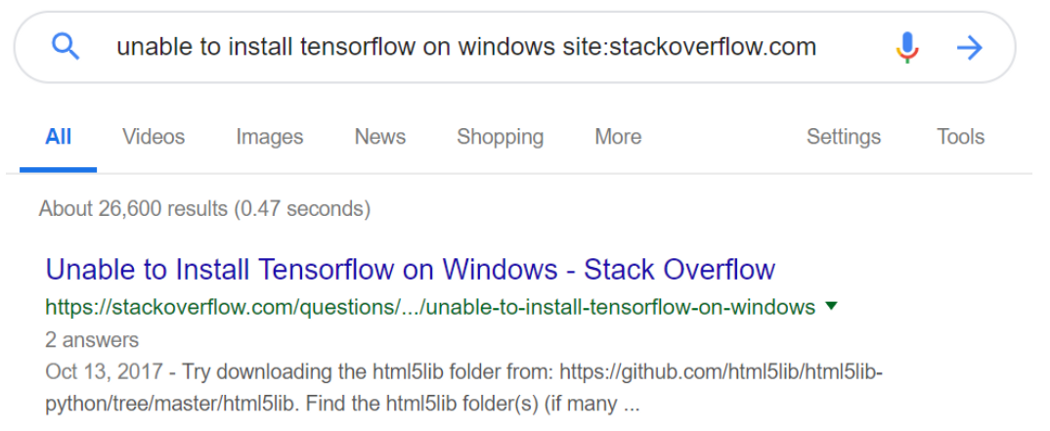 unable to install tensorflow on windows site:stackoverflow.com — 26k+ results
Just before I gave up, I found this…
This article will walk you through the process how to install TensorFlow and Keras by using the GUI version of Anaconda. I assume you have downloaded and installed Anaconda Navigator already.
Let’s get started!
- Launch Anaconda Navigator. Go to the Environments tab and click ‘Create’.
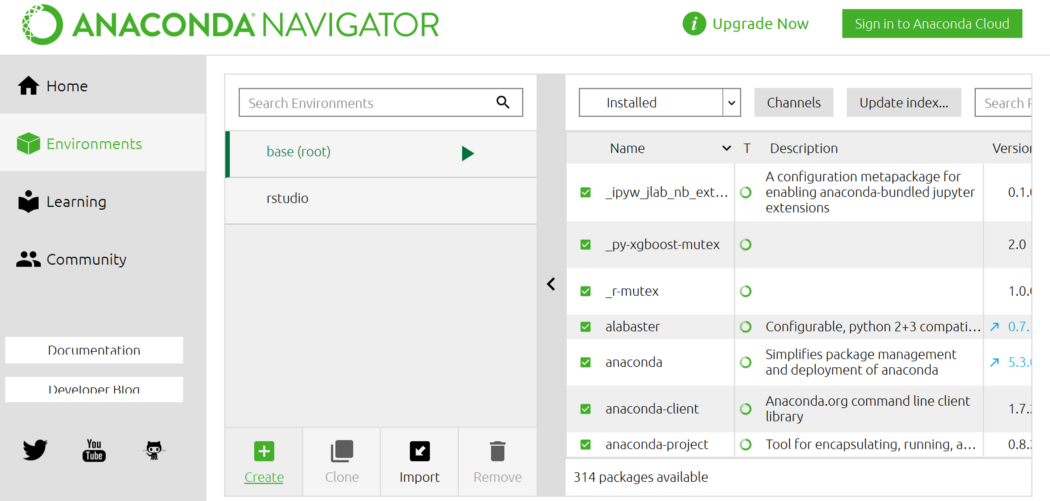 Go to ‘Environments tab’, click ‘Create’
- Input a new environment name - I put ‘tensorflow_env’. Make sure to select Python 3.6 here! Then ‘Create’, this may take few minutes.
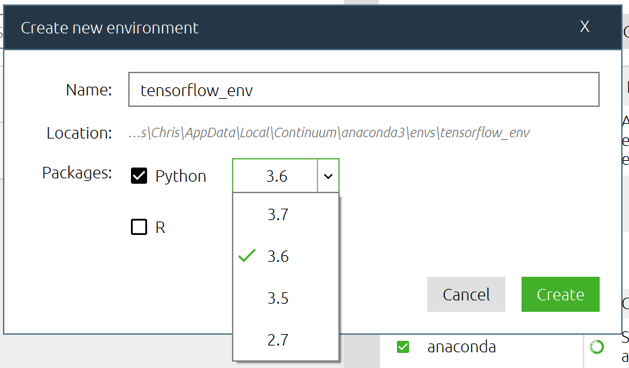 make sure to select Python 3.6
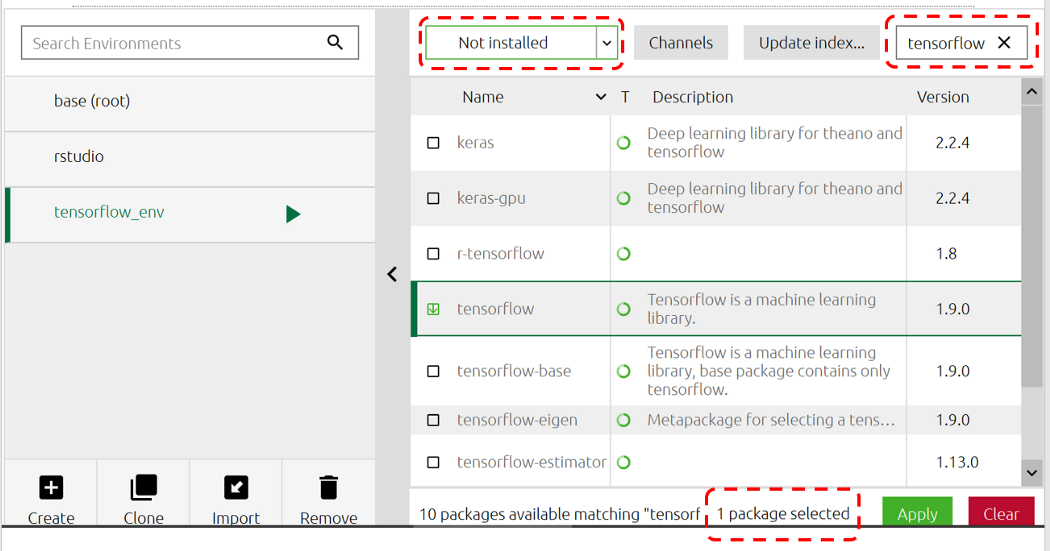
- In your new ‘tensorflow_env’ environment, select ‘Not installed’, and type in ‘tensorflow’. Then, tick ‘tensorflow’ and ‘Apply’. The pop-up window will appear, go ahead and apply. This may take several minutes.
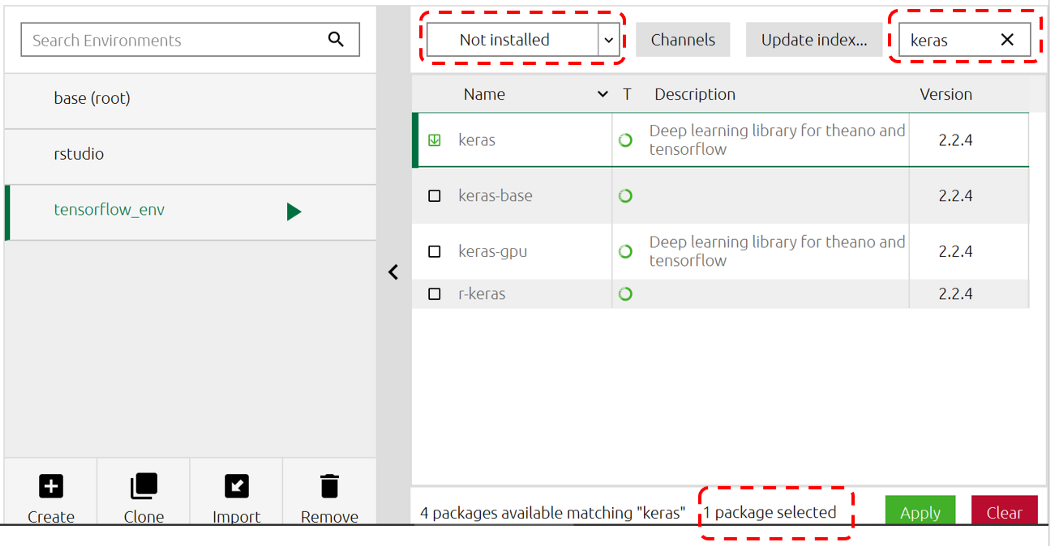
Do the same for ‘keras’.
Check your installation by importing the packages. If everything is okay, the command will return nothing. If the installation was unsuccessful, you will get an error.
 no error pop up — Yeah!
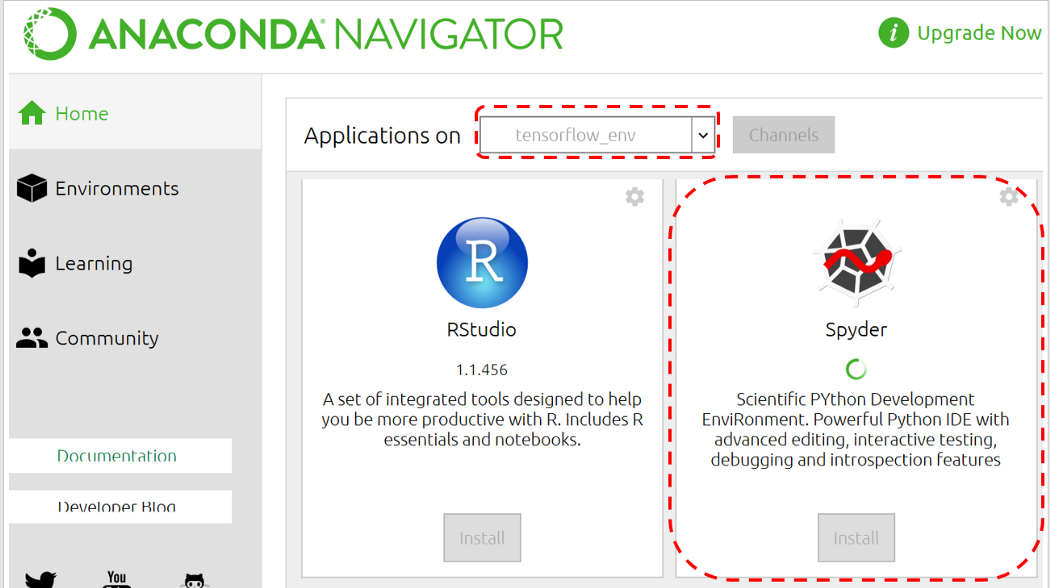 You can also try with Spyder.
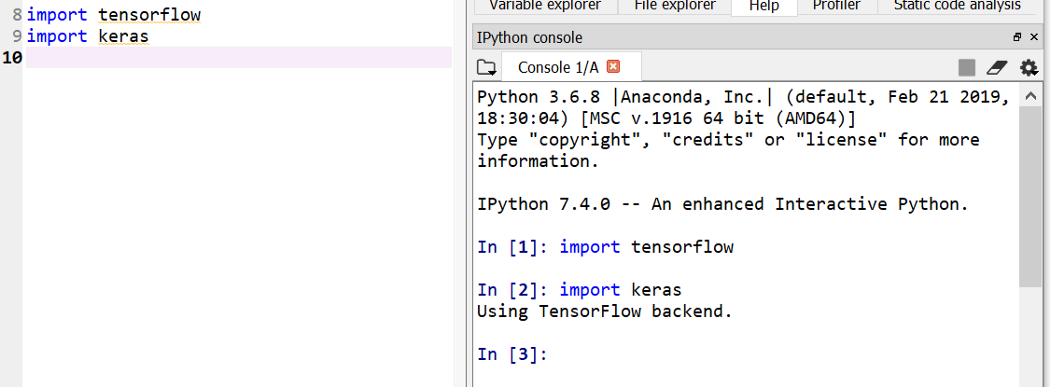 no error pop up — Yeah!
And…Ta-da! It’s done! You can follow this article to test your newly installed packages :)
Thank you for reading. Please give it a try, and let me know your feedback!
Consider following me on GitHub, Medium, and Twitter to get more articles and tutorials on your feed if you like what I did. :)