
By Arash Arora
Node.js is a JavaScript runtime that extends its capability to the server-side. It is built on Chrome’s V8 JavaScript Engine.
Node is an event-driven, non-blocking IO model. This means it's asynchronous, and doesn't block itself for one request (but rather immediately moves to the next request). This makes Node extraordinarily fast and efficient.
By event-driven, it means that as soon as Node starts it initiates all the variables and functions and waits for an event to occur.

NPM stands for Node Package Manager which help you manage your packages for Node. NPX stands for Node Package Execute, and it can execute any npm package without even installing it.
To download npm head to https://nodejs.org/en/download/.
How to Write Your First Node.js Program (Hello World)
Create a file called hello_world.js in your project folder
Then open the file in your code editor like VS Code. Type the code console.log(“Hello World”); in your editor.
Open the terminal, and navigate to the file location.
Now type node hello_world.js.

How to Import Node Core Modules
So let’s start with the very basic package, that is fs (file system). You use it to create, read, and modify files.
To import the fs module, type this command: const fs = require(“fs”);.
Now to use any function of this module, you can refer to the docs.
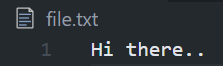
To create a file, we can use fs.writeFileSync(filename, content);.
const fs = require(“fs”);
fs.writeFileSync(“file.txt”, “Hi there..”);
To append anything in the same file we can use this:
fs.appendFileSync(filename, content);.

How to Install NPM Packages
Now we will use a very basic npm package called superheroes (which is a list of random superheroes) to help you understand how npm works.
To install any npm package, we can use this command in the cmd:
npm install superheroes
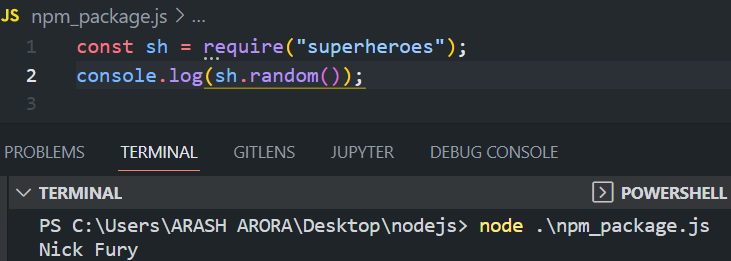
Now to import the installed package type const sh = require(“superheroes”);.
To display the name of a random superhero, use this command:
console.log(sh.random());.
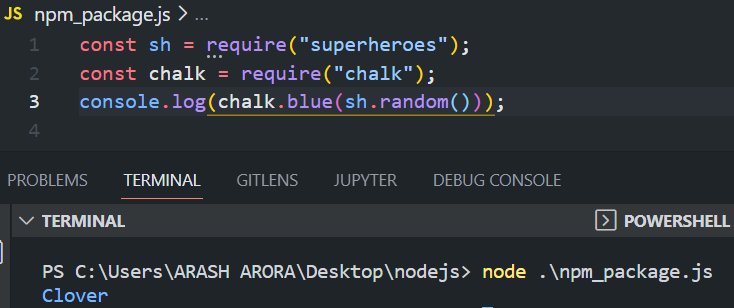
Let’s try another package. Now we’ll install one of the most used npm packages called “chalk” — it styles text strings in the terminal.
To install the chalk package (we will install version 2.4.2 as it allows us to import the package using the require method), type the following command:
npm install chalk@2.4.2
Now to style the text string, use this command to pick the color of the string:
chalk.color(text)
You can read more about the chalk package here.
How to Initiate NPM in Our Program
To initiate NPM in our program, we can use the following command:
npm init
Then press enter or answer the questions accordingly.

Or you can directly use the command npm init -y (same as pressing enter to all the questions).
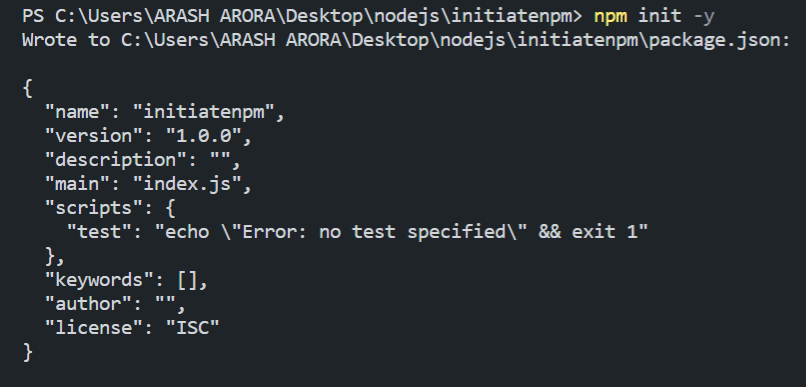
This will result in the creation of the package.json file:
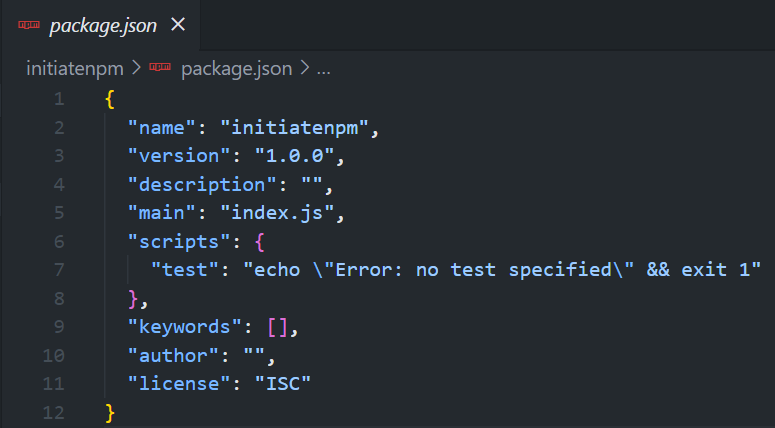
So, what is package.json?
package.json is the heart of any Nodejs project. It maintains a record of all the dependencies (NPM packages) and contains the metadata of every project.
If someone else downloads the project, this file will help them install all the dependencies required to run the program.
How to Use Moment.js — an NPM Package
This is one of the most used npm packages out there. You can use it to parse and validate dates.
To install the package, run this command:
npm i moment
Import the package like this:
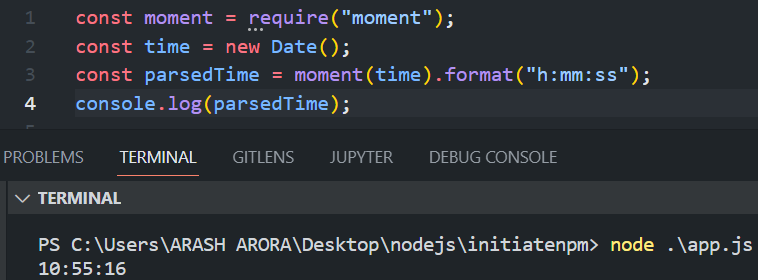
const moment = require(“moment”);
To create a Date object to fetch the current date and time (JavaScript method), run this code:
const time = new Date();
Now, to parse or format the date we will use the moment package:
const parsedTime = moment(time).format("h:mm:ss");
Print the parsed time like this:
console.log(parsedTime);
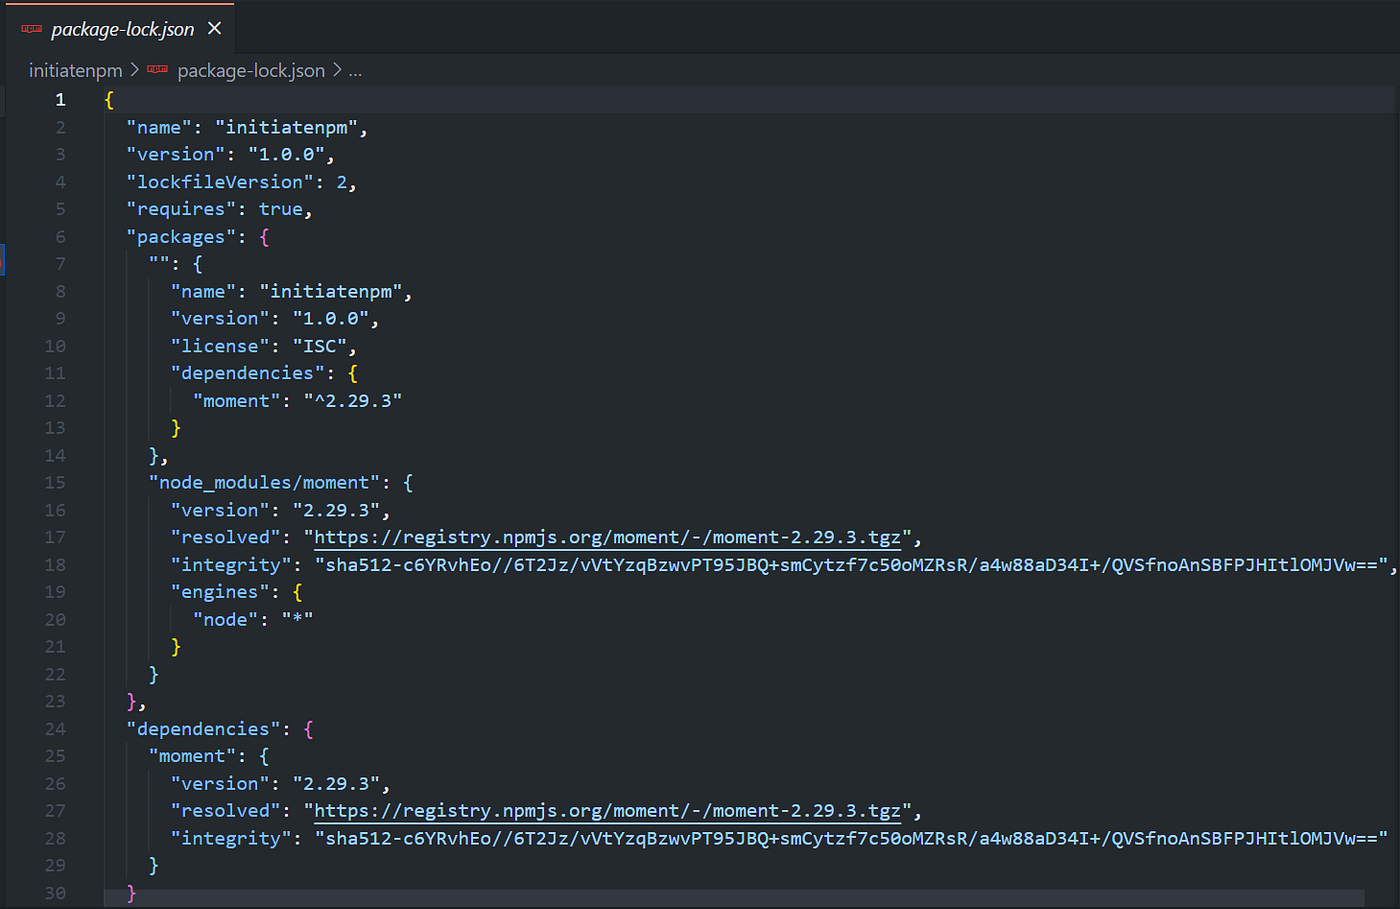
This is the package.json for this project which includes all the dependency packages — moment in this case.

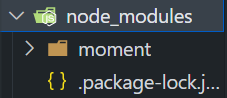
We also have node_modules in the project folder. This folder contains all the dependencies our project depends on including moment and other packages that moment depends on.
package-lock.json is another file in our project folder that contains all the information regarding the name, dependencies, version of dependencies, and locked version of the project.
It describes the exact tree that was generated to allow subsequent installs to have the identical tree.
How to Use Express JS — a NodeJS Framework
Express is a Node.js web application framework that offers a comprehensive range of functionality for both web and mobile apps.
How to install Express
To install Express, run this command:
npm install express
Then you'll need to import Express like this:
const express = require("express");
How to create an Express application
To create an Express app, just run this command:
const app = express()
How to start a server on port 3000
app.listen(3000, () => {
    console.log("Server running on port 3000");
}
Now you can open http://localhost:3000 to reach your created server
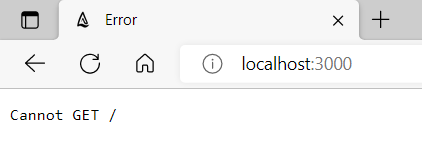
Okay, so “cannot get /” means that there is no defined route “/” yet.
So to define the “/” route we use app.get() the function.
The app.get (route, callback function) function is used to handle all GET requests.
The callback function has two arguments, req and res, which refer to HTTP requests and the desired response, respectively. The argument names (req, res) are not fixed and can be named anything you want.
app.get("/", (req,res) => {
    // app.get to handle GET requests
    // req - http request, res - desired response
    res.send("Hello World"); // send Hello World to this route
}
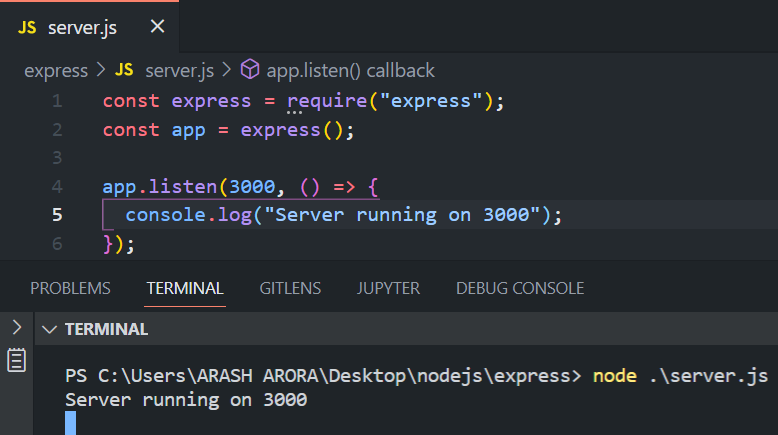
How to Create a Hello World Program in Express
In this section we will create the very basic program of Hello World in Express.
const express = require("express");
const app = express();
app.get("/", (req, res) => {
    res.send("hello world");
});
app.listen(3000, () => {
    console.log("Server running on 3000");
});
And here's the output

How to Render Static Files in Express
This section introduces us to the concept of static file rendering using Express.
First, you'll need to create a new project folder. Then you'll initialize npm using npm init -y.
Install the Express package npm i express and create a file called app.js.
Then you'll create an app, and listen or start the server on port 3000.
const express = require("express);
const app = express();
app.listen(3000, () => {
    console.log("Server running on 3000");
}
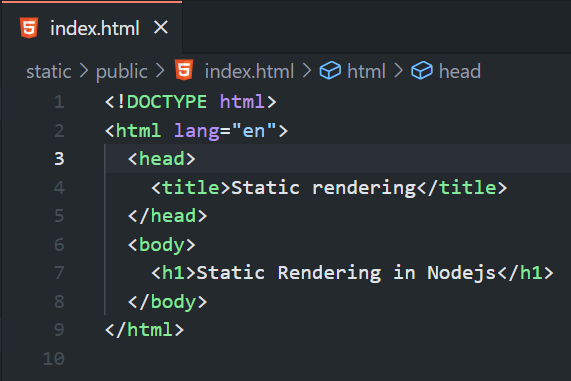
To render static web pages such as HTML, CSS, and JS, create a folder named public in the root directory.
As we’re focusing on only the backend, we will not spend much time on the frontend and will create only an HTML file in the public folder.
We will now import the path module and join the specified paths into one:
const path = require(“path”);
Now to render these files, we have to use the following command:
app.use(express.static(path.join(__dirname, “/public”)));
__dirname → returns the current directory
const express = require("express");
const path = require("path");
const app = new express();
app.use(express.static(path.join(__dirname, "/public")));
app.listen(3000, () => {
    console.log("Server running on 3000");
});
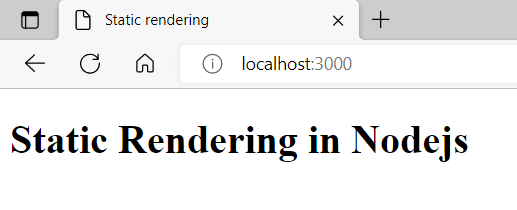
And here's the output:
How to Render Dynamic Files in Express
In this section we will learn to render dynamic files in which we can use values from an input object.
To render dynamic web pages, there are many templates such as pug, handlebars, ejs, and so on. These templates allow us to inject dynamic data, if conditions, and loops at runtime.
But here we will focus on handlebars.
Install the packages (express and hbs):
npm i hbs express
Create a file named app.js and import the packages like this:
const express = require(“express”);
const hbs = require(“hbs”);
const path = require(“path”);
Create an Express app and listen on port 3000:
const app = express();
app.listen(3000, (req,res) => {
    console.log("Server running on 3000");
}
For handlebars to work, we need to set the view engine as hbs.
app.set(“view engine”, “hbs”);
The view engine enables us to render dynamic webpages using the specified template.
View engine generally looks for the “views” folder in the root folder. But to avoid errors we’ll mention the path of “views” using the following command:
app.set(“views”, path.join(__dirname,“/views”);
Now create a views folder in the root directory. Under that create a file called index.hbs (.hbs is the extension of handlebars) and insert the following HTML code:
index.hbs
<html>
    <head>
        <title>Dynamic Rendering</title>
    </head>
    <body>
      <h1>Dynamic Rendering</h1>
      <p>{{author}}</p> <!--dynamic data recieved from server-->
    </body>
</html>
{{author}} — it is the syntax to insert dynamic data
Now to render the index.hbs file we’ll create an app.get function to handle the GET request on the route “/” and send the dynamic data author.
app.get("/", (req, res) => {
    res.render("index", {
        author: "Arash Arora",
    });
});
res.render is the function to render the view. Here we have to pass two arguments. The first is the name of the file without the extension and the second is the object of local variables, for example author.
app.js file
const express = require("express");
const hbs = require("hbs");
const path = require("path");
const app = express();
app.set("view engine", "hbs");
app.set("views", path.join(__dirname, "/views"));
app.get("/", (req, res) => {
    res.render("index", {
        author: "Arash Arora",
    });
});
app.listen(3000, (req, res) => {
    console.log("Server listening on 3000");
});
Folder structure
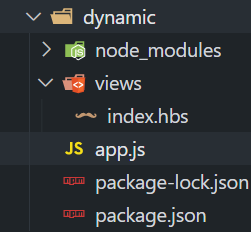
And here's the output:

How to Create Advanced Templates with Handlebars
So, this is where we’ll learn about reusable components. Previously, we had to construct identical components for each and every page when it came to headers and footers.
But because there are so many repetitive tasks, advanced templating is the savior. This concept states that we will just make one component that will be used everywhere we need it.
Handlebars introduced the concept of Partials
Partials are the regular handlebar files that other templates can call. Partials are a widely used templating concept that is not specific to Handlebars.
To construct templates that are likely to be reused, you can isolate them into their files (a Partial), and then use them in various templates. You can consider partials to be a simple technique for modularizing your templates.
Follow these steps to create partials:
Initiate npm →
npm init -yInstall the required packages, Express, and hbs →
npm i express hbsCreate your folder templates
Create two additional folders within the folder templates: partials and views
Now create a file app.js
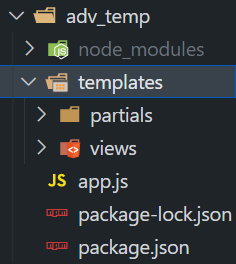
The folder Structure should be similar
Let’s create two partial files: header.hbs and footer.hbs. And we'll also add two views, index.hbs and about.hbs.

index.hbs
<html lang="en">
    <head>
        <title>Advanced Templating</title>
    </head>
    <body>
        {{>header}} <!--include the header component-->
        <p>I'm a savior</p>
        {{>footer}} <!-- include the footer component -->
    </body>
</html>
about.hbs
<html lang="en">
    <head>
        <title>Advanced Templating -- About</title>
    </head>
    <body>
        {{>header}}
        <p>Handlebars</p>
        {{>footer}}
    </body>
</html>
header.hbs
<header>
    <h1>Advanced Templating</h1>
    <h3>{{title}}</h3><!--dynamic data received from server-->
    <a href="/">Home</a>
    <a href="/about">About</a>
</header>
footer.hbs
<footer>
    <p>Created by {{name}}</p> <!--name -> dynamic data -->
</footer>
app.js
const express = require("express");
const hbs = require("hbs");
const path = require("path");
const app = express();
app.set("view engine", "hbs");
app.set("views", path.join(__dirname, "/templates/views"));
hbs.registerPartials(path.join(__dirname, "/templates/partials"));
app.get("/", (req, res) => {
    res.render("index", {
        title: "Home",
        name: "Arash Arora",
    });
});
app.get("/about", (req, res) => {
    res.render("about", {
        title: "About",
        name: "Arash Arora",
    });
});
app.listen(3000, () => {
    console.log("Listening on port 3000");
});
Everything is the same as I explained in the section on rendering dynamic files in Express – except here we have to register the partials to use partials.
How to register partials
hbs.registerPartials(path_to_partials)
As we’ve created the partials directory in the templates folder, here is the path of partials:
hbs.registerPartials(path.join(__dirname, "/templates/partials"));
Wrapping Up
In this article, we've covered Node.js from theory to practice. Although Node.js is a vast topic that you can't learn entirely from a single shorter article, I've done my best to cover some of the essential features to help you get started with the journey.
In a nutshell, we've discussed what Node.js is, which is a non-blocking, event-driven JavaScript runtime that is asynchronous and uses a single thread to perform operations. We've also discussed the most used minimal and flexible Node.js web application framework, Express.
Then we talked about Node.js's NPM, NPX, and Static and Dynamic data rendering.
All in all, Node.js is a fantastic technology to know, and the possibilities are endless because of its vast community.