

Let's say you are developing an application. After long hours of coding, you manage to create some cool features. Now, you want to make sure the features are working as you want.
This involves testing if each and every piece of code works as expected. This procedure is known as Unit Testing. Different languages provide their own frameworks for testing.
In this article, I am going to show you how to write unit tests in Java. I'll first explain what testing involves and some concepts you'll need to know. Then, I'll show a few examples to help you understand better.
For this article, I assume you are familiar with Java and the IntelliJ IDE.
Project Setup
For this project, I'll be using IntelliJ IDE. If you don't have it, follow this guide to install the IDE.
In this project, we'll be using the JUnit and Mockito libraries for testing. These are the most commonly used libraries for testing in Java. You'll understand how these libraries are used as you go through the post.
To setup JUnit, follow these steps as described in this guide:
From the main menu, select File > New > Project.
Select New Project. Specify a name for the project, I'll give it junit-testing-tutorial.
Select Maven as a build tool and in language, select Java.
From the JDK list, select the JDK you want to use in the project.
Click Create.
Open pom.xml in the root directory of your project.
In pom.xml, press
⌘ + N, and select Add dependency.This will open a tool window, type
org.junit.jupiter:junit-jupiterin the search field. Locate the necessary dependency and click Add next to it.Now, click Load Maven Changes in the notification that appears in the top-right corner in the editor.
Now, to set up Mockito, add these two dependencies in your pom.xml:
<dependency>
    <groupId>org.mockito</groupId>
    <artifactId>mockito-inline</artifactId>
    <version>5.2.0</version>
    <scope>compile</scope>
</dependency>
<dependency>
    <groupId>org.mockito</groupId>
    <artifactId>mockito-junit-jupiter</artifactId>
    <version>5.2.0</version>
    <scope>compile</scope>
</dependency>
Note: The version may differ depending on the time you are reading this post.
To complete the setup, create a class Welcome and define your main function there.
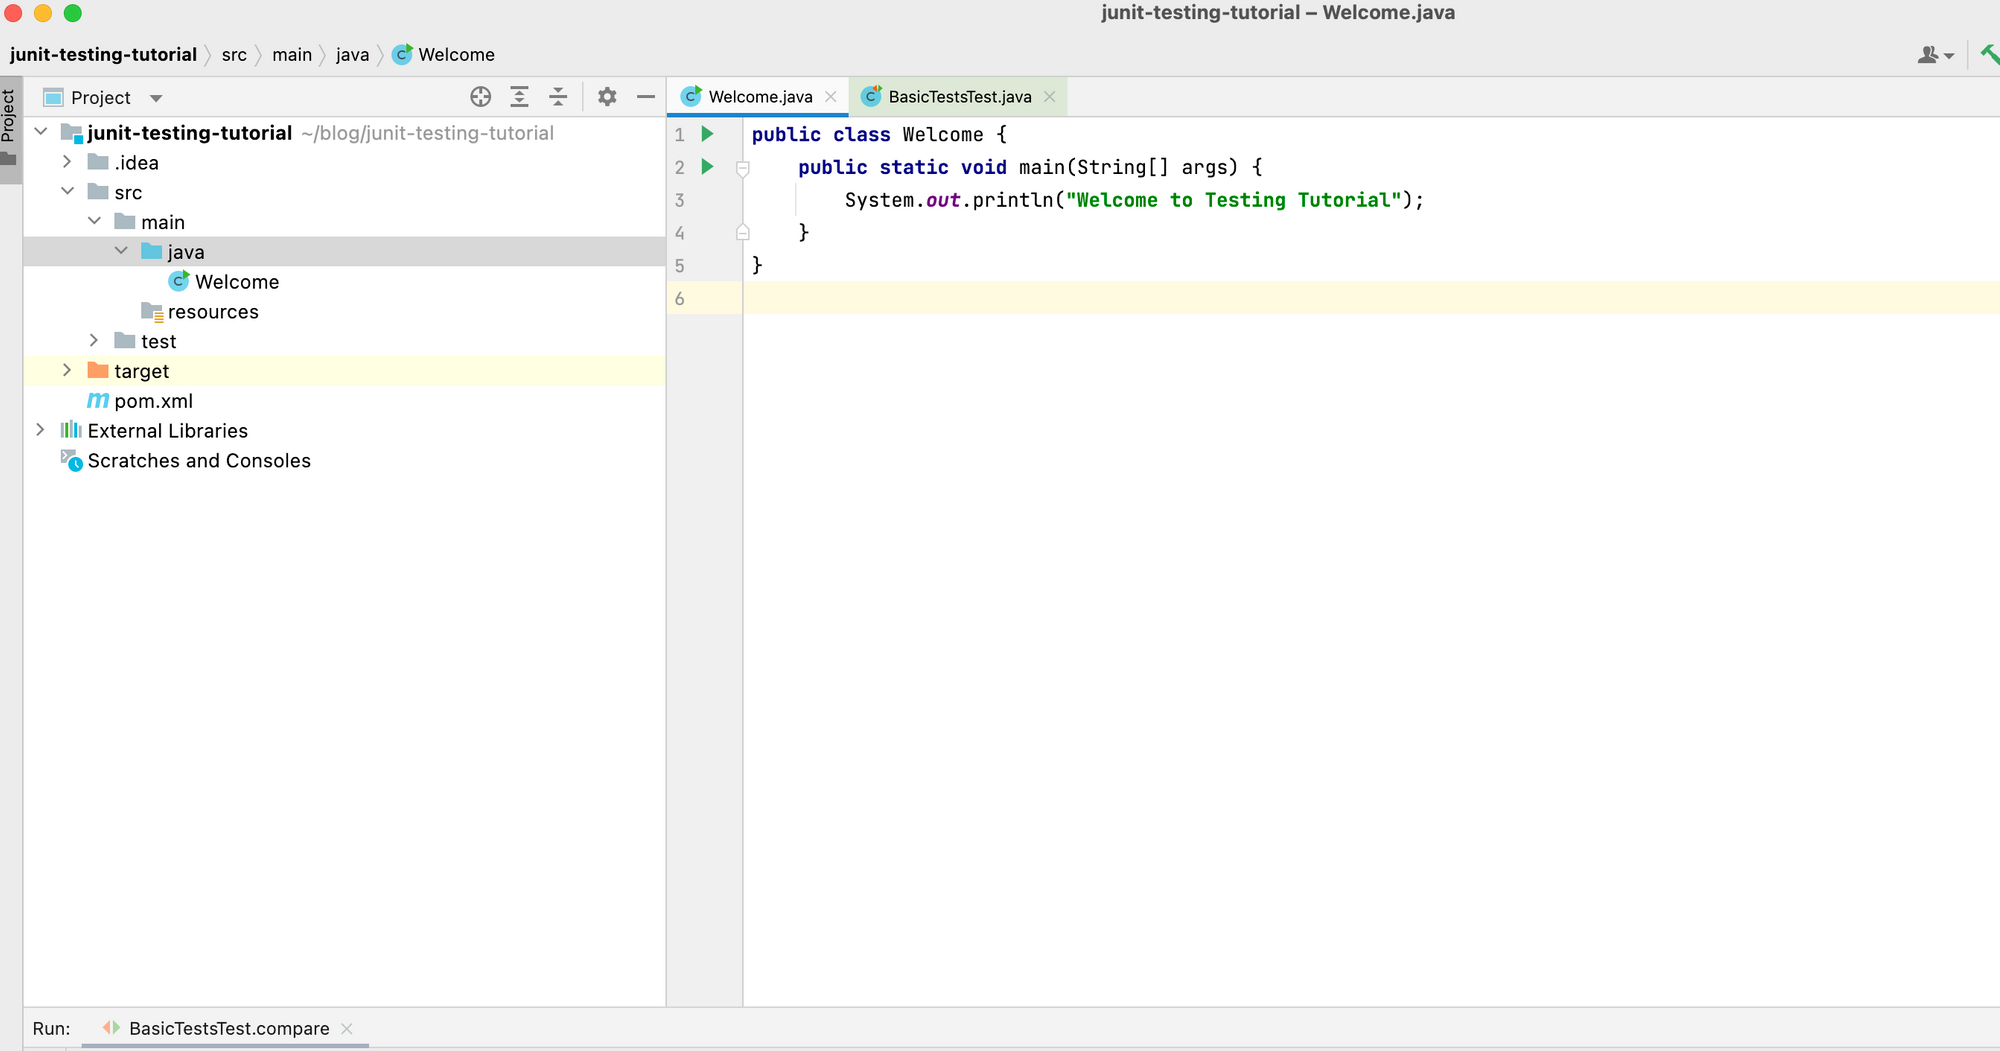
Folder Structure and the Main Method
What is Unit Testing?
Unit Testing involves testing each and every component of your code to see if they work as expected. It isolates each individual method of your code and performs tests on it. Unit tests helps make sure that your software is working as expected before releasing it.
As a developer, you'll write unit tests as soon as you finish writing a piece of code. Now, you might ask, isn't that the job of a tester? In a way, yes, a tester is responsible for testing software. But, covering every line of code adds a lot of pressure on the tester. So, it's a best practice for developers to write tests for their own code as well.
The goal of unit testing is to make sure that any new functionality does not break the existing functionality. It also helps identify any issues or bugs earlier in the development process and helps ensure that code meets quality standards set by the organisation.
Do's and Don'ts of Unit Testing
Remember the following guidelines while writing tests for your methods:
Do test if the expected output of a method matches the actual one.
Do test whether the function calls made inside the method are occurring the desired number of times.
Do not try to test code that is not a part of the method under test.
Do not make API calls, database connections, or network requests while writing your tests.
Now, let's go over some concepts you need to know before we jump into writing tests.
Assertions
Assertions determine whether your test passes or fails. They compare the expected return value of a method with the actual one. There are a number of assertions you can make at the end of your test.
The Assertions class in JUnit consists of static methods that provide various conditions deciding whether the test passes or not. We'll see these methods as I walk you through each example.
Mocking
The class whose methods you are testing may have some external dependencies. As mentioned before, you should not try to test code that is not part of the function under test.
But in cases where your function uses an external class, it is a good practice to mock that class – that is, have mock values instead of the actual ones. We'll use the Mockito library for this purpose.
Method Stubbing
External dependencies may not be limited to just classes, but to certain methods as well. Method stubbing should be done when your function is calling an external function in its code. In this case, you make that function return the value you want instead of calling the actual method.
For instance, the method you're testing (A) is calling an external method (B) in its implementation. B makes a database query, fetching all students with marks greater than 80. Making an actual database call isn't a good practice here. So, you stub the method and make it return a dummy list of students you need for testing.
You'll understand this better with examples. There are many other concepts that are a part of testing in Java. But, for now these three are enough for you to get started.
Steps to Perform While Testing
Initialize the necessary parameters you'll need to perform the test.
Create mock objects and stub any methods if required.
Call the method you are testing with the parameters you initialized in Step 1.
Add an assertion to check the outcome of your test. This will decide if the test passes.
You'll understand these steps more with examples. Let's start with a basic test first.
How to Write the First Test
Let's write a simple function that compares two numbers. It returns 1 if the first number is greater than the second and returns -1 otherwise.
We'll put this function inside a Basics class:
public class Basics {
    public int compare(int n1, int n2) {
        if (n1 > n2) return 1;
        return -1;
    }
}
Pretty simple! Let's write the test for this class. All your tests should be located inside the test folder.
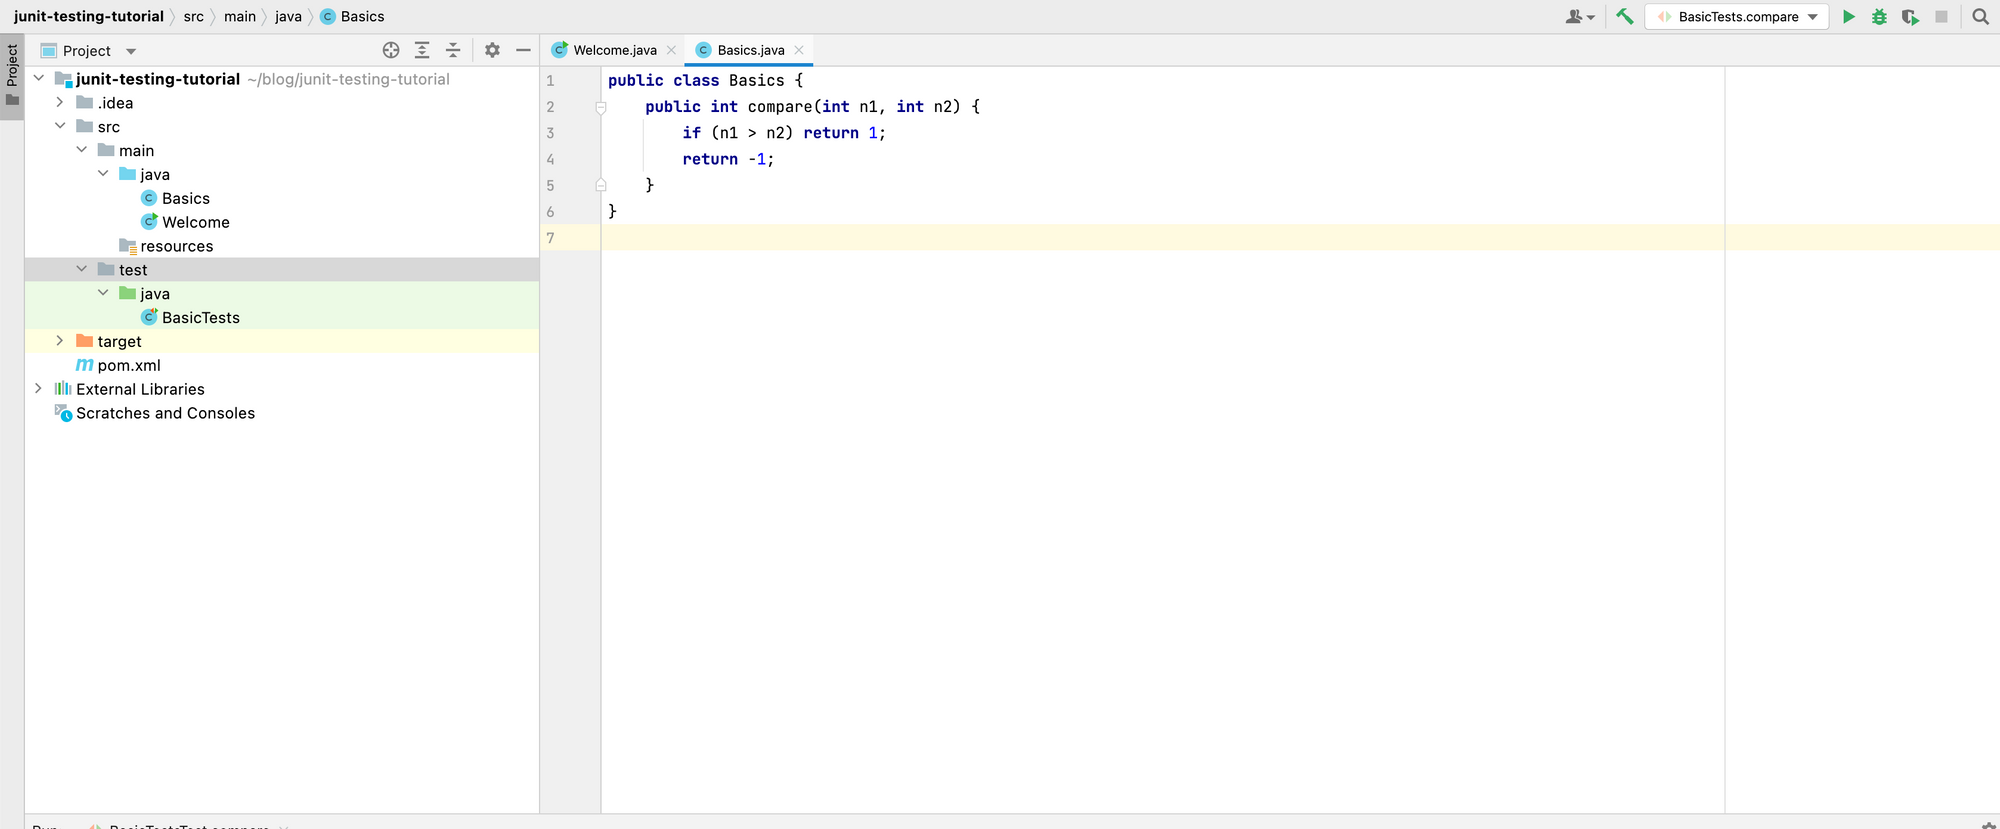
Folder Structure
Inside the test folder, create a class BasicTests where you'll write your tests for this class. The name of the class doesn't matter, but it is a good practice to segregate tests according to each class. Also, follow a similar folder structure as the one in your main code.
public class BasicTests {
    // Your tests come here
}
Unit tests are basically a set of methods you define that test each method of your class. Inside the above class, create a method compare() with a return type of void. Again, you can name the method anything you want.
@Test
public void compare() {

}
The @Test annotation indicates that this method is to be run as a test case.
Now, to test the method, you need to create the object of the above class and call the method by passing some values.
Basics basicTests = new Basics();
int value = basicTests.compare(2, 1);
Now, use the assertEquals() method of the Assertions class to check if the expected value matches the expected one.
Assertions.assertEquals(1, value);
Our test should pass, as the value returned by the method matches the expected one. To check it, run the test by right clicking the green arrow next to the test method.
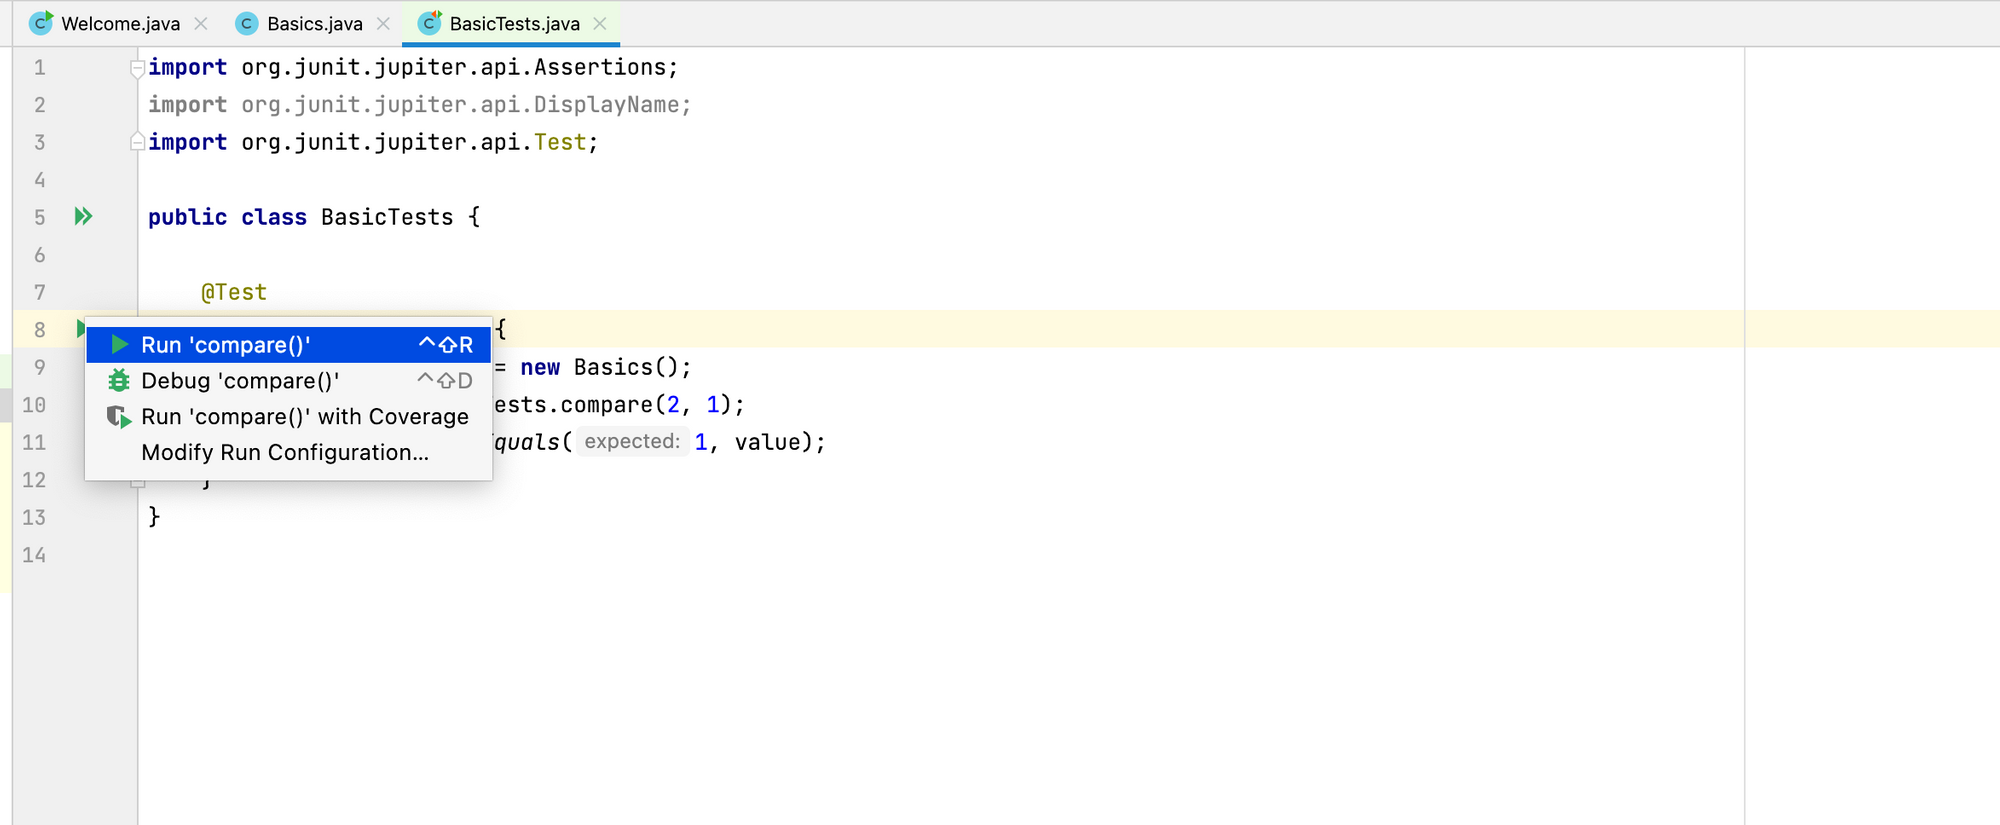
Running a Test
Your test results will be shown below.
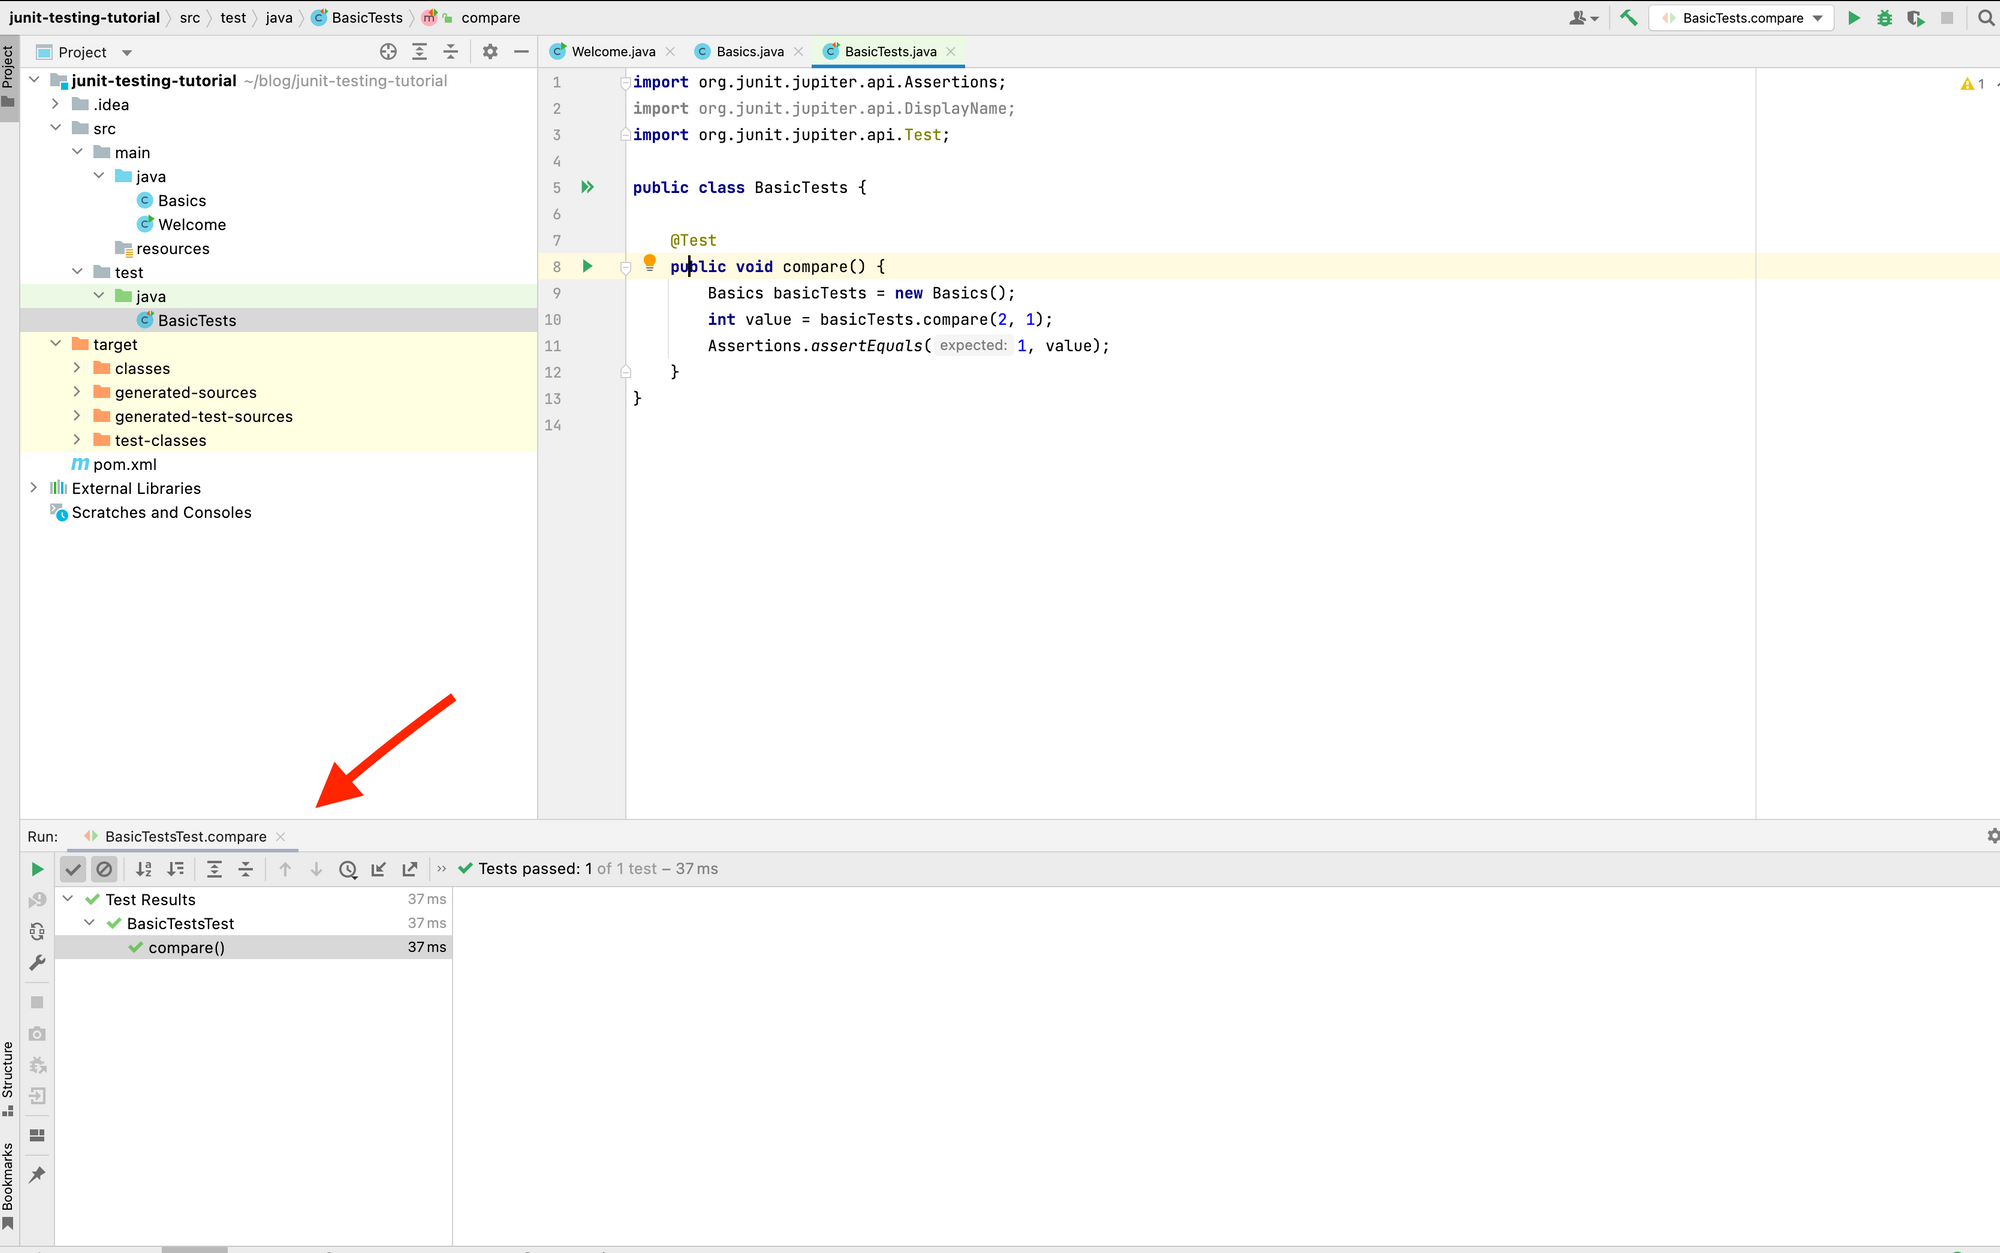
Test Results
More Test Examples
In the above test, we only tested one scenario. When there's branching in the function, you need to write tests for each condition. Let's introduce some more branching in the above function.
public int compare(int n1, int n2) {
    if (n1 > n2) return 1;
    else if (n1 < n2) return -1;
    return 0;
}
We have already tested the first branch, so let's write tests for the other two.
@Test
@DisplayName("First number is less than the second")
public void compare2() {
    Basics basicTests = new Basics();
    int value = basicTests.compare(2, 3);
    Assertions.assertEquals(-1, value);
}
The @DisplayName annotation displays the text instead of the method name below. Let's run the test.
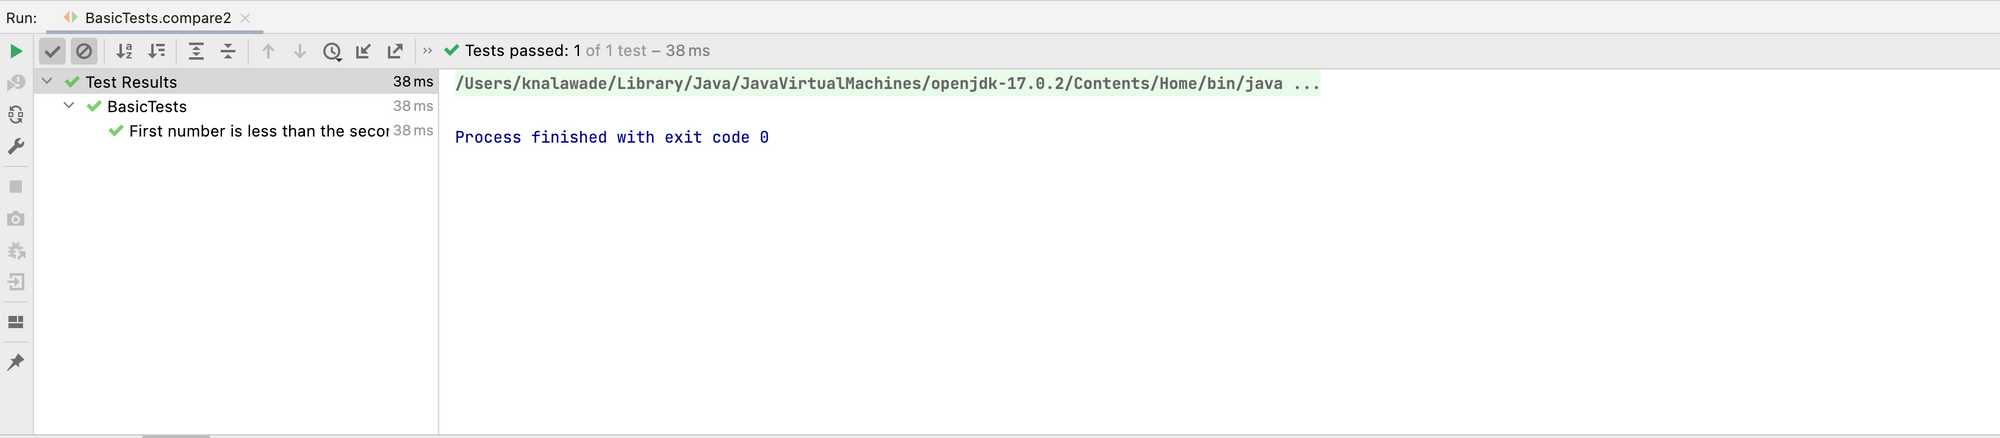
Test Passed
For the case where the two numbers are equal:
@Test
@DisplayName("First number is equal to the second")
public void compare3() {
    Basics basicTests = new Basics();
    int value = basicTests.compare(2, 2);
    Assertions.assertEquals(0, value);
}
Sorting an Array
Now, let's write the test for the following code that sorts an array.
public void sortArray(int[] array) {
        int n = array.length;
        for (int i = 0; i < n-1; i++) {
            for (int j = 0; j < n-i-1; j++) {
                if (array[j] > array[j+1]) {
                    int temp = array[j];
                    array[j] = array[j+1];
                    array[j+1] = temp;
                }
            }
        }
    }
To write the test for this, we'll follow a similar procedure: call the method and pass an array to it. Use the assertArrayEquals() to write your assertion.
@Test
@DisplayName("Array sorted")
public void sortArray() {
    Basics basicTests = new Basics();
    int[] array = {5, 8, 3, 9, 1, 6};
    basicTests.sortArray(array);
    Assertions.assertArrayEquals(new int[]{1, 3, 5, 6, 8, 9}, array);
}
One challenge for you: write code that reverses a string and write a test case for it.
How to Create Mocks and Stubs for Testing
We have seen a few basic examples of unit tests where you made simple assertions. However, the functions you are testing may contain external dependencies like model classes and database or network connections.
Now, you can't make actual connections in your tests, as it would be very time consuming. In such cases, you mock such implementations. Let's see a few examples of mocking.
Mocking a Class
Let's have a class User with the following properties:
public class User {
    private String username;
    private String password;
    private String role;
    private List<String> posts;
}
Click on ⌘ + N to generate getters and setters for the above properties.

Generate Options
Let's take a new class Mocking that uses the above object.
public class Mocking {
    User user;

    public void setUser(User user) {
        this.user = user;
    }
}
This class has a method that assigns certain permissions based on the user's role. It returns 1 if the permission is assigned successfully, else it returns -1.
public int assignPermission() {
        if(user.getRole().equals("admin")) {
            String username = user.getUsername();
            System.out.println("Assign special permissions for user " + username);
            return 1;
        } else {
            System.out.println("Cannot assign permission");
            return -1;
        }
    }
For demo purposes, I have only added println() statements. The actual implementation may involve setting certain properties.
In the tests file, we'll add an @ExtendWith annotation at the top since we are using Mockito. I have not shown the imports here as IntelliJ does them automatically.
@ExtendWith(MockitoExtension.class)
public class MockingTests {

}
So how do we write the test for the method? We'll need to mock the User object. You can do this by adding a @Mock annotation while declaring the object.
@Mock
User user;
You can also use the mock() method, as it's similar.
User user = mock(User.class);
Let's write the test method.
@Test
@DisplayName("Permission assigned successfully")
public void assignPermissions() {
    Mocking mocking = new Mocking();
    Assertions.assertEquals(1, mocking.assignPermission());
}
When you run the test, it throws a NullPointerException.
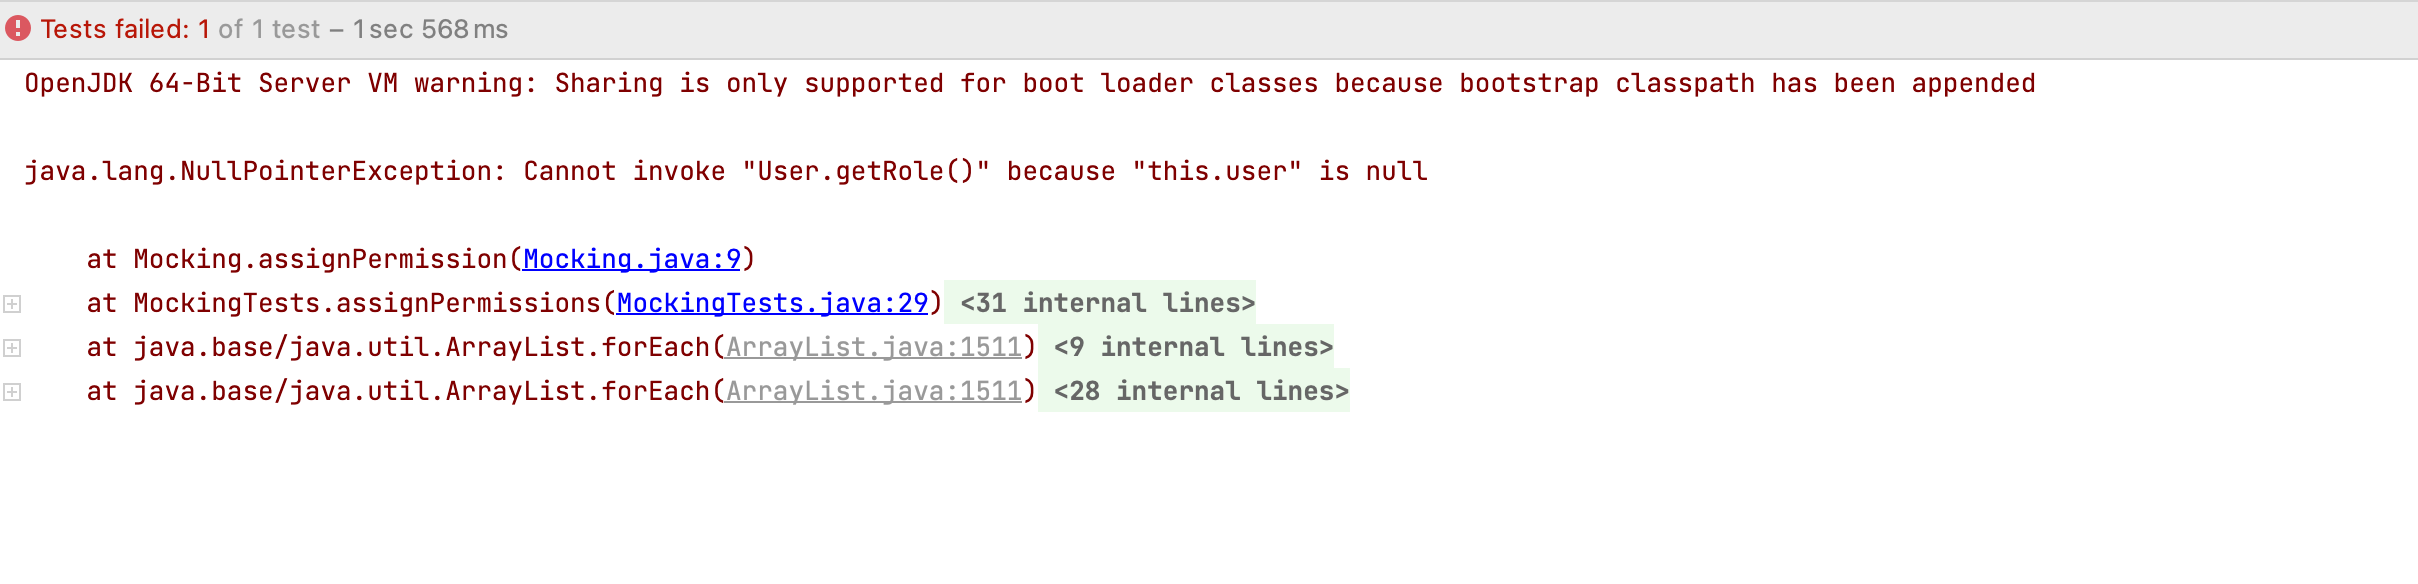
User Object is Null
This is because the user object hasn't been initialised yet. The method you called wasn't able to use the mocked object. For this, you'll need to call the setUser method.
mocking.setUser(user);
Now, the test gives the following error as the mocked object is initially filled with null values.
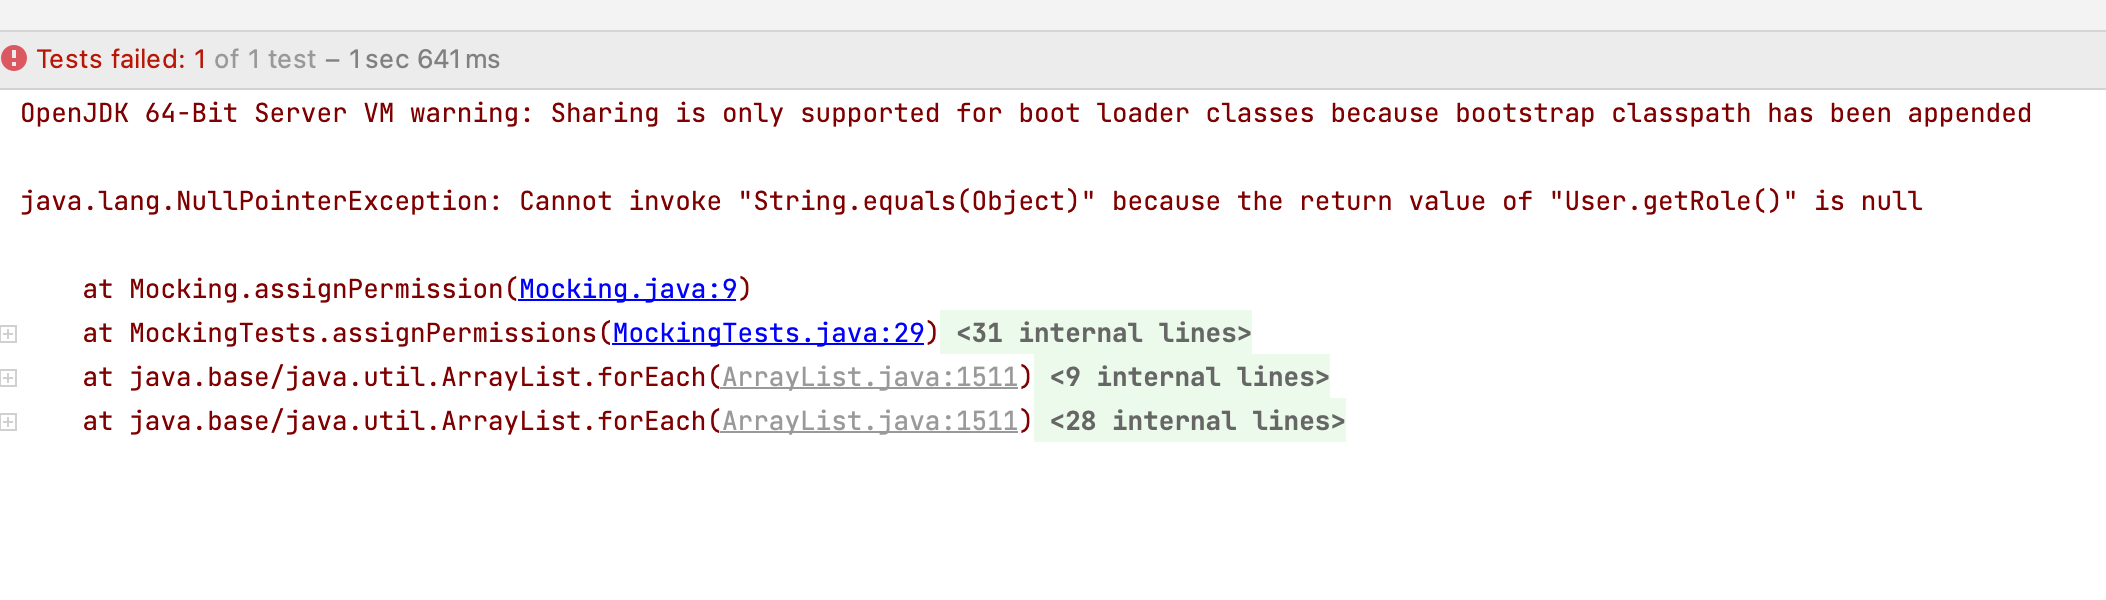
Return Value of getRole() is Null
Does this mean you need to fill actual values in the mock object? No, you just need the getRole() method to return a non-null value. For that, we'll use method stubbing.
when(user.getRole()).thenReturn("admin");
Using when()...thenReturn() tells the test to return a value when a method is called. You should stub methods only for mocked objects.
We'll do the same for the getUsername() method.
when(user.getUsername()).thenReturn("kunal");
Now, if you run the test, it will pass.

Test Passed
Method Stubbing Example
In the above example, I simply stubbed getter methods to demonstrate method stubbing. Instead of stubbing getters, you could set the role and username with a parameterised constructor or setter methods if they are available.
user.setRole("admin");
user.setUsername("kunal");
But what if the user class has a method that returns all the posts containing a certain word in them?
public List<String> getAllPostsContainingWord(String word) {
        List<String> filteredPosts = new ArrayList<>();
        for(String post: posts) {
            if(post.contains(word))
                filteredPosts.add(post);
        }
        return filteredPosts;
    }
We want this method to return all posts containing the word "awesome". If you call the actual implementation of this method, it might take a long time as the number of posts could be huge. Also, if you are mocking the User object, the posts array would be null.
In this case, you stub the method and make it return the list you want.
List<String> filteredPosts = new ArrayList<>();
filteredPosts.add("Awesome Day");
filteredPosts.add("This place is awesome");
when(user.getAllPostsContainingWord("awesome")).thenReturn(filteredPosts);
Method Stubbing in Database Queries
Let's see how to test methods that involve making database connections. First, create a class ApplicationDao that contains all the methods performing database queries.
public class ApplicationDao { }
Define a method that fetches the user by id and returns null if the user is not found.
public User getUserById(String id) {
    // Make database query here
}
Create another method to save a user into the database. This method throws an exception if the user object you are trying to save is null.
public void save(User user) throws Exception {
    // Make database query here
}
Our Mocking class will use these methods to implement its own functionalities. We'll implement one function that updates the name of a user.
public int updateUsername(String id, String username) throws Exception{
            ApplicationDao applicationDao = new ApplicationDao();
            User user = applicationDao.getUserById(id);
            if(user!=null)
                user.setUsername(username);
            applicationDao.save(user);
            return 1;
    }
The method implementation is pretty straightforward. First, get the user by id, change its username and save the updated user object. We'll write the test cases for this method.
There are two cases we need to test. The first is when the user is updated successfully. The second is when the update fails, that is when an exception is thrown.
Before writing the tests, create a mock of the ApplicationDao object as we do not want to make actual database connections.
@Mock
ApplicationDao applicationDao;
Let's write our first test.
@Test
    @DisplayName("User updated successfully")
    public void updateUsername() throws Exception {
        ...
    }
Create a user object for testing.
User user = new User();
user.setUsername("kunal");
Since we are calling an external method, let's stub the method so that it returns the above User object.
when(applicationDao.getUserById(Mockito.anyString())).thenReturn(user);
Pass Mockito.anyString() to the method as we want the stub to work for any string parameter. Now, add an assertion to check if the method is working correctly.
Assertions.assertEquals(1, mocking.updateUsername("3211", "allan"));
The method returns 1 on successful update, so the test passes.
Now, let's test another scenario where the method fails and throws an exception. Simulate this scenario by making the method getUserById() return null.
lenient().when(applicationDao.getUserById(Mockito.anyString())).thenReturn(null);
This value is then passed to the save() method which in turn throws an exception. In our assertion, we'll use assertThrows() method to test whether an exception was thrown. This method takes the type of the exception and a lambda expression as parameters.
Assertions.assertThrows(Exception.class, () -> {
            mocking.updateUsername("3412","allan");
        });
Since the exception is thrown, our test passes.
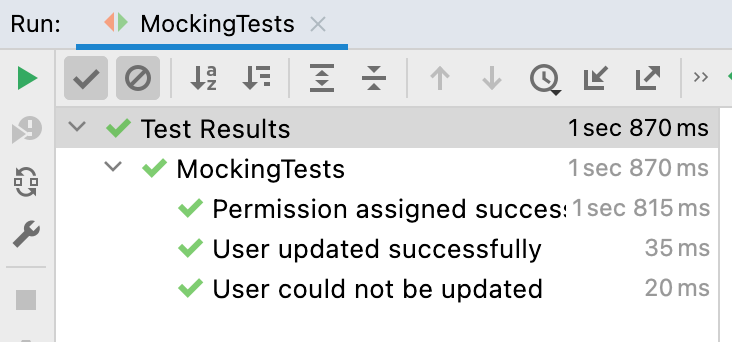
Tests Passed
You can find the complete code here on GitHub.
Conclusion
As a developer, writing unit tests for your code is important. It helps you identify bugs earlier in the development process.
In this post, I started by introducing Unit Testing and explained three important concepts involved in the testing process. These gave you some background before jumping into the code.
After that, I showed you, with examples, how you can test different scenarios by using the same basic techniques in testing. I also showed how to use mock classes and methods for testing complex implementations.