

JavaScript allows you to make dynamic web sites. It's the final part of the web development trinity with HTML and CSS, and you use it to make your static pages dynamic.
You'll likely start learning JavaScript as soon as you've covered the basics of HTML and CSS. Then, after some time, you may fall into one of the following categories:
You've learned all of the fancy JavaScript syntax but you're unable to understand it.
You understand the syntax but cannot apply it to your personal projects.
You want to quit or are thinking about changing careers.
We'll be taking a practical approach to learning JavaScript in this article and the ones that follow. I promise I won't bore you too much with the syntax, but rather we'll learn by building projects.
I'm going to assume that you know the fundamentals of HTML and CSS for this article and any that may follow. But if you don't, you can dive in with this beginner-friendly course to learn or brush up your knowledge before continuing this tutorial.
What Tools Do I Need to Learn JavaScript?
JavaScript doesn't require an elaborate or expensive setup. All you really need is a computer with the following:
A text editor (like Visual Studio Code)
A modern web browser (like Chrome, Edge, Firefox, and so on)
If you don't have a computer, you may still follow along with the lesson by using an online code editor such as codepen.io.
How to Get Started With JavaScript
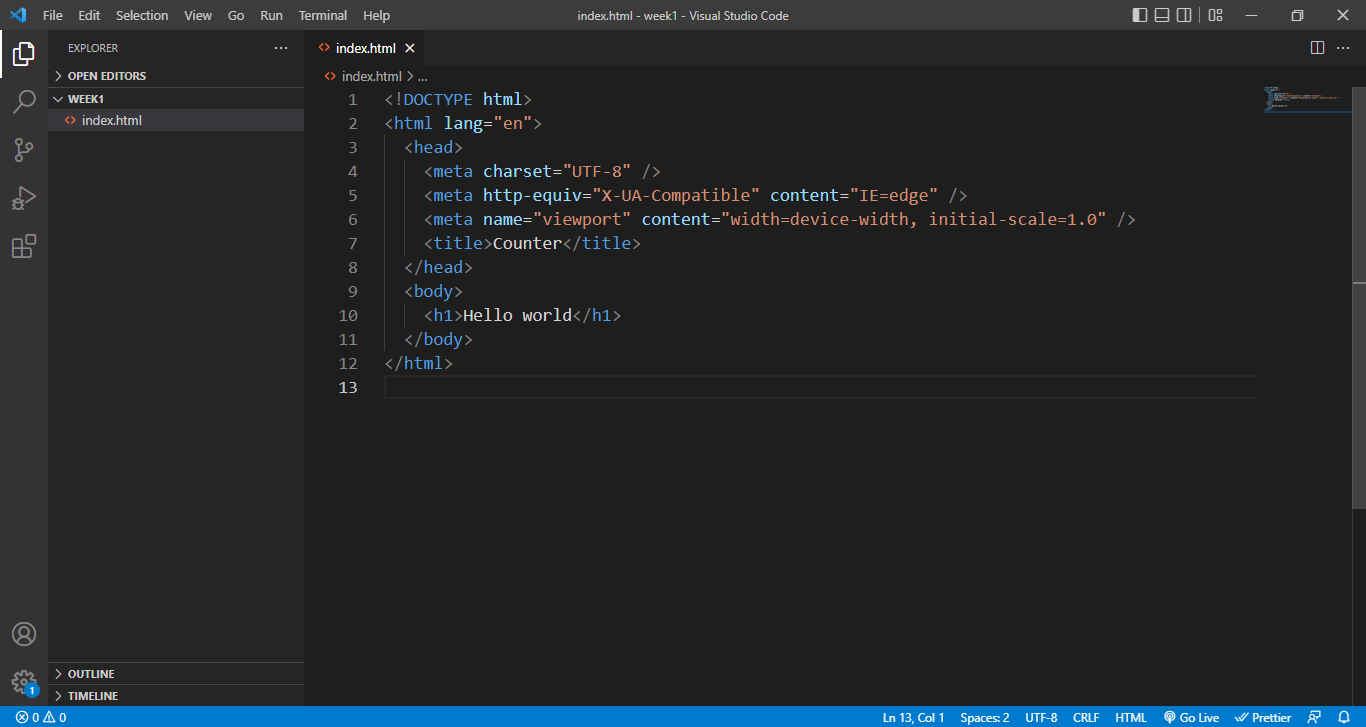
As noted above, all you need is a text editor and a browser to get started. Launch your text editor—in my case, VSCode—in the directory where you want your code files to sit.
Create a new file called index.html. If you are using VS Code, your project setup should look something like this:
How to Preview Your Code in the Browser
Once you have finished creating your HTML file, you will want to view the finished product in your browser.
To make this process easier, we need to install the "live server" extension on VS Code. This extension will cause the web page to immediately refresh each time we make changes to our HTML file.
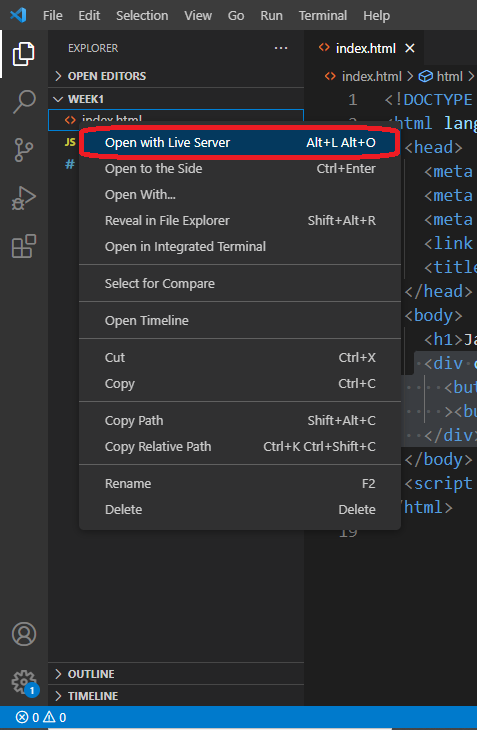
Click on the extension icon in the right side of VSCode.

Look for and install the live server extension. Return to your HTML file and choose "Open with live server" from the context menu.
Your web page should now be visible in your browser.
How to Embed JavaScript into Your HTML Page
You can include JavaScript code in your HTML by putting it directly in the script tag.
<!DOCTYPE html>
<html lang="en">
  <head>
    ...
    <script>
      let my_variable = "hello JavaScript";

      // any JavaScript can go in here
    </script>
  </head>
  <body>
    <h1>Hello world</h1>

  </body>
</html>
But keep in mind that the above method is not advised. Instead, you should generate an external JavaScript file with the .js extension.
Create a new file named script.js in your project directory, and then link it to your HTML file using the URL of your external JavaScript code, like this:
<!DOCTYPE html>
<html lang="en">
  <head>
   ...
    <script src="script.js"></script>
    <title>Counter</title>
  </head>
  <body>
    ...
  </body>
</html>
The JavaScript will execute before any HTML. This typically causes issues since the HTML elements you select with JavaScript will be undefined because the browser reads HTML code from top to bottom.
We'll use the defer attribute of the script element to correct that, which instructs the browser to load HTML first before running JavaScript code.
<script defer src="script.js"></script>
Now that we're all set, let's dive into some JavaScript fundamentals.
How to Use Variables in JavaScript
A variable is a placeholder for values that you might need to use in the future. With JavaScript, everything is stored in variables.
To declare a variable, you can either use the let or const keyword.
let first_variable
const last_variable
You use the equality sign to assign a value to a variable.
let first_variable = “hello world”
If you declare a variable with let, you can modify it. On the other hand, if you declare variables with const, you can't change their values – hence the name.
In JavaScript, you can store multiple data types in variables:
- Strings – Any value that is single or double and wrapped in quotations is a string.
let my_string = "Hello world" // string
let my_second_string = "24" // string
- Numbers – These numbers are not enclosed in quotation marks.
let my_number = 15 // number
let my_second_number = "15" // string
- Arrays – The array is your best option if you want to store several values in a single variable.
let my_array = [1, "hello", "4", "world"]
- Boolean – You do not need to enclose a boolean value in quotations because it is a true or false value and not a string.
let my_boolean = true;
- Objects – Objects allow you to store data in key-value pairs.
let my_obj = {
    name: "John snow",
    aim: "Learning JavaScript",
    age: 20,
}
Since JavaScript interprets everything as an object, you can even save references to HTML elements in variables.
let my_button = document.querySelector("#id")
We're selecting elements on a web page based on their id when we use the document.querySelector("#id"). Don't worry, we'll go into more detail on this later.
To use a variable in JavaScript, simply call the variable name like this:
my_button
To demonstrate how variables work in JavaScript, let's build a basic counter application. Add the following code to the HTML file you previously created:
...
<body>
    <div class="counter_conatiner">
      <button id="subtract">-</button><span id="output">0</span
      ><button id="add">+</button>
    </div>
  </body>
...
Create a style.css file and add the following styles to give it some life using CSS:
*,
*::after,
*::before {
  padding: 0px;
  margin: 0px;
  font-family: inherit;
}
html,
body {
  height: 100vh;
}

body {
  font-family: sans-serif;
  font-size: 16px;
  display: flex;
  flex-direction: column;
  align-items: center;
  justify-content: center;
  background-color: aliceblue;
}
.counter_conatiner {
  display: flex;
  align-items: center;
  justify-content: center;
  padding: 6px;
  margin-top: 1rem;
}
span {
  font-size: 3rem;
  background-color: #00bb00;
  padding: 2px 12px;
  margin-left: 16px;
  margin-right: 16px;
  border-radius: 4px;
  color: #fff;
}
button {
  font-size: 3rem;
  cursor: pointer;
  background-color: transparent;
  border: 0px;
}
Don’t forget to link the CSS file to your HTML like this:
<head>
   ...
    <link rel="stylesheet" href="style.css" />
    <title>Counter</title>
  </head>
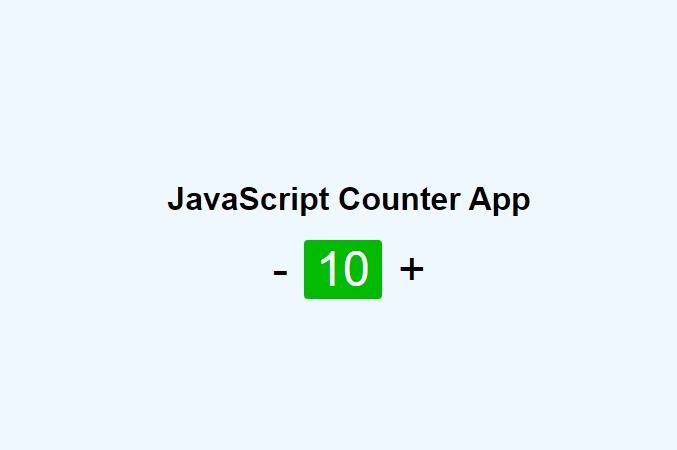
And there you have it – a basic counter app built with HTML and CSS.
Keep in mind that variables can contain references to HTML elements. Let's now save the references to our buttons in variables. Open the script.js file we made before and add the following code into it:
let add = document.querySelector("#add");
let subract = document.querySelector("#subtract");

console.log(add, subract);
Wait a minute, variables are fun, right? Although they can hold anything, there are a few fundamental guidelines you should be aware of before using variables:
Avoid using underscores at the beginning of variable names, such as
_my_variable, as they are very confusing.JavaScript won't let you start variable names with numbers, such as
8_variable.my_variable,MY_VARIABLE, andmy_Variableare all entirely different things in JavaScript because of case sensitivity.And under no circumstances should you use any JavaScript reserved words, including let, const, true, false, function, and any others.
Hey, don't go breaking these fundamental guidelines. So let's move on to some other interesting things we can do using JavaScript.
How to Use Operators in JavaScript
Without math, what would the world be? And what would JavaScript be without some math?
In JavaScript, we have a set of mathematical symbols that you may use to carry out simple math operations.
Don't worry, you are likely already familiar with the most of them:
- Addition – In JavaScript, you use the plus (+) sign to concatenate (join) strings or add numbers.
let addition = 1 + 1 // 2
let addition = 1 + "1" // "11"
let addition = "hello" + "world" // "hello world"
- Subtraction – you use the minus sign (-) to subtract numbers.
let subtraction = 10 - 9 // 1
- Multiplication – you use an asterisk for multiplication in JavaScript when multiplying numbers.
let multiplication = 2 * 2 // 4
- Division – you use the division sign (/) to divide numbers.
let division = 4 / 2 // 2
- Equality – you use the double equal sign (==) to check whether two values are equal in JavaScript.
let if_true = 2 + 4 == 6 // true
let if_false = 5 + 6 == 10 // false
There are other JavaScript operators available, but I won't go into them here.
Now that we are familiar with operators, let's return to our counter application and modify it so that it increases whenever we click the "+" button on the page.
We declared some variables and saved a reference to the HTML buttons as values in the previous section.
let add = document.querySelector("#add");
let subract = document.querySelector("#subtract");

...
Now, all we have to do to use our add variable is to call its name.
add
But this is insufficient. We need to know if it has been clicked, and JavaScript provides us with what we refer to as Events. We use them to listen to events that occur on a web page, such as when a user clicks a button or scrolls down the page, among other things.
Here's what this looks like:
add.addEventListener("click", function () {
 // Every time the add button is pressed, this code will execute.
});
It's not necessary for this to make sense straight away. In this case, we used the addEventListener to add a click event to the button. We'll talk exclusively about events in another section.
Now, whatever code is within the listener's callback gets called when the button is clicked.
Now that we are aware of this, let's increase the output value. To do this, simply obtain the output value and then increase it by one whenever the button is pressed. Here's the code to do that:
let add = document.querySelector("#add");

add.addEventListener("click", function () {
  let output = document.querySelector("#output");
  let result = output.innerText + 1;

  output.innerText = result;
});
With the exception of the innerText, which is used in JavaScript to obtain the text from HTML elements on a web page and can also modify an HTML element's text as seen above, the majority of the syntax above should now be recognizable.
In the example below, click the add (+) button to see the counter increment.
Not what you anticipated, is it? Because the value of let output = document.querySelector("#output") is a string and JavaScript does not allow you to add strings and numbers, you must convert the output to a number before adding.
let result = Number(output.innerText) + 1;
In the code above, we changed our string into a number using the Number() method.
Let's try the preceding example again after we've made the changes.
It now works just as planned.
How to Use Conditionals in JavaScript
What if...? Conditionals are used to solve questions like, "What if we want our counter app to stop counting at 10?" or "What if we want to skip a number?" When you're faced with conditional questions like these, you're in need of a conditional.
The only conditionals we'll be looking at today in JavaScript are if...else statements.
if (condition) {
  /* code to run if condition is true */
} else {
  /* run some other code instead */
}
Conditionals allow us to run code only when a given condition is met. For example, if our counter is greater than 10, we can reset it back to zero (0).
let add = document.querySelector("#add");

add.addEventListener("click", function () {
  let output = document.querySelector("#output");
  let result = output.innerText + 1;

  if (result > 10) {
    result = 0;
  }

  output.innerText = result;
});
If the result is more than 10, the if statement in the preceding code returns the result to 0. In the following example, try increasing the counter to a number greater than 10.
You'll see that we omitted the else statement. That's because it's optional.
How to Use Functions in JavaScript
We're finally wrapping up our small counter app. Let's add the ability to subtract. All we have to do is deduct 1 from the output.
let add = document.querySelector("#add");
let subract = document.querySelector("#subtract");

add.addEventListener("click", function () {
  let output = document.querySelector("#output");
  let result = Number(output.innerText) + 1;

  if (result > 10) {
    result = 0;
  }

  output.innerText = result;
});

subract.addEventListener("click", function () {
  let output = document.querySelector("#output");
  let result = Number(output.innerText) - 1;

  if (result < 0) {
    result = 0;
  }

  output.innerText = result;
});
And there you have it, a basic JavaScript counter app.
Take a look at the complete code from the pen above and describe what you observe.
Well, I notice a lot of duplicated code, which is not good. You should avoid repetition in your code.
And for that reason, we use functions. We can write a piece of code and then use it as many times as we like with functions.
You can use the function keyword in JavaScript to create a function.
function add() {
  alert("hello world")
}
Functions can also take parameters.
function add(number1, number2) {
 return number1 + number2
}
These parameters are used in the same way as variables are in a function. They are essentially placeholders.
Functions, like variables, are called by their names. The only difference is that when invoking a function, you must include parenthesis – ().
add(2,4) // 6
You may have seen functions declared in this manner as well:
const add = (number1, number2) => number1 + number2;
The above is equivalent to the formal add() function. They are known as arrow functions, and that is how we will declare our functions from now on.
I believe this is enough information for the introduction at this moment, so I'll leave you with this task.
JavaScript weekly challenge
We created a simple counting app in this lesson, but it contains a lot of repeating code, so here's a challenge for you:
- Create a single function called
addAndSubtract()that can handle both addition and subtraction operations without having to repeat any code.
Conclusion
In this post, we learned how to use JavaScript, developed a small counter app, and learned about variables, conditionals, and functions.
Please feel free to reach out to me on Twitter at @sprucekhalifa if you have any questions.
Also, happy coding!