
In this tutorial, I'll teach you how to manually deploy a React and TypeScript project with Vite on Netlify. I will show you a few quick and simple steps to get live versions of your projects up and running.
To follow along with this tutorial, there are a few prerequisites:
- An existing React and TypeScript project with Vite that you want to deploy.
- Visual Studio Code (VSCode) editor or any other code editor such as Sublime.
- Optionally, you can just use a command line/terminal instead of your code editor's built-in terminal.
- An existing Netlify account that you've already logged into.
Let's go ahead with our deployment!
What to expect
You will deploy your project manually on Netlify, rename your site on the platform, and be able to have a live version of your project.
How to Deploy Your React and TypeScript Project
1. Open up your existing project on VSCode
Open up your project in the code editor of your choice.
2. Build the project
Open the terminal in VSCode and use the code below to build your project:
npm run build
This should generate a dist folder in your root directory where your projects' minified version is created and stored.
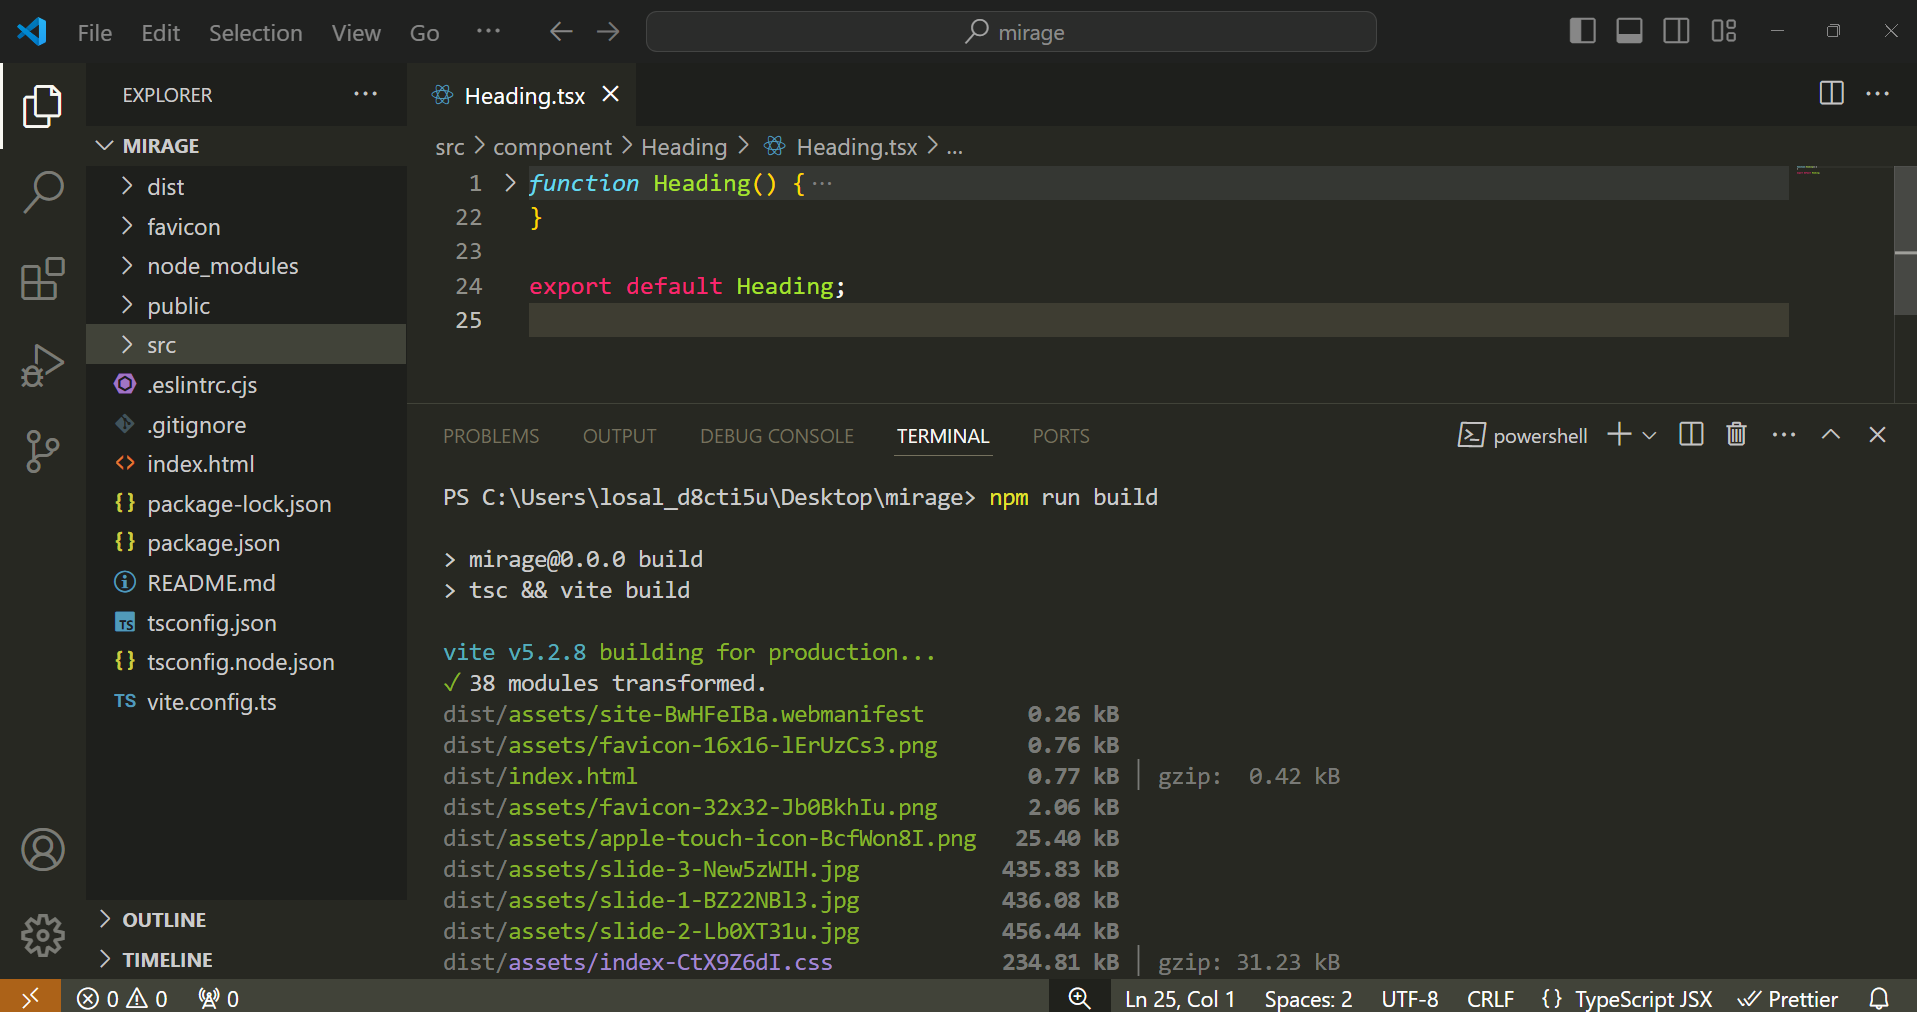 Figure 2.0 Running the project in the terminal which creates the dist folder in the project structure.
3. Drag and Drop your Dist Folder in Netlify
On Netlify under Team Overview, click on the Add New Site button. It should have three options:
- Import an existing project
- Start from a template
- Deploy manually
Select the third choice to deploy manually.
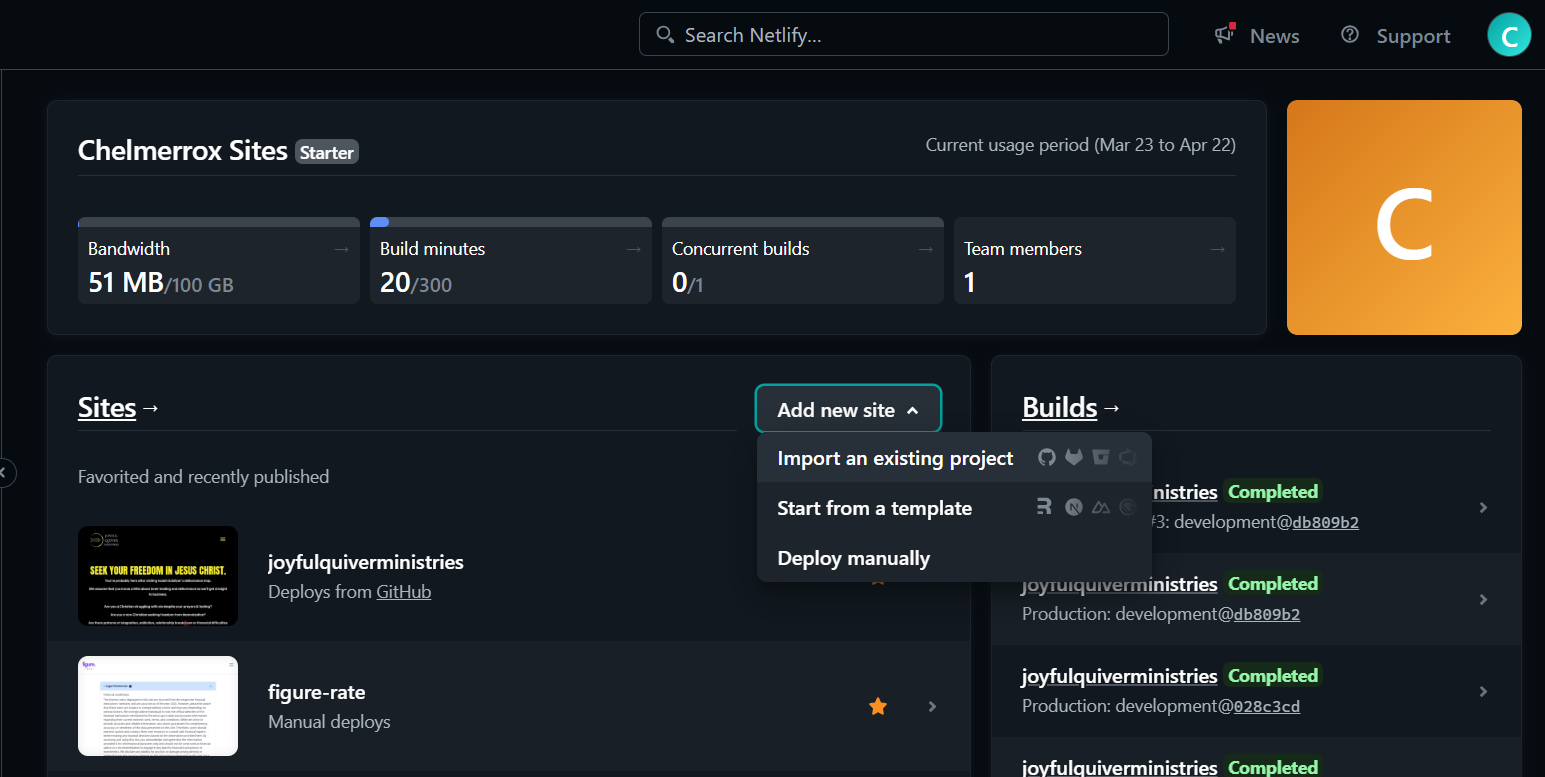 Figure 3.0 Clicking on the Add new site button shows the three options to choose from. Select "Deploy Manually".
It should lead you to the page as seen in the below image:
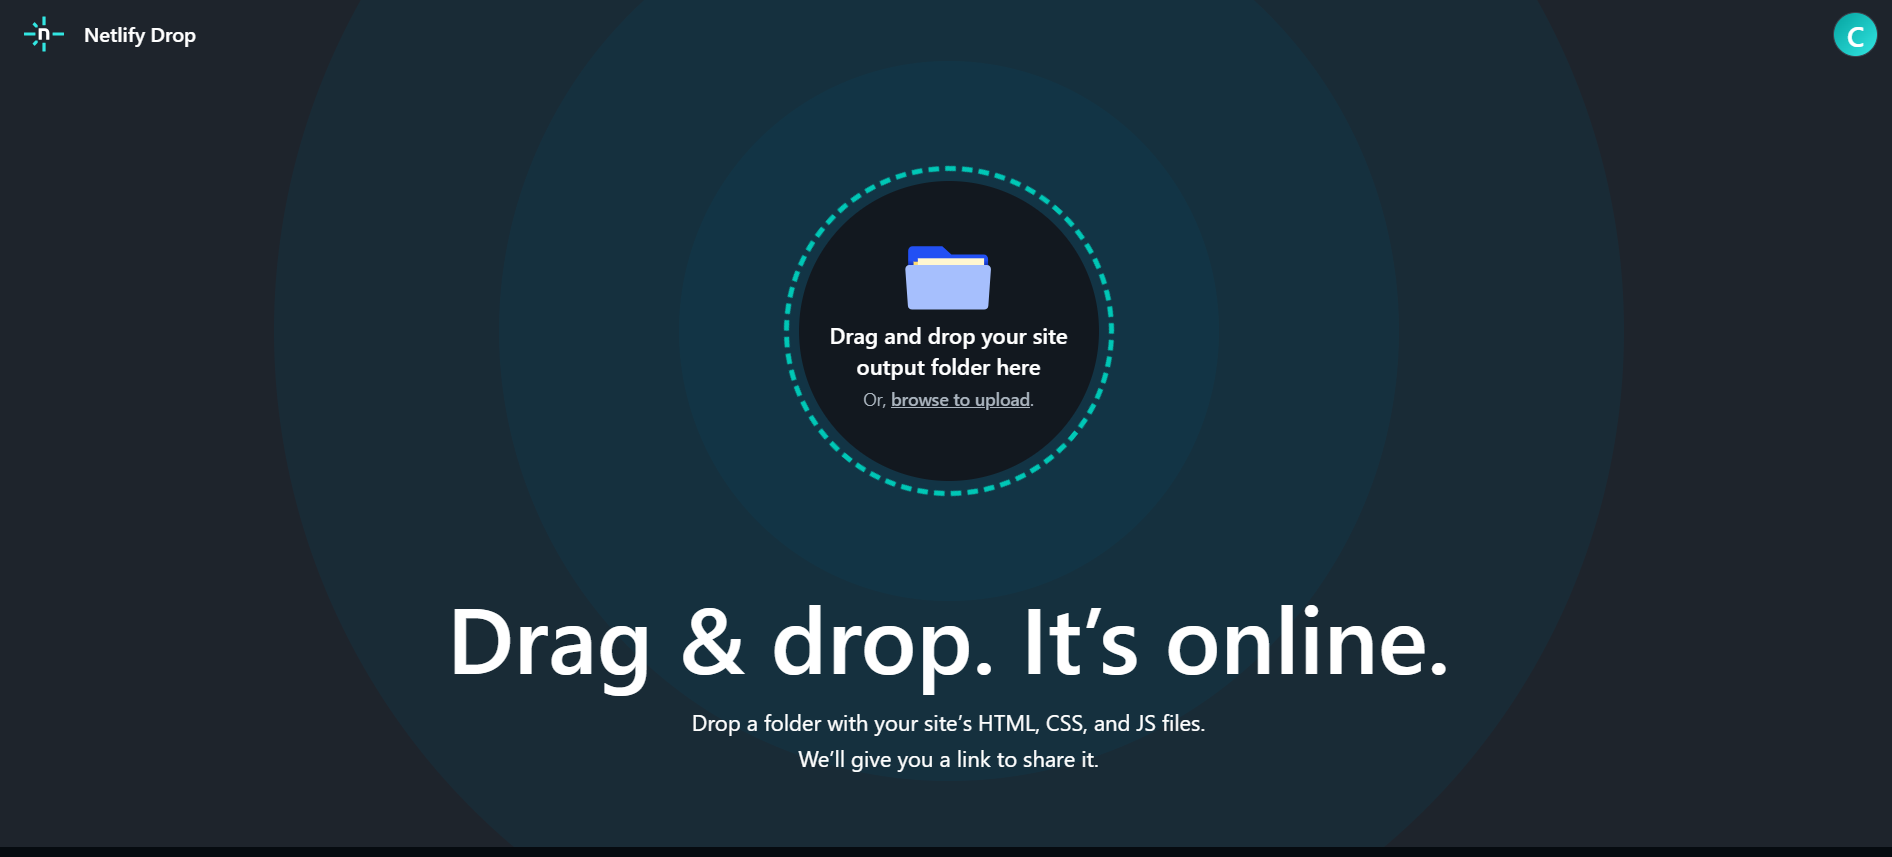 Figure 3.1 Drag & drop view when choosing to deploy manually.
Click on the page and navigate into your project's file path.
Upload the dist folder that was previously generated in your project onto Netlify.
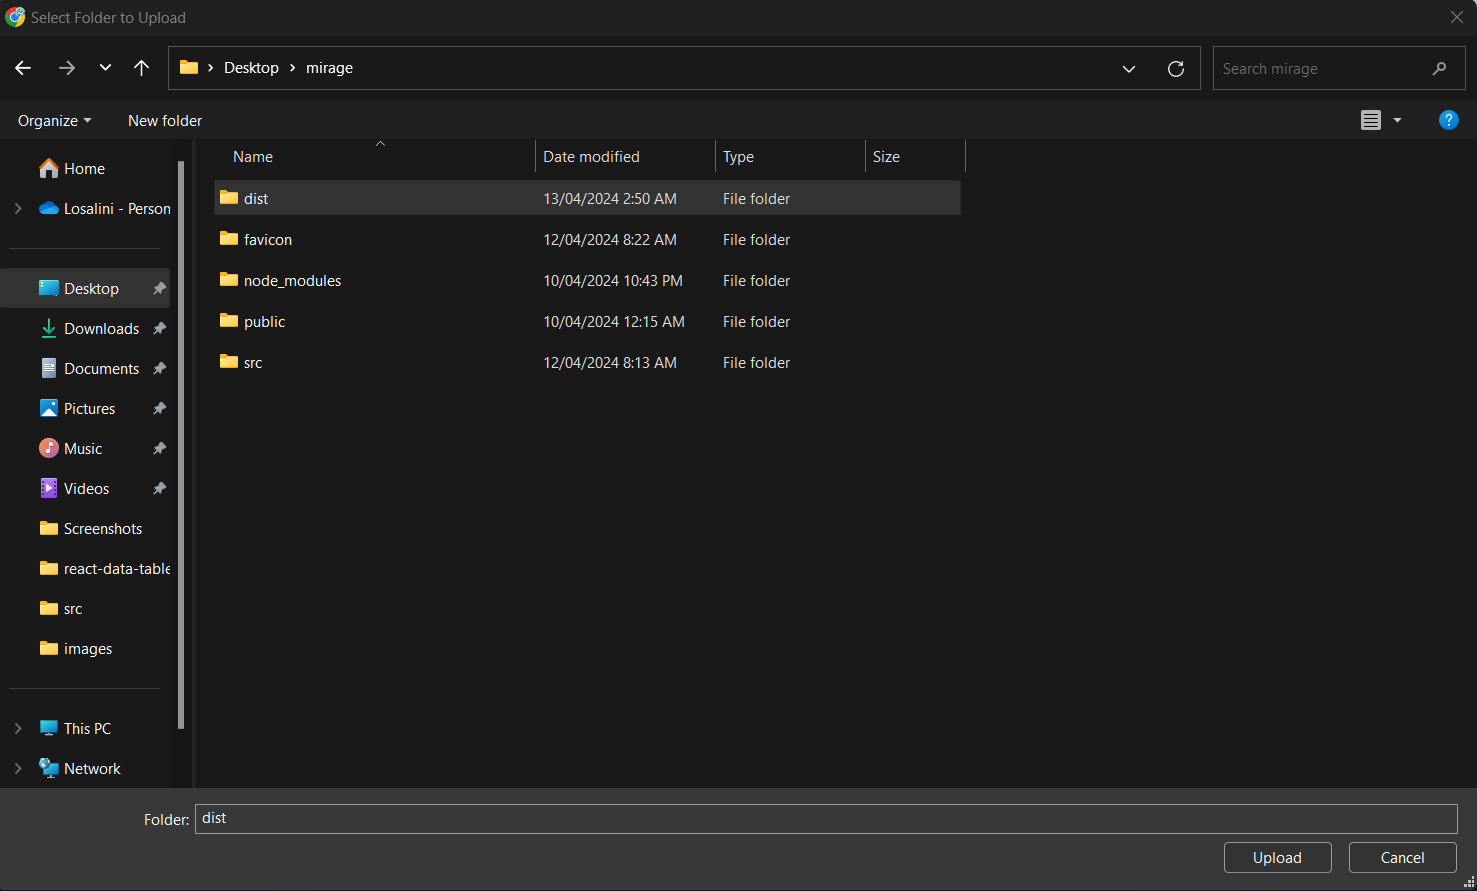 Figure 3.2 Navigating into the project's folder & uploading the dist folder onto Netlify.
It will take a few seconds or minutes to get your project deployed.
Once deployment is successful, you will see a page similar to the one below. By default, it gives a randomly generated subdomain name to your site's URL. For example, in my case, it is delightful-pie-bba293.
 Figure 3.3 Deployment is successful.
Your site's name is the subdomain of Netlify's domain.
https://<your-site-name>.netlify.app
4. Rename your site
Click on the Site Configuration that is on the lefthand sidebar.
In the Site Information under Site Details, click on the Change Site Name button.
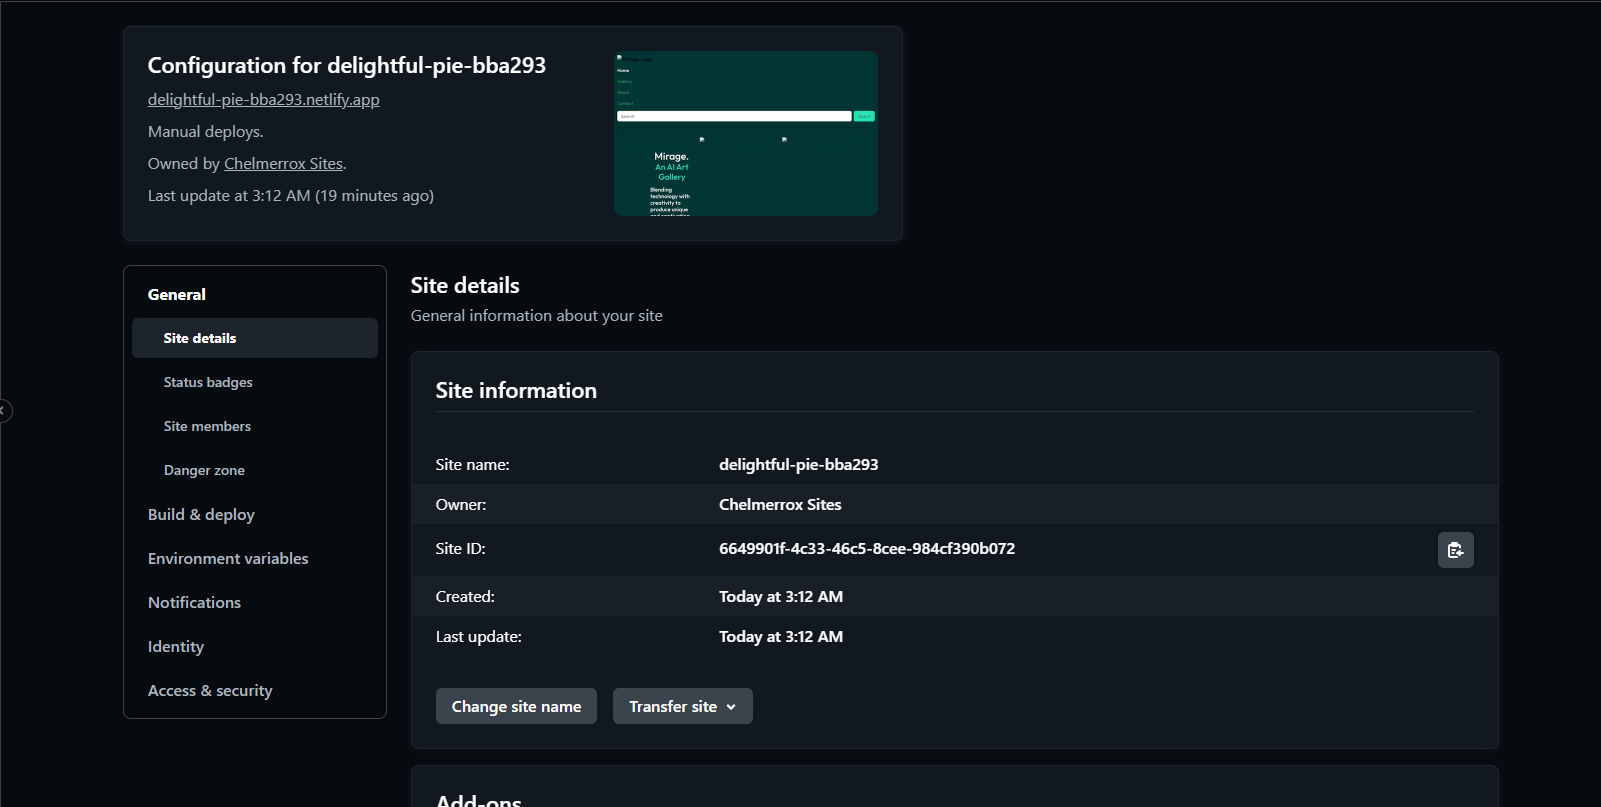 Figure 4.0 Viewing the Site Details under the Site Configuration.
This should give you a pop-up to change your site's name.
Change the name of your site to whatever you like:
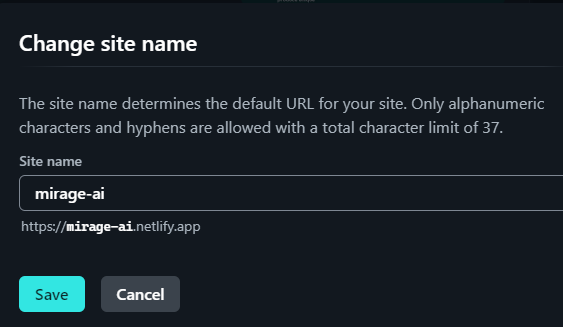 Figure 4.1 Changing the name of your site.
Head back to the Site Overview where you can find the URL of your site. Your site's URL is found right underneath your project's name.
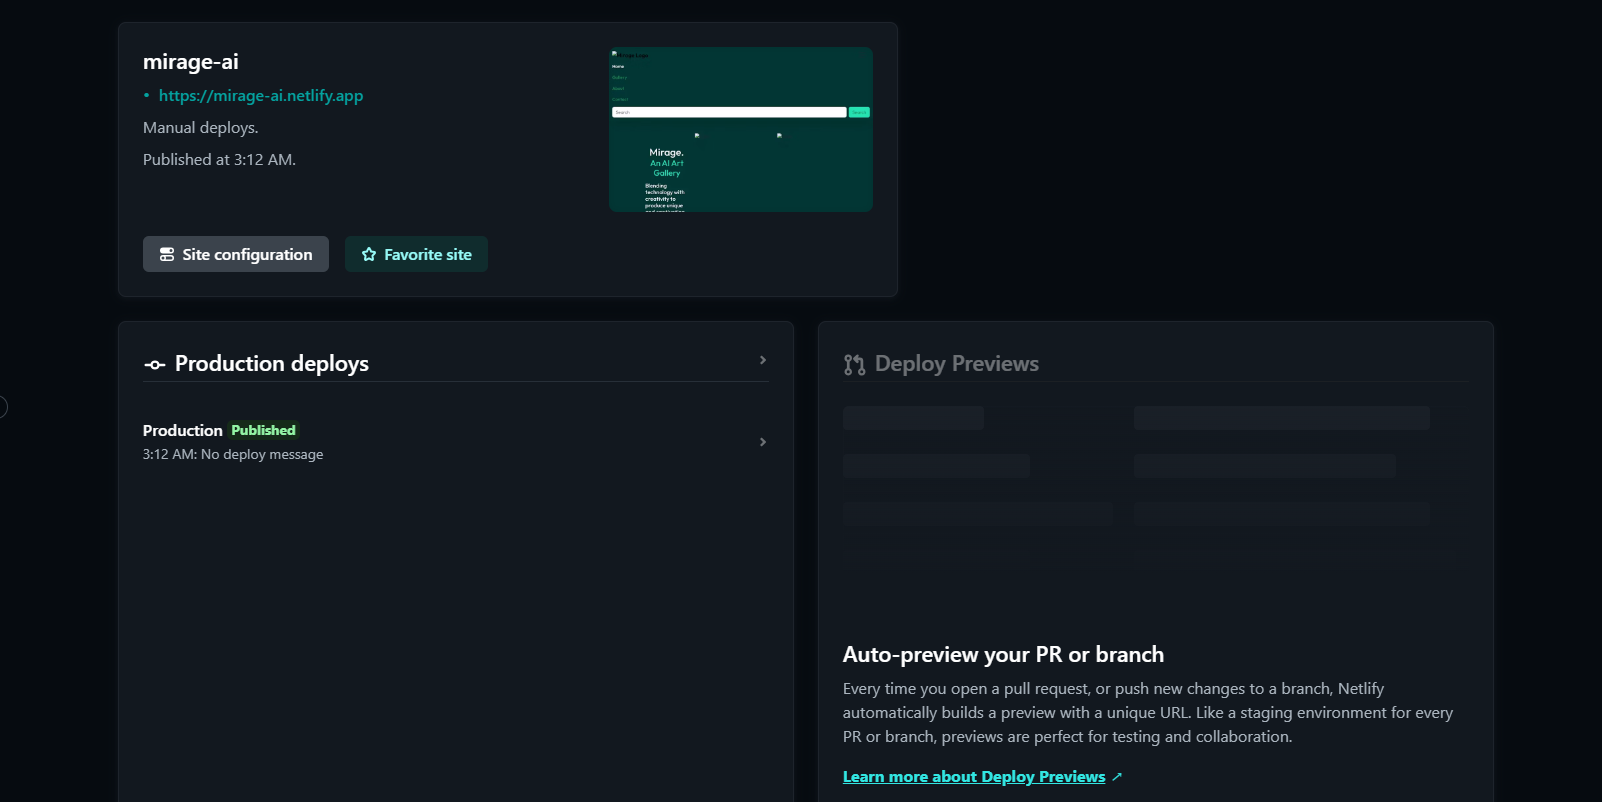 Figure 4.2 Site Overview where you can find your site's URL.
Click on the URL to view your site!
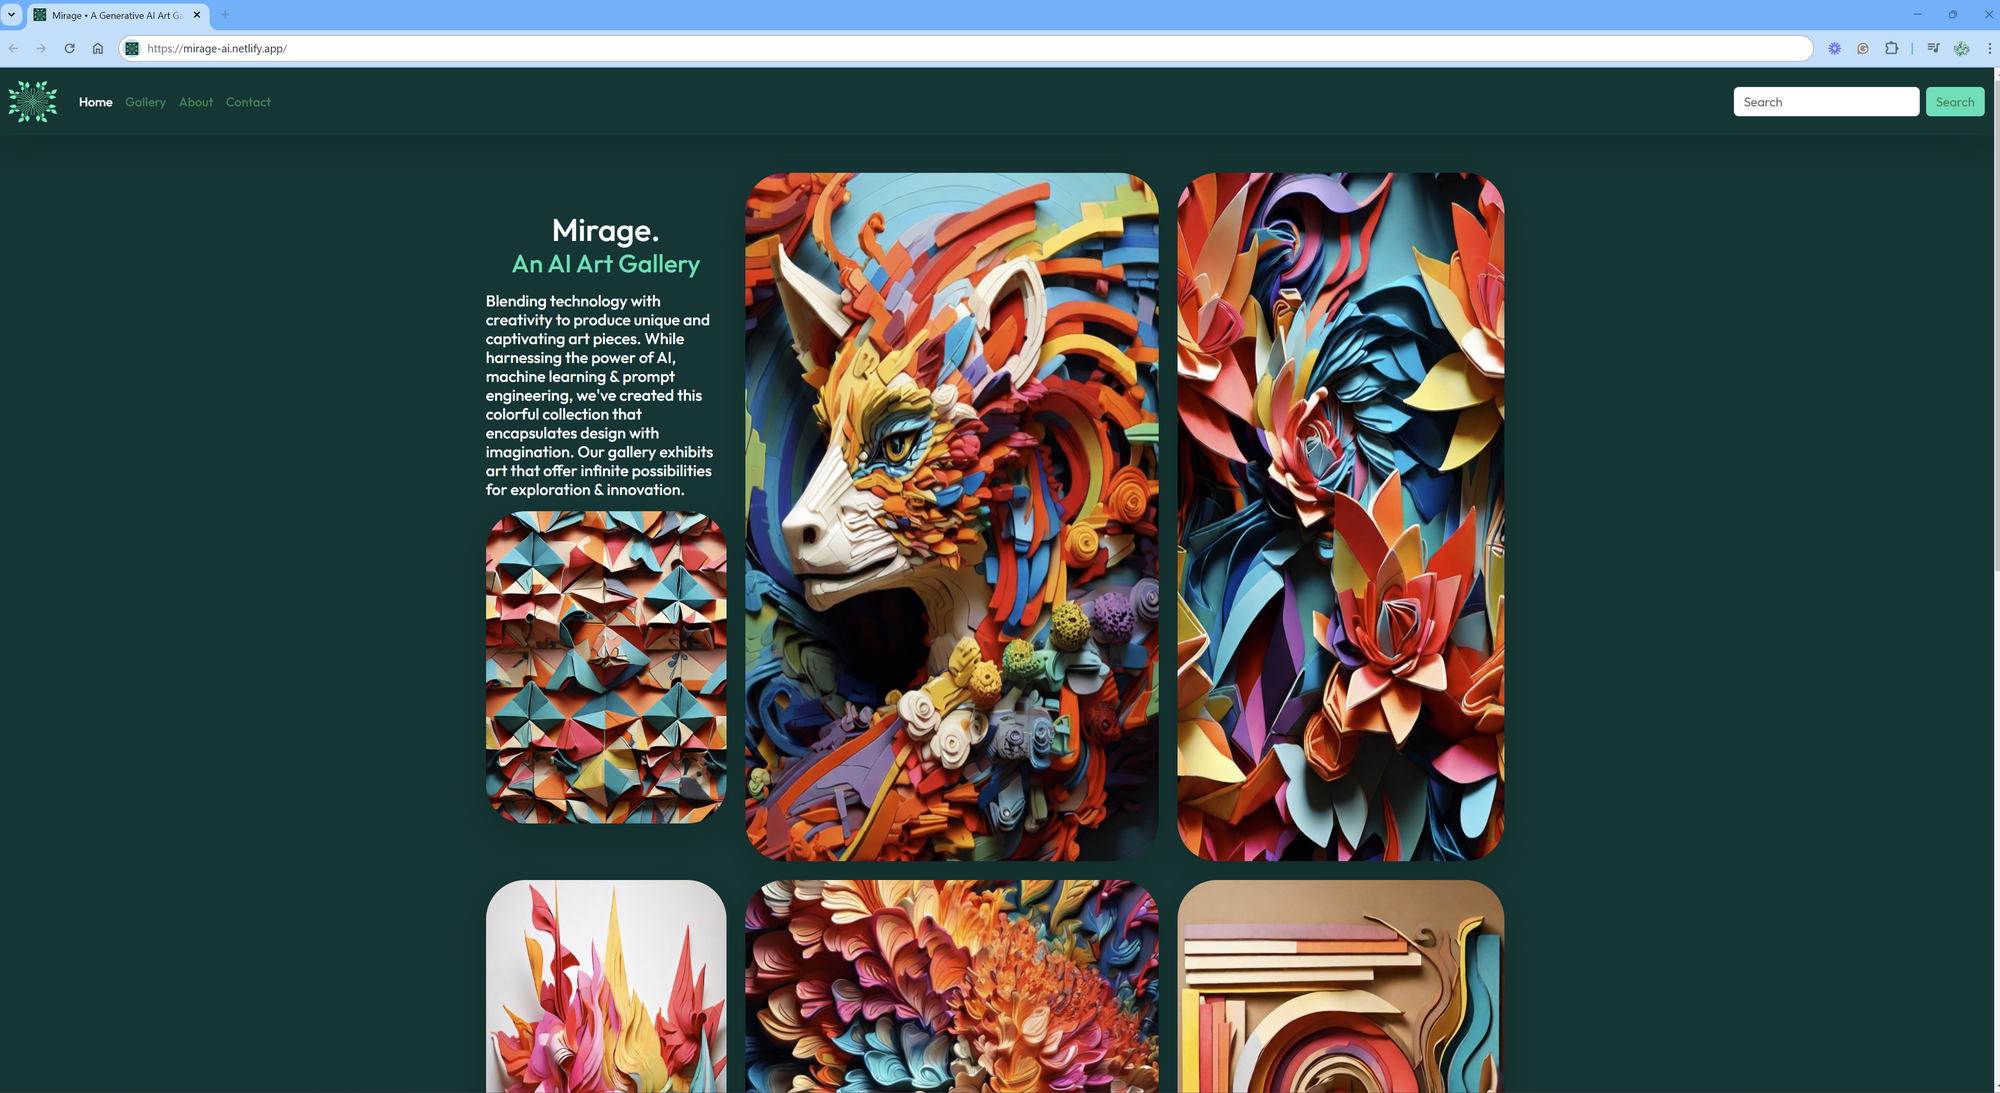 Figure 4.3 Viewing my site from the newly created URL.
Conclusion
Now, you have live versions of your projects and you're able to deploy them manually on Netlify.
There are additional steps to take in order to add a custom domain but we're not covering that in this tutorial.
This also makes it easier to reference your projects in the meantime on your résumés, portfolio site, or anywhere else.
Thanks for powering through this article and happy coding! 🩷
📝Additional Resources:
- This article is a summarized version of this video. If you'd prefer to watch and follow along, then that is the video to watch.
- There are many other platforms such as Cloudflare, Heroku, or Vercel to deploy your projects on. This video, for instance, shows you how to deploy your projects onto Vercel.
🔍Connect with me!
Follow me on X and LinkedIn if you like my work and want to stay updated for more.