
By Nishant Kumar
Next.js is a server-side rendering framework based on React, which is search engine optimized.
So, let's build an Evernote clone using Next.js to learn how it works.
We will use the following tech stack:
- Next.js for the UI
- Firebase for the database and for hosting our application
- SASS for stylesheets
So, let's get started.
How to Create a Next App
Just like the command which we use to create a React application, we have a command for quickly making a Next app as well. It looks like this:
npx create-next-app@latest
# or
yarn create next-app
If you use npm, use npx create-next-app@latest. Or else, if you use the Yarn package manager, use yarn create next-app.
But first, you need to have Node.js installed in your system. Go to https://nodejs.org/en/download/ to download and install Node.
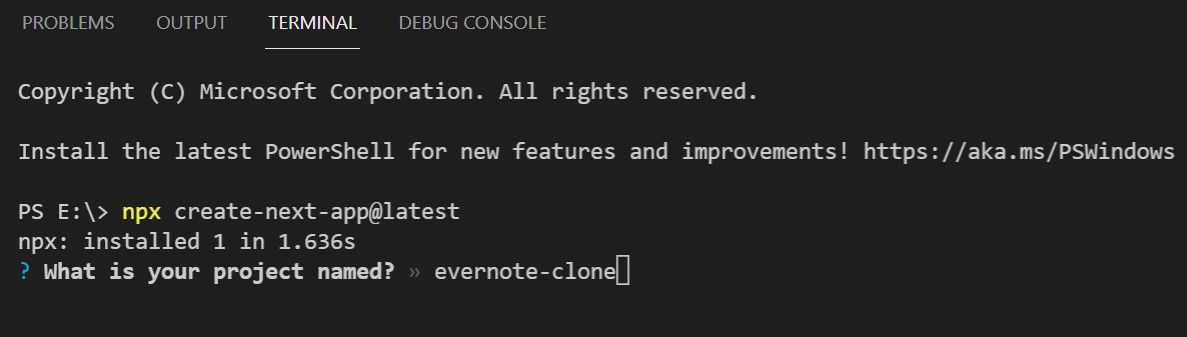
Give the project a name, which is evernote-clone in our case.
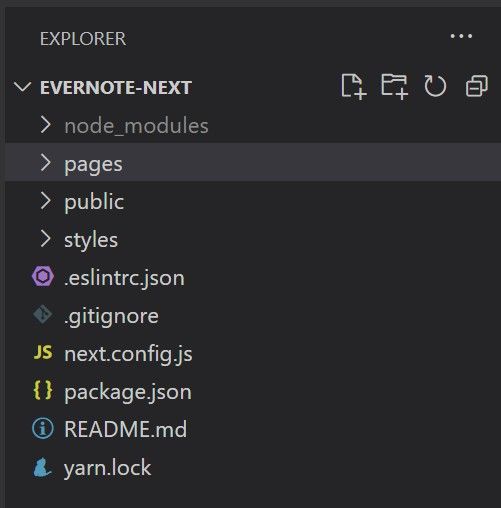
After the project finishes creating, we will find a file structure to what we see in React.
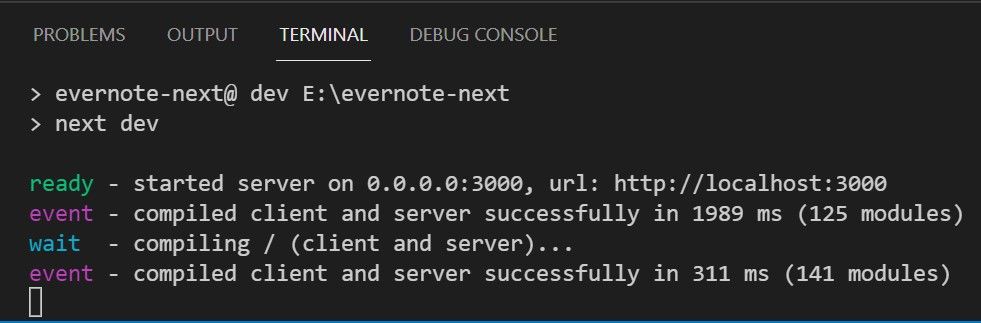
Let's start the app now. Simply type npm run dev, and this is what you will see in your terminal:
And just like React, Next comes with some boilerplate code.
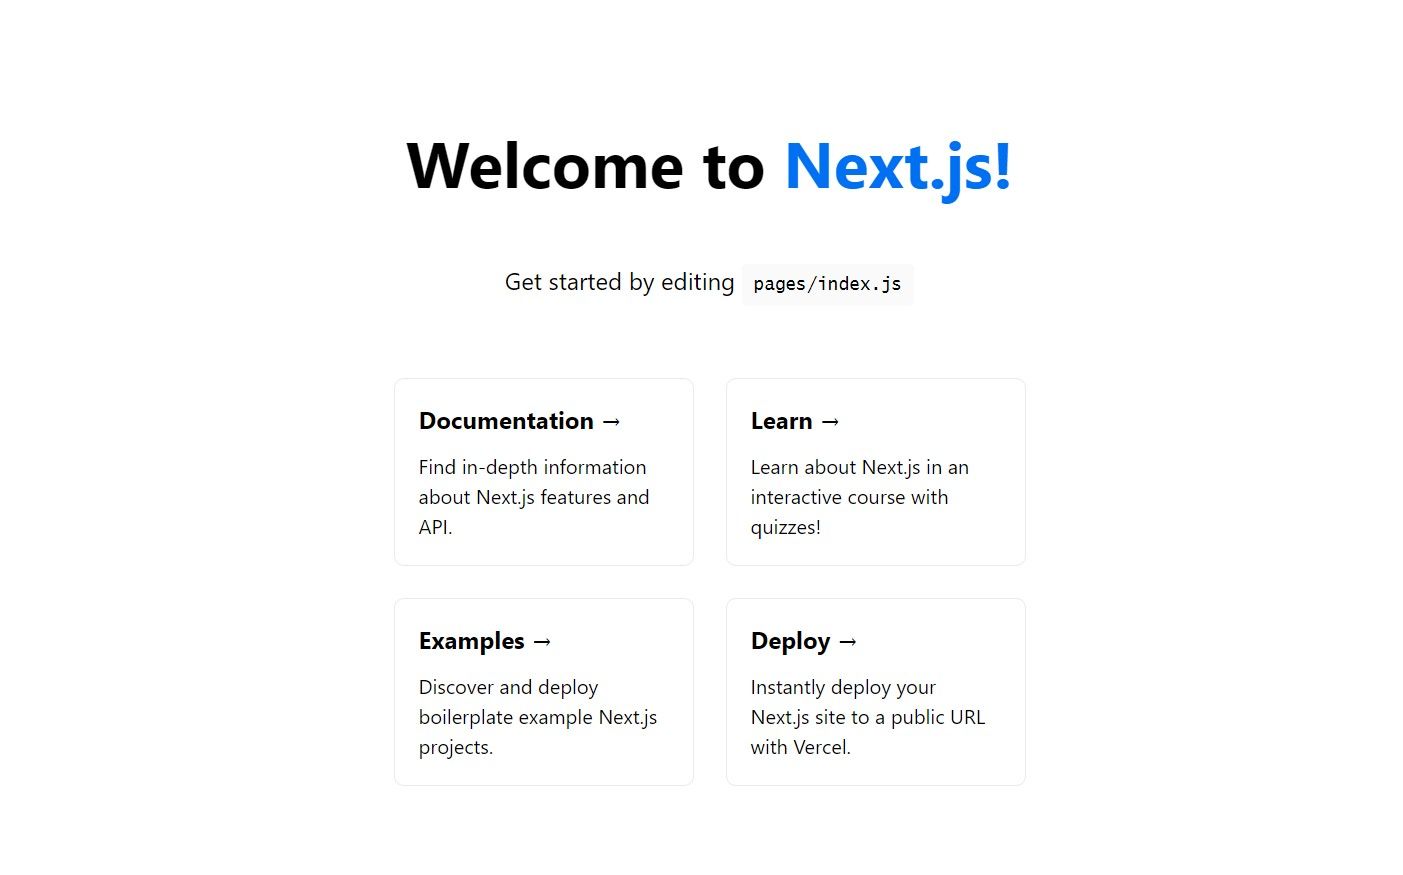
Let's remove all of this code and start from the very beginning.
Open index.js in the pages folder, and you will see all this code:
import Head from 'next/head'
import Image from 'next/image'
import styles from '../styles/Home.module.css'
export default function Home() {
return (
<div className={styles.container}>
<Head>
<title>Create Next App</title>
<meta name="description" content="Generated by create next app" />
<link rel="icon" href="/favicon.ico" />
</Head>
<main className={styles.main}>
<h1 className={styles.title}>
Welcome to <a href="https://nextjs.org">Next.js!</a>
</h1>
<p className={styles.description}>
Get started by editing{' '}
<code className={styles.code}>pages/index.js</code>
</p>
<div className={styles.grid}>
<a href="https://nextjs.org/docs" className={styles.card}>
<h2>Documentation →</h2>
<p>Find in-depth information about Next.js features and API.</p>
</a>
<a href="https://nextjs.org/learn" className={styles.card}>
<h2>Learn →</h2>
<p>Learn about Next.js in an interactive course with quizzes!</p>
</a>
<a
href="https://github.com/vercel/next.js/tree/canary/examples"
className={styles.card}
>
<h2>Examples →</h2>
<p>Discover and deploy boilerplate example Next.js projects.</p>
</a>
<a
href="https://vercel.com/new?utm_source=create-next-app&utm_medium=default-template&utm_campaign=create-next-app"
className={styles.card}
>
<h2>Deploy →</h2>
<p>
Instantly deploy your Next.js site to a public URL with Vercel.
</p>
</a>
</div>
</main>
<footer className={styles.footer}>
<a
href="https://vercel.com?utm_source=create-next-app&utm_medium=default-template&utm_campaign=create-next-app"
target="_blank"
rel="noopener noreferrer"
>
Powered by{' '}
<span className={styles.logo}>
<Image src="/vercel.svg" alt="Vercel Logo" width={72} height={16} />
</span>
</a>
</footer>
</div>
)
}
Clear it all out so you can start from scratch. This is what you should have now:
import Head from 'next/head'
import styles from '../styles/Home.module.css'

export default function Home() {
  return (
    <div className={styles.container}>
      <Head>
        <title>Create Next App</title>
        <meta name="description" content="Generated by create next app" />
        <link rel="icon" href="/favicon.ico" />
      </Head>

      <main className={styles.main}>

      </main>
    </div>
  )
}
This cleaned up code contains the Title tags and the Main Tags, where we can write our code.
import Head from 'next/head'
import styles from '../styles/Home.module.css'

export default function Home() {
  return (
    <div className={styles.container}>
      <Head>
        <title>Evernote Clone</title>
        <meta name="description" content="This is an Evernote Clone" />
        <link rel="icon" href="/favicon.ico" />
      </Head>

      <main className={styles.main}>

      </main>
    </div>
  )
}
All our styles are in Home.module.css, and that's how we create a Stylesheet.
How to Install SASS, Firebase, and React Quill
Let's install SASS and Firebase now.
npm i firebase sass react-quill
Use the command above which will install all of them at once.
Let me explain how we'll use each of these tools:
- Firebase – To store our Notes data in the Backend
- SASS – We are using SASS instead of CSS, as it provides a lot of different features that we don't have in CSS.
- React Quill – A rich text area editor for the notes.
Now after you've installed these, let's continue.
We need to divide our screen in two parts. The left part will contain the option to create new notes, while the right side will display them.
Create a div inside the main, which will contain two more divs. Each div is pointing to its respective class in the stylesheet.
<main className={styles.main}>
        <div className={styles.container}>
          <div className={styles.left}>Left</div>
          <div className={styles.right}>Right</div>
        </div>
      </main>
Now, let's create one stylesheet file. Name it Evernote.modules.scss.
And this is the file where we will do our styling.
Let's now arrange our container as flex.
.container {
    display: flex;
    margin: 10px;
}

.left{
    width: 20rem;
}
We have a display of flex in the container, and a width of 20 rem for the left container. This yields the following output:

Now, create a folder inside pages called components. It will contain all our Micro Components.
And inside the components folder, create a file called NoteOperations.js.
Then, import this component inside the main index.js file, and return it in the main.
import NoteOperations from './components/NoteOperations';

<main>
        <div className={styles.container}>
          <div className={styles.left}>
            <NoteOperations />
          </div>
          <div className={styles.right}>Right</div>
        </div>
      </main>
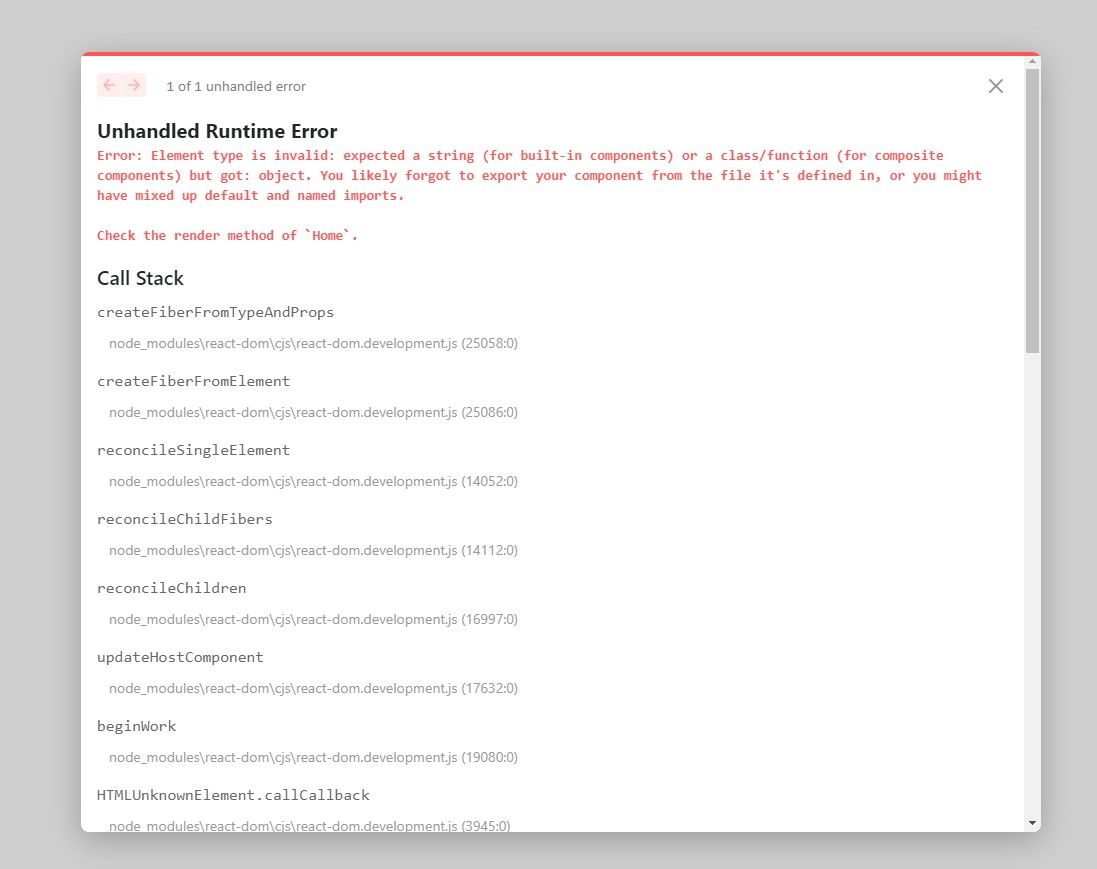
But you'll see an error right away, because we have nothing inside the NoteOperations component.
Let's create a NoteOperation.js functional component.
export default function NoteOperations() {
    return (
        <>
        </>
    )
}
It's returning an empty fragment right now. So, let's create a button to add new notes.
import styles from '../../styles/Evernote.module.scss'

export default function NoteOperations() {
    return (
        <>
            <div className={styles.btnContainer}>
                <button
                    className={styles.button}>
                    Add a New Note
                </button>
            </div>
        </>
    )
}

This will be our output for now. Let's design our button to look a little bit nicer.
.button {
    width: 15rem;
    height: 2rem;
    cursor: pointer;
    background-color: black;
    color: whitesmoke;
    border: black;
}
These styles will result in the following button design:

Let's import the Roboto Font from Google fonts to use in our notes.
@import url('https://fonts.googleapis.com/css2?family=Roboto&display=swap');
Put it at the top of the stylesheet file in order to use the font, like this:
.button {
    width: 15rem;
    height: 2rem;
    cursor: pointer;
    background-color: black;
    color: whitesmoke;
    border: black;
    font-family: 'Roboto';
}
And now you'll see the change in the button font.
Now, let's add the button function. When we click the Add a New Note button, a text input should pop up at the bottom.
First, let's create that Text Field:
import styles from '../../styles/Evernote.module.scss'

export default function NoteOperations() {
    return (
        <>
            <div className={styles.btnContainer}>
                <button
                    className={styles.button}>
                    Add a New Note
                </button>
            </div>

            <div className={styles.inputContainer}>
                <input placeholder='Enter the Title..'/>
            </div>
        </>
    )
}
Let's add some styling to this input element:
.input{
    width: 15rem;
    height: 2rem;
    outline: none;
    border-radius: 5px;
    border: 1px solid gray;
    margin: 5px 0;
}
This is how our input looks now:

But this button should only appear when we click the Add a New Note Button. So, we need to use React State for that.
import { useState } from 'react'

const [isInputVisible, setInputVisible] = useState(false);
So, we are importing the useState Hook from React and we have a state of isInputVisible.
We need a function as well which will be triggered when we click the button.
import styles from '../../styles/Evernote.module.scss'
import { useState } from 'react'
export default function NoteOperations() {
    const [isInputVisible, setInputVisible] = useState(false);
    const inputToggle = () => {
        setInputVisible(!isInputVisible)
    }
    return (
        <>
            <div className={styles.btnContainer}>
                <button
                    onClick={inputToggle}
                    className={styles.button}>
                    Add a New Note
                </button>
            </div>

            <div className={styles.inputContainer}>
                <input className={styles.input} placeholder='Enter the Title..'/>
            </div>
        </>
    )
}
So, when we click our Add a New Note button, it will toggle the IsInputVisible between true and false. And based on this condition, we need to show our input element.
{isInputVisible ? (
                <div className={styles.inputContainer}>
                    <input className={styles.input} placeholder='Enter the Title..' />
                </div>
            ) : (
                <></>
            )}
So, we are using a ternary operator to check. If the isInputVisible state is true, it will show the input field, or else it will hide it.
Here is the whole code up to this point:
import styles from '../../styles/Evernote.module.scss'
import { useState } from 'react'
export default function NoteOperations() {
    const [isInputVisible, setInputVisible] = useState(false);
    const inputToggle = () => {
        setInputVisible(!isInputVisible)
    }
    return (
        <>
            <div className={styles.btnContainer}>
                <button
                    onClick={inputToggle}
                    className={styles.button}>
                    Add a New Note
                </button>
            </div>

            {isInputVisible ? (
                <div className={styles.inputContainer}>
                    <input className={styles.input} placeholder='Enter the Title..' />
                </div>
            ) : (
                <></>
            )}
        </>
    )
}
Now, we need to get data from the input field. So, we need one more state.
Let's create a state and bind the setState function to the input field using the onChange event. This means that whenever our input changes, or when we type, the value of state will be updated.
const [noteTitle, setNoteTitle] = useState('');

<div className={styles.inputContainer}>
                    <input
                    className={styles.input}
                    placeholder='Enter the Title..'
                    onChange={(e) => setNoteTitle(e.target.value)}
                    />
                </div>
How to Send Data to Firebase
Now, let's send our data to the Firebase Firestore.
Head over to https://firebase.google.com/ and create a new project.
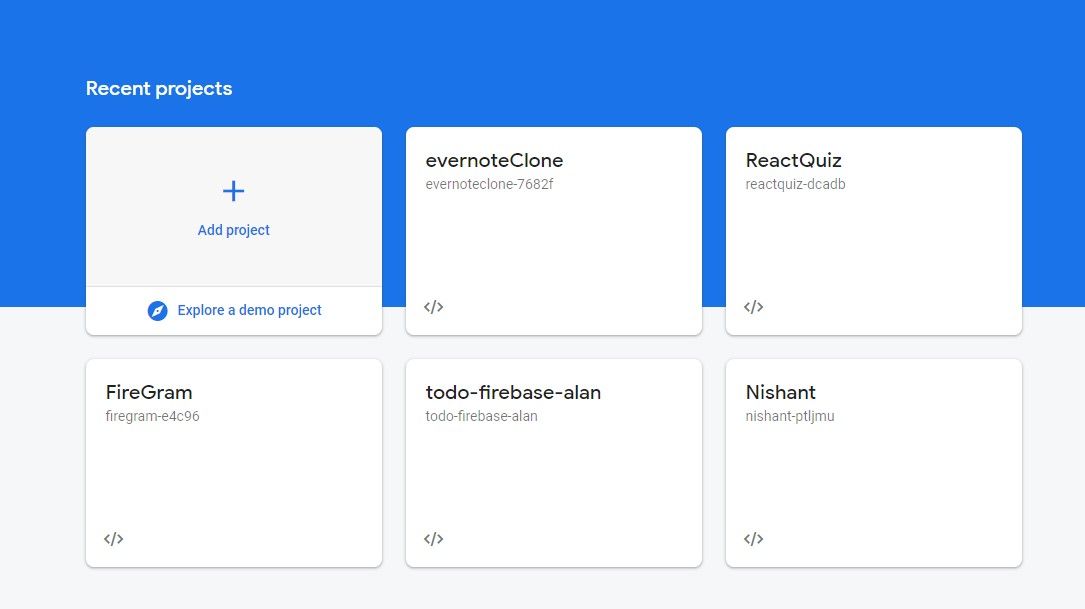
It will return all the configuration data we need to add to our Next App.
If you want to learn about how all this works, I have a whole playlist for that on YouTube. Make sure to check it out here.

So, after creating a project, we need to create an application. And after creating an application, it will return us some config data.
// Import the functions you need from the SDKs you need
import { initializeApp } from "firebase/app";
// TODO: Add SDKs for Firebase products that you want to use
// https://firebase.google.com/docs/web/setup#available-libraries

// Your web app's Firebase configuration
const firebaseConfig = {
  apiKey: "AIzaSyAaLhtQ-B698GWyLNihGVRaNWBOKtBH8wU",
  authDomain: "evernoteclone-7682f.firebaseapp.com",
  projectId: "evernoteclone-7682f",
  storageBucket: "evernoteclone-7682f.appspot.com",
  messagingSenderId: "332984082327",
  appId: "1:332984082327:web:ae2776c3a56f4d98816ed2"
};

// Initialize Firebase
const app = initializeApp(firebaseConfig);
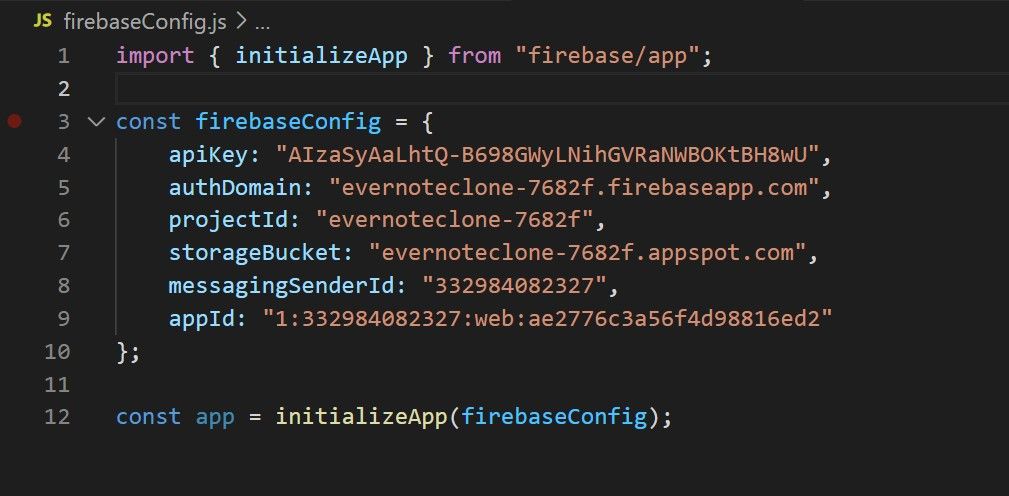
Create a new file called firebaseConfig.js in our Next App and add them there. The file will look something like this:
Since we are going to use the Firestore Database, we need to import the Firestore functions as well.
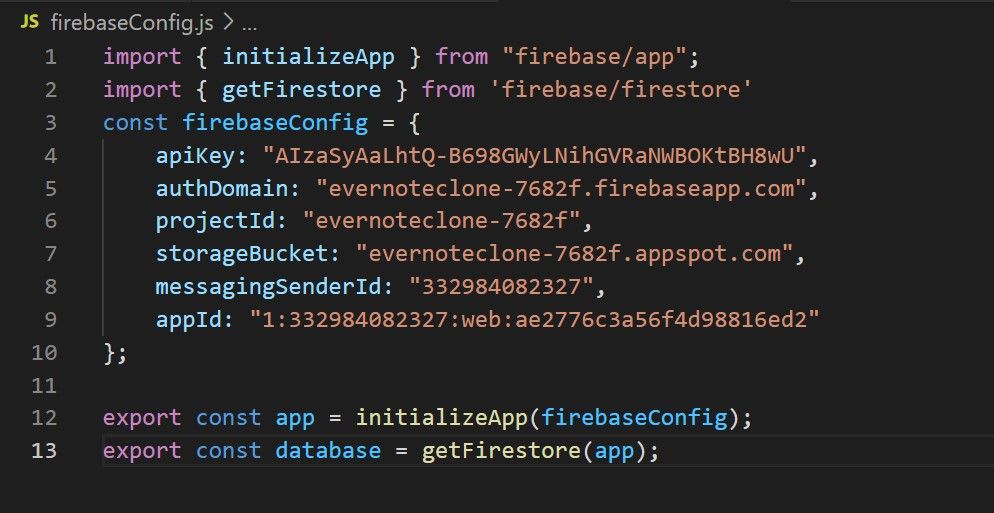
We also need to export them. Now we can use the Firestore database in our application.
How to Add our Notes to Firestore
Now, let's add our notes to Firestore database.
In the NoteOperations.js, import the firebase config file.
import { app, database } from '../../firebaseConfig';
We also need a few functions from Firebase Firestore, so let's import them.
import { collection, addDoc } from 'firebase/firestore';
Here, we'll use collection to create a collection, and addDoc will add our data to that collection.
So, let's create a collection first. We will name this collection dbInstance.
const dbInstance = collection(database, 'notes');
It takes the database from the firebaseConfig import and the name of the collection.
Let's create a button to save the notes in Firestore database.
<button
   className={styles.saveBtn}>
   Save Note
</button>
And now we'll add the Save Note Button styles.
.saveBtn{
    width: 15rem;
    height: 2rem;
    cursor: pointer;
    background-color: rgb(119, 27, 27);
    color: whitesmoke;
    border: rgb(119, 27, 27);
    font-family: 'Roboto';
}
But wait – since we are using SASS, we can define variables for our colors.
$dark-red: rgb(119, 27, 27);
$black: black;
$whiteSmoke: whiteSmoke;
Now, we can use these colors anywhere.
@import url("https://fonts.googleapis.com/css2?family=Roboto&display=swap");

$dark-red: rgb(119, 27, 27);
$black: black;
$whiteSmoke: whiteSmoke;
$gray: gray;

.container {
    display: flex;
}

.left {
    width: 20rem;
}

.button {
    width: 15rem;
    height: 2rem;
    cursor: pointer;
    background-color: $black;
    color: $whiteSmoke;
    border: $black;
    font-family: "Roboto";
}

.input {
    width: 15rem;
    height: 2rem;
    outline: none;
    border-radius: 5px;
    border: 1px solid $gray;
    margin: 5px 0;
}

.saveBtn {
    width: 15rem;
    height: 2rem;
    cursor: pointer;
    background-color: $dark-red;
    color: $whiteSmoke;
    border: $dark-red;
    font-family: "Roboto";
}
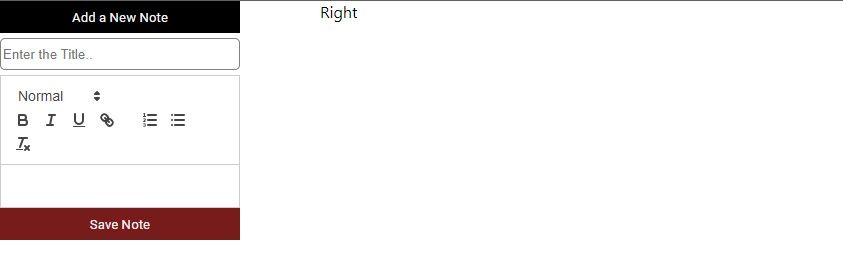
And this is how our output looks now.

Let's create a function that will save the note to Firebase, and that function will run when we click the Save Note button.
const saveNote = () => {

}
And in the Save Note button, add the following code:
<button
                        onClick={saveNote}
                        className={styles.saveBtn}>
                        Save Note
                    </button>
Now, in the saveNote function, we will use the addDoc function.
const saveNote = () => {
        addDoc(dbInstance, {
            noteTitle: noteTitle
        })
    }
This addDoc function takes two parameters. The first is the dbInstance, which we created previously. The second is the data we want to send. Add them in curly brackets.
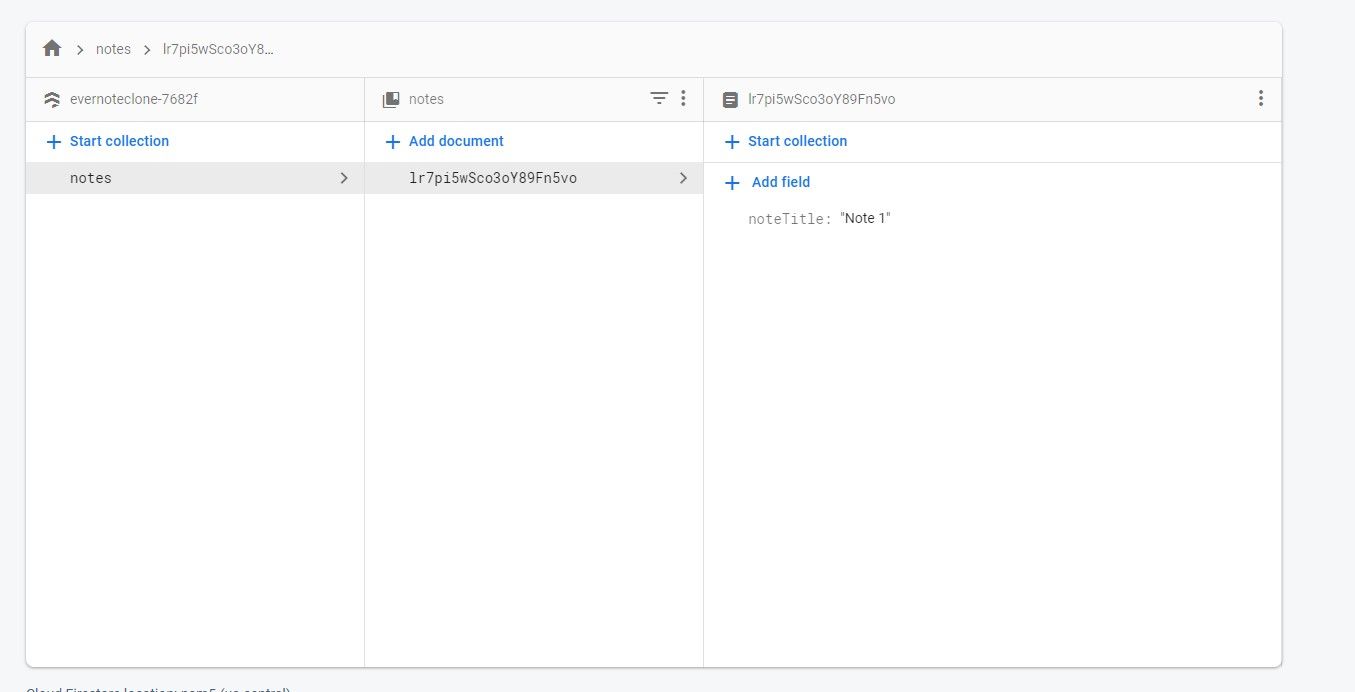
Now, let's test this by creating a new note.

So, add a new note which is Note 1. And we will see it in our Firebase Firestore.
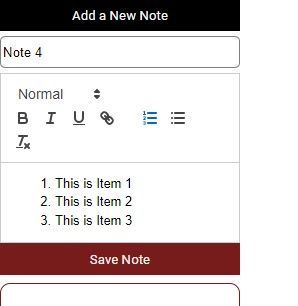
How to Create the Notes Body
Let's now create the Notes body. And for that, we will use React Quill which we previously installed.
import ReactQuill from 'react-quill';
import 'react-quill/dist/quill.snow.css';
Import them at the top of your component.
Then, return it after the input field.
<div className={styles.ReactQuill}>
  <ReactQuill />
</div>
I have added some styles as well for React Quill.
.ReactQuill{
    width: 15rem;
}
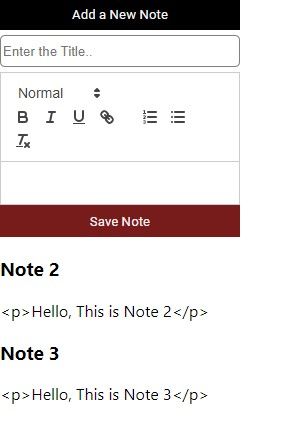
And this is our output now.
Let's get the values from the React Quill editor. We need a function for that, and one state.
const [noteDesc, setNoteDesc] = useState('')

const addDesc = (value) => {
  setNoteDesc(value)
}
Add this function addDesc to our React Quill editor as an onChange Event.
<ReactQuill
   onChange={addDesc}
/>
So, whenever we type something in our editor, it will be saved in the noteDesc state.
Now, just like we sent the note title in the addDoc function, we need to send this too.
const saveNote = () => {
        addDoc(dbInstance, {
            noteTitle: noteTitle,
            noteDesc: noteDesc
        })
    }
Let's test this now.
Add a Title and a Description, then click Save Note.

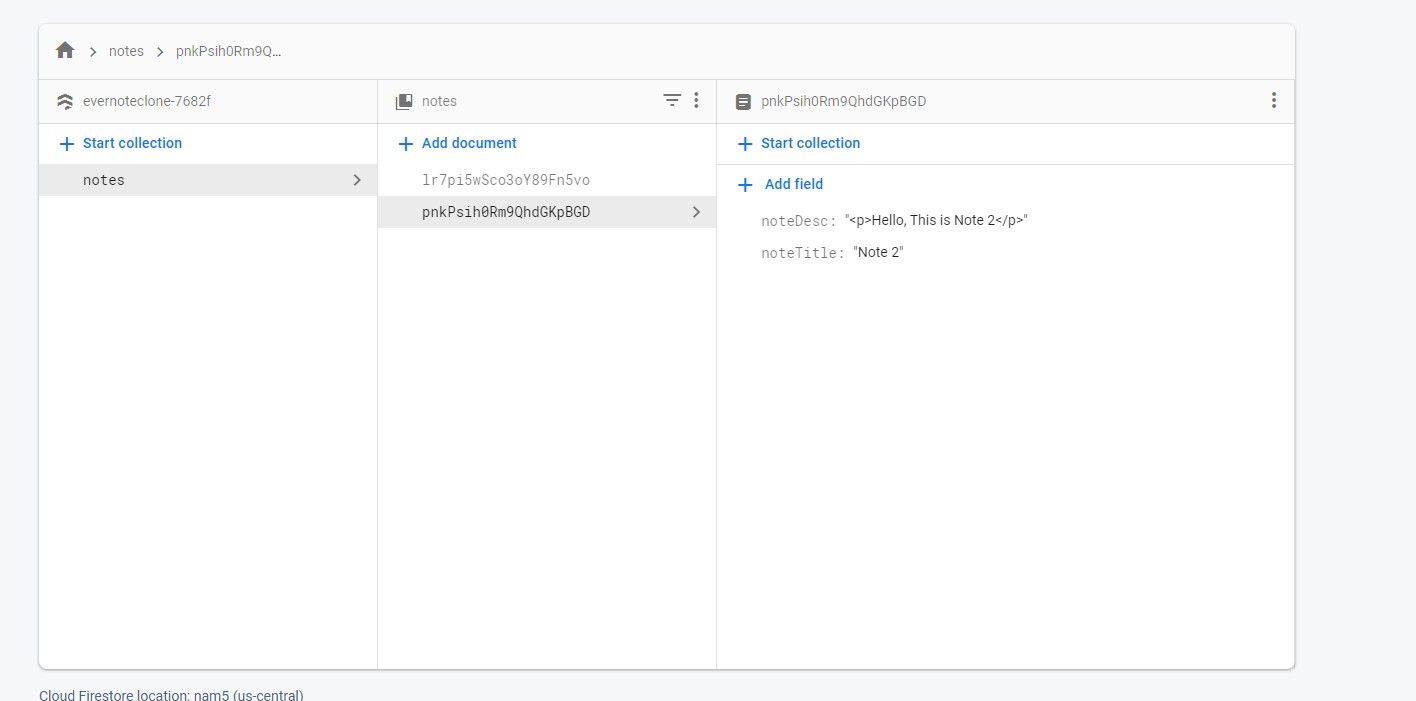
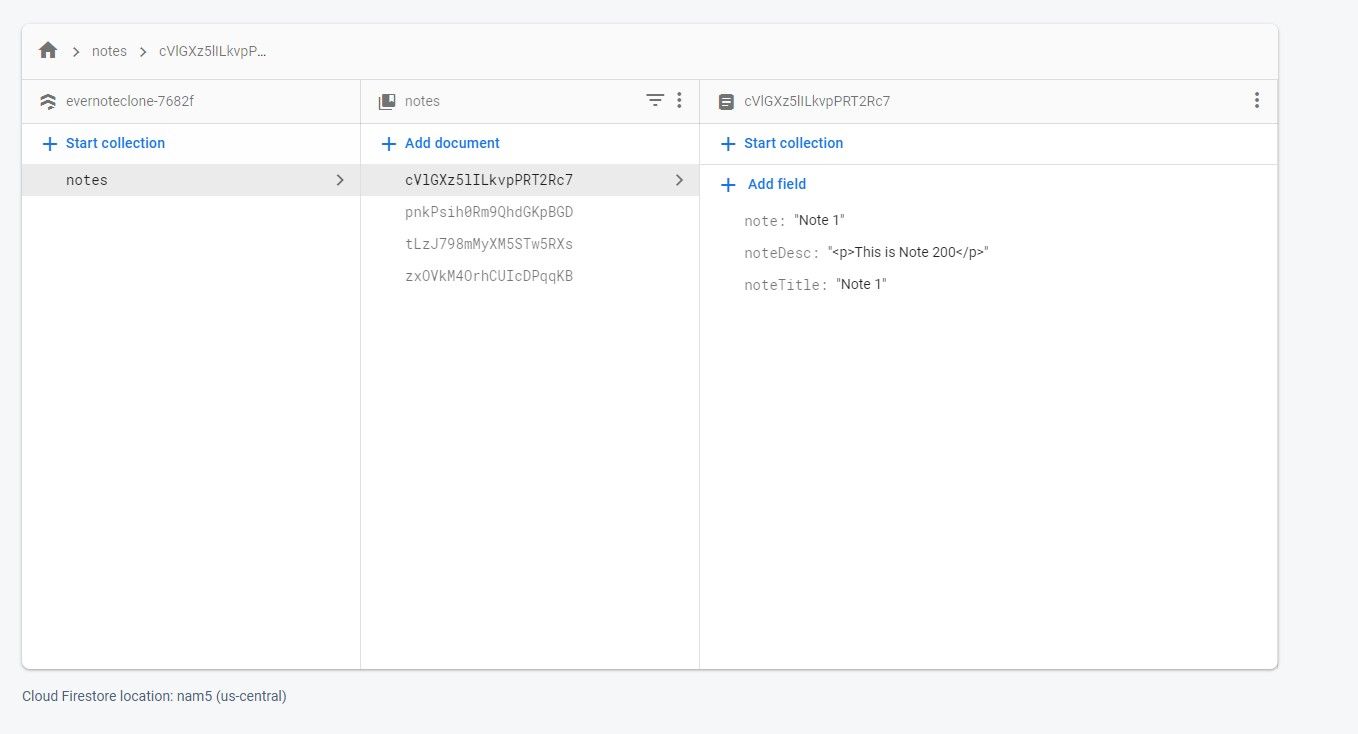
You will see that we have a new document with title and description.
But the thing here is, when we add a new note, the previous data is still there in the text field and React quill editor. We need to clear it when we click Save Note.
So, clear the states when we click the Save Note button. Just make them empty.
const saveNote = () => {
        addDoc(dbInstance, {
            noteTitle: noteTitle,
            noteDesc: noteDesc
        })
            .then(() => {
                setNoteTitle('')
                setNoteDesc('')
            })
    }
Also, add the states to their respective inputs using value.
<input
                        className={styles.input}
                        placeholder='Enter the Title..'
                        onChange={(e) => setNoteTitle(e.target.value)}
                        value={noteTitle}
                    />
                    <div className={styles.ReactQuill}>
                        <ReactQuill
                            onChange={addDesc}
                            value={noteDesc}
                        />
                    </div>
Here is the whole code up to this point:
import styles from '../../styles/Evernote.module.scss'
import { useState } from 'react';
import { app, database } from '../../firebaseConfig';
import { collection, addDoc } from 'firebase/firestore';
import ReactQuill from 'react-quill';
import 'react-quill/dist/quill.snow.css';

const dbInstance = collection(database, 'notes');
export default function NoteOperations() {
    const [isInputVisible, setInputVisible] = useState(false);
    const [noteTitle, setNoteTitle] = useState('');
    const [noteDesc, setNoteDesc] = useState('')
    const inputToggle = () => {
        setInputVisible(!isInputVisible)
    }

    const addDesc = (value) => {
        setNoteDesc(value)
    }

    const saveNote = () => {
        addDoc(dbInstance, {
            noteTitle: noteTitle,
            noteDesc: noteDesc
        })
            .then(() => {
                setNoteTitle('')
                setNoteDesc('')
            })
    }
    return (
        <>
            <div className={styles.btnContainer}>
                <button
                    onClick={inputToggle}
                    className={styles.button}>
                    Add a New Note
                </button>
            </div>

            {isInputVisible ? (
                <div className={styles.inputContainer}>
                    <input
                        className={styles.input}
                        placeholder='Enter the Title..'
                        onChange={(e) => setNoteTitle(e.target.value)}
                        value={noteTitle}
                    />
                    <div className={styles.ReactQuill}>
                        <ReactQuill
                            onChange={addDesc}
                            value={noteDesc}
                        />
                    </div>
                    <button
                        onClick={saveNote}
                        className={styles.saveBtn}>
                        Save Note
                    </button>
                </div>
            ) : (
                <></>
            )}
        </>
    )
}
And the styles:
@import url("https://fonts.googleapis.com/css2?family=Roboto&display=swap");

$dark-red: rgb(119, 27, 27);
$black: black;
$whiteSmoke: whiteSmoke;
$gray: gray;

.container {
    display: flex;
}

.left {
    width: 20rem;
}

.button {
    width: 15rem;
    height: 2rem;
    cursor: pointer;
    background-color: $black;
    color: $whiteSmoke;
    border: $black;
    font-family: "Roboto";
}

.input {
    width: 15rem;
    height: 2rem;
    outline: none;
    border-radius: 5px;
    border: 1px solid $gray;
    margin: 5px 0;
}

.saveBtn {
    width: 15rem;
    height: 2rem;
    cursor: pointer;
    background-color: $dark-red;
    color: $whiteSmoke;
    border: $dark-red;
    font-family: "Roboto";
}

.ReactQuill{
    width: 15rem;
}
How to Read Data from Firestore
Now, let's get the notes that we are saving in Firestore. For that, we need the getDocs function, which is just like the addDoc function.
Import them from Firestore:
import { collection, addDoc, getDocs } from 'firebase/firestore';
Then, create a function called getNotes.
const getNotes = () => {
        getDocs(dbInstance)
            .then((data) => {
                console.log(data);
            })
    }
The getDocs function takes dbInstance as a parameter, and returns the data of the collection.
But we need to do one more thing. We need a useEffect Hook that will run this function every time our page loads. So, let's import it and add it.
import { useState, useEffect } from 'react';

useEffect(() => {
    getNotes();
}, [])
If we check our console, we will get the following:

This data that we got is unreadable. So, we need to filter it to get the things that are actually useful.
const getNotes = () => {
        getDocs(dbInstance)
            .then((data) => {
                console.log(data.docs.map((item) => {
                    return { ...item.data(), id: item.id }
                }));
            })
    }
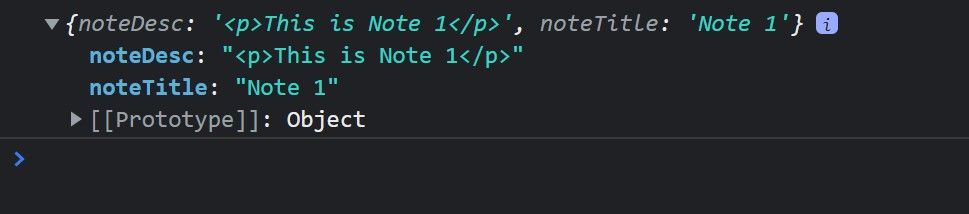
We are mapping the docs inside our data, which returns an item. Then, we are returning the data inside the item, coupled with the id.
This will result in the following:
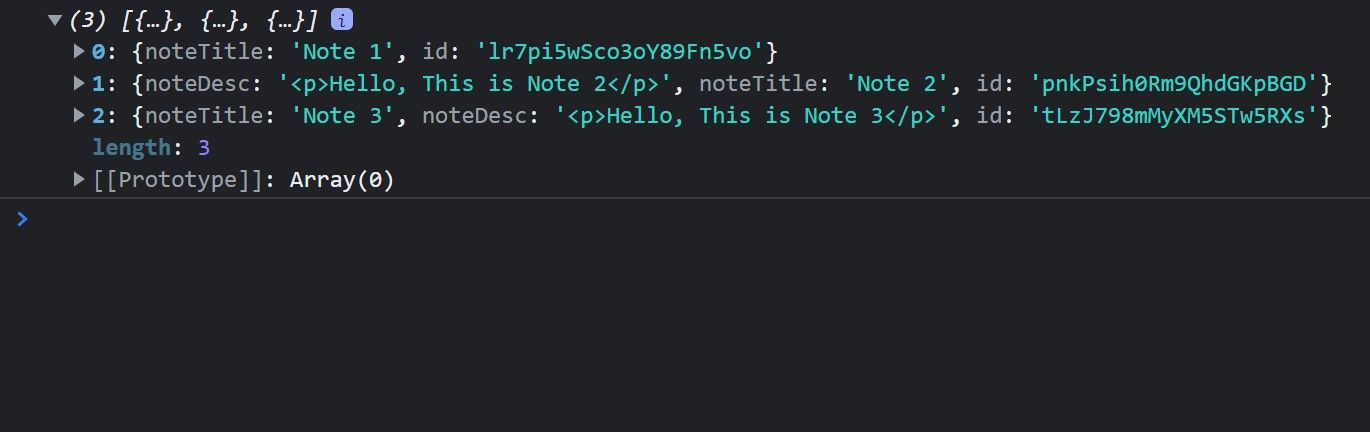
And that's what we need. Let's store this data inside an array state.
 const [notesArray, setNotesArray] = useState([]);

 const getNotes = () => {
        getDocs(dbInstance)
            .then((data) => {
                setNotesArray(data.docs.map((item) => {
                    return { ...item.data(), id: item.id }
                }));
            })
    }
Now, we need to map this notesArray to see our data in the UI.
<div>
                {notesArray.map((note) => {
                    return (
                        <div>
                            <h3>{note.noteTitle}</h3>
                            <p>{note.noteDesc}</p>
                        </div>
                    )
                })}
            </div>
This Array.map function will target each element inside the array, and it will return its content.
Now, let's give some styling to how we display our notes.
 <div className={styles.notesDisplay}>
                {notesArray.map((note) => {
                    return (
                        <div className={styles.notesInner}>
                            <h4>{note.noteTitle}</h4>
                            <p>{note.noteDesc}</p>
                        </div>
                    )
                })}
            </div>
I have added a className to the divs, and some styling too.
.notesInner{
    margin-top: 0.5rem;
    border: 1px solid $dark-red;
    border-radius: 10px;
    width: 15rem;
    text-align: center;
    cursor: pointer;
    font-family: "Roboto";
}

.notesInner:hover{
    background-color: rgb(119, 27, 27);
    color: $whiteSmoke;
}
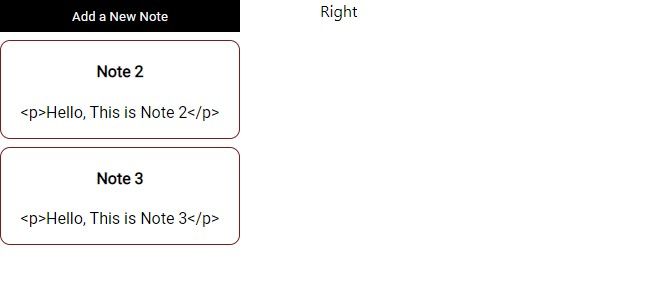
This is how our output looks now:
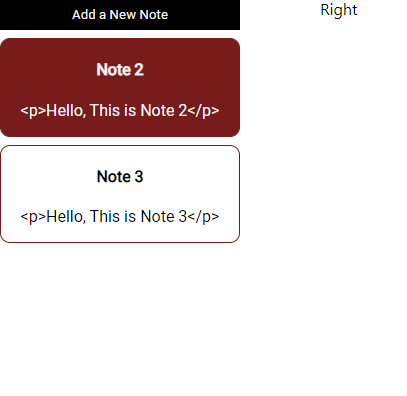
It also has a hover effect. So, if we hover on a particular item, its background color will change.
Now, when we add a Note, we need to call the getNotes function. This will make sure our new notes are automatically refreshed. So add the getNotes in the addDoc function.
const saveNote = () => {
        addDoc(dbInstance, {
            noteTitle: noteTitle,
            noteDesc: noteDesc
        })
            .then(() => {
                setNoteTitle('')
                setNoteDesc('')
                getNotes();
            })
    }
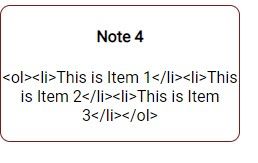
But in our output, we are getting the Notes Description with paragraph tags. That is because React Quill sends the tag styling, like heading tags, list tags, and so on. If we create a list using React Quill, it will send the data in list tags.
If we save this note, we will get the following
- and
- tags because we have added a list in the editor.
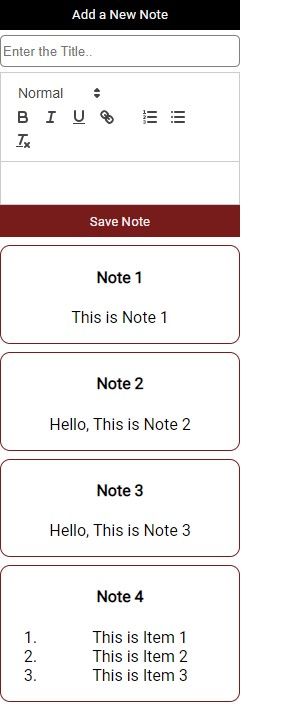
Now, let's correct this output format.
We will use
dangerouslySetInnerHTMLto render the output with tags.<div dangerouslySetInnerHTML={{ __html: note.noteDesc }}></div>And now, our output has been corrected.
Showing a Particular Note on the Right area.
Now, we need to show a particular note in the right container when we click that Note.
So, remove the noteDesc from the left container. We only need to show the title on the left.
Now, we need a function the ID of a particular note when we click that note. So, let's create function.
 <div className={styles.notesInner}>
   <h4>{note.noteTitle}</h4>
 </div>
But, we need the function in our main index.js file, and we will pass it as props in NoteOperations component.
const getSingleNote = () => {

}
And pass it as props in NoteOperations.
<NoteOperations getSingleNote={getSingleNote}/>Let's receive it in the function body of NoteOperations component.
export default function NoteOperations({getSingleNote}){
    //The rest of the code here..
}
We need to call this function when we click any note on the left side. We are also passing the ID of the particular note when we click it.
<div
  className={styles.notesInner}
  onClick={() => getSingleNote(note.id)}>
   <h4>{note.noteTitle}</h4>
</div>
In the getSingleNote function, in our main index.js file, let's console.log our id to see if it works or not.
const getSingleNote = (id) => {
  console.log(id)
}
Click on field, we should get its ID in the console.
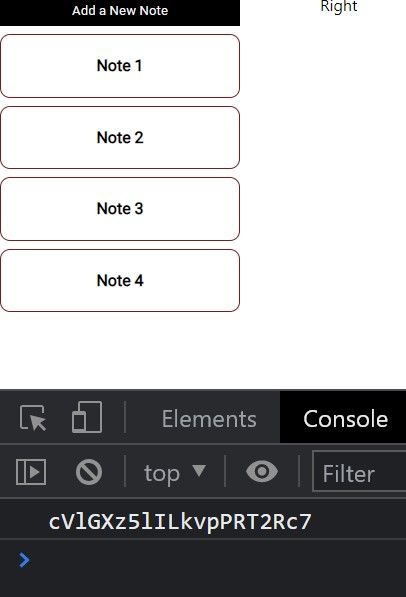
See, we are getting there.
How to Show the Notes Based on the ID
Now, let's create another component that will be rendered in the right container. Name it NoteDetails.js.
export default function NoteDetails() {
    return (
        <></>
    )
}
And return this component in the right container div.
import NoteDetails from './components/NoteDetails';

<div className={styles.right}>
    <NoteDetails />
</div>
We need to pass that ID to this component, but first we need to store it in a state.
const [ID, setID] = useState(null);

const getSingleNote = (id) => {
   setID(id)
}
Then, pass it in the NoteDetails component as props.
<NoteDetails ID={ID} />We need to import the database and app from the firebaseConfig file in the NoteDetails component. Also import the React Quill Packages.
import { app, database } from '../../firebaseConfig'
import ReactQuill from 'react-quill';
import 'react-quill/dist/quill.snow.css';
export default function NoteDetails() {
    return (
        <></>
    )
}
We need to receive the ID in the function body and destrucuture it.
export default function NoteDetails({ID})Now that we have the ID, we have to target that specific Note.
We need to clarify which Note to show, based on that ID. For that, we need doc and getDoc from Firebase Firestore. Also, import the useEffect Hook.
import { useEffect } from 'react'
import { app, database } from '../../firebaseConfig';
import { doc, getDoc } from 'firebase/firestore'
import ReactQuill from 'react-quill';
import 'react-quill/dist/quill.snow.css';
Let's create a function to get a single note.
const getSingleNote = () => {
        if (ID) {
            const singleNote = doc(database, 'notes', ID)
            const data = getDoc(singleNote)
            console.log({ ...data.data(), id: data.id })
        }
    }
We are targeting that note using doc function, and then we are storing the data in a variable data, using getDoc. We are also creating a check. This function contents will only run when we have the ID.
Put this function in the useEffect Hook. Also, add the ID in dependency array. It means that whenever our ID changes, this useEffect hook will run. And it will refresh the data.
useEffect(() => {
  getSingleNote();
}, [ID])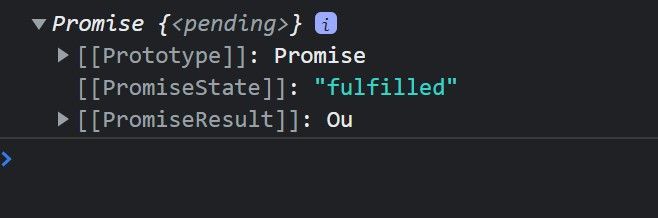
But if we click any Note, we are getting a promise. So, we need to use Async Await to handle this.
const getSingleNote = async () => {
        if (ID) {
            const singleNote = doc(database, 'notes', ID)
            const data = await getDoc(singleNote)
            console.log({ ...data.data(), id: data.id })
        }
    }
If we click a Note now, we will get the correct data.
This note is an Object. So, we need to create one object state.
const [singleNote, setSingleNote] = useState({})Then, set the data inside this state.
setSingleNote({ ...data.data(), id: data.id })Let's show our Notes in the UI now.
return (
        <>
            <h2>{singleNote.noteTitle}</h2>
            <div dangerouslySetInnerHTML={{ __html: singleNote.noteDesc }}></div>
        </>
    )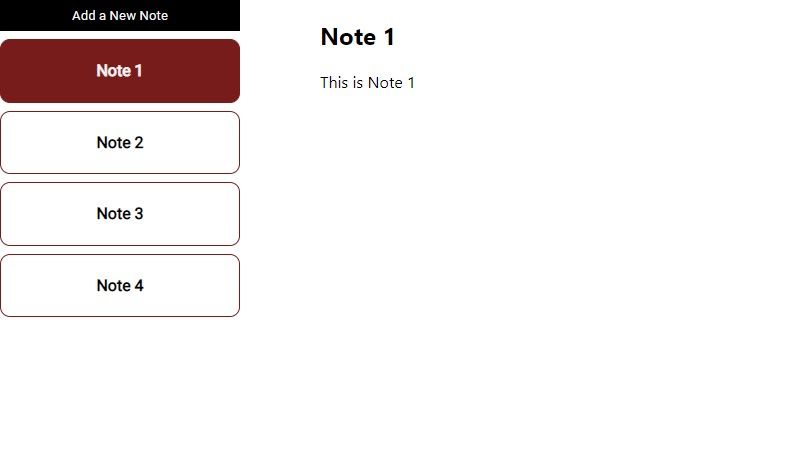
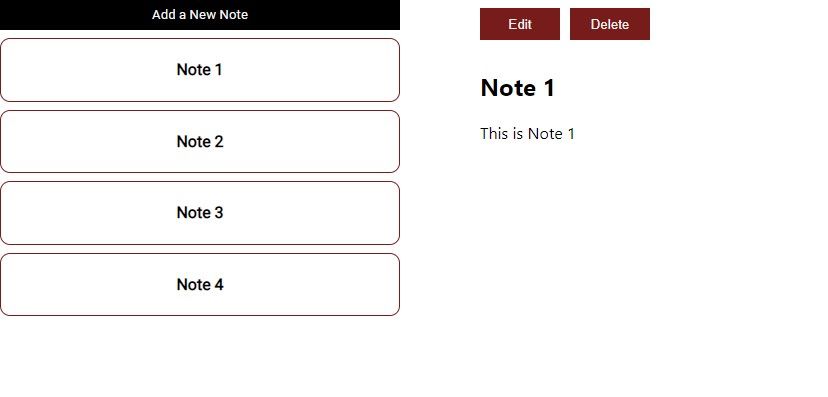
And here is our output. Click a Note on the left side, it will be shown here.
Now, if we load our page, we need to set a default Note to show on the right. So, we need to get all the Notes on NoteDetails Component. We are adding the [0] to get the first index of the array.
const getNotes = () => {
        getDocs(dbInstance)
            .then((data) => {
                setSingleNote(data.docs.map((item) => {
                    return { ...item.data(), id: item.id }
                })[0]);
            })
    }

    useEffect(() => {
        getNotes();
    }, [])
Also, Import all the necessary imports in the NoteDetails Component.
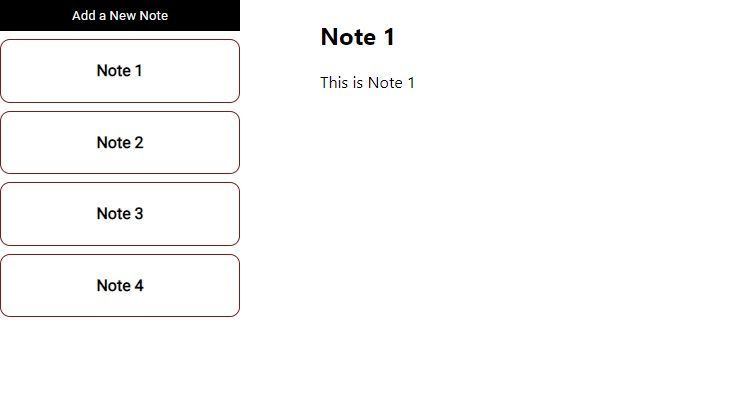
If we refresh the page, we will get the first Note on our right.
How to Edit and Delete a Note
Let's add functions to edit and delete a Note. So, we need two buttons for that.
<div>
   <button>Edit</button>
    <button>Delete</button>
 </div>
Let's add some styling.
<button className={styles.editBtn}>Edit</button>
<button className={styles.deleteBtn}>Delete</button>
.editBtn, .deleteBtn{ width: 5rem; height: 2rem; background-color: rgb(119, 27, 27); color: $whiteSmoke; border: none; cursor: pointer; margin: 10px 10px 10px 0; }And we have two buttons now, for editing and deleting.
Let's add the editing functionality. Since we have the ID, we can use it.
We want two inputs and a button, and they will be visible when we click the edit button.
const [isEdit, setIsEdit] = useState(false);We need a state for hiding and showing the input fields. And also a function to set that state to true.
const getEditData = () => {
  setIsEdit(true);
}
If this state is true, we will show our inputs and button. But first, let's create them.
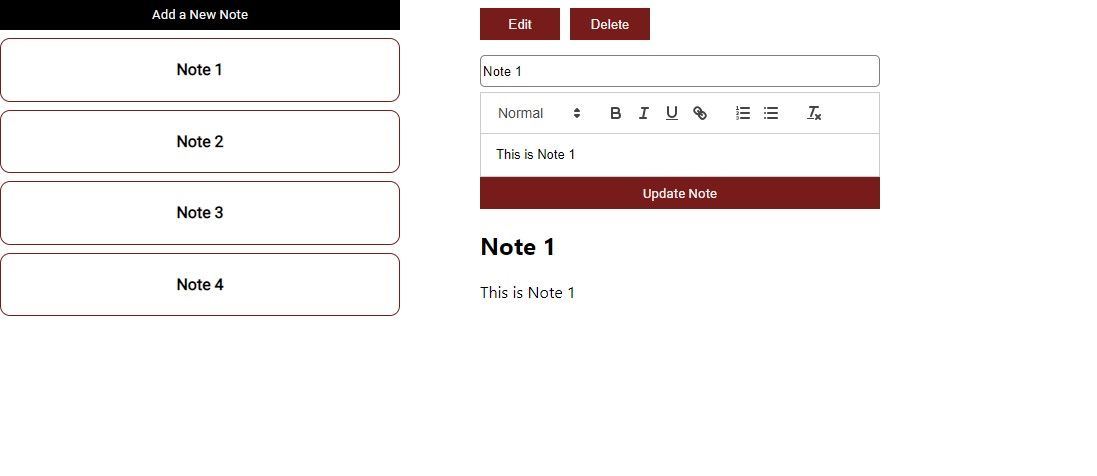
{isEdit ? (
                <div className={styles.inputContainer}>
                    <input
                        className={styles.input}
                        placeholder='Enter the Title..'
                    />
                    <div className={styles.ReactQuill}>
                        <ReactQuill />
                    </div>
                    <button
                        className={styles.saveBtn}>
                        Update Note
                    </button>
                </div>
            ) : (
                <></>
            )}
We also have a condition. If
isEditis true, we will show the data in the input fields. If it is false, we will show nothing.Now, let's set the values.
{isEdit ? (
                <div className={styles.inputContainer}>
                    <input
                        className={styles.input}
                        placeholder='Enter the Title..'
                        value={singleNote.noteTitle}
                    />
                    <div className={styles.ReactQuill}>
                        <ReactQuill
                            value={singleNote.noteDesc}
                        />
                    </div>
                    <button
                        className={styles.saveBtn}>
                        Update Note
                    </button>
                </div>
            ) : (
                <></>
            )}
But if we change the title and the contents of the note, they will not change. So, we need to set them in a state.
const [noteTitle, setNoteTitle] = useState('');
const [noteDesc, setNoteDesc] = useState('');
<input className={styles.input} placeholder='Enter the Title..' onChange={(e) => setNoteTitle(e.target.value)} value={singleNote.noteTitle} /> <div className={styles.ReactQuill}> <ReactQuill onChange={setNoteDesc} value={singleNote.noteDesc} /> </div>But still, the values will not change because the state of onChange and the value are different. This means that if we are setting the data using setNoteTitle or setNoteDesc, the values should be their respective states.
<div className={styles.inputContainer}>
                    <input
                        className={styles.input}
                        placeholder='Enter the Title..'
                        onChange={(e) => setNoteTitle(e.target.value)}
                        value={noteTitle}
                    />
                    <div className={styles.ReactQuill}>
                        <ReactQuill
                            onChange={setNoteDesc}
                            value={noteDesc}
                        />
                    </div>
And we can set the state in the getEditData function.
const getEditData = () => {
        setIsEdit(true);
        setNoteTitle(singleNote.noteTitle);
        setNoteDesc(singleNote.noteDesc)
    }
Now if we click edit, we should get our data in the input field and the text editor.
Now, let's use the updateDoc function to update the selected field.
import {
    doc,
    getDoc,
    getDocs,
    collection,
    updateDoc
} from 'firebase/firestore'
Import updateDoc from Firestore.
Create a function to update document when it's clicked.
const editNote = (id) => {
        const collectionById = doc(database, 'notes', id)

        updateDoc(collectionById, {
            noteTitle: noteTitle,
            noteDesc: noteDesc,
        })
    }
We need to pass this id as a parameter when we click the button. Add this function to the Update Note Button.
<button
                        onClick={() => editNote(singleNote.id)}
                        className={styles.saveBtn}>
                        Update Note
                    </button>
Change the Note title or Note body, and it will be edited.
But we need to change the data in our UI also. So, we will use a method called window.location.reload which will reload our page.
const editNote = (id) => {
        const collectionById = doc(database, 'notes', id)

        updateDoc(collectionById, {
            noteTitle: noteTitle,
            noteDesc: noteDesc,
        })
            .then(() => {
                window.location.reload()
            })
    }
Lastly, let's add our delete function to delete a Note.
Just like the editNote function, we will have a deleteNote function.
const deleteNote = (id) => {
        const collectionById = doc(database, 'notes', id)

        deleteDoc(collectionById)
            .then(() => {
                window.location.reload()
            })
    }
This function has an
collectionByIdto target which document to delete, and then deletes it using thedeleteDocfunction.Add this function to the Delete Button, and pass the singleNote.id as its ID.
<button
    className={styles.deleteBtn}
    onClick={() => deleteNote(singleNote.id)}
  >Delete
</button>
If we click the delete button now, that note will no longer be there.
Congratulations – you built an EverNote clone!
Wrapping Up
So, that was all about How to Build an Evernote Clone using NextJS and Firebase.
You can improve this project a lot by creating better UI and UX designs as you see fit.
You can check out my video on the same topic at Let's Build an Evernote Clone using NEXT JS and Firebase, which is on my YouTube channel.
And you can find the full code here: https://github.com/nishant-666/Evernote-Next-Alt
Thanks for reading!
Happy Learning.