

I've composed this guide to give you a practical overview of perhaps the most important React library you will use to build 90% of your projects: Next.js.
The goal of this tutorial is to get you started using Next.js as easily as possible.
This is not a complete guide on Next, but it will give you everything you need to understand:
- What Next.js is (and why you should start using it for your React projects)
- How to perform essential tasks using Next.js
- Plus how Next.js will help you build overall better React applications, faster
Let's dive in!
Table of Contents
- What is Next.js?
- What Features Next.js Gives You
- What Features Next.js Doesn't Have
- How to Create a Next.js App
- Next.js Scripts
- Add TypeScript to Next.js
- Pages and Routes
- Links and Navigation
- SEO in Next.js
- API Routes
- Request Data Client-side
- Request Data Server-side
- GetServerSideProps
- GetStaticProps
- Where to Learn Next.js
What is Next.js?
The ultimate tool for any React developer to learn and improve their own projects is, without a doubt, Next.js.
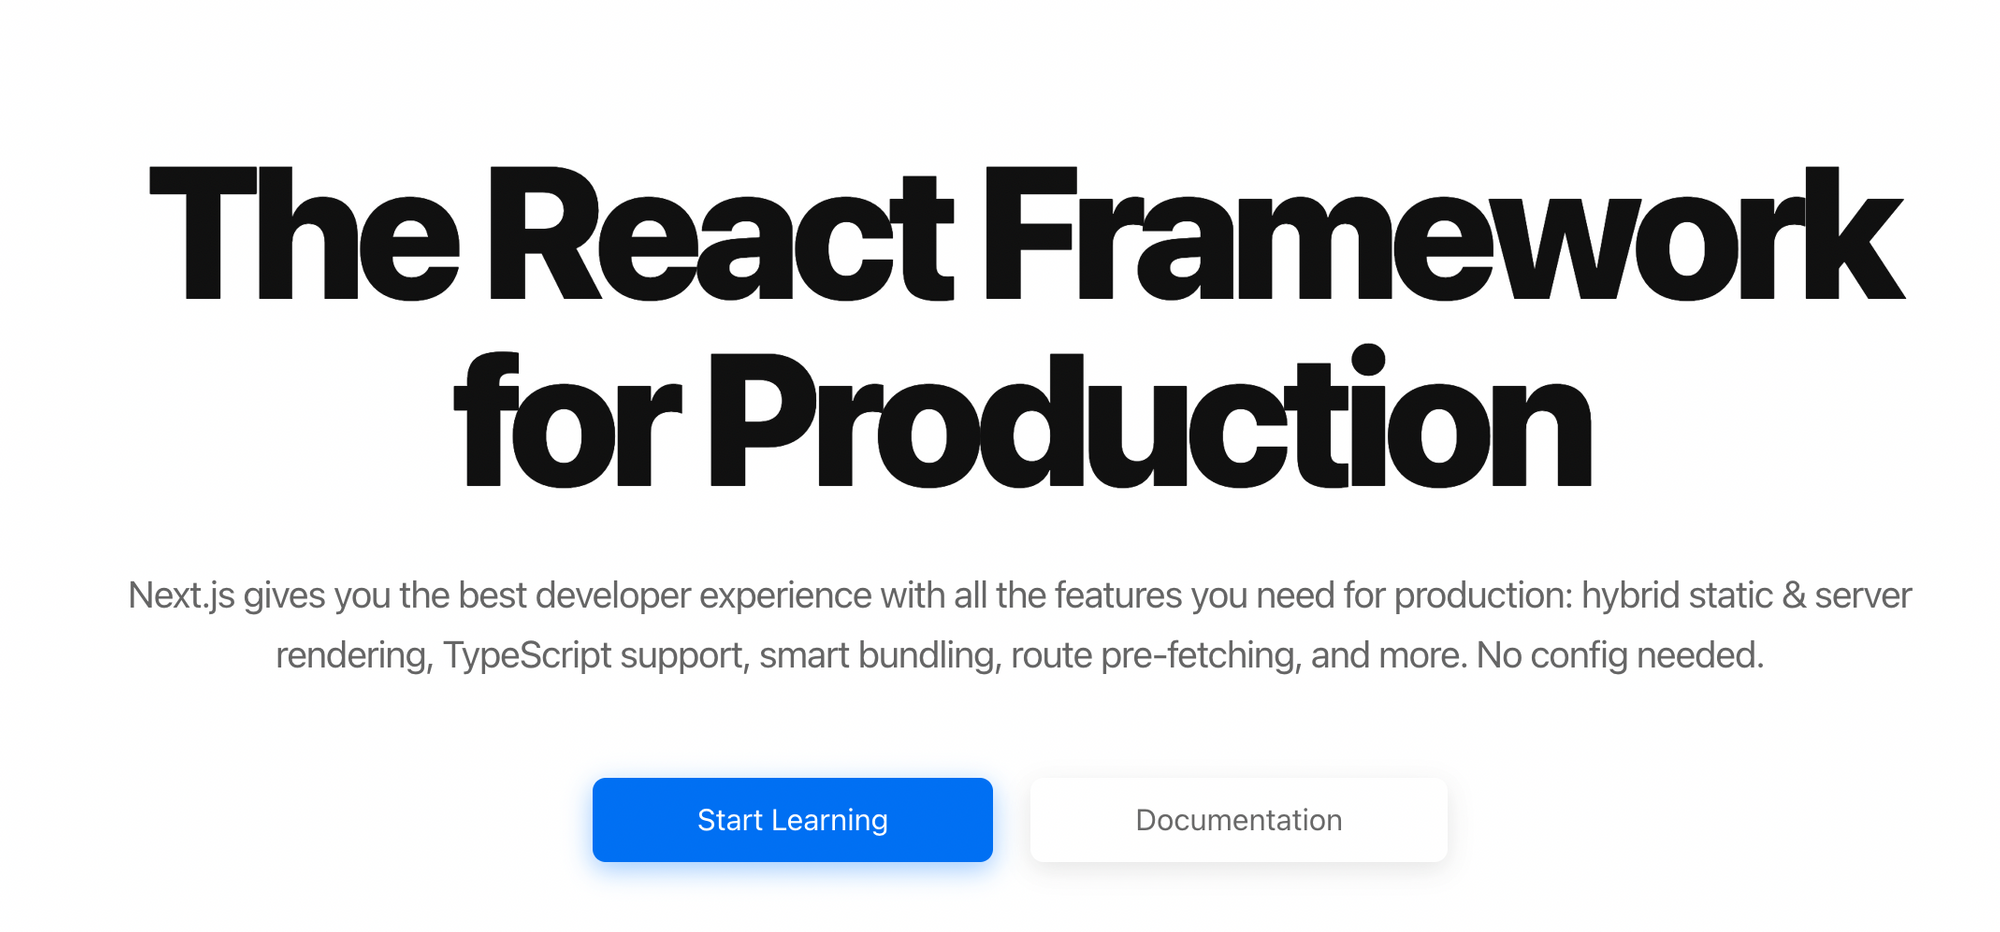 The NextJS.org Homepage
Whether I'm building a static site with interactivity like a blog, or a highly dynamic, full-stack project like a social media app, I almost always reach for Next.
The first reason for you to use Next is, as the banner headline states, because it's a React framework.
Think of it as a "batteries-included" way to build your React applications, which gives you the simplicity of tools like Create React App, combined with a suite of other super powerful features.
Despite being a framework, Next.js keeps some of the React philosophy of being unopinionated. Next gives you features to improve your overall development experience but doesn't constrain the amount of options you can choose from.
In fact, given what Next makes possible for React apps, I would contend that it has really expanded the number of options available to you, if you need it.
You can get a more complete sense of everything Next.js apps are capable of by checking 100s of example Next.js projects at nextjs.org/examples:
 Next.js Examples
There you can find examples on how to create the following Next (React) apps:
- A blog using Markdown / MDX or Wordpress
- An e-commerce app using Shopify
- A site using content management systems like Contentful or Sanity
- A full-stack project with GraphQL and Authentication
And tons more! Be sure to check out the full list to spark your imagination.
What Features Next.js Gives You
Below is a shortlist of what Next gives your React projects.
In short, it provides the functionality of an entire suite of packages within a single next dependency.
Next.js gives you:
- Page-based routing (create a page by putting components in /pages)
- A built-in router (no need to install React Router)
- API routes (write backend code using Node.js in /pages/api)
- Super fast builds for development / production (see saved changes instantly)
- Image and font optimization
- Built-in ESLint and TypeScript support
- tons more (all outlined in the Next.js documentation)
What Features Next.js Doesn't Have
Additionally there are many essential things that Next.js does not provide out of the box.
For example, there is no built-in way to do the following in Next:
- Authentication (I recommend using the package Next-Auth)
- Testing (I recommend using Playwright or Cypress for your E2E tests)
- State management (I recommend Zustand or Redux Toolkit)
The documentation itself covers these shortcomings, but it is important to note that while Next.js gives you a great deal it will not alone cover every app use-case.
Next.js Speedrun 💨
I'll give you the highlights of Next.js to give you a sense of how the framework gives you great defaults that make you more productive.
How to Create a Next.js App
If you have NPM installed, start any new Next project with the command:
npx create-next-app my-next-project
create-next-app is a package like Create React App, but for Next.js projects.
In short, it gives us a Next project with all its dependencies installed (which are next, react, and react-dom) plus some dummy pages and styles.
Next.js Scripts
You currently find four main scripts listed in your package.json file:
"scripts": {
  "dev": "next dev",
  "build": "next build",
  "start": "next start",
  "lint": "next lint"
}
dev– runs a development server on localhost:3000build– creates a built application ready for deploymentstart– starts your built Next application (must runnext buildfirst)lint– will "lint" your Next project using the dev dependency ESLint to warn you if your written code needs to be fixed
To run your Next project in development, make sure you are in your project folder (my-next-project) and run the dev script:
npm run dev
After your project is up and running on localhost:3000, navigate there and you should see a default app:
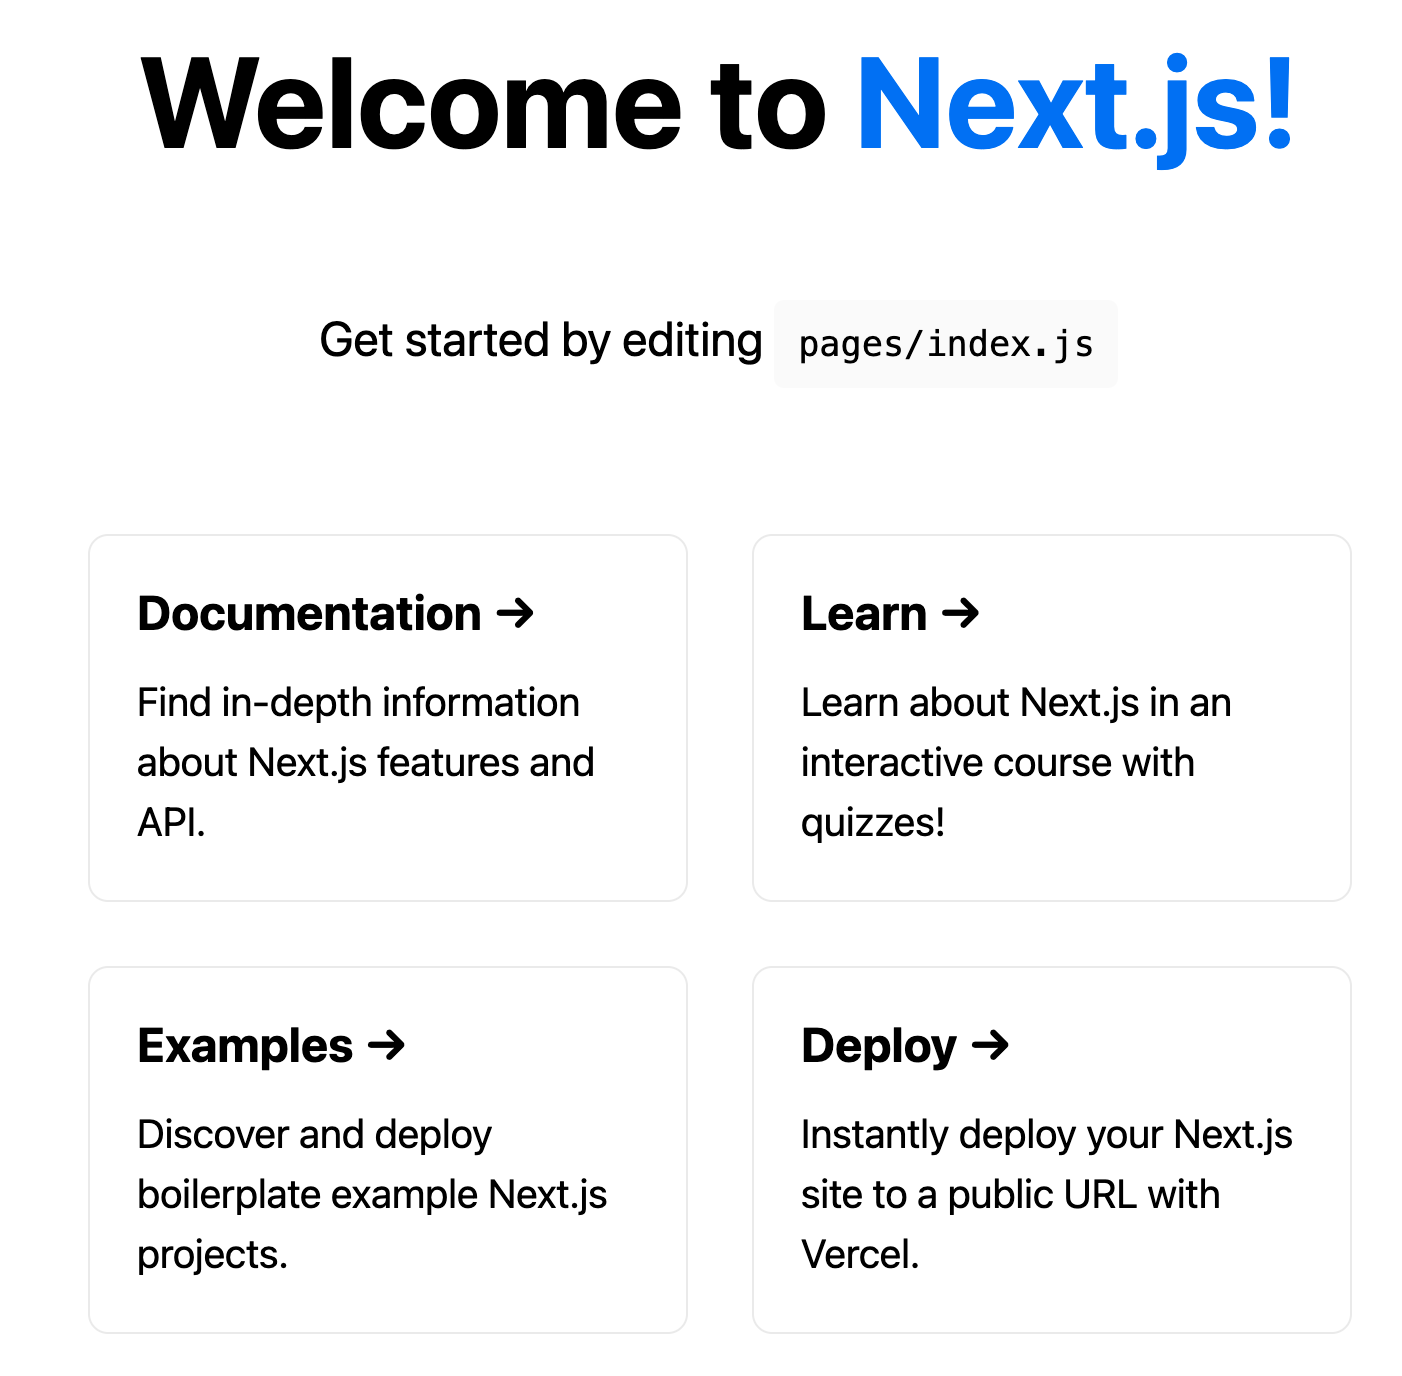 Index page of Create-Next-App project
Add TypeScript to Next.js
Want to add TypeScript? Couldn't be easier:
# run 'touch' to create an empty config file
# Next will auto-populate it

touch tsconfig.json

# then you'll be prompted to run the command:
npm install -D typescript @types/react @types/node

# now you can use TypeScript everywhere ✨
Pages and Routes
Want to add an About page to your app?
Just drop your component in /pages/about.js (.tsx if you're using TypeScript):
// No React import needed up here! 😳

export default function About() {
  return <div>About</div>
}
And it works!
This is a great advantage because we no longer have to install a library like React Router that requires boilerplate such as a Router and Route component, among others.
If you would like dynamic pages, which are in the same folder but have different slugs (such as blog posts), Next allows us to render the same page component by wrapping the filename in brackets.
For example, to display blog posts according to a particular slug, we could drop a "blog" folder in pages with the filename: [slug].js:
import { useRouter } from 'next/router'

// if we navigate to localhost:3000/blog/123...
export default function BlogPost() {
  const router = useRouter()
  const { slug } = router.query

  return <p>Post: {slug}</p> // ...you'll see "Post: 123"
}
Next conveniently exposes a useRouter React hook to make accessing information about the app location or history very easy.
In this example, it allows us to get the query parameters (the dynamic value) from router.query. The property name slug matches the dynamic name we gave our file: [slug].js.
Note: You can have multiple query parameters due to using nested folders with dynamic names. Such as /blog/[topic]/[slug].js. From within [slug].js, we could access both the
topicandslugquery params.
Links and Navigation
Just as Next includes routes and routing, the framework also gives us a helpful Link component from next/link.
It may look a bit unusual if you are coming from React Router, because it requires placing a traditional anchor tag link as a child and passing the href as a prop.
If we wanted to link to the home page (/) and a blog route (i.e. /blog/123), we would include the following in /pages/about.js:
import Link from "next/link";

export default function About() {
  return (
    <div>
      <h1>About Me</h1>

      <div>
        <Link href="/">
          <a>Home</a>
        </Link>
        <Link href="/blog/123">
          <a>My Blog Post</a>
        </Link>
      </div>
    </div>
  );
}
href is the only required prop for the Link component and data can be passed to it as an object as well:
import Link from "next/link";

export default function About() {
  return (
    <div>
      <h1>About Me</h1>

      <div>
        <Link href={{ pathname: "/about" }}>
          <a>Home</a>
        </Link>
        <Link
          href={{
            pathname: "/blog/[slug]",
            query: { slug: "123" },
          }}
        >
          <a>My Blog Post</a>
        </Link>
      </div>
    </div>
  );
}
Route changes can also be done using the useRouter hook, primarily using the .push() method to push to a different route programmatically.
Here is a dummy example of a login page where a user provides their email to login and is pushed to the '/verify-email' route afterwards.
export default function Login() {
  const router = useRouter()

  function onSubmit(event) {
    event.preventDefault();
    const email = event.target.elements.email.value;
    await sendLoginEmail(email);
    // push user to /verify-email page
    router.push('/verify-email');
  }

  return (
    <div>
      <h1>Log in here</h1>

      <form onSubmit={onSubmit}>
        <input name="email" placeholder="Your email address" />
        <button type="submit">Submit</button>
      </form>
    </div>
  );
}
SEO in Next.js
Pages in web applications not only need data within the HTML body, but meta (head) tags as well.
In a Create React Application, this would require installing an external dependency called React Helmet.
In Next, we can use the Head component from next/head to conveniently add meta data to our webpages to be shown in search results and embeds:
import Link from "next/link";
import Head from "next/head";

export default function About() {
  return (
    <div>
      <Head>
          <title>About | My Cool Site</title>
        <meta name="description" content="You really need to read this website because it's made with Next.js" />
      </Head>

      <h1>About Me</h1>
      <div>
        <Link href="/">
          <a>Home</a>
        </Link>
        <Link href="/blog/123">
          <a>My Blog Post</a>
        </Link>
      </div>
    </div>
  );
}
Note: The Head component should be included within any page component, usually right within the opening tag. You can create a reusable Head component that accepts dynamic values via props.
API Routes
Need a backend / API for your project? No problem.
One of the game-changers about Next is how is provides an all-in-one solution for creating full-stack React apps by giving you the ability to write server code using a feature called API routes.
To write your backend, add a folder called "api" in /pages to create your own API that are ultimately executed as separate serverless functions.
If we wanted to fetch data for our about page from /api/about, we would include a page called about.js in /pages/api:
// syntax is very similar to the "Express" Node.js framework

// here we are responding to every request with an OK (200) code and sending JSON data back (our name)

export default function handler(req, res) {
  res.status(200).json({ name: "Reed Barger" });
}
Request Data Client-side
Now that we have an API route, how do we use it?
How do we request data from our API routes and use the data in our client pages?
The traditional approach would be to request it using useEffect and useState:
import Link from "next/link";
import { useEffect, useState } from "react";

export default function About() {
  const [data, setData] = useState(null);
  const [isLoading, setLoading] = useState(false);

  useEffect(() => {
    setLoading(true);
    fetch("api/about")
      .then((res) => res.json())
      .then((data) => {
        setData(data);
        setLoading(false);
      });
  }, []);

  if (isLoading) return <p>Loading...</p>;
  if (!data) return <p>No about data</p>;

  return (
    <div>
      <h1>My name is: {data.name}</h1>
    </div>
  );
}
This approach works, but requires a lot of boilerplate code. On top of that, it doesn't have the best user experience.
While this is a basic example, if we had necessary dynamic info to fetch and display in our pages, we would always show the "Loading" text to our users on every page visit.
An improved way to fetch data and catch it upon future visit is to use the library SWR, which is also made by the developers of Next.
It gives us a convenient hook useSWR to more easily fetch data and handle loading and errors state, as well as cache data for future visits if nothing has changed. If it has changed, fetch the data in the background while the stale data is shown from the cache.
Note: The hook is named after this "cache invalidation" strategy: "stale-while-revalidate"
Here is the same request made using SWR:
import useSWR from "swr";

const fetcher = (...args) => fetch(...args).then((res) => res.json())

export default function About() {
  const { data, error } = useSWR("/api/about", fetcher)

  if (error) return <div>Error fetching data</div>
  if (!data) return <div>Loading...</div>

  return (
    <div>
      <h1>{data.name}</h1>
    </div>
  )
}
Request Data Server-side
What's an even better way to fetch data in Next that improves user experience and SEO overall?
There are two functions that you can include directly within your page files that allow us to fetch data from the server:
Yes, these functions are in the same file as our React components, but the code for them is bundled separately from our React client.
getServerSidePropsgetStaticProps
GetServerSideProps
getServerSideProps runs on every page visit. As a result, it is very helpful on pages with dynamic data or needs requests to be performed every time, such as getting authenticated user data.
export default function About({ name }) {
  return (
    <div>
      <h1>My name is: {name}</h1>
    </div>
  );
}

export function getServerSideProps() {
  return {
    props: { name: "Reed Barger" },
  };
}
The function does exactly as its name states – it lets us send data from the server and injects it into our page component's props.
What is great about this feature is that it allows our React client to display the data immediately, with no delay, plus not have to handle any loading or error state.
If we wanted to fetch data from the server, we could do so by making getServerSideProps async using the async keyword.
export default function About({ name }) {
  return (
    <div>
      <h1>My name is: {name}</h1>
    </div>
  );
}

export async function getServerSideProps() {
  const data = await fetch("https://randomuser.me/api").then((res) =>
    res.json()
  );

  return {
    props: { name: data.results[0].name.first },
  };
}
Here we are dynamically fetching data from the random user api, and our data changes every time we refresh the page.
GetStaticProps
Let's rename our getServerSideProps function with the name getStaticProps.
Again, the function does what its name says. Or does it?
getStaticProps is a function that is more appropriate for more static pages that change less frequently. This function executes our server code and makes a GET request on the server, but it only does so once when our project is built.
When you run the app in development, however, it seems to request data every time we refresh the page like getServerSideProps.
It's important to note that getStaticProps only makes requests on every page visit during development.
If you run yarn build and then run the production build or your React project using yarn start, you will see that no matter how many times we refresh, we keep getting the same name – the name that was requested when the project was built and not at runtime.
 Sample result requested from getStaticProps
You might be asking at this point: "Why use API routes at all with these two functions?"
It's important to be aware of the fact that both getServerSideProps and getStaticProps can only perform GET requests. API routes can handle any type of request to read and update data (that is when combined with a data layer like a database)
Where to Learn Next.js
What we've covered here just scratches the surface of Next, but you've already gained everything you need to start using Next in your React projects today.
If you want a more in-depth and technical guide, the official site has an interactive course on how to learn Next.js from the ground up.
 The (free) Next.js Learn Course
Become a Professional React Developer
React is hard. You shouldn't have to figure it out yourself.
I've put everything I know about React into a single course, to help you reach your goals in record time:
Introducing: The React Bootcamp
It’s the one course I wish I had when I started learning React.
Click below to try the React Bootcamp for yourself:
 Click to get started