
By Aditya Sridhar
This Post is divided into 2 parts
- The First Part demonstrates how to create a simple React app using ‘create-react-app’ CLI and explains the project structure.
- The Second Part explains an existing code that I have posted in Github. This code demonstrates the use of components, communication between components, making HTTP calls and React Bootstrap (bootstrap which is written for React).
Part 1
Install NodeJS if not already present
NodeJS is needed since the Libraries Required for React are downloaded using node package manager ( npm ). Refer to https://nodejs.org/en/ to install NodeJS.
Install create-react-app Node Package
create-react-app node package helps to set up a React project. Install create-react-app node package globally using the following command.
npm install -g create-react-app
Create The Project
The project can be created using create-react-app. Use the following command to create the project.
npx create-react-app first-react-app
first-react-app is the name of the application. The above command creates a folder called first-react-app which is the project folder. In order to test if everything has been set up properly, go into the project folder and start the application using the following command.
cd first-react-app
npm start
Go to your browser and go the following URL localhost:3000
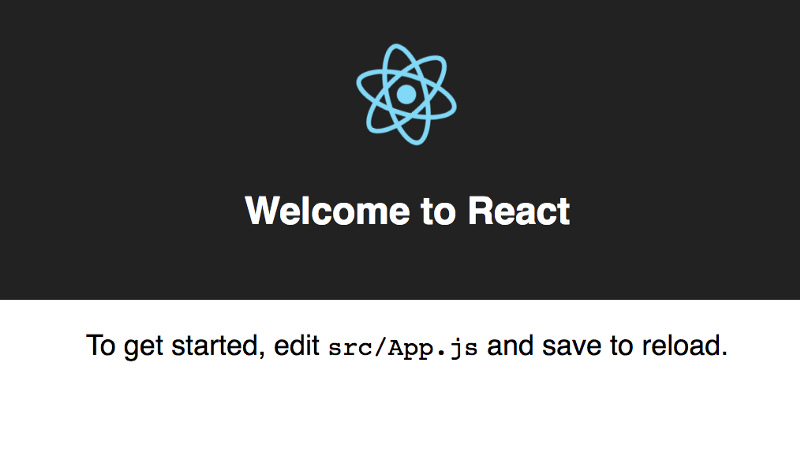
You should be able to see that your application is running. The Application will look like this in your browser:
Basic Folder Structure Explained
When you created the project, you would have noticed that it created a bunch of files. Here I will list out some of the important files and folders that you should be aware of .
- package.json: This File has the list of node dependencies which are needed.
- public/index.html: When the application starts this is the first page that is loaded. This will be the only html file in the entire application since React is generally Written using JSX which I will cover later. Also, this file has a line of code . This line is very significant since all the application components are loaded into this div.
- src/index.js: This is the javascript file corresponding to index.html. This file has the following line of code which is very significant. ReactDOM.render(, document.getElementById(‘root’));
- The above line of code is telling that App Component ( will cover App Component soon) has to be loaded into an html element with id root. This is nothing but the div element present in index.html.
- src/index.css: The CSS file corresponding to index.js.
- src/App.js : This is the file for App Component. App Component is the main component in React which acts as a container for all other components.
- src/App.css : This is the CSS file corresponding to App Component
- build: This is the folder where the built files are stored. React Apps can be developed using either JSX, or normal JavaScript itself, but using JSX definitely makes things easier to code for the developer :). But browsers do not understand JSX. So JSX needs to be converted into javascript before deploying. These converted files are stored in the build folder after bundling and minification. In order to see the build folder Run the following command
npm run build
Creating Components
A Component in React does a specific functionality. An Application is nothing but a collection of components. Each component can have multiple child components and the components can communicate with each other.
Let's create a React Component now.
Inside src folder create a file called as FirstComponent.js and copy the following code into FirstComponent.js.
import React, {Component} from 'react';

export default class FirstComponent extends Component {

constructor(props) {
    super(props)
    }

render() {
    const element = (<div>Text from Element</div>)
    return (<div className="comptext">
    <h3>First Component</h3>
        {this.props.displaytext}
        {element}
    </div>)
    }
}
- The Component name is FirstComponent which is denoted by the file name as well as in the statement
export default class FirstComponent extends Component - The props attribute in the constructor will contain all the parameters which are passed as input to this component.
- render(): The return value of this function is rendered ( displayed ) on the screen. Whenever the render() function is called the Screen is rerendered. This is generally done automatically by the application. The code which looks very similar to html in this function is nothing but JSX.
JSX
JSX looks very similar to HTML but has the full power of javascript. Here I will Explain the JSX code and what it is trying to do.
render() {
    const element = (<div>Text from Element</div>)
    return (<div className="comptext">
    <h3>First Component</h3>
        {this.props.displaytext}
        {element}
    </div>)
    }
The first line const element = (<div>Text from Element</div>) Creates a div element and assigns it to a constant called element. This peculiar Syntax that you see is nothing but JSX.
Inside the Return statement, you see the following code syntax.
<div className="comptext">
    <h3>First Component</h3>
        {this.props.displaytext}
        {element}
</div>
Here className is used to point to a CSS class. <h3>First Component</h3> is just normal html Syntax. {this.props.displaytext} is used to access an attribute called as displaytext from props ( so displaytext is passed as an input whenever this component is called ). Here displaytext is just a custom name that I have Given. {element} is the constant which was created, which in turn contains the div element.
Using the Component
FirstComponent has been created but is not being used anywhere yet. Let's add FirstComponent to App Component. Here is the modified code for App.js
import React, { Component } from 'react';
import logo from './logo.svg';
import './App.css';
import FirstComponent from './FirstComponent'
class App extends Component {
  render() {
    return (
      <div className="App">
        <header className="App-header">
          <img src={logo} className="App-logo" alt="logo" />
          <h1 className="App-title">Welcome to React</h1>
        </header>
        <p className="App-intro">
          To get started, edit <code>src/App.js</code> and save to reload.
        </p>
        <FirstComponent displaytext="First Component Data"/>
      </div>
);
  }
}
export default App;
FirstComponent needs to be imported into App Component First which is done in the line import FirstComponent from ‘./FirstComponent’
Then FirstComponent is added to App Component using the line <FirstComponent displaytext=”First Component Data”/>
Here displaytext is passed as an attribute to the FirstComponent.
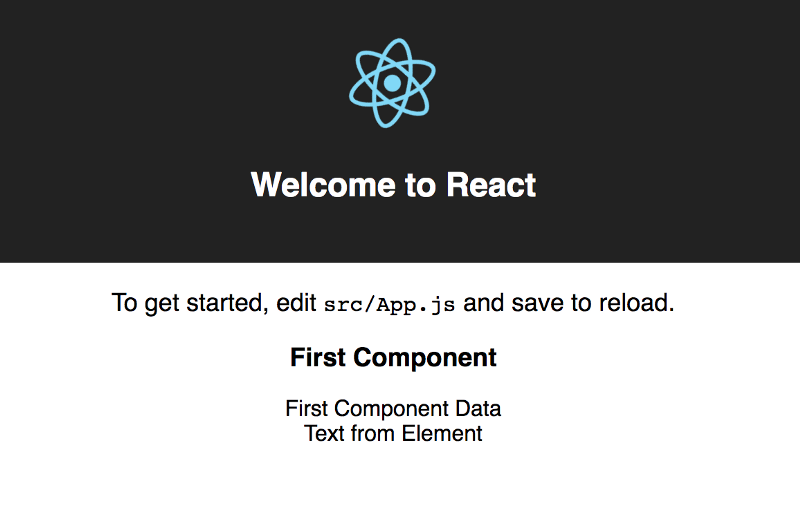
Now you can run the Application using the command npm start
You should see the following result in the browser.
Congrats?
Now you know how to create a React Application and how to create and use React Components. You also know a bit about JSX :)
The next part will explain an existing React Code from Github. Part 2 code is different from the code that we wrote in Part 1.
Part 2
Code
The Following Code is being explained here so clone the repo into your computer. The Repo has instructions on how to clone and set up the code in your computer.
https://github.com/aditya-sridhar/simple-reactjs-app
Application URL
To see how the final Application looks like you can click on the following URL. This will give a good idea as to what the Application is trying to do
https://aditya-sridhar.github.io/simple-reactjs-app
The Application would look like this in a mobile screen
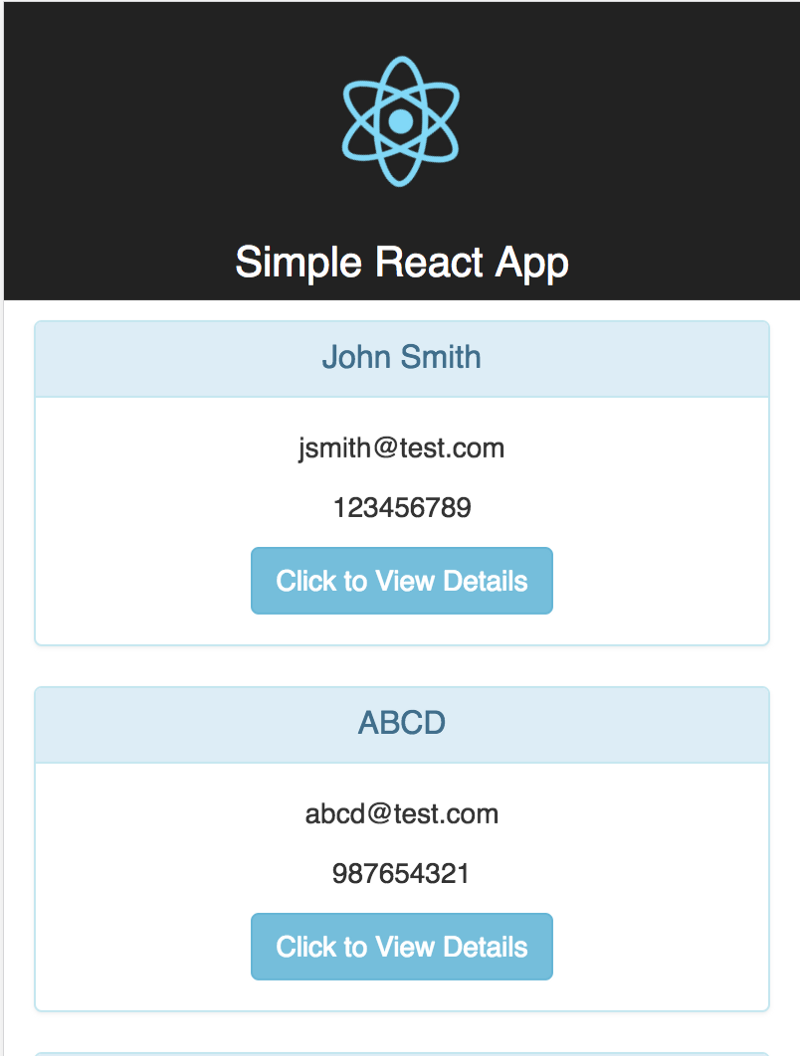
What does this Application do
This application displays a list of customers. When a customer is selected, it displays the details of the selected customer. This is a Single Page Application (SPA). React is best suited for Single Page Applications. Single Page Applications display everything within a single page.
Application Structure Explained
Customers Component
This Component displays the list of Customers. This corresponds to the file src/Customers.js . This component has the following constructor.
constructor(props) {
    super(props)
    this.state = {
        selectedCustomer: 1
    }
}
props were already explained. But here you also see this.state. Whenever state changes, the component is rerendered. Here state has one parameter called selectedCustomer which is to keep track of which customer is selected. If selectedCustomer changes then the component and its child components are rerendered. The Constructor is used only to set props and state. Also, props should never be edited inside a component.
The next thing you notice is the following code.
componentDidMount() {
    this.getCustomerData();
}
componentDidMount() is a function which is called as soon the component is rendered. So this can be used to set some initial values as well as load data. Here it is calling a function called as getCustomerData()
The next piece of code that you see is
getCustomerData() {
    axios.get('assets/samplejson/customerlist.json').then(response => {
        this.setState({customerList: response})
    })
};
This function getCustomerData() makes an HTTP call to read the sample json containing the list of customers from assets/samplejson/customerlist.json. On successfully getting a response, the state of the system is changed, by assigning the response to customerList. You may wonder why we never added customerList in the constructor. The reason is you can add parameters dynamically into State at any point in the code. The only requirement is that in the constructor at least an empty state has to be defined.
Here axios library is used to make the HTTP call. I have provided the Documentation for axios in the References section.
The next function is the render() function which returns what elements have to be rendered on screen. The main points of focus in the render function are
<Button bsStyle="info" onClick={() => this.setState({selectedCustomer: customer.id})}>

Click to View Details

</Button>
Every customer in the list has a button called as Click to View Details. The above code snippet tells that whenever the button is clicked, then change the state of selectedCustomer to the selected customers' id. Since the state changes here, the component and its child component will be rerendered.
The other code snippet which is important is
<CustomerDetails val={this.state.selectedCustomer}/>
This snippet tells that CustomerDetails is a child component of Customers component and also passes the selectedCustomer id as an input to CustomerDetails component
CustomerDetails Component
This component displays the details of the selected Customer. Some important code snippets from this component will be explained here:
componentDidUpdate(prevProps) {

//get Customer Details only if props has changed
//(props is the input)
    if (this.props.val !== prevProps.val) {
        this.getCustomerDetails(this.props.val)
    }
}
componentDidUpdate() function is called whenever the component is rerendered. Here we are calling getCustomerDetails() Function if the input to this component has changed when the component rerendered. The input passed to getCustomerDetails() function is this.props.val. this.props.val in turn, gets its value from Customers Component( selectedCustomer was passed as an input to this ). To know if the input has changed, the code snippet used is this.props.val !== prevProps.val
getCustomerDetails(id) {
    axios.get('assets/samplejson/customer' + id + '.json').then(response => {
        this.setState({customerDetails: response})
    })
};
getCustomerDetails() function makes an HTTP call to get the sample json which contains the customer details. The id parameter is used to know which customers details are required. id is nothing but this.props.val. When the response is successfully received the state of this component is changed by assigning response to customerDetails.
The render() function for this component is pretty straightforward and simple so will not be covering that here
References
create-react-app: Refer to https://github.com/facebook/create-react-app to learn what all can be done using create-react-app
ReactJS: Refer to https://reactjs.org/ to understand the concepts of ReactJS. The documentation is very good.
React Bootstrap: Refer to https://react-bootstrap.github.io/getting-started/introduction/ to understand how to use React Bootstrap
axios: Refer to https://www.npmjs.com/package/axios to know more about how to use axios library to make HTTP requests
Congrats Again ?
Now you know how to use components, how to communicate from a parent to a child component and also a little about rendering
The basic concepts have been covered in this post and hope this is helpful
About the author
I love technology and follow the advancements in technology. I also like helping others with any knowledge I have in the technology space.
Feel free to connect with me on my LinkdIn account https://www.linkedin.com/in/aditya1811/
You can also follow me on twitter https://twitter.com/adityasridhar18
My Website: https://adityasridhar.com/
Other Relevant Posts by Me
A Quick Guide to Help you Understand and Create Angular 6 Apps