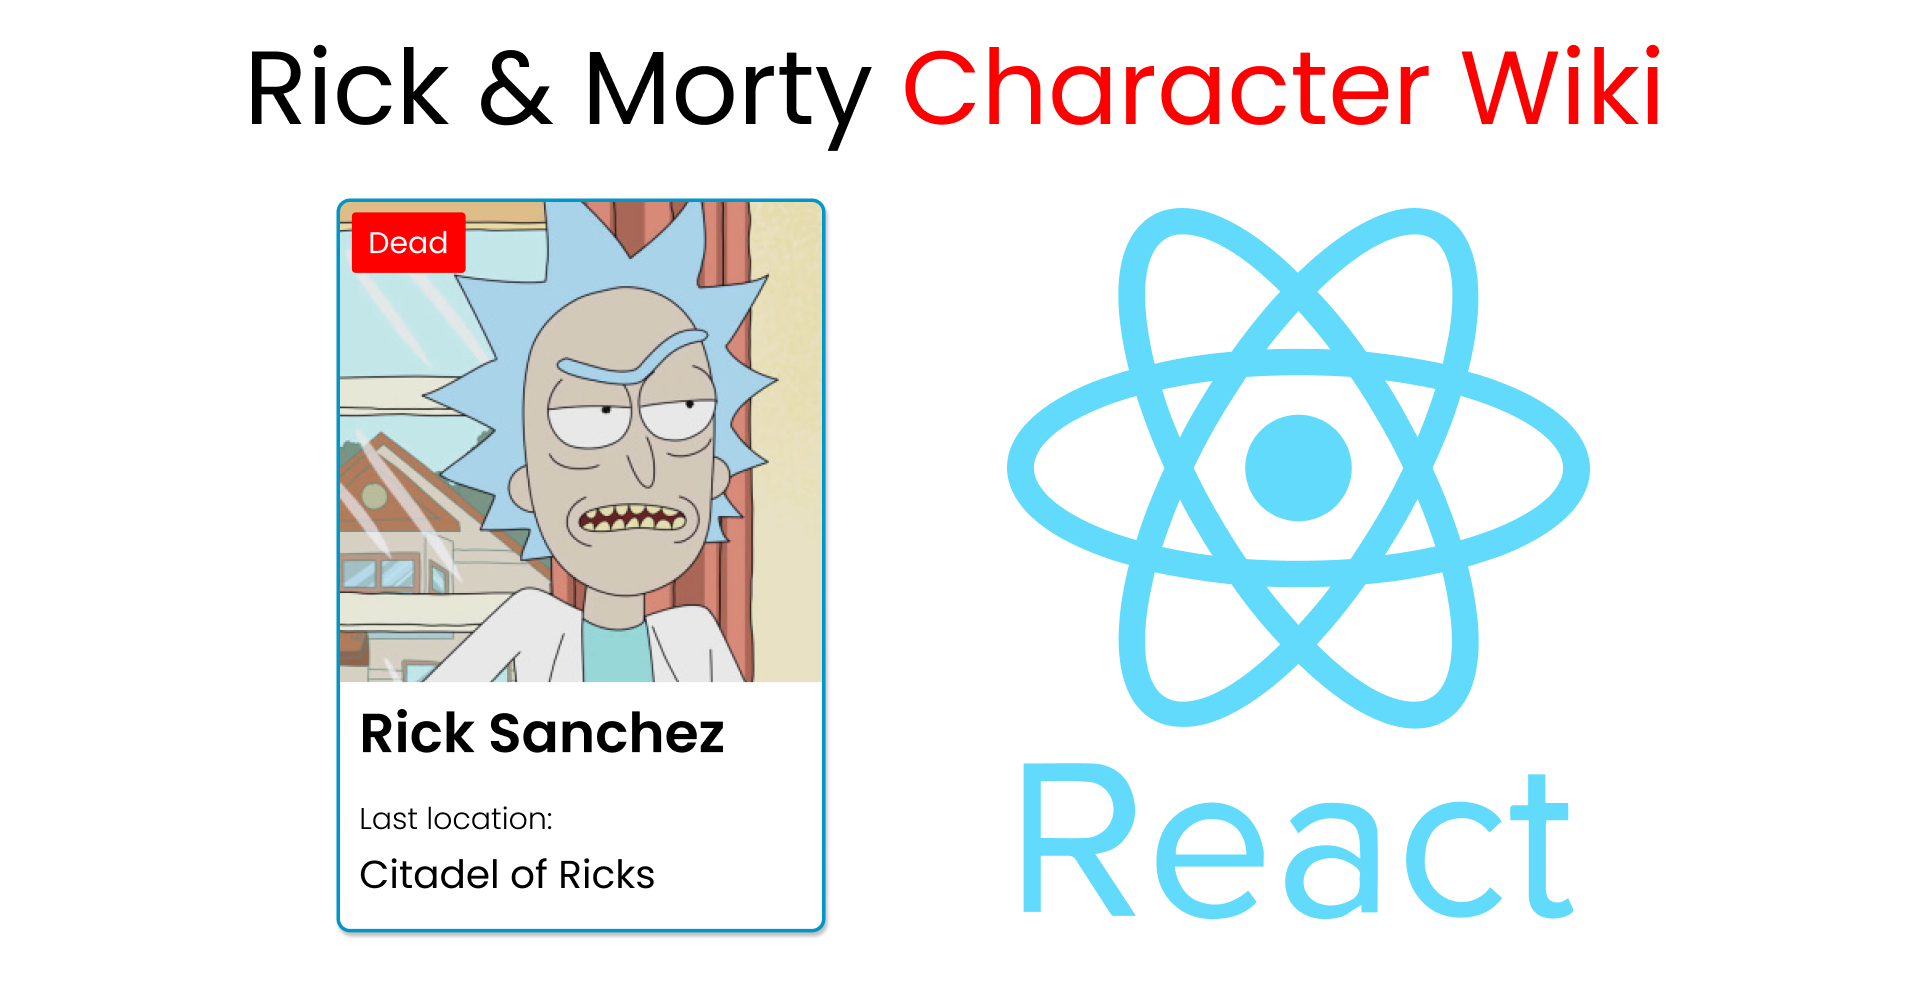
Today we're gonna practice our React JS skills by building a Rick and Morty Character Wiki.
Here's what we'll build today:
Here's a [live demo of the project] 👇 https://react-projects-psi.vercel.app/.
And here's the GitHub Repository.
The topics we'll cover while building this project are:
- React Hooks (useState, useEffect)
- React Components
- Fetch API
- Bootstrap - for styling
- Pagination
- Search bar
- Data Filtering
- Dynamic Routing
You can watch this tutorial on YouTube as well if you like:
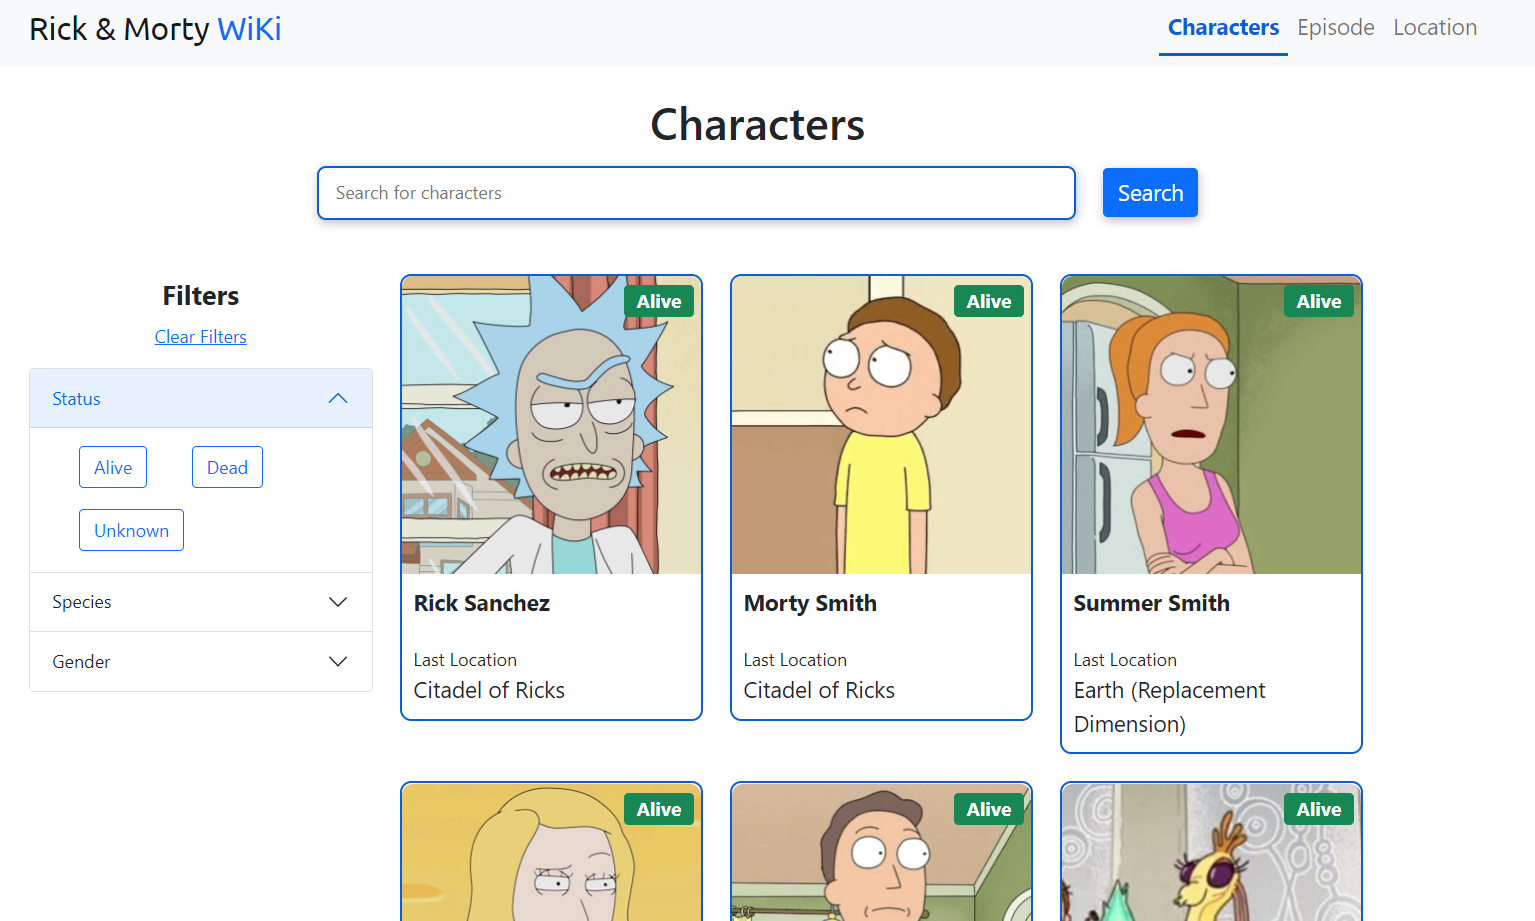
Features of the project
Let's look at a demo of all the features that we will be building during the entire course of this article.
This project is filled with cool features so that you can get the most out of this tutorial and become really good at writing ReactJS code.
Search bar
We will be building this cool search bar so that we can search for our favourite characters.
Pagination
In total there are 800+ characters. In order to display and manage all of these characters, we will be implementing a pagination system where each page will display 20 characters.
Filters
There are lots of labels present in the API. Using them, we can filter our data and search for exactly what we need. Here's the demo:

Routing
We will implement this component to change our pages and create a navbar. We will use the library called react-router-dom to do this.
Dynamic Routing
Using react-router-dom, we will also add dynamic routing so that we can learn more about a character when we click on it.
Table of Contents
- Setup
- Folder structure
- Data Fetching
- Character Cards
- Search bar
- React-paginate
- Filters
- React Router
- Episodes
- Location
- Dynamic Pages
Project Setup

Before starting the project, follow these steps to get it set up:
- Create a folder named 'react-wiki'
- open that folder in VS code
- open your terminal and run these commands one by one: 👇
npx create-react-app .

npm install bootstrap

npm install @popperjs/core --save

npm install sass

npm install react-router-dom

npm install react-paginate --save

npm start
To make your dev experience easier, download these VS code extensions:
- ES7 React/Redux/GraphQL/React-Native snippets
- ESLint
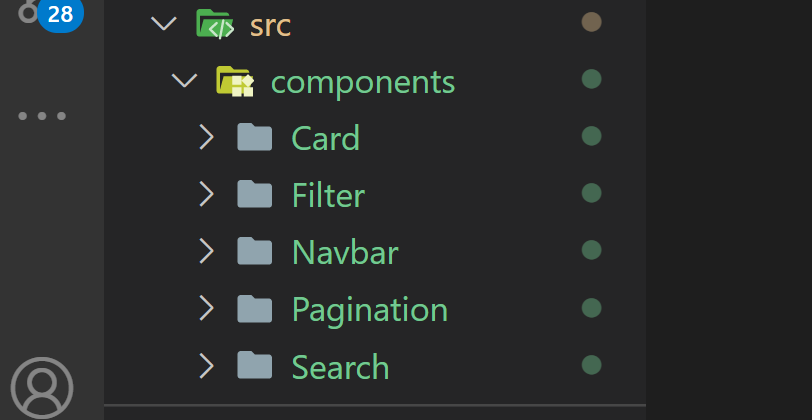
Folder structure

We will divide our entire project into 5 components:
- Card
- Pagination
- Search
- Filter
- Navbar
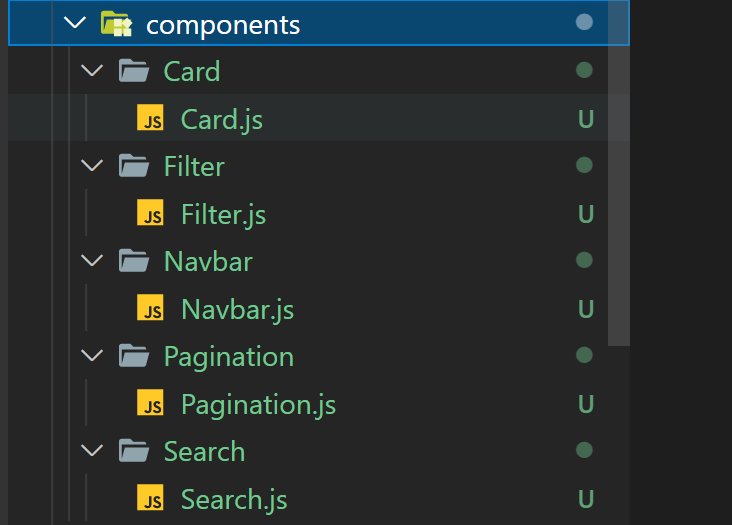
Create a folder named 'components' inside your 'src' folder and make 5 folders like this: 👇
And then, create these files according to the names of our components. 👇
App.js
Some other changes you need to do:
- Remove everything from the
App.cssfile - import React hooks and Bootstrap at the top in
App.js
import "bootstrap/dist/css/bootstrap.min.css";
import "bootstrap/dist/js/bootstrap";
import React, { useState, useEffect } from "react";
Next, import all your modules from components:
import Search from "./components/Search/Search";
import Card from "./components/Card/Card";
import Pagination from "./components/Pagination/Pagination";
import Filter from "./components/Filter/Filter";
import Navbar from "./components/Navbar/Navbar";
Inside the return statement, remove everything and add this code: 👇
<div className="App">
  <h1 className="text-center mb-3">Characters</h1>
  <div className="container">
  <div className="row">
    Filter component will be placed here
    <div className="col-lg-8 col-12">
      <div className="row">
        Card component will be placed here
      </div>
    </div>
  </div>
  </div>
</div>
index.css
Add these default styles: 👇
@import url('https://fonts.googleapis.com/css2?family=Ubuntu:wght@300;400;500;700&display=swap');

body {
  margin: 0;
  -webkit-font-smoothing: antialiased;
  -moz-osx-font-smoothing: grayscale;
}

.ubuntu {
  font-family: "Ubuntu" !important;
}

code {
  font-family: source-code-pro, Menlo, Monaco, Consolas, "Courier New",
    monospace;
}
This is the result so far:

Congratulations! We're done with the setup process. So now let's start coding.

How to Fetch Data from the API
To fetch data from our API, we're gonna be using the rick and morty characters API. We'll need to add a few things.
App.js 👇
let api = `https://rickandmortyapi.com/api/character/?page=1`
Note : don't use quotes or double quotes around the URL, use backticks (like this) instead. ☝
To fetch data from this API, we're gonna use our useEffects hook like this: 👇
useEffect(() => { }, [api]);
We're writing the useEffect hook and putting the watch on api. This means that, in case the api variable changes, we want to load fresh new data. Let's continue. 👇
useEffect(() => {
  (async function () {
    let data = await fetch(api).then((res) => res.json());
    console.log(data);
  })();
}, [api]);
We're using an async function to fetch our raw data and then we convert that to JSON format. Let's check the console to see what we have so far: 👇
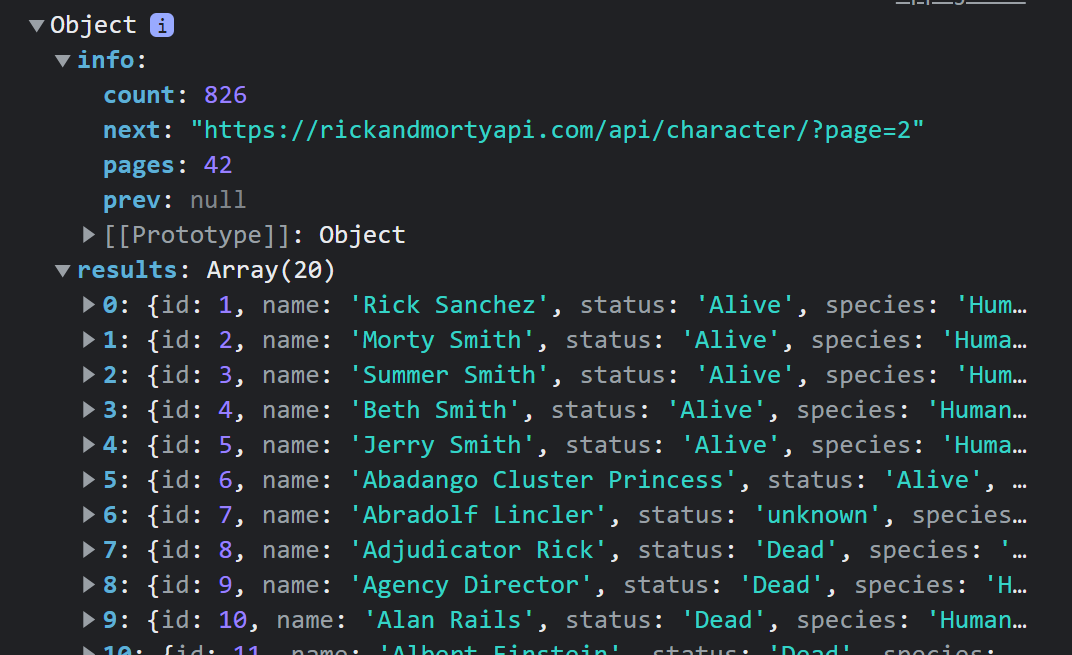
Wanna test it yourself? Change the page number to 2 inside the API, and you'll find new data in your console: 👇
let api = `https://rickandmortyapi.com/api/character/?page=1`
Instead of storing the data in the console, let's use the useState Hook. This will store the data in a variable, and we will have a function key to change the variable data whenever the useEffect hook fetches new data. 👇
let [fetchedData, updateFetchedData] = useState([]);
let { info, results } = fetchedData;
Also, we are destructuring the info and results from the fetchedData variable to make our lives easier. 👆
The fetchedData variable will store the data we got from the api. We'll use the updateFetchedData function to change the data whenever we want.
Let's change our useEffect hook: 👇
useEffect(() => {
  (async function () {
    let data = await fetch(api).then((res) => res.json());
    updateFetchedData(data);
  })();
}, [api]);
How to Make the Character Cards
Let's start to build our character cards. 👇
First of all, import the card component by replacing the text where its written Card component will be placed here. Then, pass the fetched data from our App.js component to our Card component like this: 👇
<Card results={results} />
Card.js
Now, first destructure the data we got from our App.js component. 👇
const Card = ({ results }) => {}
Then create a variable named display. This will hold all of our cards. Along with this, we will create an if else statement to check if the data we got from our API is empty or not. 👇
const Card = ({ results }) => {
  let display;

  if (results) {}
  else{
    display = "No Characters Found :/";
  }

  return <>{display}</>;
}
Now, we're gonna map our results to our cards component in a way that it'll create cards for us automatically. But first, we need to destructure the data we got from our API. 👇
if (results) {
  display = results.map((x) => {
  let { id, image, name, status, location } = x;

    return (
      <div
        key={id}
        className="col-lg-4 col-md-6 col-sm-6 col-12 mb-4 position-relative text-dark"
      >
      </div>
  );
});
}
Create a file named Card.module.scss and add this code: 👇
$radius: 10px;
.card {
  border: 2px solid #0b5ed7;
  border-radius: $radius;
}
.content {
  padding: 10px;
}
.img {
  border-radius: $radius $radius 0 0;
}
.badge {
  top: 10px; right: 20px;
  font-size: 17px;
}
Also, import it inside the Card.js component: 👇
import styles from "./Card.module.scss";
Now, its time to create our card template and put the data in their respective places. 👇
<div
  className={`${styles.card} d-flex flex-column justify-content-center`}
>
  <img className={`${styles.img} img-fluid`} src={image} alt="" />
  <div className={`${styles.content}`}>
    <div className="fs-5 fw-bold mb-4">{name}</div>
    <div className="">
      <div className="fs-6 fw-normal">Last Location</div>
      <div className="fs-5">{location.name}</div>
    </div>
  </div>
</div>
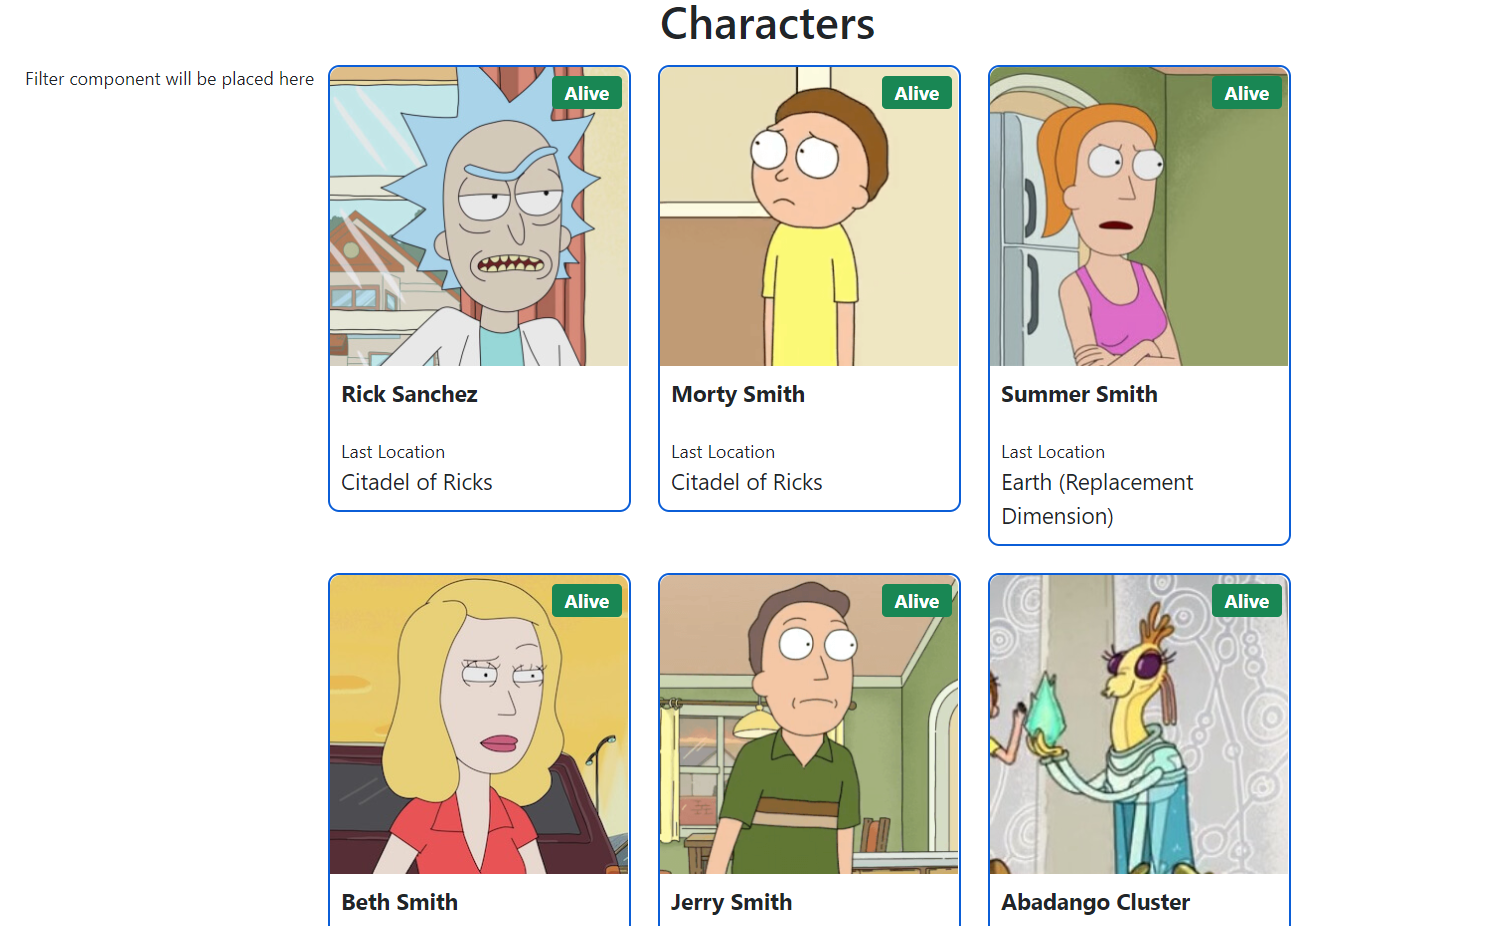
The results so far look like this: 👇

At the very last, we're gonna use this code 👇 to let the users know whether the character is dead, alive, or unknown:
{
(() => {
  if (status === "Dead") {
    return (
      <div className={`${styles.badge} position-absolute badge bg-danger`}>
        {status}
      </div>
    );
  } else if (status === "Alive") {
    return (
      <div className={`${styles.badge} position-absolute badge bg-success`}>
        {status}
      </div>
    );
  } else {
    return (
      <div
        className={`${styles.badge} position-absolute badge bg-secondary`}
      >
        {status}
      </div>
    );
  }
})()}
The reults so far: 👇
How to Build the Search Bar
Here's a demo video of our search bar component: 👇
Now, let's built our character search bar. But first, we need to create two useState hooks to hold our search keywords and current page number. 👇
App.js
let [pageNumber, updatePageNumber] = useState(1);
let [search, setSearch] = useState("");
Then, we need to update our API with variables. This means that whenever our API changes, our useEffect hook will fetch new data from our database. 👇
let api = `https://rickandmortyapi.com/api/character/?page=${pageNumber}&name=${search}`;
Now, we're gonna import our search bar component inside the return statement. And along with that, we're gonna pass our newly created state variables inside that component. 👇
  <h1 className="text-center mb-3">Characters</h1>
  <Search setSearch={setSearch} updatePageNumber={updatePageNumber} />
Create a file named Search.module.scss to hold the styles of this specific module. Then, make these adjustments: 👇
Search.module.scss
.input {
  width: 40%; border-radius: 8px;
  border: 2px solid #0b5ed7;
  box-shadow: 1px 3px 9px rgba($color: #000000, $alpha: 0.25);
  padding: 10px 15px;
  &:focus { outline: none; }
}
.btn {
  box-shadow: 1px 3px 9px rgba($color: #000000, $alpha: 0.25);
}
@media (max-width: 576px) {
  .input { width: 80%; }
}
Search.js
First of all, we need to destructure our props. Then, we'll create a function named searchBtn to prevent the default behaviour of our app, like this: 👇
import React from "react";
import styles from "./Search.module.scss";

const Search = ({ setSearch, updatePageNumber }) => {
  let searchBtn = (e) => {
    e.preventDefault();
  };
};
Then, let's write inside our return statement. First of all, let's write the form tag to hold our input and button tags. 👇
return (
  <form
    className={`${styles.search} d-flex flex-sm-row flex-column align-items-center justify-content-center gap-4 mb-5`}
  >
  </form>
);
Then, we create the button and input tags inside our form tag. 👇
<input
  onChange={(e) => {
    updatePageNumber(1);
    setSearch(e.target.value);
  }}
  placeholder="Search for characters"
  className={styles.input}
  type="text"
/>
<button
  onClick={searchBtn}
  className={`${styles.btn} btn btn-primary fs-5`}
>
  Search
</button>
The results so far: 👇
How to Set Up Pagination with React-paginate
Here's a demo of our React-paginate component: 👇
We're gonna use this package to paginate our data. So, let's import it at the very bottom: 👇
App.js
<Pagination
  info={info}
  pageNumber={pageNumber}
  updatePageNumber={updatePageNumber}
/>
Pagination.js
Here, we're gonna destructure our props, and then write in some JSX styles: 👇
import React, { useState, useEffect } from "react";
import ReactPaginate from "react-paginate";

const Pagination = ({ pageNumber, info, updatePageNumber }) => {}
Inside the return statement, we write the styles in JSX like this: 👇
return (
<>
<style jsx>
{`
  a {
    color: white; text-decoration: none;
  }
  @media (max-width: 768px) {
    .pagination {font-size: 12px}

    .next,
    .prev {display: none}
  }
  @media (max-width: 768px) {
    .pagination {font-size: 14px}
  }
`}
</style>
</>
);
Now, create this function to handle the page change function: 👇
let pageChange = (data) => {
  updatePageNumber(data.selected + 1);
};
In order to make our pagination component responsive, we need to write this little component:
const [width, setWidth] = useState(window.innerWidth);
const updateDimensions = () => {
  setWidth(window.innerWidth);
};
useEffect(() => {
  window.addEventListener("resize", updateDimensions);
  return () => window.removeEventListener("resize", updateDimensions);
}, []);
Alright everyone, excellent! Now we're gonna be using the react-paginate package.
First, let's style everything using the built-in props of react-paginate to style basic elements: 👇
<ReactPaginate
  className="pagination justify-content-center my-4 gap-4"
  nextLabel="Next"
  previousLabel="Prev"
  previousClassName="btn btn-primary fs-5 prev"
  nextClassName="btn btn-primary fs-5 next"
  activeClassName="active"
  pageClassName="page-item"
  pageLinkClassName="page-link"
/>
Here's the main sauce: we're gonna be adding the functionalities to our component so that it works properly. 👇
<ReactPaginate
  forcePage={pageNumber === 1 ? 0 : pageNumber - 1}
  marginPagesDisplayed={width < 576 ? 1 : 2}
  pageRangeDisplayed={width < 576 ? 1 : 2}
  pageCount={info?.pages}
  onPageChange={pageChange}
  //.... other props here
/>
The results so far: 👇
How to Make the Filters Component
Here's a demo of our filters component: 👇
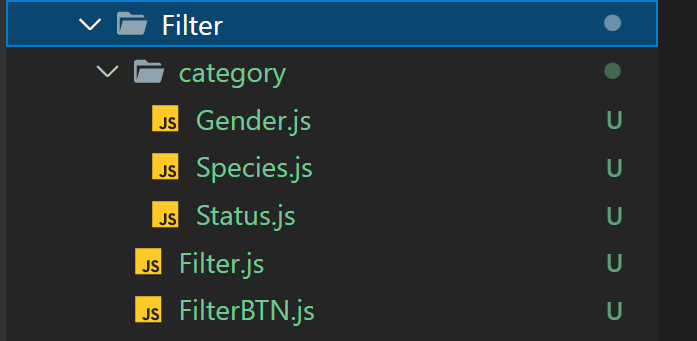
The very first thing we need to do is create a folder structure to hold all the little components we're gonna use. Create these components inside the Filter folder: 👇
App.js
Now, create these useState hooks to store our status, gender, and species.
let [status, updateStatus] = useState("");
let [gender, updateGender] = useState("");
let [species, updateSpecies] = useState("");
Also, we need to modify our api variable according to our useState hook variables. 👇
let api = `https://rickandmortyapi.com/api/character/?page=${pageNumber}&name=${search}&status=${status}&gender=${gender}&species=${species}`;
Now, we'll import our filter component inside our App where its written Filter component will be placed here. Also, pass all of these required props: 👇
<Filter
  pageNumber={pageNumber}
  status={status}
  updateStatus={updateStatus}
  updateGender={updateGender}
  updateSpecies={updateSpecies}
  updatePageNumber={updatePageNumber}
/>
Filter.js
Let's make these changes in our Filter component so that we can achieve the desired results. First, import all of our category components like this: 👇
import React from "react";
import Gender from "./category/Gender";
import Species from "./category/Species";
import Status from "./category/Status";
Then, destructure the passed props and place an accordion including a clear button:
const Filter = ({
pageNumber, updatePageNumber,
updateStatus, updateGender,
updateSpecies,
}) => {
return (
<div className="col-lg-3 col-12 mb-5">
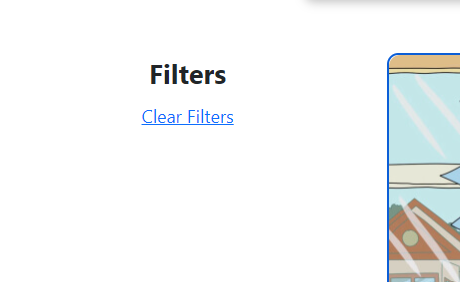
<div className="text-center fw-bold fs-4 mb-2">Filters</div>
<div
style={{ cursor: "pointer" }} onClick={clear}
className="text-primary text-decoration-underline text-center mb-3"
> Clear Filters </div>
<div className="accordion" id="accordionExample">
{/* Category components will be placed here */}
</div>
</div>
);
};
Make this function so that we can clear our filters and refresh the page: 👇
let clear = () => {
  updateStatus("");
  updateGender("");
  updateSpecies("");
  updatePageNumber(1);
  window.location.reload(false);
};
The results so far look like this: 👇
FilterBTN.js
First, let's create these filter buttons. We will also destructure the required props. 👇
const FilterBTN = ({ input, task, updatePageNumber, index, name }) => {
return (
<div>
  <style jsx>
    {`
      .x:checked + label {
        background-color: #0b5ed7;
        color: white }
      input[type="radio"] { display: none; }
    `}
  </style>
</div>
);
};
Now, we place the main input component with labels below the style jsx: 👇
<div className="form-check">
  <input
    className="form-check-input x" type="radio"
    name={name} id={`${name}-${index}`}
  />
  <label
    onClick={(x) => {
      task(input); updatePageNumber(1);
    }}
    className="btn btn-outline-primary"
    for={`${name}-${index}`}
  > {input} </label>
</div>
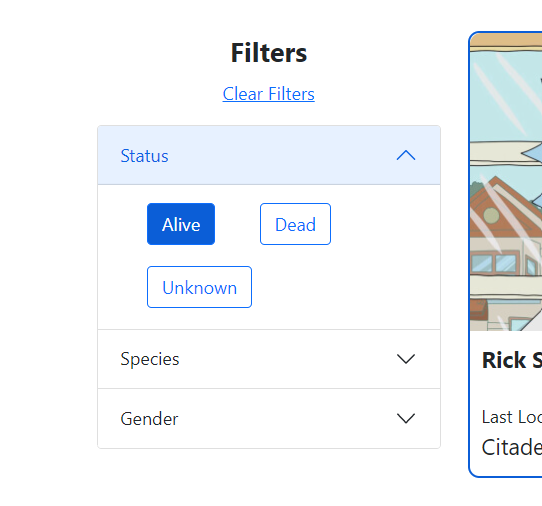
Status.js
Write this starter code inside Status.js:
import FilterBTN from "../FilterBTN";

const Status = ({ updateStatus, updatePageNumber }) => {
  let status = ["Alive", "Dead", "Unknown"];
  return (
    <div className="accordion-item">
      <h2 className="accordion-header" id="headingOne">
        <button
          className="accordion-button" type="button"
          data-bs-toggle="collapse" data-bs-target="#collapseOne"
          aria-expanded="true" aria-controls="collapseOne"
        > Status </button>
      </h2>
    </div>
  );
};
Then let's create the status buttons by mapping our array of data. 👇
Below the ending h2 tag, put these inside 👇 which will help us automatically map data and make our Status buttons:
<div
  id="collapseOne" className="accordion-collapse collapse show"
  aria-labelledby="headingOne" data-bs-parent="#accordionExample"
>
<div className="accordion-body d-flex flex-wrap gap-3">
  {status.map((item, index) => (
    <FilterBTN
      key={index}
      index={index}
      name="status"
      task={updateStatus}
      updatePageNumber={updatePageNumber}
      input={item}
    />
  ))}
</div>
</div>
time to test in Filter.js
Write these lines inside Filter.js to check whether the component works or not: 👇
<Status
  updatePageNumber={updatePageNumber}
  updateStatus={updateStatus}
/>
The results so far: 👇

Species.js
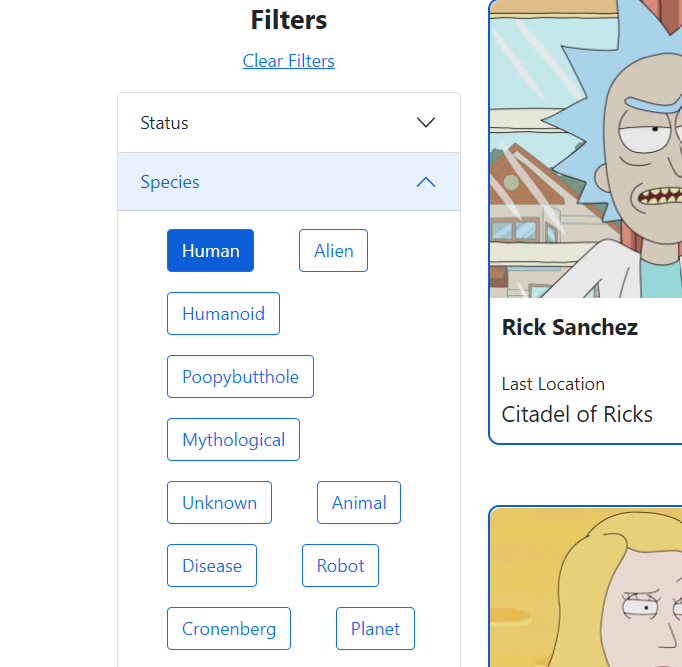
Write thes starter codes inside Species.js:
import FilterBTN from "../FilterBTN";

const Species = ({ updateSpecies, updatePageNumber }) => {
return (
<div className="accordion-item ">
  <h2 className="accordion-header" id="headingTwo">
    <button
      className="accordion-button collapsed" type="button"
      data-bs-toggle="collapse" data-bs-target="#collapseTwo"
      aria-expanded="false" aria-controls="collapseTwo"
    > Species </button>
  </h2>
</div>
)}
Now, create an array to hold all of our possible species data: 👇
  let species = [
    "Human", "Alien", "Humanoid",
    "Poopybutthole", "Mythological", "Unknown",
    "Animal", "Disease","Robot","Cronenberg","Planet",
  ];
And then, let's create the Species buttons by mapping our array data like this: 👇
<div
    id="collapseTwo" className="accordion-collapse collapse"
    aria-labelledby="headingTwo"
    data-bs-parent="#accordionExample"
  >
  <div className="accordion-body d-flex flex-wrap gap-3">
    {species.map((item, index) => {
      return (
        <FilterBTN
          name="species" index={index} key={index}
          updatePageNumber={updatePageNumber}
          task={updateSpecies} input={item}
        />
      );
    })}
  </div>
</div>
time to test in Filter.js
Write these lines inside Filter.js to check whether the component works or not: 👇
<Species
  updatePageNumber={updatePageNumber}
  updateSpecies={updateSpecies}
/>
The results so far: 👇

Gender.js
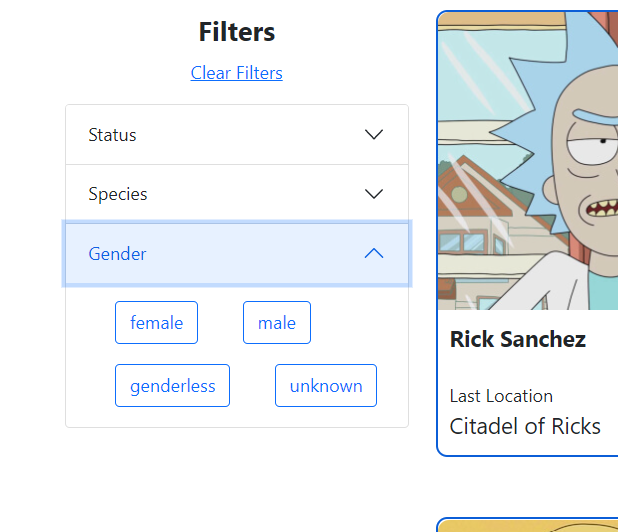
Write this starter code: 👇
import FilterBTN from "../FilterBTN";

const Gender = ({ updateGender, updatePageNumber }) => {
let genders = ["female", "male", "genderless", "unknown"];
return (
  <div className="accordion-item">
    <h2 className="accordion-header" id="headingThree">
      <button
        className="accordion-button collapsed" type="button"
        data-bs-toggle="collapse" data-bs-target="#collapseThree"
        aria-expanded="false" aria-controls="collapseThree"
      > Gender </button>
    </h2>
  </div>
);
};
Below the final h2 tag, put this code inside 👇 which will help us automatically map data and make our gender buttons:
<div id="collapseThree" className="accordion-collapse collapse"
  aria-labelledby="headingThree" data-bs-parent="#accordionExample"
>
<div className="accordion-body d-flex flex-wrap gap-3">
  {genders.map((items, index) => {
    return (
      <FilterBTN
        name="gender" index={index} key={index}
        updatePageNumber={updatePageNumber}
        task={updateGender} input={items}
      />
      );
    })}
  </div>
</div>
time to test in Filter.js
Write these lines inside Filter.js to check whether the component works or not: 👇
<Gender
  updatePageNumber={updatePageNumber}
  updateGender={updateGender}
/>
The results so far: 👇
How to Set Up React Router
Here's a demo of our Navigation component: 👇
Let's start coding!
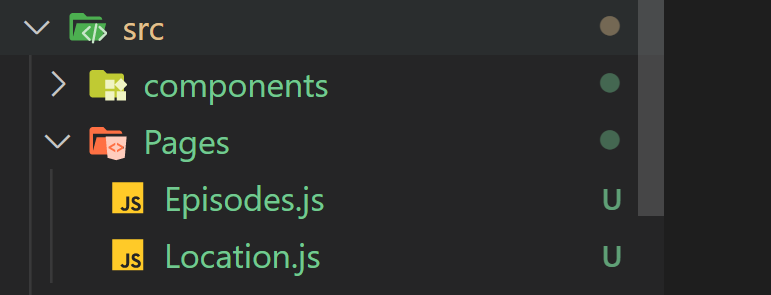
First, create a folder named Pages inside the src folder. It will hold 2 files - Episodes.js and Location.js. Something like this: 👇
App.js
Import your newly created pages component in App.js: 👇
import Episodes from "./Pages/Episodes";
import Location from "./Pages/Location";
In order to declare the Router and to define all sorts of file paths, we need to import react-router-dom in App.js including its core components. 👇
import { BrowserRouter as Router, Routes, Route } from "react-router-dom";
Now, create a new functional component called Home inside the App.js file. Then, cut everything from the App component and put it inside the Home component: 👇
const Home = () => {
  // Everything you've written so far
}
Inside your App component function, create a new Router component and put it inside the Navbar component. 👇
function App() {
  return (
    <Router>
      <div className="App">
        <Navbar />
      </div>
    </Router>
  );
}
Now, we need to define all our routes. Remember, Routes is a collection of Routes. Route is the actual file path.
Each route requires 2 things: The path where the app will actually lead to and the element which will get loaded. 👇
<Routes>
  <Route path="/" element={<Home />} />

  <Route path="/episodes" element={<Episodes />} />

  <Route path="/location" element={<Location />} />
</Routes>
Navbar.js
So far so good! Now, let's make the navbar component. First, import 2 components from react-router-dom. Then, write this bootstrap parent class including the brand name to hold our navbar pages component: 👇
import { NavLink, Link } from "react-router-dom";

const Navbar = () => {
return (
  <nav className="navbar navbar-expand-lg navbar-light bg-light mb-4">
    <div className="container">
      <Link to="/" className="navbar-brand fs-3 ubuntu">
        Rick & Morty <span className="text-primary">WiKi</span>
      </Link>
      <style jsx>{`
        button[aria-expanded="false"] > .close {
          display: none;
        }
        button[aria-expanded="true"] > .open {
          display: none;
        }
      `}</style>
    </div>
  </nav>
);
};
Write this code to generate our responsive hamburger menu: 👇
<button
  className="navbar-toggler border-0"
  type="button"
  data-bs-toggle="collapse"
  data-bs-target="#navbarNavAltMarkup"
  aria-controls="navbarNavAltMarkup"
  aria-expanded="false"
  aria-label="Toggle navigation"
>
  <span class="fas fa-bars open text-dark"></span>
  <span class="fas fa-times close text-dark"></span>
</button>
Write this code to generate our clickable navbar links. Notice that we are using the component from 'react-router-dom' to link to our page's component URL: 👇
<div
  className="collapse navbar-collapse justify-content-end"
  id="navbarNavAltMarkup"
> <div className="navbar-nav fs-5">
    <NavLink to="/" className="nav-link">
      Characters
    </NavLink>
    <NavLink to="/episodes" className="nav-link">
      Episode
    </NavLink>
    <NavLink
      activeClassName="active" className="nav-link"
      to="/location" >Location</NavLink>
  </div>
</div>
App.css
Also, write these styles if you want to make the navbar look nice and let your users know exactly which page they are on currently: 👇
.active {
  color: #0b5ed7 !important;
  font-weight: bold;
  border-bottom: 3px solid #0b5ed7;
}
Then, inside Navbar.js, import the styles like this: 👇
import "../../App.css";
The result so far: 👇
Episodes
For creating this page, we need 2 components: the first one is the card component, which is already built, and the second one is the Input Group component through which we can change our episode number.
InputGroup.js
Our input groups will only be available in the Episodes & Location component so that we can change the episode number and location to search for characters. Let's start! 👇
Inside the category folder of Filter folder, create a new file named InputGroup.js and write this starter code including the props destructuring system: 👇
const InputGroup = ({ name, changeID, total }) => {
return <div className="input-group mb-3">
  <select
  onChange={(e) => changeID(e.target.value)}
  className="form-select"
  id={name}
  ></select>
</div>
};
Then, let's create our input group option. Write this code inside your select tag: 👇
<option value="1">Choose...</option>
{[...Array(total).keys()].map((x, index) => {
  return (
    <option value={x + 1}>
      {name} - {x + 1}
    </option>
  );
})}
Episodes.js
Inside this file, import these components: 👇
import React, { useEffect, useState } from "react";
import Card from "../components/Card/Card";
import InputGroup from "../components/Filter/category/InputGroup";
Now, create these states so that we can hold and change crucial information to fetch data from our api: 👇
const Episodes = () => {
  let [results, setResults] = React.useState([]);
  let [info, setInfo] = useState([]);
  let { air_date, episode, name } = info;
  let [id, setID] = useState(1);

let api = `https://rickandmortyapi.com/api/episode/${id}`;
}
Write this code to fetch data from our API: 👇
useEffect(() => {
  (async function () {
    let data = await fetch(api).then((res) => res.json());
    setInfo(data);

    let a = await Promise.all(
      data.characters.map((x) => {
        return fetch(x).then((res) => res.json());
      })
    );
    setResults(a);
  })();
}, [api]);
Now, let's write the code to render the results on our screen. First, let's display the Episode name and air date like this: 👇
return (
<div className="container">
  <div className="row mb-3">
    <h1 className="text-center mb-3">
      Episode name :{" "}
      <span className="text-primary">{name === "" ? "Unknown" : name}</span>
    </h1>
    <h5 className="text-center">
      Air Date: {air_date === "" ? "Unknown" : air_date}
    </h5>
  </div>
</div>
);
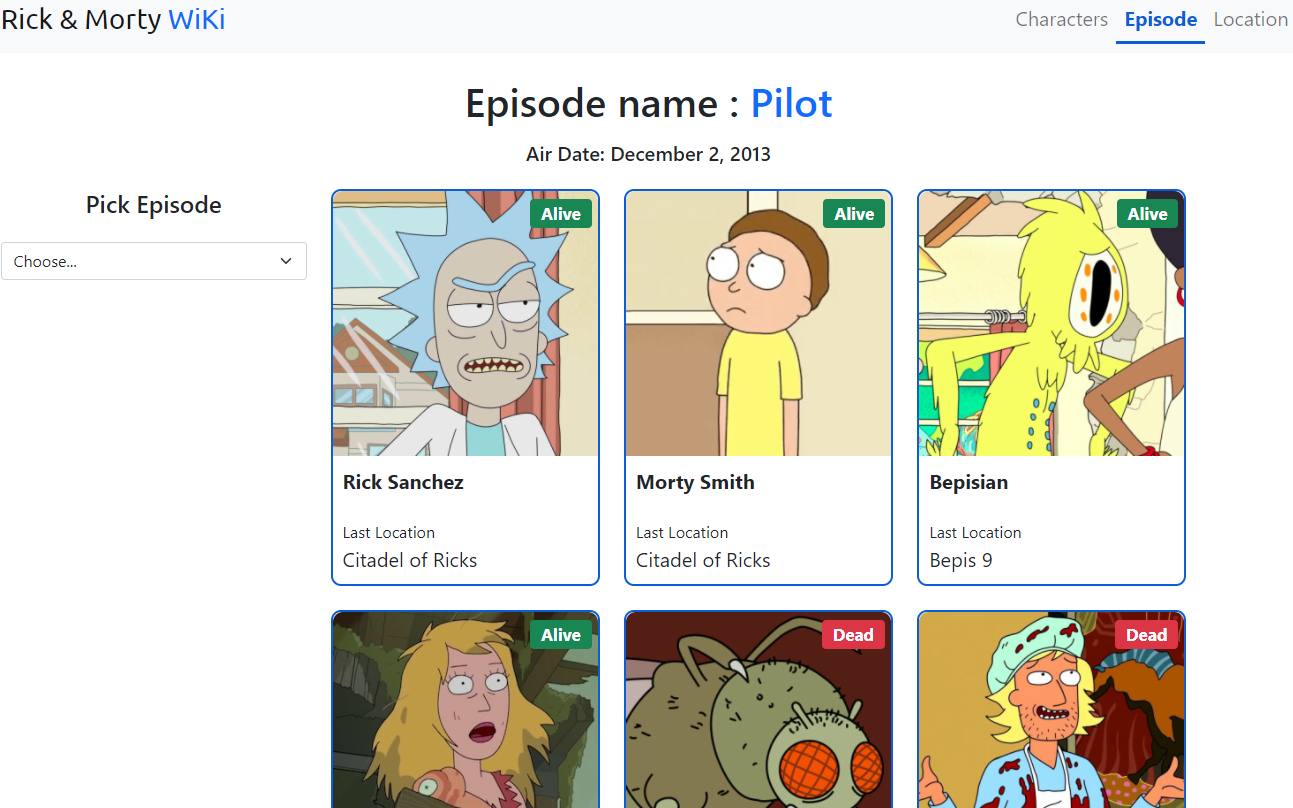
The results so far look like this: 👇

Now, let's display the character cards and input groups: 👇
<div className="row">
  <div className="col-lg-3 col-12 mb-4">
    <h4 className="text-center mb-4">Pick Episode</h4>
    <InputGroup name="Episode" changeID={setID} total={51} />
  </div>
  <div className="col-lg-8 col-12">
    <div className="row">
      <Card results={results} />
    </div>
  </div>
</div>
The results so far: 👇
Location
Making this component is similar to making episodes page. First, copy everything from the episodes page and make these few changes: 👇
  let [results, setResults] = useState([]);
  let [info, setInfo] = useState([]);
  let { dimension, type, name } = info;
  let [number, setNumber] = useState(1);

  let api = `https://rickandmortyapi.com/api/location/${number}`;
Now change only one keyword in the useEffect hook, from characters to residents, like this: 👇
useEffect(() => {
      // Other codes are here
      data.residents.map((x) => {
      })
    // Other codes are here
}, [api]);
In the return statement, make these changes: 👇
return (
<h1 className="text-center mb-3">
  Location :
  <span className="text-primary">
    {name === "" ? "Unknown" : name}
  </span>
</h1>
<h5 className="text-center">
  Dimension: {dimension === "" ? "Unknown" : dimension}
</h5>
<h6 className="text-center">Type: {type === "" ? "Unknown" : type}</h6>
);
And finally, make these changes for our InputGroup component: 👇
<InputGroup name="Location" changeID={setNumber} total={126} />
The results so far 👇
Dynamic Pages
This is the last step of our project. Our main gioal is to know more about a specific character when we click on the card. We're gonna be using the dynamic module system of react-router-dom – something like this: 👇
CardDetails.js
To accomplish our goals, we need to create a seperate component to display more details about the character. We will create a new file named CardDetails.js inside the Card folder.abs.
First, let's import the essential components:
import React, { useState, useEffect } from "react";
import { useParams } from "react-router-dom";
Then, we need to store our api and use some useState hooks. We will use the useParams hook to get the id from the URL: 👇
const CardDetails = () => {
let { id } = useParams();
let [fetchedData, updateFetchedData] = useState([]);
let { name, location, origin, gender, image, status, species } = fetchedData;

let api = `https://rickandmortyapi.com/api/character/${id}`;
}
We'll use this useEffect hook to fetch data from our API: 👇
useEffect(() => {
  (async function () {
    let data = await fetch(api).then((res) => res.json());
    updateFetchedData(data);
  })();
}, [api]);
Now, let's write this code which will output the name and image of our character: 👇
return (
<div className="container d-flex justify-content-center mb-5">
  <div className="d-flex flex-column gap-3">
    <h1 className="text-center">{name}</h1>
    <img className="img-fluid" src={image} alt="" />
  </div>
</div>
)
Now, write this code in case you want to display the current status of every character: 👇
{(() => {
if (status === "Dead") {
  return <div className="badge bg-danger fs-5">{status}</div>;
} else if (status === "Alive") {
  return <div className=" badge bg-success fs-5">{status}</div>;
} else {
  return <div className="badge bg-secondary fs-5">{status}</div>;
}
})()}
Next up, write this code to display all the information about the character: 👇
<div className="content">
  <div className="">
    <span className="fw-bold">Gender : </span>
    {gender}
  </div>
  <div className="">
    <span className="fw-bold">Location: </span>
    {location?.name}
  </div>
  <div className="">
    <span className="fw-bold">Origin: </span>
    {origin?.name}
  </div>
  <div className="">
    <span className="fw-bold">Species: </span>
    {species}
  </div>
</div>
App.js
Next up, we need to define our paths so that our dynamic router component works properly. First, import and then add this code: 👇
import CardDetails from "./components/Card/CardDetails";
// other codes are here

<Routes>
  <Route path="/:id" element={<CardDetails />} />
  <Route path="/episodes/:id" element={<CardDetails />} />
  <Route path="/location/:id" element={<CardDetails />} />
</Routes>
Now, scroll down inside your App.js and make this small modification 👇 so that it refers to the home page:
<Card page="/" results={results} />
Card.js
Go to your card component and make these changes: 👇
- First, destructure the new props and import
Linkfromreact-router-dom
import { Link } from "react-router-dom";

const Card = ({ page, results }) => {}
- Next up, wrap everything inside the return statement inside a Link tag:
<Link
  style={{ textDecoration: "none" }}
  to={`${page}${id}`}
  key={id}
  className="col-lg-4 col-md-6 col-sm-6 col-12 mb-4 position-relative text-dark"
>
{/* Other codes are here */}
</Link>
Episodes.js
In this file, just adjust this small line: 👇
<Card page="/episodes/" results={results} />
Location.js
Just like in Episodes.js, just adjust this small line: 👇
<Card page="/location/" results={results} />
The results: ✨✨✨
Conclusion

Congratulations for reading until the end! Now you can easily and efficiently use React JS and Bootstrap to handle projects.
You have also learned how to fetch data from an API and map the results. Not only that, you also have a project to show your local recruiter.
Here's your medal for reading until the end ❤️
Suggestions and criticisms are highly appreciated ❤️