
By Mehul Mohan
When you're learning a new skill, video tutorials can only take you so far. Many people agree that getting your hands dirty by building a project is the way to go.
So, in this series of hands-on articles, we'll build not one or two, but five small React applications.
These apps will range from small to mid-sized and will require you to build the whole thing yourself. Like you'll really code the app and pass the test cases and make sure you learn each skill.
Ready to start?
How this will work
This article is heavily inspired by freeCodeCamp's own video here. But instead of just watching the video, you'll have to complete the projects with your own hands.
Throughout the course of this mini blog series, you'll build five small projects. And for each project, there are some basic rules:
- You have to code certain (or all) aspects of a feature
- You have to pass the given tests for the challenges
- You can seek out external help. But I would recommend spending some time with the interface and the instructions first. This is because the interface is designed based on how you'll likely actually spend your time as a developer in developer-based tools.
Just a note: codedamn spins up a server instance for each user, so in order to use the classroom you need to register/sign in.
If you just want to check out the code and work through the project on your own, not in the classroom, you can view it on GitHub. I've linked to GitHub in each section below so you can jump to the relevant part in the code.
So let's get started with the first project. If I receive good feedback, I will continue the write-ups and projects.
How to Build Birthday Reminder App (Project #1)
Because this is our first project, I will keep the complexity very low. In this project, we will use React to render a list of data items, that is the birthdays of a few people.
These data will be rendered from a static data source and should help you understand how to import and use/clear data inside a state. We'll work inside a classroom I've created with my project Codedamn. You can start this classroom here.
I highly recommend completing this and other classrooms as much as you can by yourself. You can (and should) use this blog post as a guide.
Here's what you'll learn in this classroom:
- How a basic React project looks
- How to load data from a static JS file
- How to use useState to store data
- How to clear the state variable and see that reflected in the UI
Lab 1 - Introduction to the project
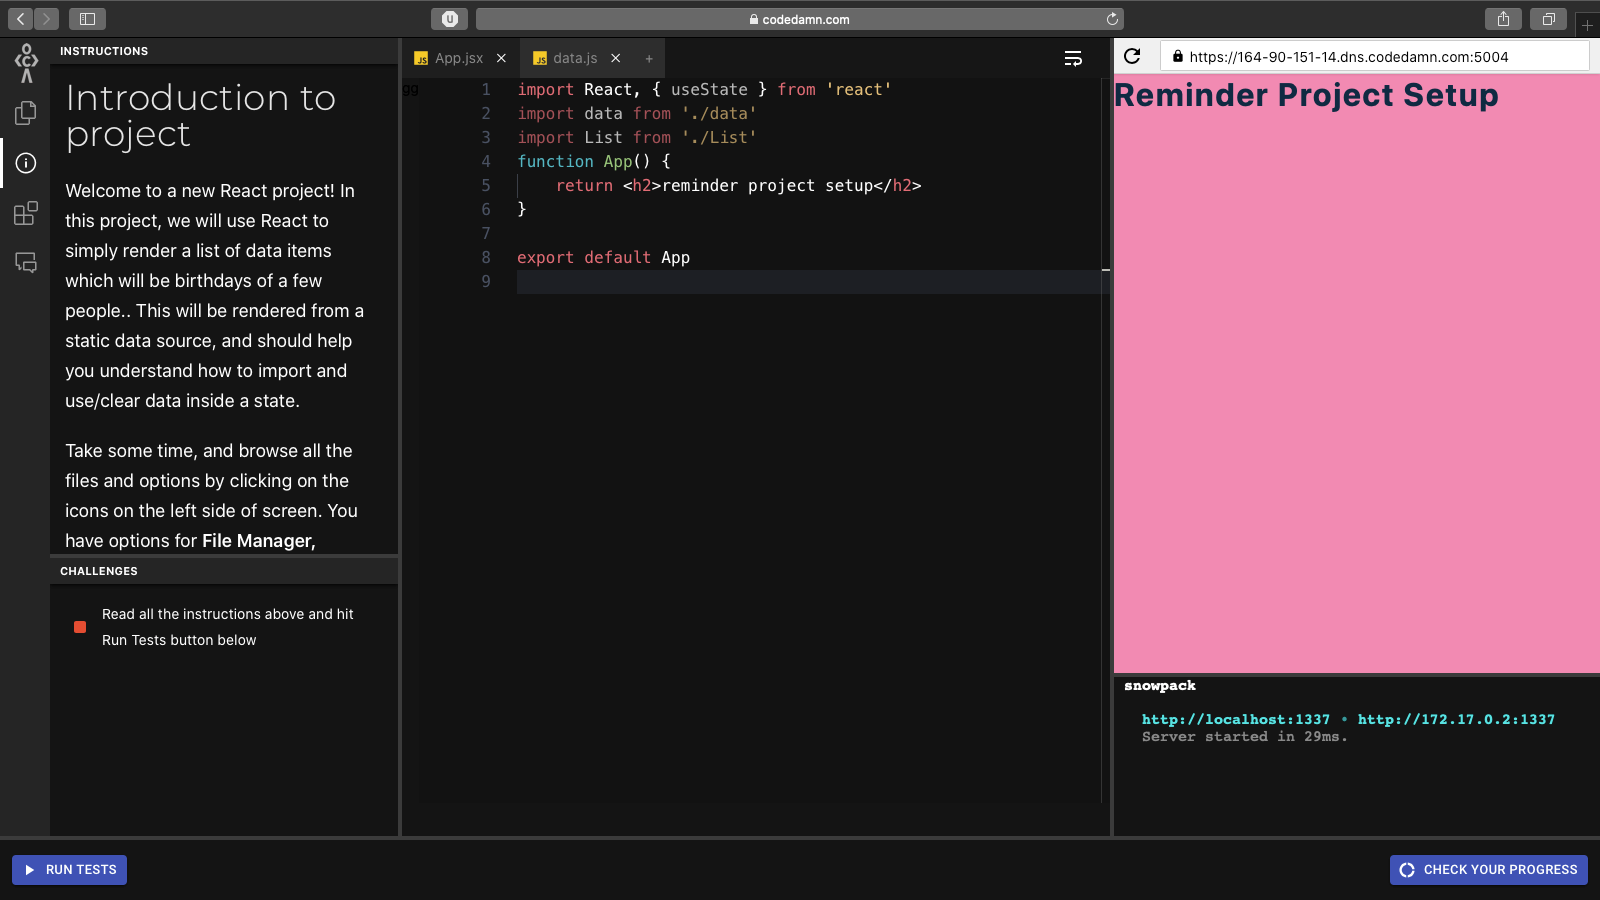 Preview of the lab where you complete this task
This first challenge introduces you to the project and its structure. Spend some time locating all the relevant bits and pieces in this one, and once you're done, simply hit "Run Tests" to pass this challenge. Nothing fancy here :)
Lab 2 - How to create the birthday view container
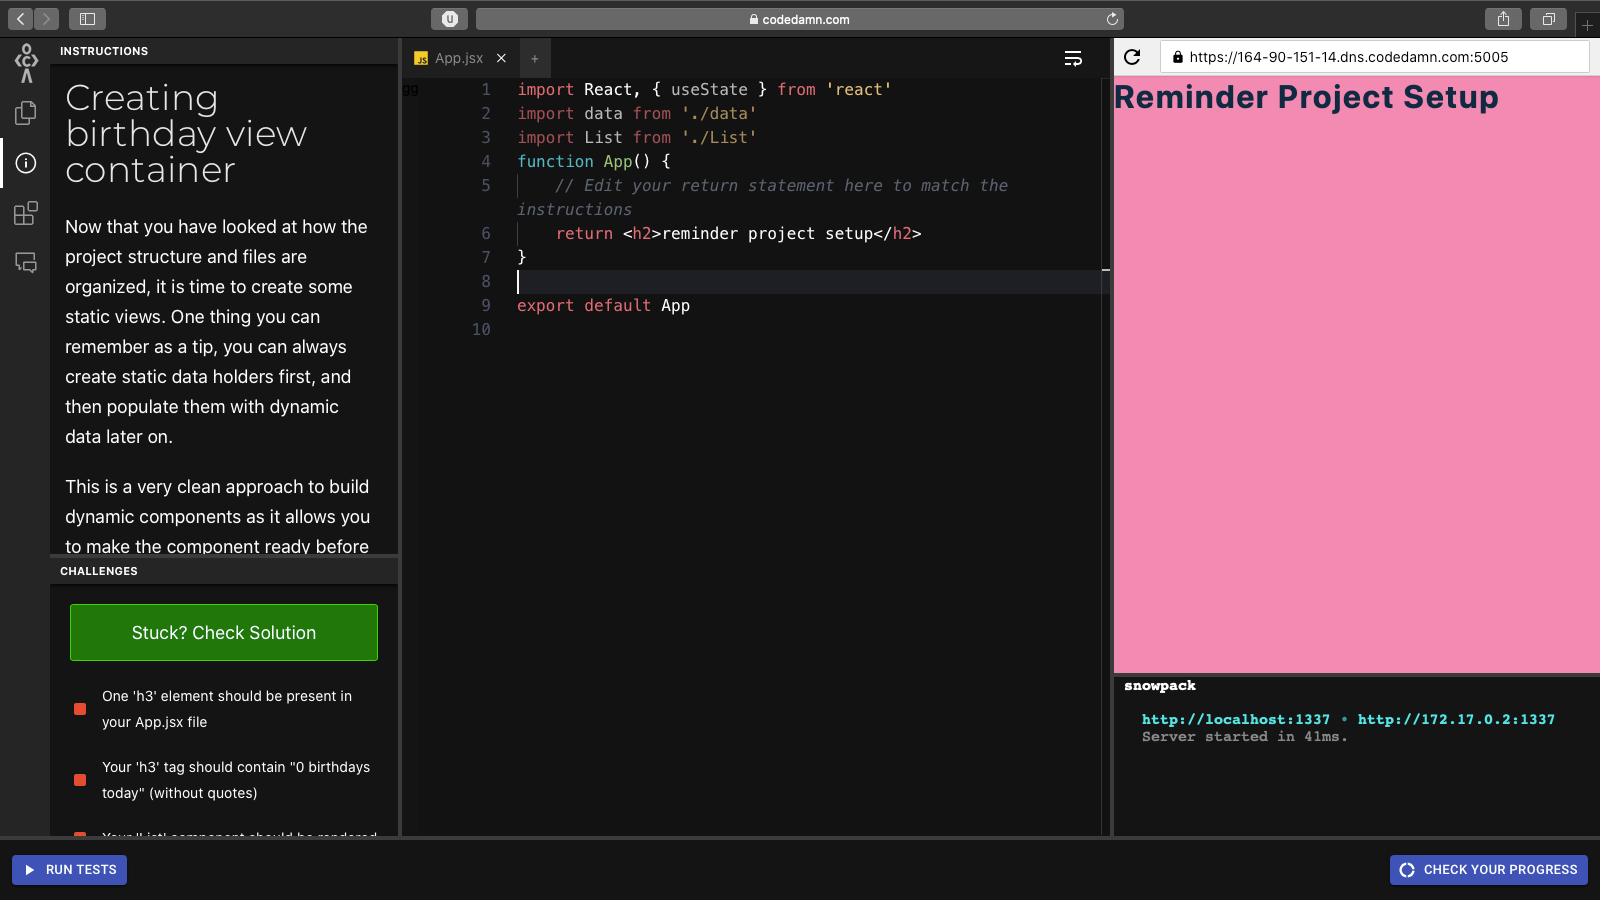 Preview of the lab where you complete this task
Here's the link to this practice lab.
You can also find the setup files of the lab on GitHub here.
Now that you have looked at how the project structure and files are organized, it is time to create some static views.
Remember that you can always create static data holders first and then populate them with dynamic data later on.
This is a very clean approach to building dynamic components, as it allows you to make the component ready before you fill it dynamically with data.
In this lab, you have the following challenges to complete:
- Inside your App.jsx file, create the following HTML hierarchy:
main > section.container > h3 + List
- Hint: The above abbreviation means that your structure should look like the following:
<main>
    <section class="container">
        <h3></h3>
        <List />
    </section>
</main>
- Your
h3should contain the text:
0 birthdays today
- Your
<List />component should be theList.jsxcomponent which is imported at the top.
To pass all the tests, make sure you do the following:
- One 'h3' element should be present in your App.jsx file
- Your 'h3' tag should contain "0 birthdays today" (without quotes)
- Your 'List' component should be rendered
Here's the solution to this challenge:
import React, { useState } from 'react'
import data from './data'
import List from './List'
function App() {
    // Edit your return statement here to match the instructions
    return (
        <main>
            <section className="container">
                <h3>0 birthdays today</h3>
                <List />
            </section>
        </main>
    )
}

export default App
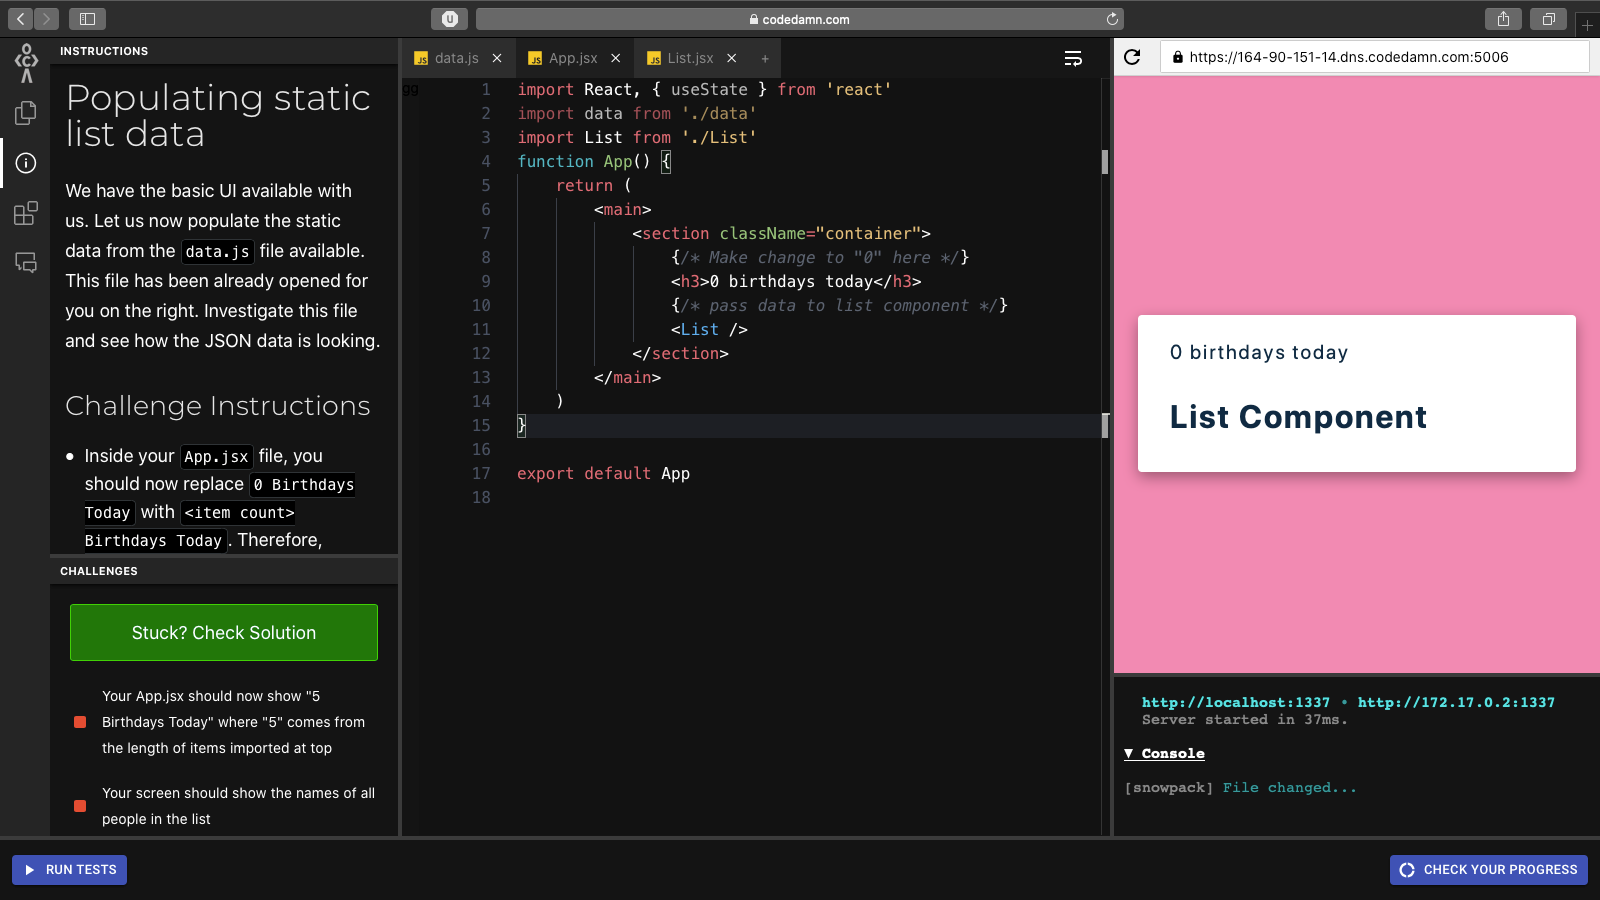
Lab 3 - How to populate static list data
 Preview of the lab where you complete this task
You can also find the setup files of the lab on GitHub here.
We have the basic UI available to us. Let's now populate the static data from the data.js file.
This file has already been opened for you on the right side of the editor. Check out this file and see how the JSON data looks.
In this lab, you have to do the following things:
- Inside your
App.jsxfile, you should now replace0 Birthdays Todaywith<item count> Birthdays Today. Therefore, initially, it should show5 Birthdays Today. Remember, the<item count>comes from the number of elements inside yourdatavariable imported at the top. - Hint: You can use
data.length - Pass the imported
datavariable as a prop to theListcomponent. This prop should be calledpeople - Hint:
<List people={data} /> - In the
Listcomponent, use this passed data to render just the names of the people for now. You canmapover these people and display their names.
Here are 3 tests you have to pass:
- Your App.jsx should now show "5 Birthdays Today" where "5" comes from the length of items imported at top
- Your screen should show the names of all people in the list
- You should use the "people" prop in the List component to pass the data and it should display the names
And here's the solution for the challenge.
App.jsx file:
import React, { useState } from 'react'
import data from './data'
import List from './List'
function App() {
    return (
        <main>
            <section className="container">
                {/* Make change to "0" here */}
                <h3>{data.length} birthdays today</h3>
                {/* pass data to list component */}
                <List people={data} />
            </section>
        </main>
    )
}

export default App
List.jsx file:
import React from 'react'

// accept props here
const List = (props) => {
    const { people } = props
    // Map over prop "people" and display only the names in any way you like
    return people.map((item) => {
        return <p key={item.id}>{item.name}</p>
    })
}

export default List
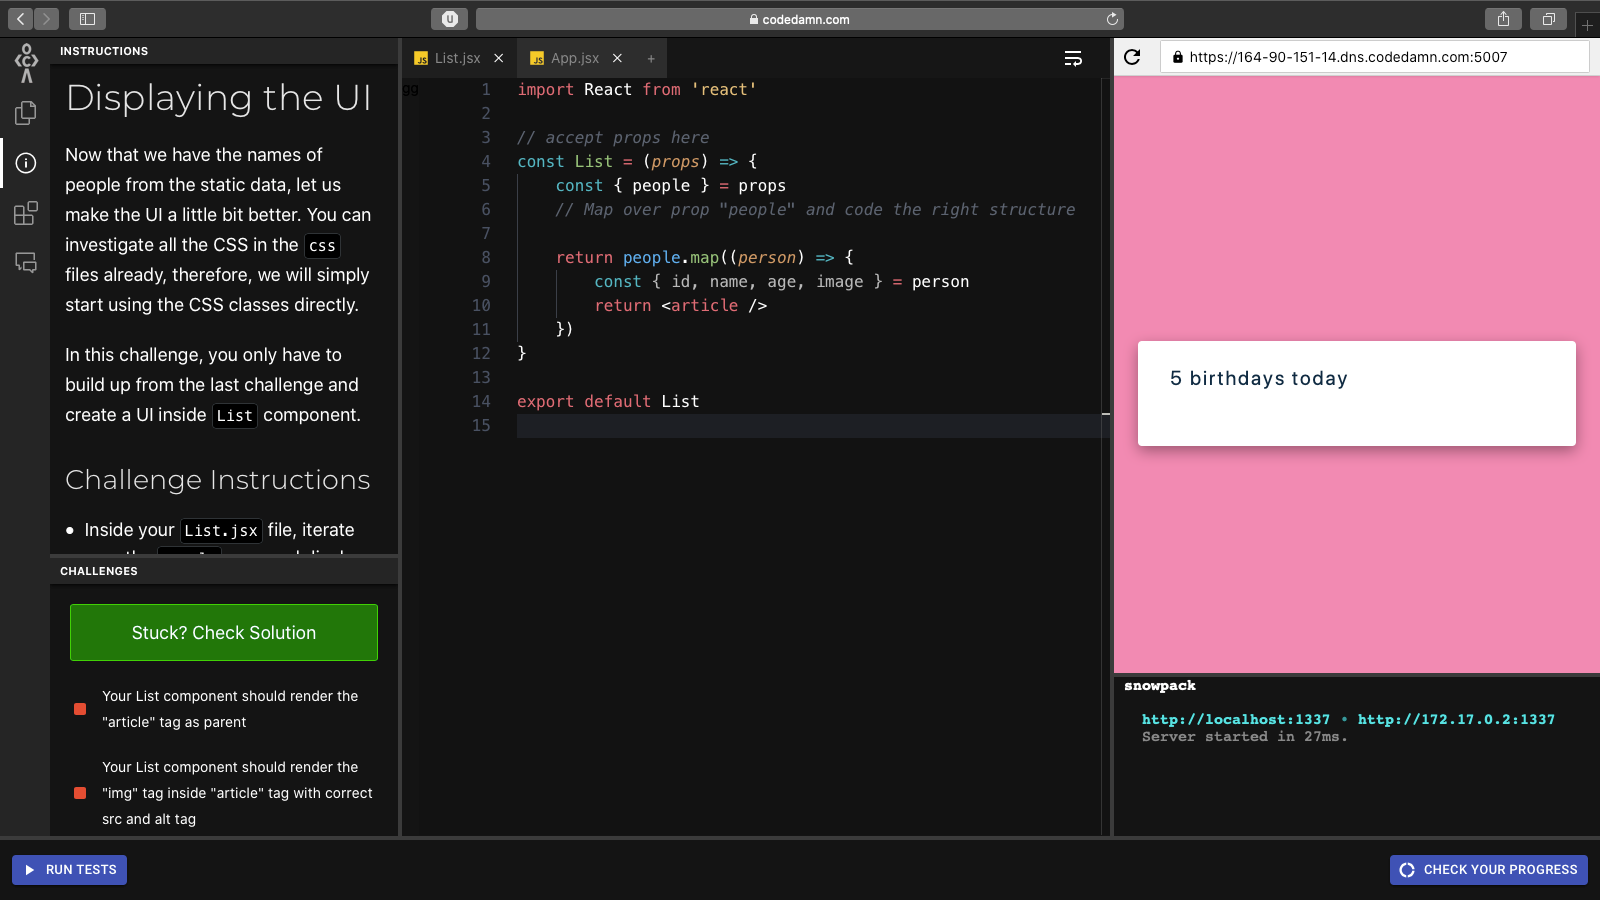
Lab 4 - How to display the new UI
You can also find the setup files of the lab on GitHub here.
Now that we have the names of people from the static data, let's make the UI a little bit better. You can look through all the CSS in the css files first, and then we will simply start using the CSS classes directly.
In this challenge, you only have to build up from the last challenge and create a UI inside List component.
In this lab, you have to do the following things:
- Inside your
List.jsxfile, iterate over thepeopleprop and display the following HTML structure:
<article class="person">
    <img src="<image of user>" alt="<name of user>" />
    <div>
        <h4>NAME_OF_USER</h4>
        <p>AGE_OF_USER years</p>
    </div>
</article>
- Make sure you replace the placeholders appropriately. Also, CSS classes in React JSX are named
className, just a reminder!
Here are 4 tests you have to pass:
- Your List component should render the "article" tag as parent
- Your List component should render the "img" tag inside "article" tag with the correct src and alt tag
- Your List component should render the "div > h4" inside the "article" tag with the name of the person
- Your List component should render the "div > p" inside the "article" tag with the age of the person
And here's the solution (List.jsx file):
import React from 'react'

// accept props here
const List = (props) => {
    const { people } = props
    // Map over prop "people" and code the right structure

    return people.map((person) => {
        const { id, name, age, image } = person
        return (
            <article key={id} className="person">
                <img src={image} alt={name} />
                <div>
                    <h4>{name}</h4>
                    <p>{age} years</p>
                </div>
            </article>
        )
    })
}

export default List
Lab 5 - How to add a Clear All button
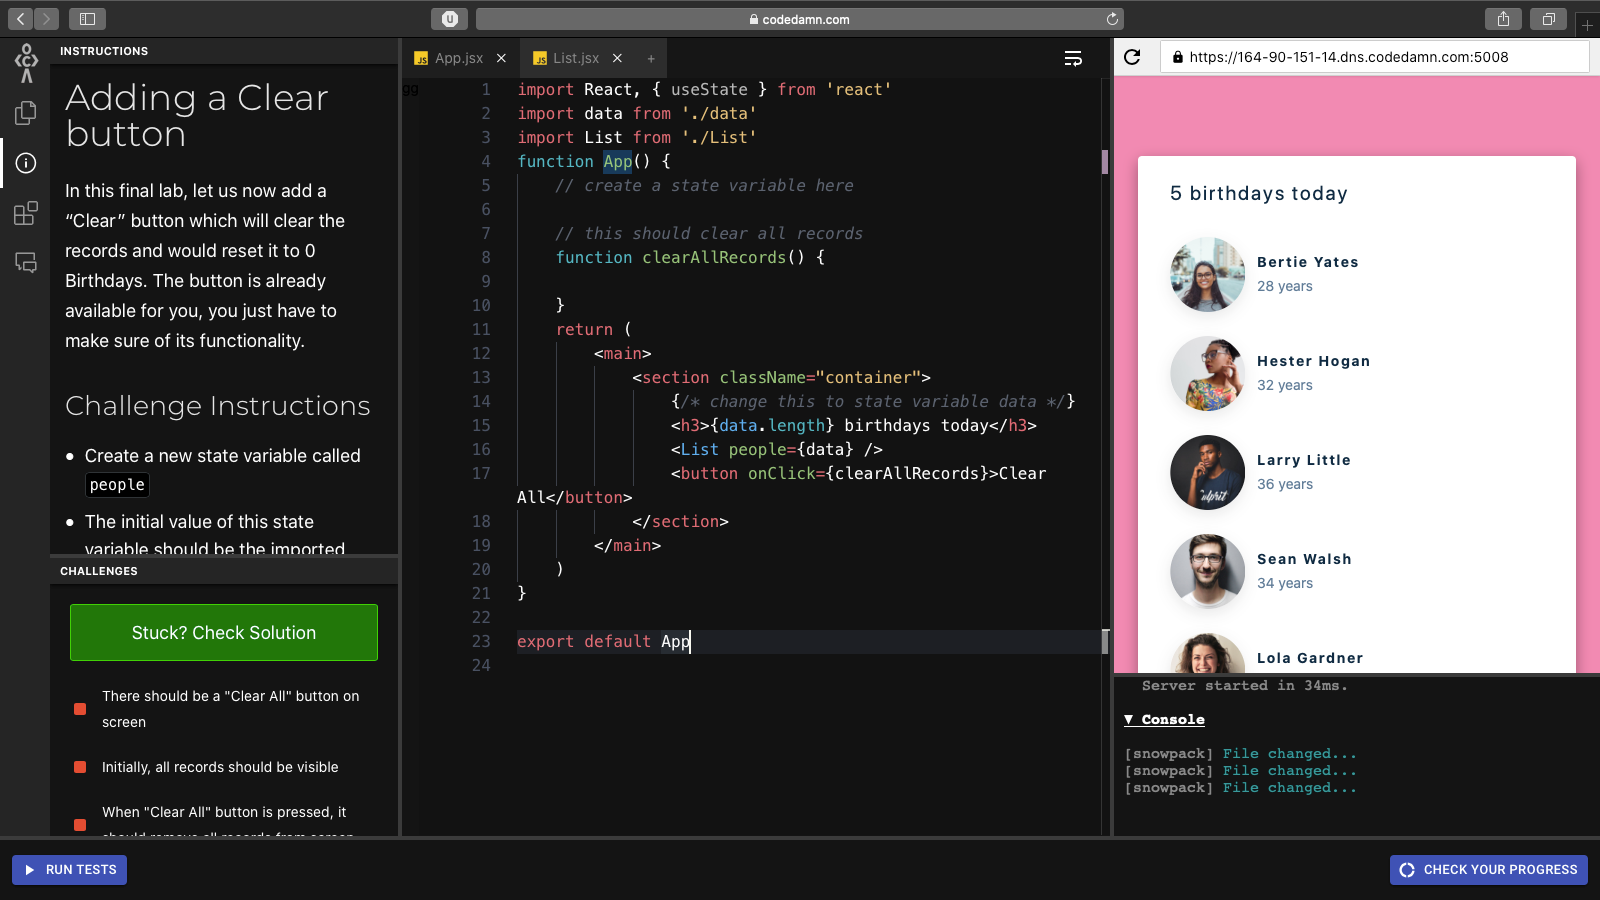
You can also find the setup files of the lab on GitHub here.
In this final lab, let's now add a “Clear” button which will clear the records and reset it to 0 birthdays. The button is already available for you, you just have to make sure it functions properly.
In this lab, you have to do the following things:
- Create a new state variable called
people - The initial value of this state variable should be the imported data from the top.
- Pass this state variable now in the
Listcomponent. - When the
Clearbutton is pressed, empty the state variable so that no record is displayed (Hint: set it to an empty array)
And these are the tests you have to pass:
- There should be a "Clear All" button on the screen (already done for you)
- Initially, all records should be visible
- When the "Clear All" button is pressed, it should remove all records from the screen
Here's the App.jsx solution file for this lab:
import React, { useState } from 'react'
import data from './data'
import List from './List'
function App() {
    // create a state variable here
    const [people, setPeople] = useState(data)

    // this should clear all records
    function clearAllRecords() {
        setPeople([])
    }
    return (
        <main>
            <section className="container">
                <h3>{people.length} birthdays today</h3>
                <List people={people} />
                <button onClick={clearAllRecords}>Clear All</button>
            </section>
        </main>
    )
}

export default App
And you're done! Congrats on completing a small project in React. Way to go :)
Conclusion
I hope you enjoyed this codedamn classroom. You can find many others in the React Mastery learning path on codedamn.
There are a lot of gaps to fill yet, but there's a good chance that it will get you started pretty smoothly if you're new.
Make sure you tell me how your experience was on my Twitter handle, as this will help me frame the next practice classrooms.