

Are you looking for an elegant way to reveal content on your React website as users scroll down the page? Look no further than the Intersection Observer API.
In this article, you’ll learn how to implement the reveal on scroll effect in React using Intersection Observer. This will allow you to create stunning, dynamic user experiences that keep visitors engaged and coming back for more.
This step-by-step guide will help you understand this technique in no time, taking your React development skills to the next level.
Prerequisites
- Fundamentals of HTML and CSS
- Fundamentals of JavaScript and JavaScript’s Intersection Observer API
- Fundamental knowledge of React
- A code editor, a browser (preferably one that supports Java Script's Intersection API, like Google Chrome) and Node.js
What is the Intersection Observer API?
Intersection Observer is a web-based API that enables developers to detect when a specific element intersects with another element or the viewport.
You can use this API to monitor any changes in the visibility of an element as it intersects with another element, or exits / enters the viewport.
How the Intersection Observer API Works
Intersection Observer first watches for an intersection (either between two elements or an element and the browser’s viewport). When it detects an intersection, the observer function fires a callback function that tells the code what to do next.
How to Implement the Intersection Observer API in React
This section consists of three parts:
- Setting up your React environment
- Adding boilerplates and styles
- Implementing the review on scroll functionality
How to set up your React environment:
First, you'll need to set up a React environment by running npx create-react-app [your project name], either on your native terminal or an IDE’s terminal.
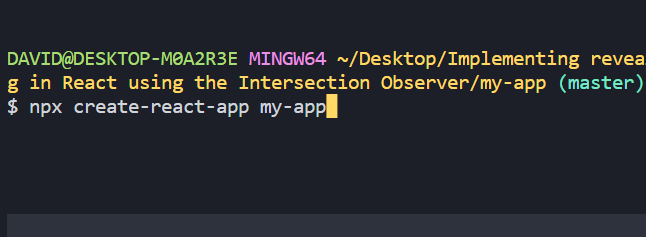 Command to create your React app
If you chose to use a native terminal, your next step will be opening that file with your preferred IDE. It should look something like this:
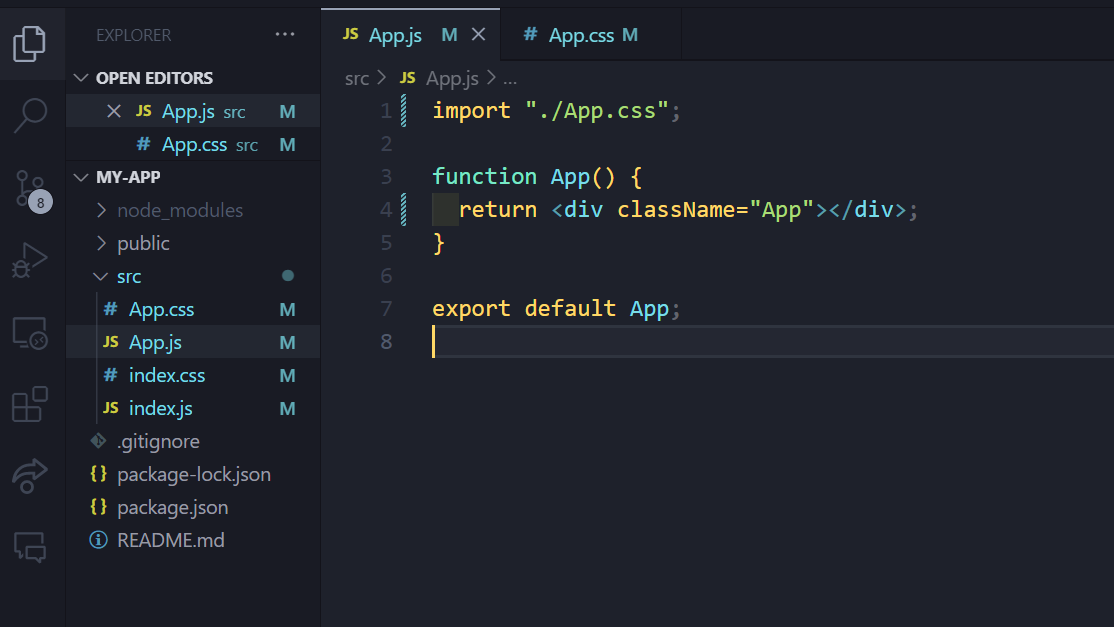 Opening the file in your IDE
How to add boilerplate and styles
Next, clear all the default stylings and rid yourself of all the unnecessary files and imports for this project. This leaves your folder structure looking like this:
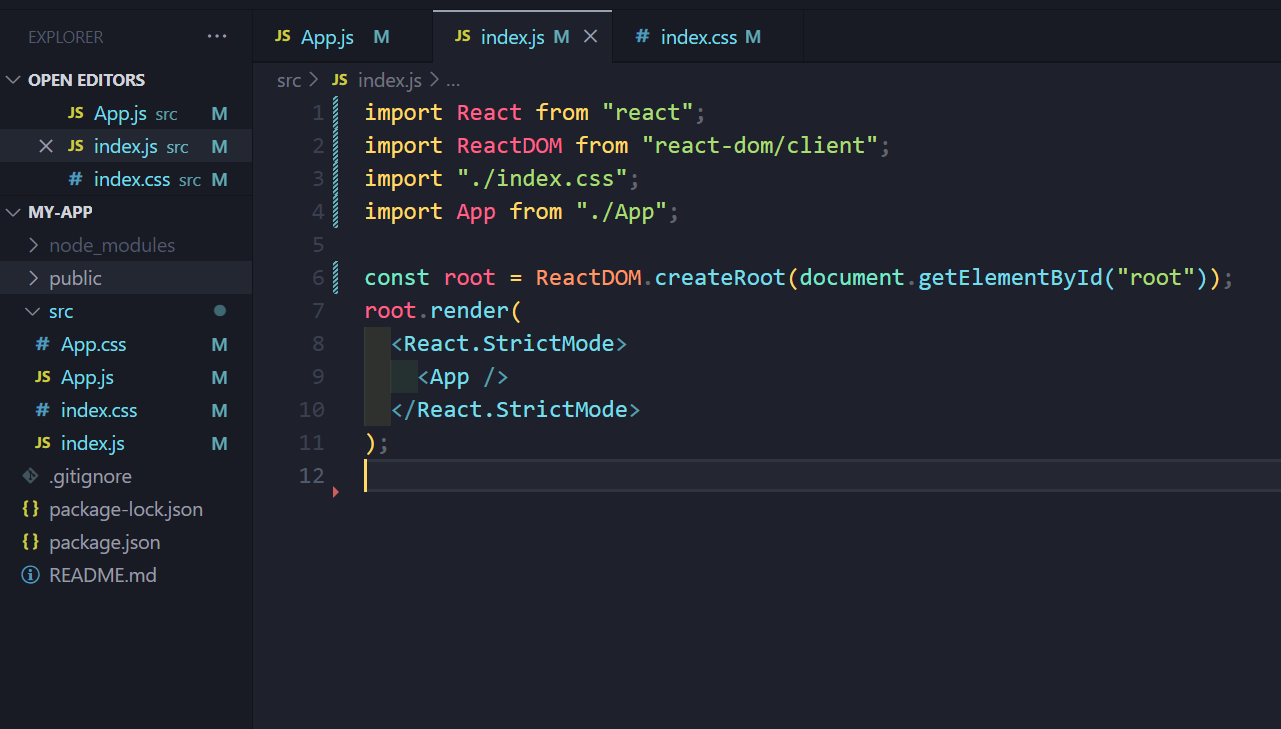 React app folder structure
For the App component, you'll create three child elements (header, main and footer). This is necessary because it gives you a better understanding of the reveal-on-scroll effect as you scroll in from the header and scroll out through the footer.
Import ‘./App.css’
function App()
{  return
(    <div className="App">
        <header>This is the Header</header>
        <main>
            <div className="child-one">Child One</div>
            <div className="child-two">Child Two</div>
        </main>
        <footer>This is the Footer</footer>
      </div>  );
}

export default App;
Then apply these styles in the App.css file to organise your app's layout.
@import url("https://fonts.googleapis.com/css2?family=Edu+NSW+ACT+Foundation:wght@500&display=swap");

* {
  margin: 0;
  padding: 0;
  box-sizing: border-box;
}

.App {
  width: 100%;
  height: 100%;
  background: #fff;
  font-family: "Edu NSW ACT Foundation", cursive;
}

body {
  font-size: 50px;
}

header,
footer {
  box-shadow: 3px 5px 5px rgba(0, 0, 0, 0.3);
  height: 100vh;
  margin-bottom: 50px;
  display: flex;
  justify-content: center;
  align-items: center;
}

footer {
  margin-top: 50px;
  box-shadow: -3px -5px 5px rgba(0, 0, 0, 0.3);
}

main {
  box-shadow: 3px 5px 5px rgba(0, 0, 0, 0.3), -3px -5px 5px rgba(0, 0, 0, 0.3);
  height: 100vh;
  display: flex;
  align-items: center;
  justify-content: center;
  padding: 50px;
  gap: 50px;
  overflow: hidden;
}

main div {
  flex: 1;
  height: 80%;
  border: 2px solid #999;
  display: flex;
  justify-content: center;
  align-items: center;
  border-radius: 10px;
  Transition: all ease-in 1s;
}

.slide-in {
  transform: translateX(0) !important;
}
Your project should look like this currently:
 Layout after applying styles
How to implement the review on scroll functionality
First, you need to create a state that holds the current intersecting value – that is, if the monitored element is intersecting something or not.
import { useState} from "react";
export default function test() {
  const [isIntersecting, setIsIntersecting] = useState(false);
The initial value of the state is set to false, and changes to true when an intersection occurs.
Next, you create a reference using the useRef hook, which you will then attach to the element you want to reference. This hook is used to store a reference to a DOM element (similar to what you would get with document.querySelector), allowing you to access and manipulate the element directly when needed.
import { useState, useRef } from "react";
function App() {
  const [isIntersecting, setIsIntersecting] = useState(false);

  const ref = useRef(null);

  return (
    <div className="App">
      <header>This is the Header</header>
      <main ref={ref}>
        <div className="child-one">Child One</div>
        <div className="child-two">Child Two</div>
      </main>
      <footer>This is the Footer</footer>
    </div>
  );
}

export default App;
Next, you use a useEffect hook to create an intersection observer instance that watches for intersections.
import { useState, useRef, useEffect} from "react";

useEffect(() => {
    const observer = new IntersectionObserver();
  }, []);
After that, you'll pass in a callback function that updates the intersecting state.
 useEffect(() => {
    const observer = new IntersectionObserver(
      ([entry]) => {
        setIsIntersecting(entry.isIntersecting);
      }
    );
  }, []);
Keep in mind that we deconstructed the entries array to get the first value, that is the first intersection.
Next, you provide an options object as the second argument to the IntersectionObserver function.
The options object can have several properties, including the rootMargin property. The rootMargin value defines the margins around the observed element, effectively expanding or contracting its bounding box. The observer function triggers when the adjusted bounding box enters or exits the intersection with the specified root element.
useEffect(() => {
    const observer = new IntersectionObserver(
      ([entry]) => {
        setIsIntersecting(entry.isIntersecting);
      },
      { rootMargin: "-300px" }
    );
  }, []);
Note: It is important to note that if you specify a negative value for rootMargin, the observer function will fire when the observed element is already partially visible. For example, a value of -300px means that the observer function will trigger when 300 pixels of the observed element have come into view.
Your next step is to call the observe method on the observer to indicate the current element you’re observing.
useEffect(() => {
    const observer = new IntersectionObserver(
      ([entry]) => {
        setIsIntersecting(entry.isIntersecting);
      },
    );
    observer.observe(ref.current);
  }, []);
With this, you’ve set up your observer instance. All that’s left in this hook is to create a cleanup function that terminates the observation when the observed element unmounts.
 useEffect(() => {
    const observer = new IntersectionObserver(([entry]) => {
      setIsIntersecting(entry.isIntersecting);
    });
    observer.observe(ref.current);
    return () => observer.disconnect();
  }, []);
Let’s test to see if our observer function works properly by logging the current value of isIntersecting to the console.
useEffect(() => {
    const observer = new IntersectionObserver(([entry]) => {
      setIsIntersecting(entry.isIntersecting);
    });
    console.log(isIntersecting);
    observer.observe(ref.current);
    return () => observer.disconnect();
  }, []);
 Testing for intersections with the browser console
As you can see, when you first load the page, the value of isIntersecting is false because no intersection has occurred. As you scroll down the page and see your target element, the value changes to true, and when you leave the element the value changes back to false.
To achieve the desired reveal-on-scroll effect, it is crucial to first translate both child divs out of the viewport. This will allow you to bring them back when isIntersection is true, that is during the intersection, which is the key step in creating the effect.
main div:first-child {
  transform: translateX(-150%);
  opacity: 0;
}
main div:last-child {
  transform: translateX(150%);
  opacity: 0;
}
Next, you use a second useEffect hook to handle the logic of bringing our child divs into view. You first check if there is an intersection:
 useEffect(() => {
    if (isIntersecting) {

    }
  }, []);
Then you target all the child elements inside the observed element, loop over them, and add a CSS class that reveals them.
.slide-in {
  transform: translateX(0) !important;
  opacity: 1 !important;
}
 useEffect(() => {
    if (isIntersecting) {
      ref.current.querySelectorAll("div").forEach((el) => {
        el.classList.add("slide-in");
      });
    }
  }, [isIntersecting]);
Note: Since a change in the value of isIntersecting causes the useEffect hook to re-render, we pass it as a dependency in the dependency array.
Taking a look at what you’ve achieved so far:
 Initial reveal-on-scroll effect achieved
And with that, you’ve implemented reveal on scroll functionality – kudos!
All that’s left to do is to make the child elements leave the viewport once there’s no longer an intersection.
useEffect(() => {
    if (isIntersecting) {
      ref.current.querySelectorAll("div").forEach((el) => {
        el.classList.add("slide-in");
      });
    } else {
      ref.current.querySelectorAll("div").forEach((el) => {
        el.classList.remove("slide-in");
      });
    }
  }, [isIntersecting]);
This leaves us with the final effect:
 The final reveal-on-scroll effect achieved
The final full code is displayed below:
import "./App.css";

import { useState, useRef, useEffect } from "react";

function App() {
  const [isIntersecting, setIsIntersecting] = useState(false);
  const ref = useRef(null);

  useEffect(() => {
    const observer = new IntersectionObserver(
      ([entry]) => {
        setIsIntersecting(entry.isIntersecting);
      },
      { rootMargin: "-300px" }
    );
    console.log(isIntersecting);
    observer.observe(ref.current);

    return () => observer.disconnect();
  }, [isIntersecting]);

  useEffect(() => {
    if (isIntersecting) {
      ref.current.querySelectorAll("div").forEach((el) => {
        el.classList.add("slide-in");
      });
    } else {
      ref.current.querySelectorAll("div").forEach((el) => {
        el.classList.remove("slide-in");
      });
    }
  }, [isIntersecting]);

  return (
    <div className="App">
      <header>This is the Header</header>
      <main ref={ref}>
        <div className="child-one">Child One</div>
        <div className="child-two">Child Two</div>
      </main>
      <footer>This is the Footer</footer>
    </div>
  );
}

export default App;
Other Options
It's worth mentioning that although using the Intersection Observer for scroll animations is effective, there are newer approaches to implementing reveal-on-scroll animations in React. These approaches include the use of animation libraries such as Framer Motion and GSAP.
These libraries provide a straightforward way for developers to create smooth and engaging animations while ensuring high performance.
Conclusion
The Intersection Observer API is an effective tool for developing engaging user interfaces in web development. You can add an extra layer of interactivity to your web applications by implementing reveal-on-scroll effects in React with this API.
We covered the fundamentals of using the Intersection Observer API in React, from setting up your environment to adding styles and functionality in this tutorial.
Going forward, you can take the knowledge and skills you gained from this tutorial and boost your web development knowledge to create stunning, dynamic user interfaces that keep your users coming back for more.
Project Links
Other Resources
Since this article isn’t centered around the full workings of the Intersection Observer API, here are a couple of resources which can help you get a better understanding.