
Argo Workflows is an open source project that enables the orchestration of multiple Kubernetes jobs. Argo Workflows is implemented as a Kubernetes custom resource definition (CRD), which means it is native to the Kubernetes ecosystem and can run on any Kubernetes cluster.
Workflows are set steps by which individual jobs are executed. You can use Argo Workflows for various purposes, such as data processing, machine learning, CI/CD, and infrastructure automation.
In this article, you will set up Argo Workflows on a Kubernetes cluster and use available templates to create a Workflow to manage in a Kubernetes cluster.
Argo Workflows Key Concepts
As I mentioned above, Argo Workflows is implemented as a Kubernetes custom resource definition (CRD) by its own controller. Argo Workflows is made up of two main concepts: workflow and Template.
Workflow
A workflow is a central resource in Argo Workflows that defines the workflow to be executed and stores the workflow’s state.
A workflow consists of a specification that contains an entrypoint and a list of templates.
A workflow can model complex logic using directed acyclic graphs (DAGs) or steps to capture the dependencies or sequences between the templates.
Template
A template is a core concept in Argo Workflows that defines the instructions to execute in a workflow step. A template can be one of the following types:
- Container: Allows you to be able to define the container. Here is an example:
  - name: hello-world
    container:
      image: alpine:latest
      command: [sh, -c]
      args: ["echo hello world"]
- Script: A template that runs a script in a container image. This is similar to the container type, but allows you to write the script inline instead of using a separate file. Here is an example:
  - name: factorial
    inputs:
      parameters:
      - name: num
    script:
      image: python:alpine 3.6
      command: [python]
      source: |
        def factorial(n):
          if n == 0:
            return 1
          else:
            return n * factorial(n-1)
        print(factorial(int({{inputs.parameters.num}})))
- Resource: This template allows direct manipulation of cluster resources. It can be used for operations such as retrieval, creation, modification, or deletion, including GET, CREATE, APPLY, PATCH, REPLACE, or DELETE requests. Here is an example:
  - name: create-configmap
    resource:
      action: create
      manifest: |
        apiVersion: v1
        kind: ConfigMap
        metadata:
          name: my-config
        data:
          foo: bar
          hello: world
- DAG: This template defines a directed acyclic graph of other templates. In this example, the DAG has three tasks: A, B, and C. Task A runs first, then tasks B and C run in parallel. Here is an example:
  - name: my-dag
    dag:
      tasks:
      - name: A
        template: echo
        arguments:
          parameters: [{name: message, value: A}]
      - name: B
        dependencies: [A]
        template: echo
        arguments:
          parameters: [{name: message, value: B}]
      - name: C
        dependencies: [A]
        template: echo
        arguments:
          parameters: [{name: message, value: C}]
Now, let's get started.
Prerequisites
To follow this guide, make sure you have the following:
A Kubernetes cluster. To create a new Kubernetes cluster, follow this guide
Basic knowledge of what Kubernetes is. You can learn more about Kubernetes from their official docs
Step 1 - Install Argo Workflows
- Using
Kubectl, create a namespace for Argo Workflows to segregate your kubernetes cluster resources.
$ kubectl create namespace argo
- Install the latest Argo Workflows release file from Argo Workflows github page.
$ kubectl apply -n argo -f https://github.com/argoproj/argo-workflows/releases/download/v<VERSION>/install.yaml
The version of Argo Workflows used in this guide is v3.5.0.
- Check if all the resources have been installed correctly.
$ kubectl get all -n argo
Output:
NAME                                      READY   STATUS    RESTARTS   AGE
pod/workflow-controller-7f8c9f8f5-9qj2l   1/1     Running   0          2m
pod/argo-server-6f8f9c9f8f-6kx4d          1/1     Running   0          2m

NAME                                  TYPE        CLUSTER-IP      EXTERNAL-IP   PORT(S)    AGE
service/argo-server                   ClusterIP   10.3.240.123    <none>        2746/TCP   2m
service/workflow-controller-metrics   ClusterIP   10.3.240.124    <none>        9090/TCP   2m

NAME                                 READY   UP-TO-DATE   AVAILABLE   AGE
deployment.apps/workflow-controller   1/1     1            1           3m05s
deployment.apps/argo-server           1/1     1            1           3m07s

NAME                                            DESIRED   CURRENT   READY   AGE
replicaset.apps/workflow-controller-7f8c9f8f5   1         1         1       3m33s
replicaset.apps/argo-server-6f8f9c9f8f          1         1         1       2m33s
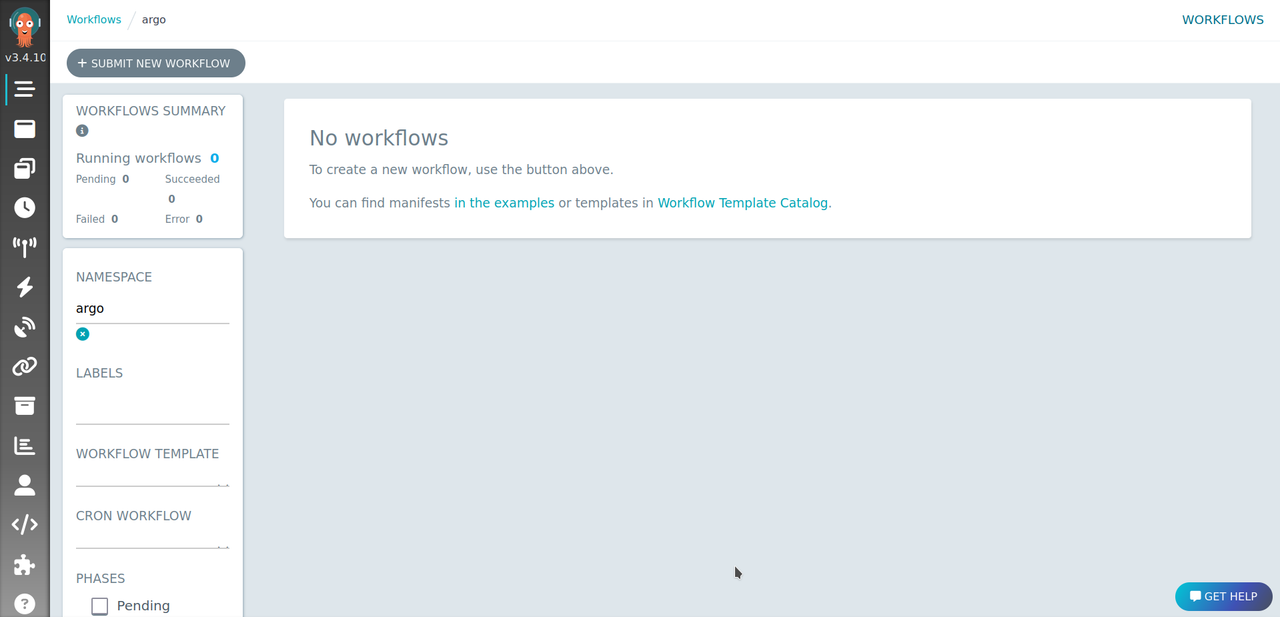
Step 2 - Start the Argo UI for Monitoring
Argo Server has a graphical user interface that you can use to manage and monitor your Kubernetes cluster Workflows.
In this guide, you will bypass the authentication process of requesting a token to access the Argo web interface because it cannot be accessed publicly. This is called the Server Authentication mode, although you can use the other mode, Client Authentication, which requires that you request a token to be able to access the web interface.
- Change the authentication mode to Server Authentication.
$ kubectl patch deployment \
  argo-server \
  --namespace argo \
  --type='json' \
  -p='[{"op": "replace", "path": "/spec/template/spec/containers/0/args", "value": [
  "server",
  "--auth-mode=server"
]}]'
Output:
deployment.apps/argo-server patched
Note that this mode is not recommended for production environments, as it creates a significant security risks. A more secure option is to use the client authentication mode, which require clients to provide their Kubernetes bearer token.
- Configure Kubernetes Role-Based Access Control (RBAC) to grant Argo Admin-level permissions for managing resources within the
argonamespace.
$ kubectl create rolebinding argo-default-admin --clusterrole=admin --serviceaccount=argo:default -n argo
- Forward the Argo server web interface port with
kubectl port-forward.
$ kubectl -n argo port-forward deployment/argo-server 2746:2746
Using a browser like Chrome, visit the IP Address http://localhost:2746.
Create a New Workflow
You can use a YAML manifest to define Agro Workflows and apply to your Kubernetes cluster.
- Create a new Workflow file.
Nano argo-workflow.yaml
- Add the following to the file:
apiVersion: argoproj.io/v1alpha1
kind: Workflow
metadata:
    name: demo-workflow
spec:
    entrypoint: main
    templates:
    - name: main
    container:
        image: busybox
        command: ["/bin/sh"]
        args: ["-c", "echo 'The first step of the Workflow'"]
Here is a quick breakdown of the components of the file:
entrypointspecifies the entry point for the workflow, which is defined asmain.templatescontains a list of templates, which define the steps or tasks within the workflow.nameis the name of the template, which is set asmain.containerspecifies a container-based step within the workflow.imagespecifies the Docker image to use for the container, set here asbusybox.commandspecifies the command to be executed inside the container, set as["/bin/sh"].argsspecifies the arguments to be passed to the command inside the container, set as["-c", "echo 'The first step of the Workflow'"]. This command will runechoto print "The first step of the Workflow".
- Apply the Workflow to your cluster:
$ kubectl -n argo create -f argo-workflow.yaml
Here's the output:
workflow.argoproj.io/hello-world-nb42c created
How to Manage Argo Workflows
- To list all workflows within the
argonamespace, do the following:
$ kubectl -n argo get wf
Here's the output:
NAME                      STATUS        AGE     MESSAGE
demo-workflow             Succeeded     4m23s
- To see the pod logs for your Workflow, do the following:
$ kubectl -n argo logs demo-workflow
Here's the output:
This template is the first step of the Workflow
time="2024-02-13T19:56:54.629Z" level=info msg="sub-process exited" argo=true error="<nil>"
- To delete a workflow, do this:
$ kubectl -n argo delete wf workflow-name
- To suspend or resume a workflow, do this:
$ kubectl -n argo suspend wf workflow-name
$ kubectl -n argo resume wf workflow-name
- To submit a workflow using the Argo CLI, do this:
$ argo submit -n argo workflow.yaml
You can learn more about Argo Workflows on their official documentation.
Conclusion
You have now explored Argo Workflows and successfully set it up. This powerful tool enables you to create logic using DAGs, or individual steps, helping you execute various tasks through different templates. You can also interact with your workflows and keep track of their progress by utilizing tools like Argo CLI, Argo UI, and Argo Events.
By using Argo Workflows, you can take advantage of Kubernetes scalability and flexibility to ensure reliable execution of tasks.