

NOTE: As of November 7, 2018, there’s an unpatched zero-day vulnerability in VirtualBox that could allow a user on the guest full access to the host machine. Until further notice, do NOT use VirtualBox with the default network settings. Details are available here.
Of course you’re getting your money’s worth. VirtualBox is free, isn’t it? Ok, so then why not double the return on your investment? Why not find out how much more you can accomplish as a VirtualBox power user?
Oracle’s VirtualBox is easy to install, easy to use, and gives you the ability to run virtual versions of just about any modern operating system from within any other modern operating system. Windows 10 on Ubuntu Linux? I’ve done it myself. FreeBSD on CentOS Linux? Sure, why not?
You can, of course, do similar stuff with the free VMware Player tool and, on Windows 8 and up, with Hyper-V. But this article is about VirtualBox.
I’d been using VirtualBox for years, but it wasn’t until I needed to pull together a number of physical machines sitting around the house to use as nodes in a Docker swarm mode network that things got complicated. After all, manually creating and launching VMs would require spending some serious time in front of each PC, babysitting OS installations and configurations. And that, in turn, would mean climbing stairs and sitting on the truly awful chairs in my kids’ rooms. Don’t tell them I said this, but I haven’t a clue why they put up with them.
It turns out that SSH connectivity between my (Linux) PCs and some very basic knowledge of the vboxmanage command line shell were all it took to return me to my lazy sysadmin happiness. It was liberating, and you could probably use some liberation of your own.
But before going there, I’ll talk a bit about the way VirtualBox works and the kinds of things you can do with it. Feel free to skip ahead if that doesn’t sound interesting.
What’s my angle in all this? While engaging in research for my various booksand Pluralsight video courses, I often build test environments that include machines running odd combinations of operating systems. For some purposes — especially when I need to work at the operating system kernel level — VirtualBox has repeatedly proven to be the fastest and most effective tool I’ve got. I’m not sure I’d ever want to use a resource-greedy VirtualBox virtual machine to run permanent services, but for test and development related cases, it’s absolutely king of the hill.
That’s me. But is my experience useful for normal users? In the sense that, once in a while at least, everyone needs to check out new technologies, then absolutely. But I guess I am a bit unusual in that I very rarely move to production. I’m always testing.
Working with VirtualBox
Besides letting you try out entirely new operating systems without having to dig through the garage for unused (but usable) hardware components, VirtualBox is also a terrific sandbox. So even if you don’t really care what OS you’re running, but you’re not too keen on risking the health and welfare of your main workstation on some experimental software configuration, VirtualBox can help.
This will also work if the experimental software configuration is your own. Which is to say that VirtualBox can be used as a tool for safely testing the way your own development projects handle within multiple OS environments.
And don’t forget that VirtualBox is very widely used as a provider for the Vagrant configuration automation system.
As I briefly wrote in my Linux Server Virtualization article, VirtualBox is a type-2 hypervisor. And so it is. But it’s a hypervisor with such a light footprint that, feature-for-feature, it can sometimes compete with container technologies like Docker and LXC/LXD. That opens VirtualBox up to a fairly wide range of uses. But since the overlap can get complicated, here (because you can never have too many spreadsheets) is a visual technology vs. technology comparison:
 An unscientific feature/use-case matrix for virtualization technologies
Getting Stuff Done
Enough talk already. Let’s get to work.
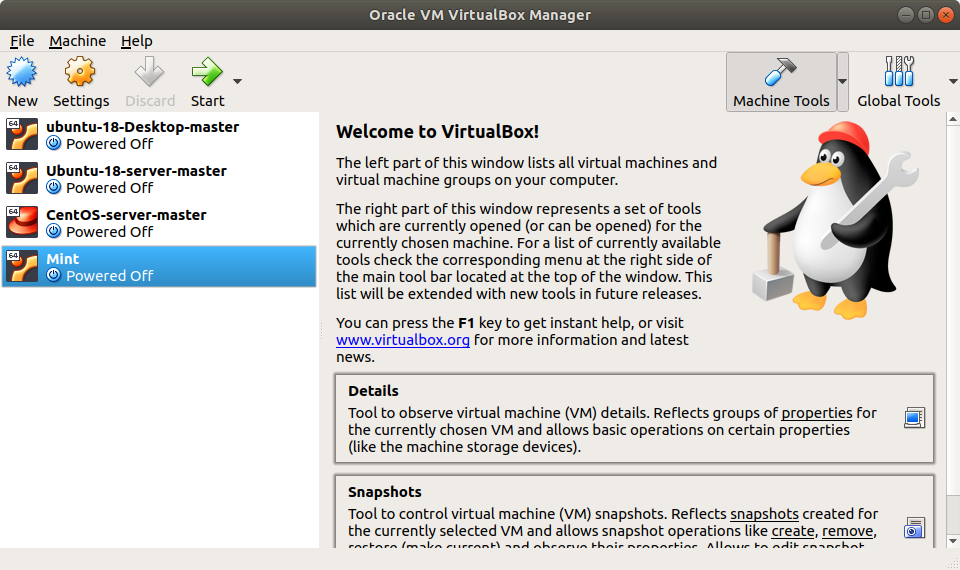
The VirtualBox GUI is all very pretty, but it’ll really slow you down when you’re firing up VMs on multiple network hosts. So here are some tools that will make things happen — both locally or through a remote connection — from the command line.
Install VirtualBox. Here’s how it’s done on Ubuntu or Debian, at any rate:
sudo apt install virtualbox
Now it is possible to remotely create a new VM from scratch using commands like these:
vboxmanage list ostypes
vboxmanage createhd --filename Ubuntu64.vdi --size 16384
VBoxManage createvm --name Ubuntu64 --ostype “Ubuntu_64” --register
…But displaying the actual installation interface on a remote screen can sometimes be more trouble than it’s worth. Instead, let’s assume that you’ve already got a “golden-image” VirtualBox VM on your local workstation. You’ll want to use vboxmanage list vms to see what‘s there.
Here’s what it looked like on my workstation:
vboxmanage list vms
“Ubuntu-16.04-template” {c00d3b2b-6c77–4919–85e2–6f6f28c63d56}
“Ubuntu14-template” {43e2f9d4–8aa1–4db4-aa59–33b202df32ed}
“centos-7-template” {e2613f6d-1d0d-489c-8d9f-21a36b2ed6e7}
“Kali-Linux-template” {b7a3aea2–0cfb-4763–9ca9–096f587b2b20}
“Kali-Linux-openvas” {1ec41fdd-bf14–4025–9e9e-ee7272acf87f}
“docker-project” {2387a5ab-a65e-4a1d-8e2c-25ee81bc7203}
“Ubuntu-16-lxd” {62bb89f8–7b45–4df6-a8ea-3d4265dfcc2f}
Note, by the way, how I keep clean “template” copies of individual operating systems and then create cloned copies whenever I need to do some actual work. Believe me, this can really speed up your time-to-launch over having to go through the whole installation routine each time. You can create clones from the GUI, or using clonevm like this (where “Kali-Linux-template” is the name of an existing VM and “newkali” is the name we’d like to give to the clone):
vboxmanage clonevm Kali-Linux-template --name newkali
Check out the clonevm argument details on the VirtualBox documentation page here.
Here, however, I’m going to show you how to export an existing VM to a .OVA file that you can simply copy to your remote machines and then import into their instances of VirtualBox. The export operation couldn’t be simpler: you enter the name of the VM you want to export (docker-project, in my case), _-o_to specify an output filename, and the filename itself with the appropriate file extension.
vboxmanage export docker-project -o docker.ova
0%…10%…20%…30%…40%…50%…60%…70%…80%…90%…100%
Successfully exported 1 machine(s).
The file will be saved to your current directory. You can display the details of the file you’ve just created:
ls -lh | grep docker-rw — — — —
1 root root 2.1G Jun 4 17:01 docker.ova
One way or another, you’ll need to copy the .OVA file to your other PCs. Here’s how the file transfer might work between Linux/MAC OS machines using scp:
scp docker.ova username@192.168.0.34:/home/username
Naturally, you’ll have to make sure you’ve got enough free disk space to both save the .OVA file itself (which can be quite large) and create the new VM.
Now log in to your remote machine and, from the directory containing the file you’ve just transferred, import it into VirtualBox:
vboxmanage import docker.ova
0%…10%…20%…30%…40%…50%…60%…70%…80%…90%…100%
Interpreting /home/dad/docker.ova…
OK.
Disks:
vmdisk2 36945920000 -1 http://www.vmware.com/interfaces/specifications/vmdk.html#streamOptimized docker-disk1.vmdk
-1–1Virtual system 0:
0: Suggested OS type: "Ubuntu_64"
    (change with "--vsys 0 --ostype <type>"; use "list ostypes" to list all possible values)
 1: Suggested VM name "docker-project"
    (change with "--vsys 0 --vmname <name>")
 2: Number of CPUs: 1
    (change with "--vsys 0 --cpus <n>")
 3: Guest memory: 2048 MB
    (change with "--vsys 0 --memory <MB>")
 4: Sound card (appliance expects "", can change on import)
    (disable with "--vsys 0 --unit 4 --ignore")
 5: USB controller
    (disable with "--vsys 0 --unit 5 --ignore")
 6: Network adapter: orig Bridged, config 3, extra slot=0;type=Bridged
 7: CD-ROM
    (disable with "--vsys 0 --unit 7 --ignore")
 8: IDE controller, type PIIX4
    (disable with "--vsys 0 --unit 8 --ignore")
 9: IDE controller, type PIIX4
    (disable with "--vsys 0 --unit 9 --ignore")
10: SATA controller, type AHCI
    (disable with "--vsys 0 --unit 10 --ignore")
11: Hard disk image: source image=docker-disk1.vmdk, target path=/home/dad/VirtualBox VMs/docker-project/docker-disk1.vmdk, controller=10;channel=0
    (change target path with "--vsys 0 --unit 11 --disk path";
    disable with "--vsys 0 --unit 11 --ignore")
0%...10%...20%...30%...40%...50%...60%...70%...80%...90%...100%
Successfully imported the appliance.
You’ll want to confirm that everything worked by running list vms:
vboxmanage list vms
“docker-project” {30ec7f7d-912b-40a9–8cc1-f9283f4edc61}
You can connect your VM to a network using vboxmanage modifyvm. But, before you can do that, you’ll need to know how your host machine refers to the appropriate network interface. On a Linux machine, you can get that using ip addr. In this case, the second interface that’s displayed (“eth0” — that’s “eth” followed by a zero…not the letter o) is the NIC through which that machine gets its internet access, so it’s the connection we’re after.
ip addr
1: lo: <LOOPBACK,UP,LOWER_UP> mtu 65536 qdisc noqueue state
UNKNOWN group default qlen 1
 link/loopback 00:00:00:00:00:00 brd 00:00:00:00:00:00
 inet 127.0.0.1/8 scope host lo
 valid_lft forever preferred_lft forever
 inet6 ::1/128 scope host
 valid_lft forever preferred_lft forever
2: eth0: <BROADCAST,MULTICAST,UP,LOWER_UP> mtu 1500 qdisc
 pfifo_fast state UP group default qlen 1000
 link/ether 94:de:80:c5:1e:2d brd ff:ff:ff:ff:ff:ff
 inet 192.168.1.13/24 brd 192.168.1.255 scope global dynamic eth0
 valid_lft 59857sec preferred_lft 59857sec
 inet6 fe80::e1c3:f8a2:9f8d:4375/64 scope link
  valid_lft forever preferred_lft forever
One way to move your VM’s (virtual) network card onto the eth0 interface by way of a bridge adapter is through the modifyvm command. In this case, “docker-project” points to the VM name, and eth0 is the target of the new bridge, connecting your VM’s internal network interface with the host’s eth0.
vboxmanage modifyvm “docker-project” --bridgeadapter1 eth0
Now you’re ready to fire up the VM. The “type headless” argument tells VirtualBox to run the VM as a server without a GUI.
vboxmanage startvm “docker-project” --type headless
Waiting for VM “docker-project” to power on…
VM “docker-project” has been successfully started.
Curious about what’s going on with your new VM? Try showvminfo:
vboxmanage showvminfo docker-project
You may need to run a network search program like nmap to get your VM’s IP address. With that piece of information, you’ll be ready to get to work. Log in to your new VM using the same credentials you used on the source VM from which it was copied. Shutting down a VM once you’re done with it is as simple as running the poweroff command:
VBoxManage controlvm “docker-project” poweroff
0%…10%…20%…30%…40%…50%…60%…70%…80%…90%…100%
Happy virtualizing!
David Clinton is the author of Linux, AWS, Docker, and security courses on Pluralsight, and technology books and content.