By Cem Eygi
Visual Studio Code is one of the most popular code editors out there. It's free, it has a clean interface, and it has countless extensions which make programming easier and more fun.
I'm a frontend web developer and I use VS Code while I work and on my YouTube channel. I've had many people ask me how the browser gets refreshed automatically while I'm coding, without clicking the reload button.
Well, this is possible if you configure a useful extension in VS Code called live-server. In this post, I will explain the details of how it works and how to set up and configure a live server in your VS Code editor.
Why should I use the live-server extension?
Normally, when you make a change in your code or write something new, you need to refresh the page manually to see the changes.
In other words, if you make 100 changes in your code each day, you need to refresh the browser 100 times.
The live-server extension, however, automates this for you. After installing it, an automated localhost will be able to run in your browser, which you can start with a single button.
Once you make changes in your code or write something new, after saving it, the browser will auto-refresh itself. Then you will be able to see the changes quickly and automatically.
If you prefer, you can also watch the tutorial video below:
First, Install VS Code
You can skip this part if you have already installed VS Code on your computer. Otherwise, you can download it from its official website.
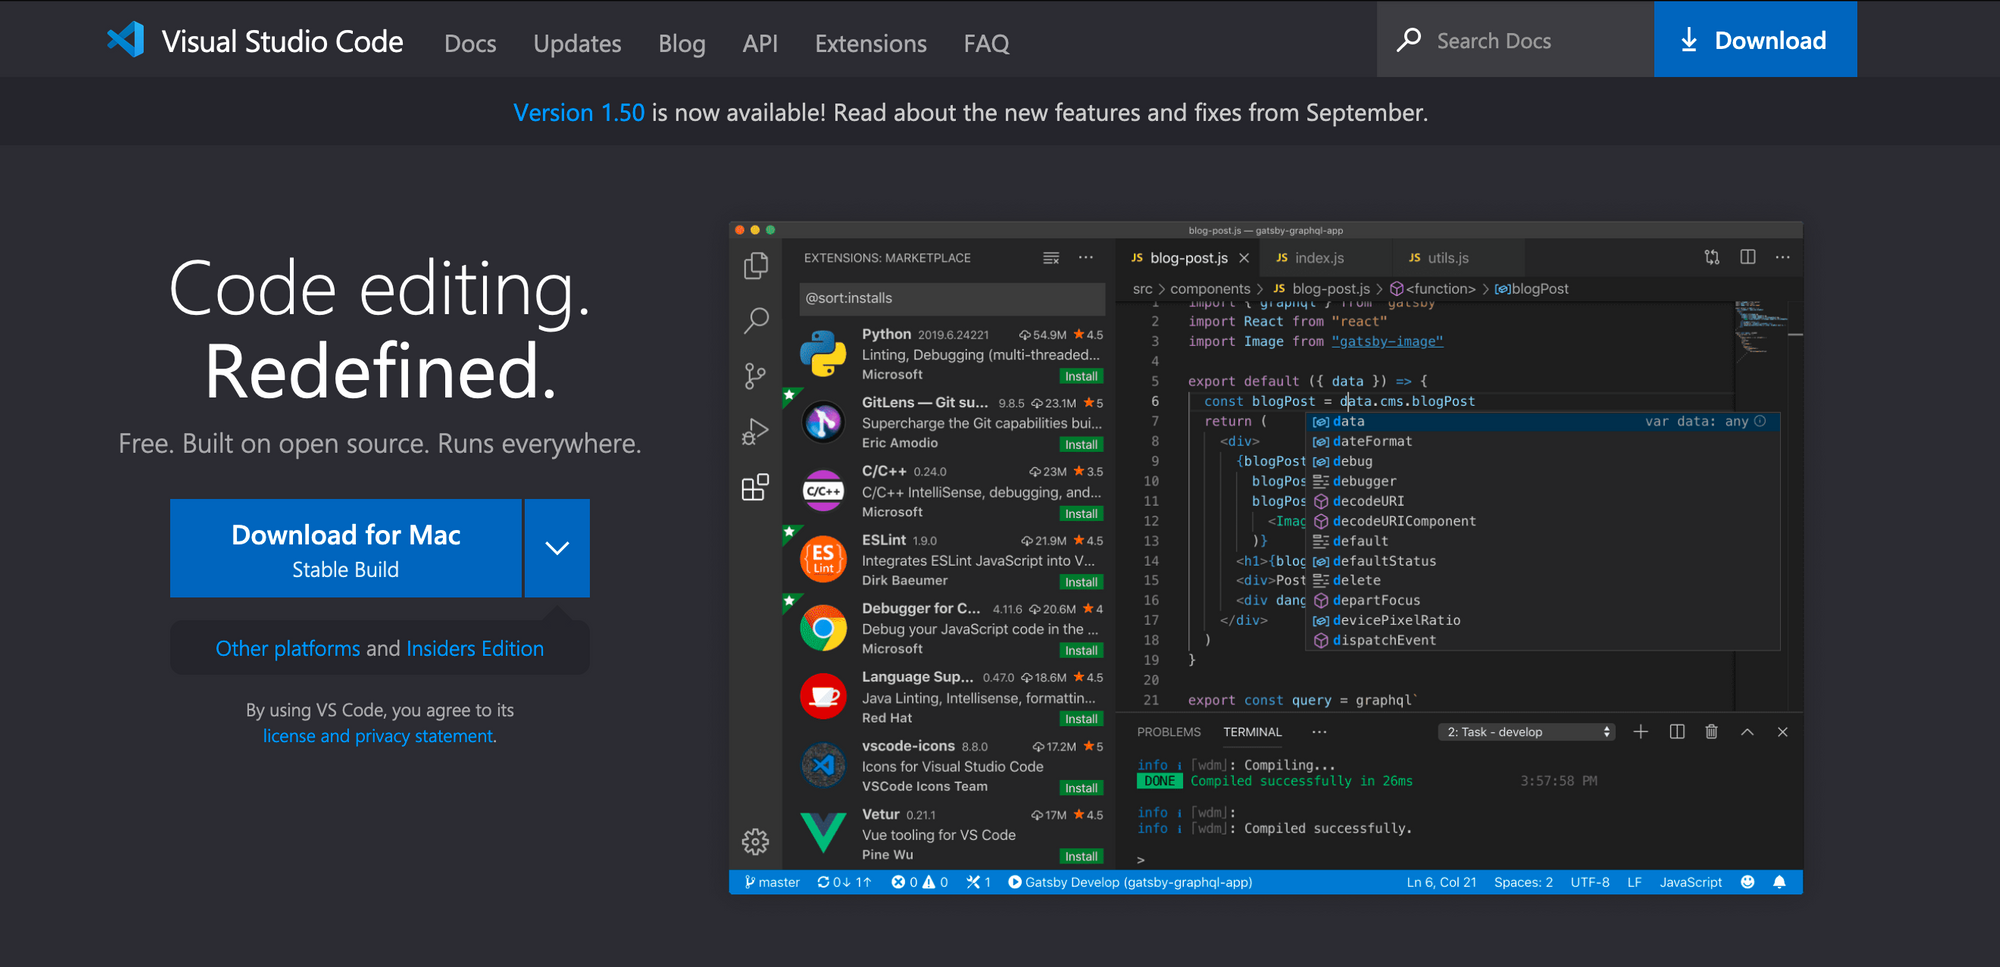 Visual Studio Code Official Website
After you've downloaded and installed VS Code, you are going to see the welcome screen:
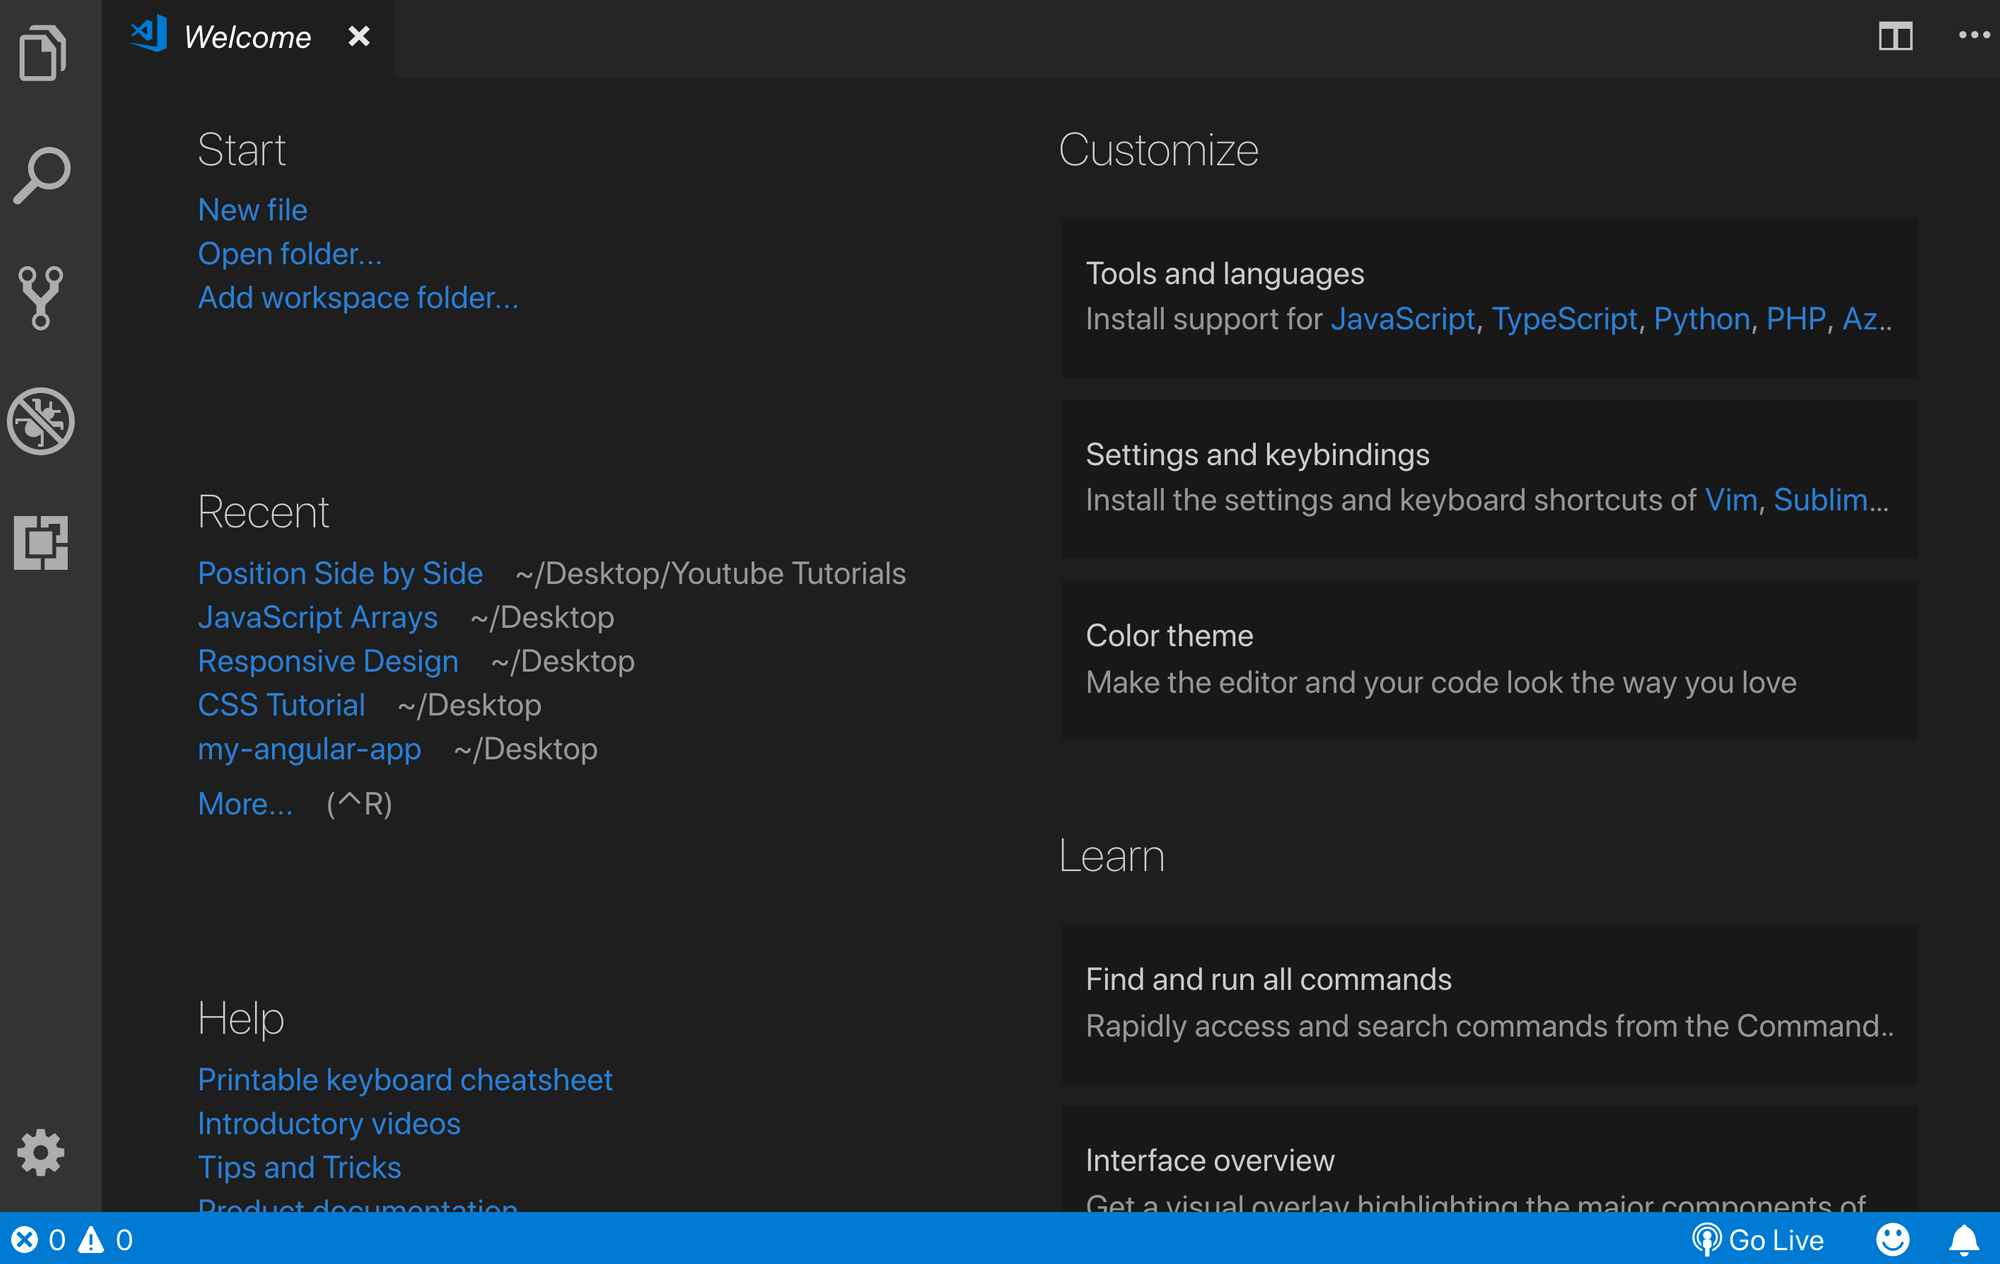
On the left side, you should see a couple of icons. One of them (under the no bugs icon) is the extensions button:
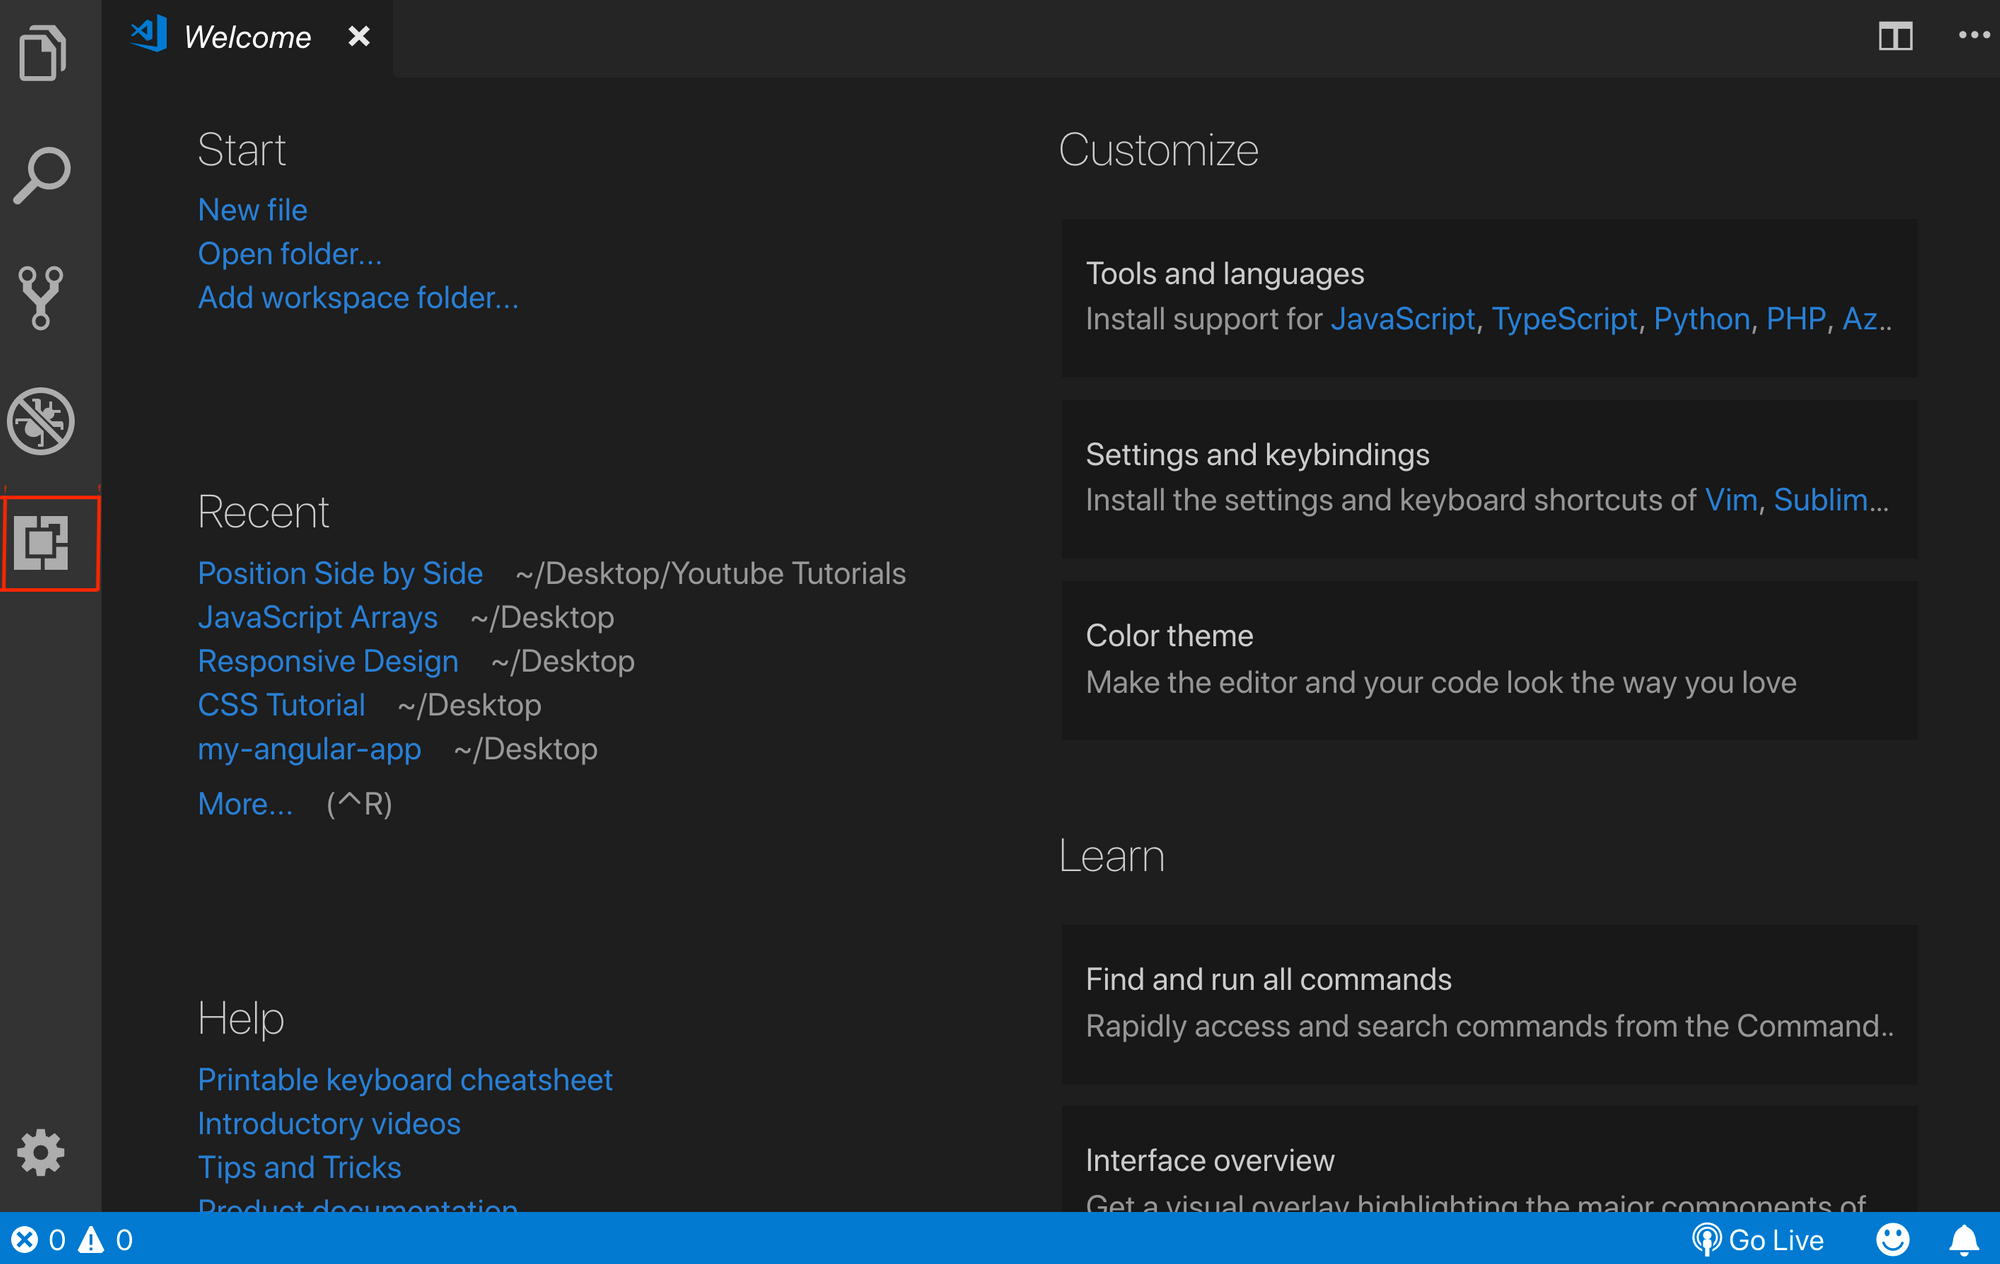
Once you click on it a search bar will appear. Just type in “live server”.
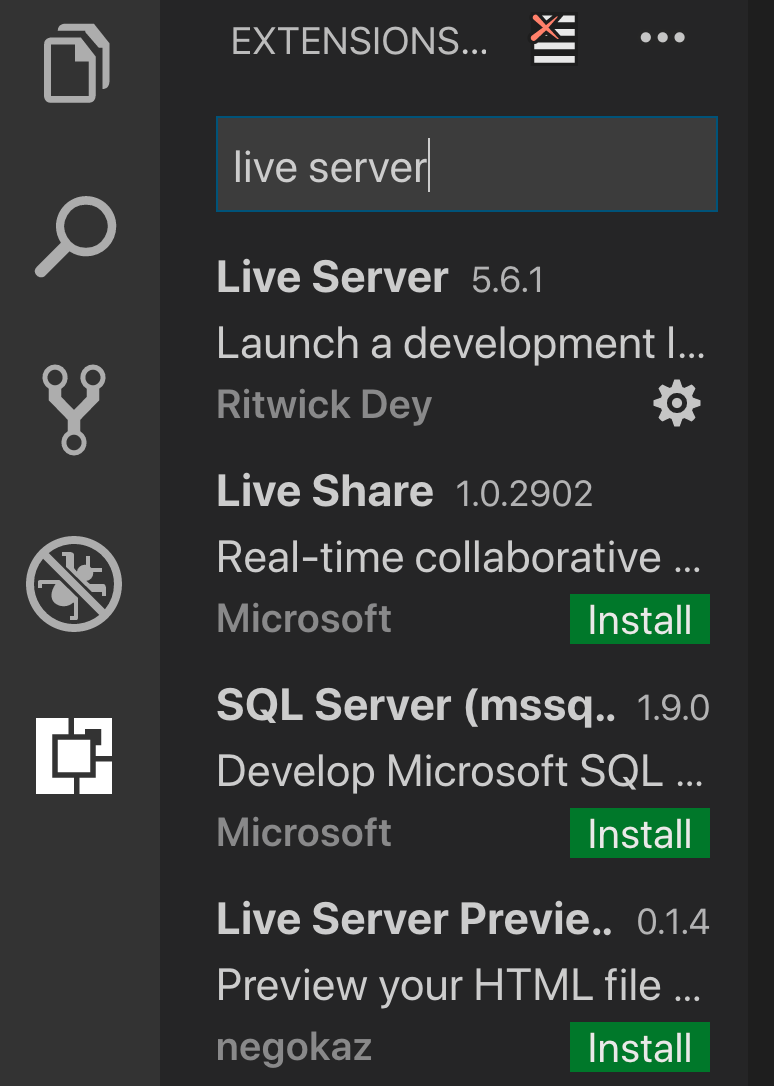
You will see many options, so you can choose whichever one works for your system. I use Live Server by Ritwick Dey, so let's continue with that one in this example:

Click on the install button and it will install the extension.
Create a New HTML Page
To start the live server, make sure you at least have an HTML page created. To do that, click on the file button at the very top, then choose the new file button and type index.html:
 New File Icon with Plus Sign (2nd from left)
Configuration Issues
Now after you created an HTML page and installed the extension you should be able to see a “Go Live” icon right below in the blue field:
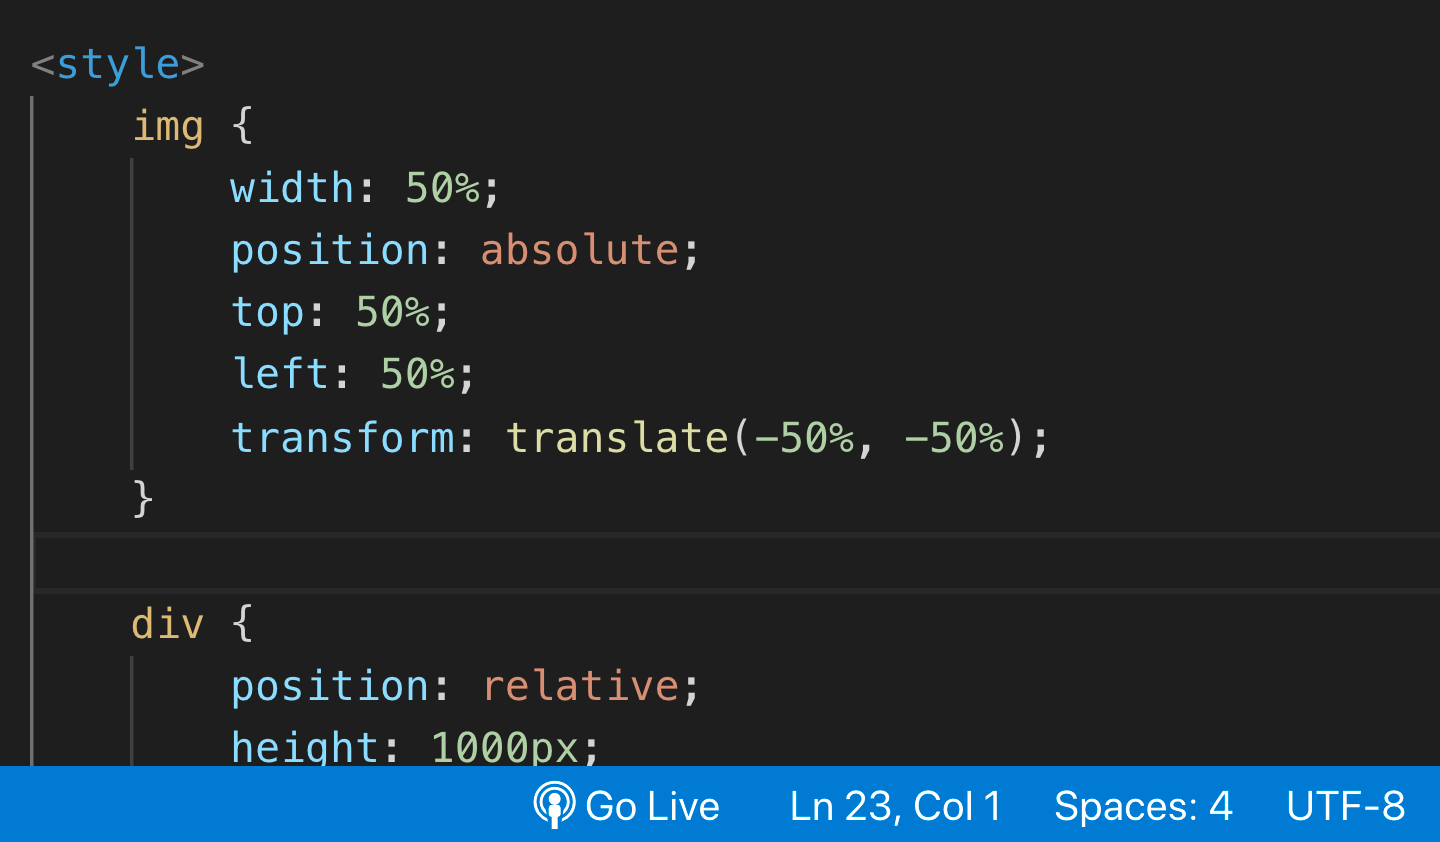
If you don’t see it just restart VS Code. Then it should be OK.
Click on the "Go Live" button and the localhost (assigned to a port number) should start on your default browser. You can start and stop your live server anytime by clicking on the same button.
If you have reached this step, congratulations! :) Now you can work with the live-server. Otherwise, if you are still having issues, check out this post for more info.
Conclusion
I hope this post helps you install and configure the live server extension in VS Code. If you want to learn more about web development, feel free to visit my Youtube channel.
Thank you for reading!