

The ultimate tool you have when you're developing your projects is your code editor. Which is why it's so important to set it up properly.
In this step-by-step guide, we will go from a completely new VSCode installation to a code editor perfectly prepared for your next React project.
Let's get started!
How to Install VSCode
The first step to setting up Visual Studio Code (VSCode for short) is to install it for your computer.
Head to code.visualstudio.com and download the right version for your computer (it's 100% free).
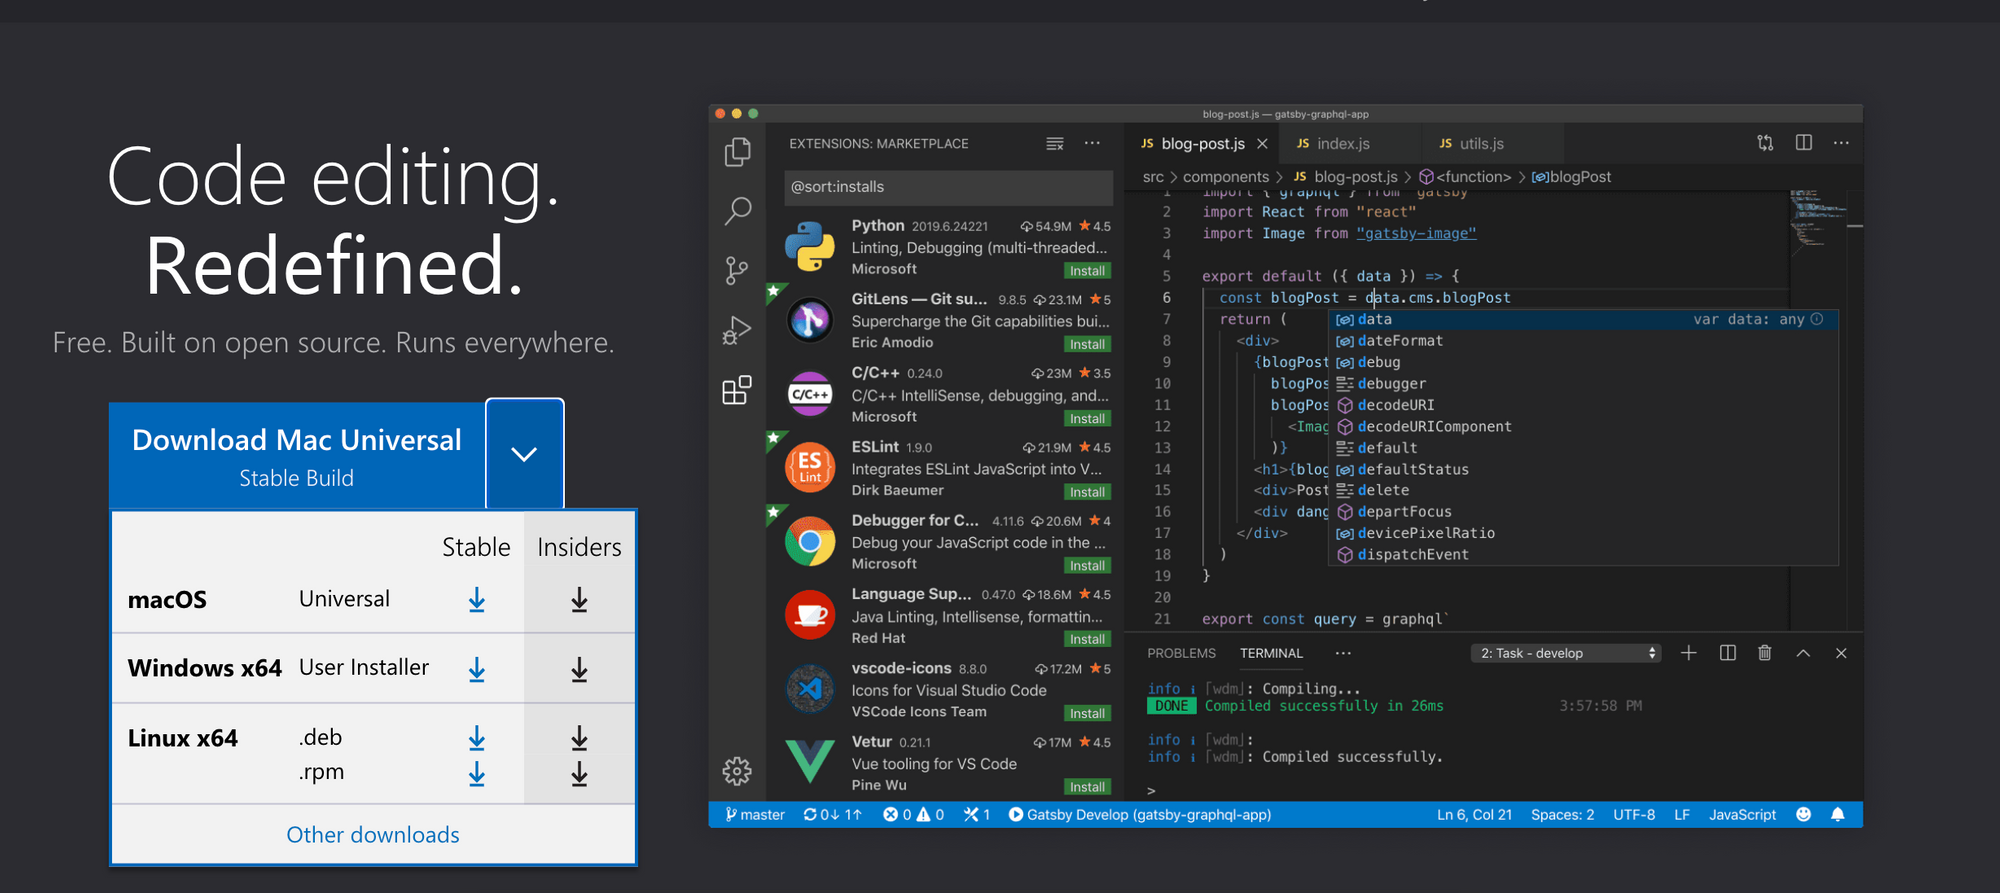 Install the right version for your operating system
Once your installation is done and you open the VSCode app, you should be greeted with a home screen that looks something like this:
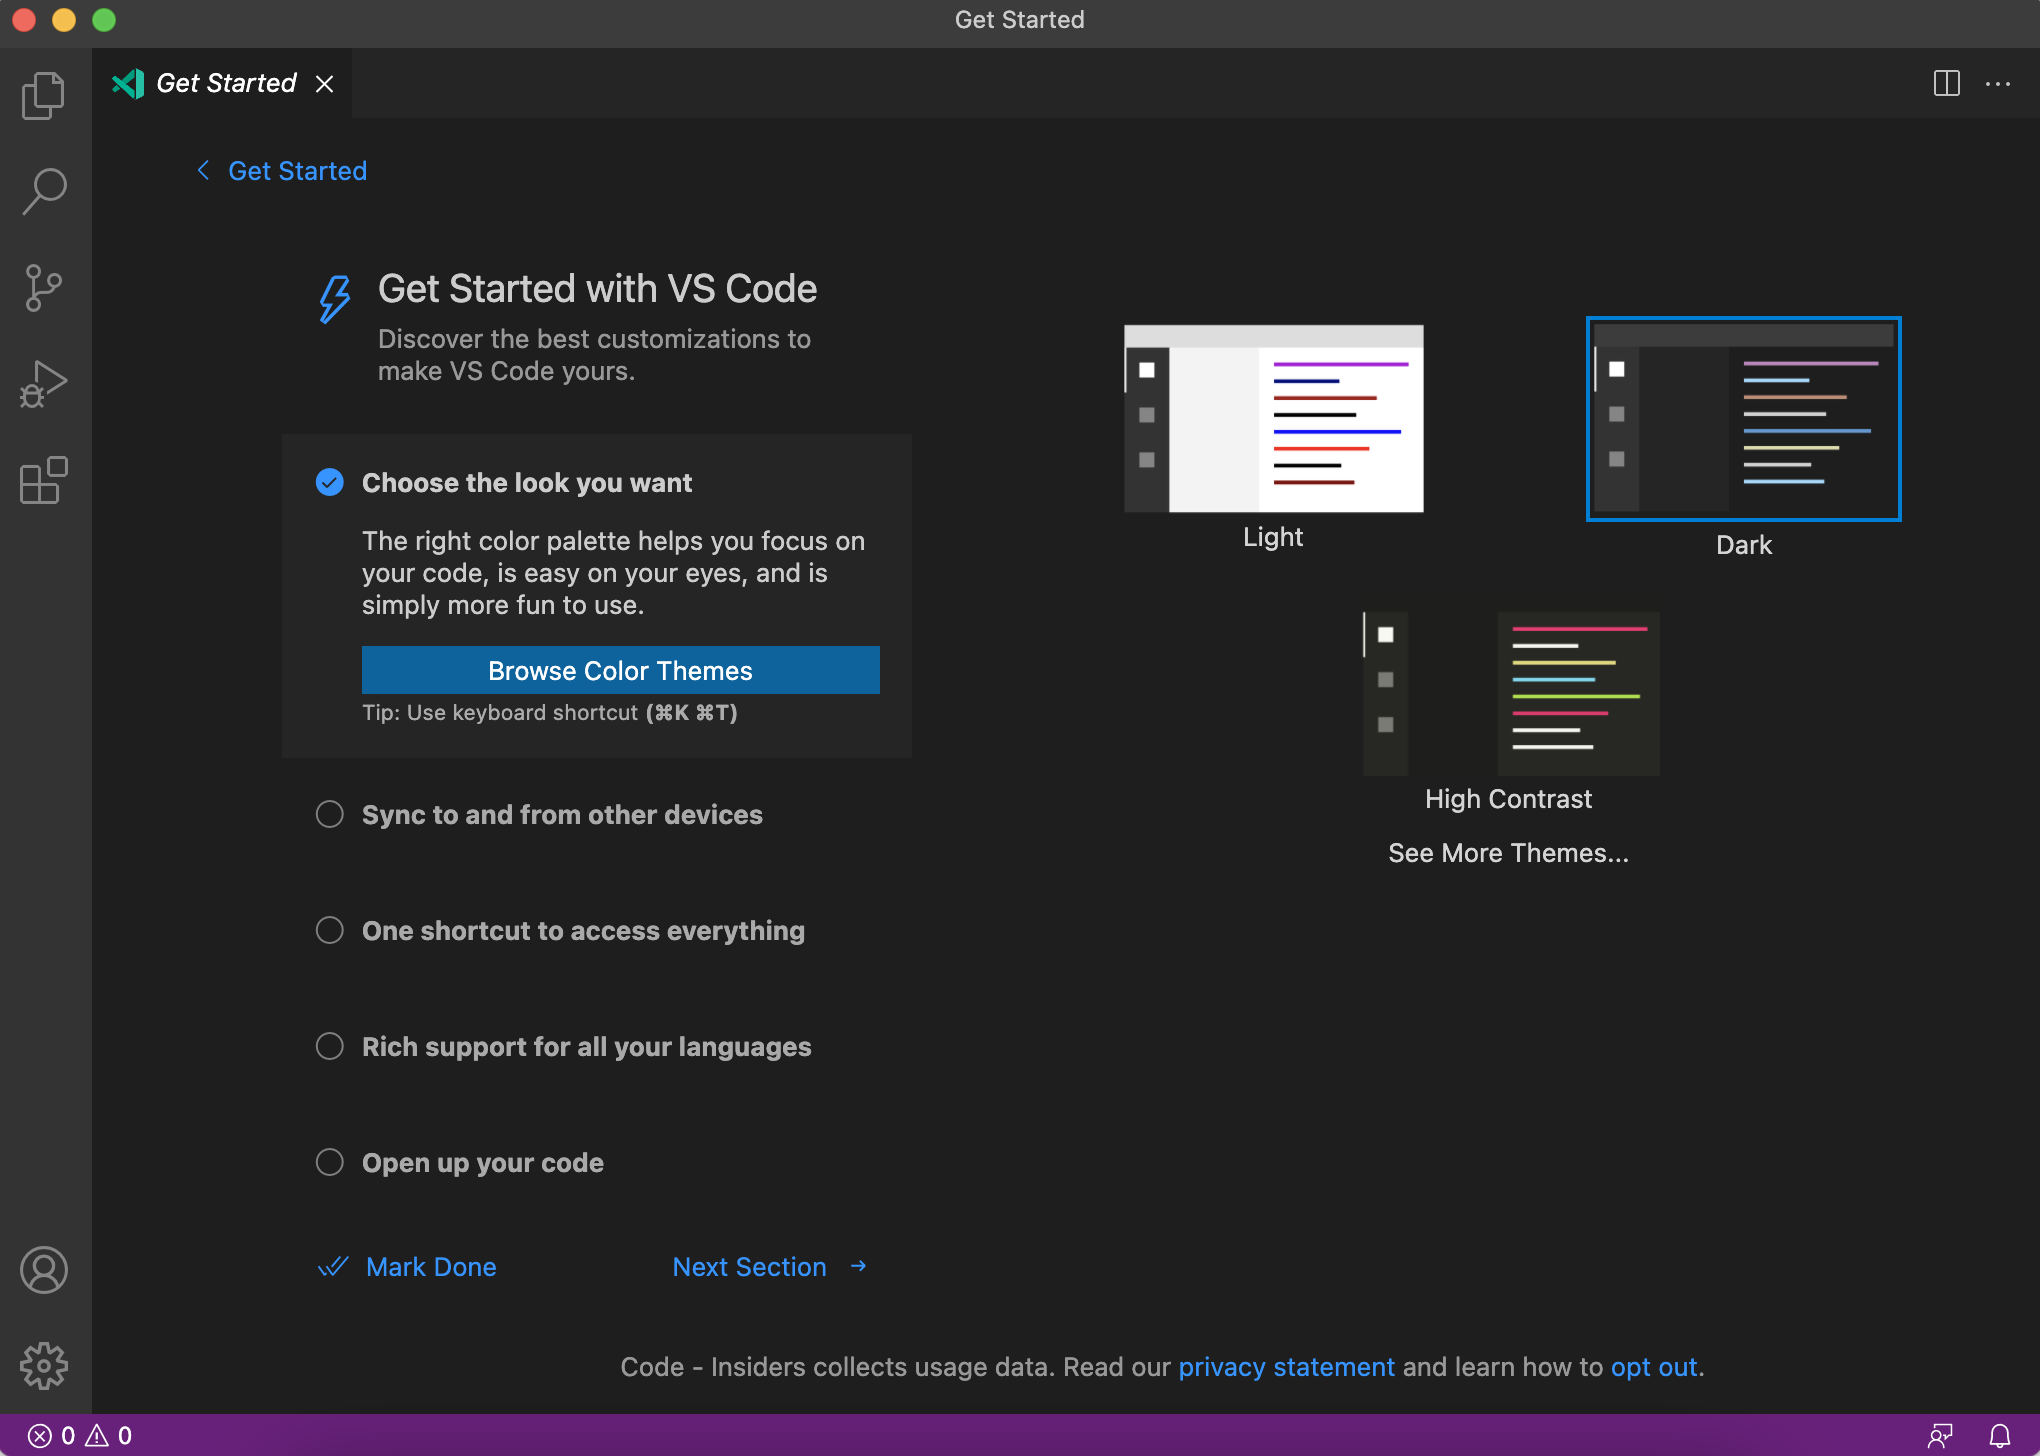 VSCode Home Screen (After Install)
Choose a color theme you like
Although the default theme that ships with VSCode is very nice and legible, I prefer to use a third-party theme that I find easier on my eyes.
It might seem like a trivial thing to spend time picking a theme. But since you will be spending hours reading text on your editor, you want to choose colors that you like and that do not strain your eyes.
I personally use and highly recommend the Material Theme for all of my installations of VSCode.
To install the Material Theme, go to (at the top of the screen):
View > Extensions (or use the shortcut ⇧ + ⌘ (Ctrl) + X)
Then search for "Material Theme" in the sidebar and install the first result that comes up.
It should look like this:
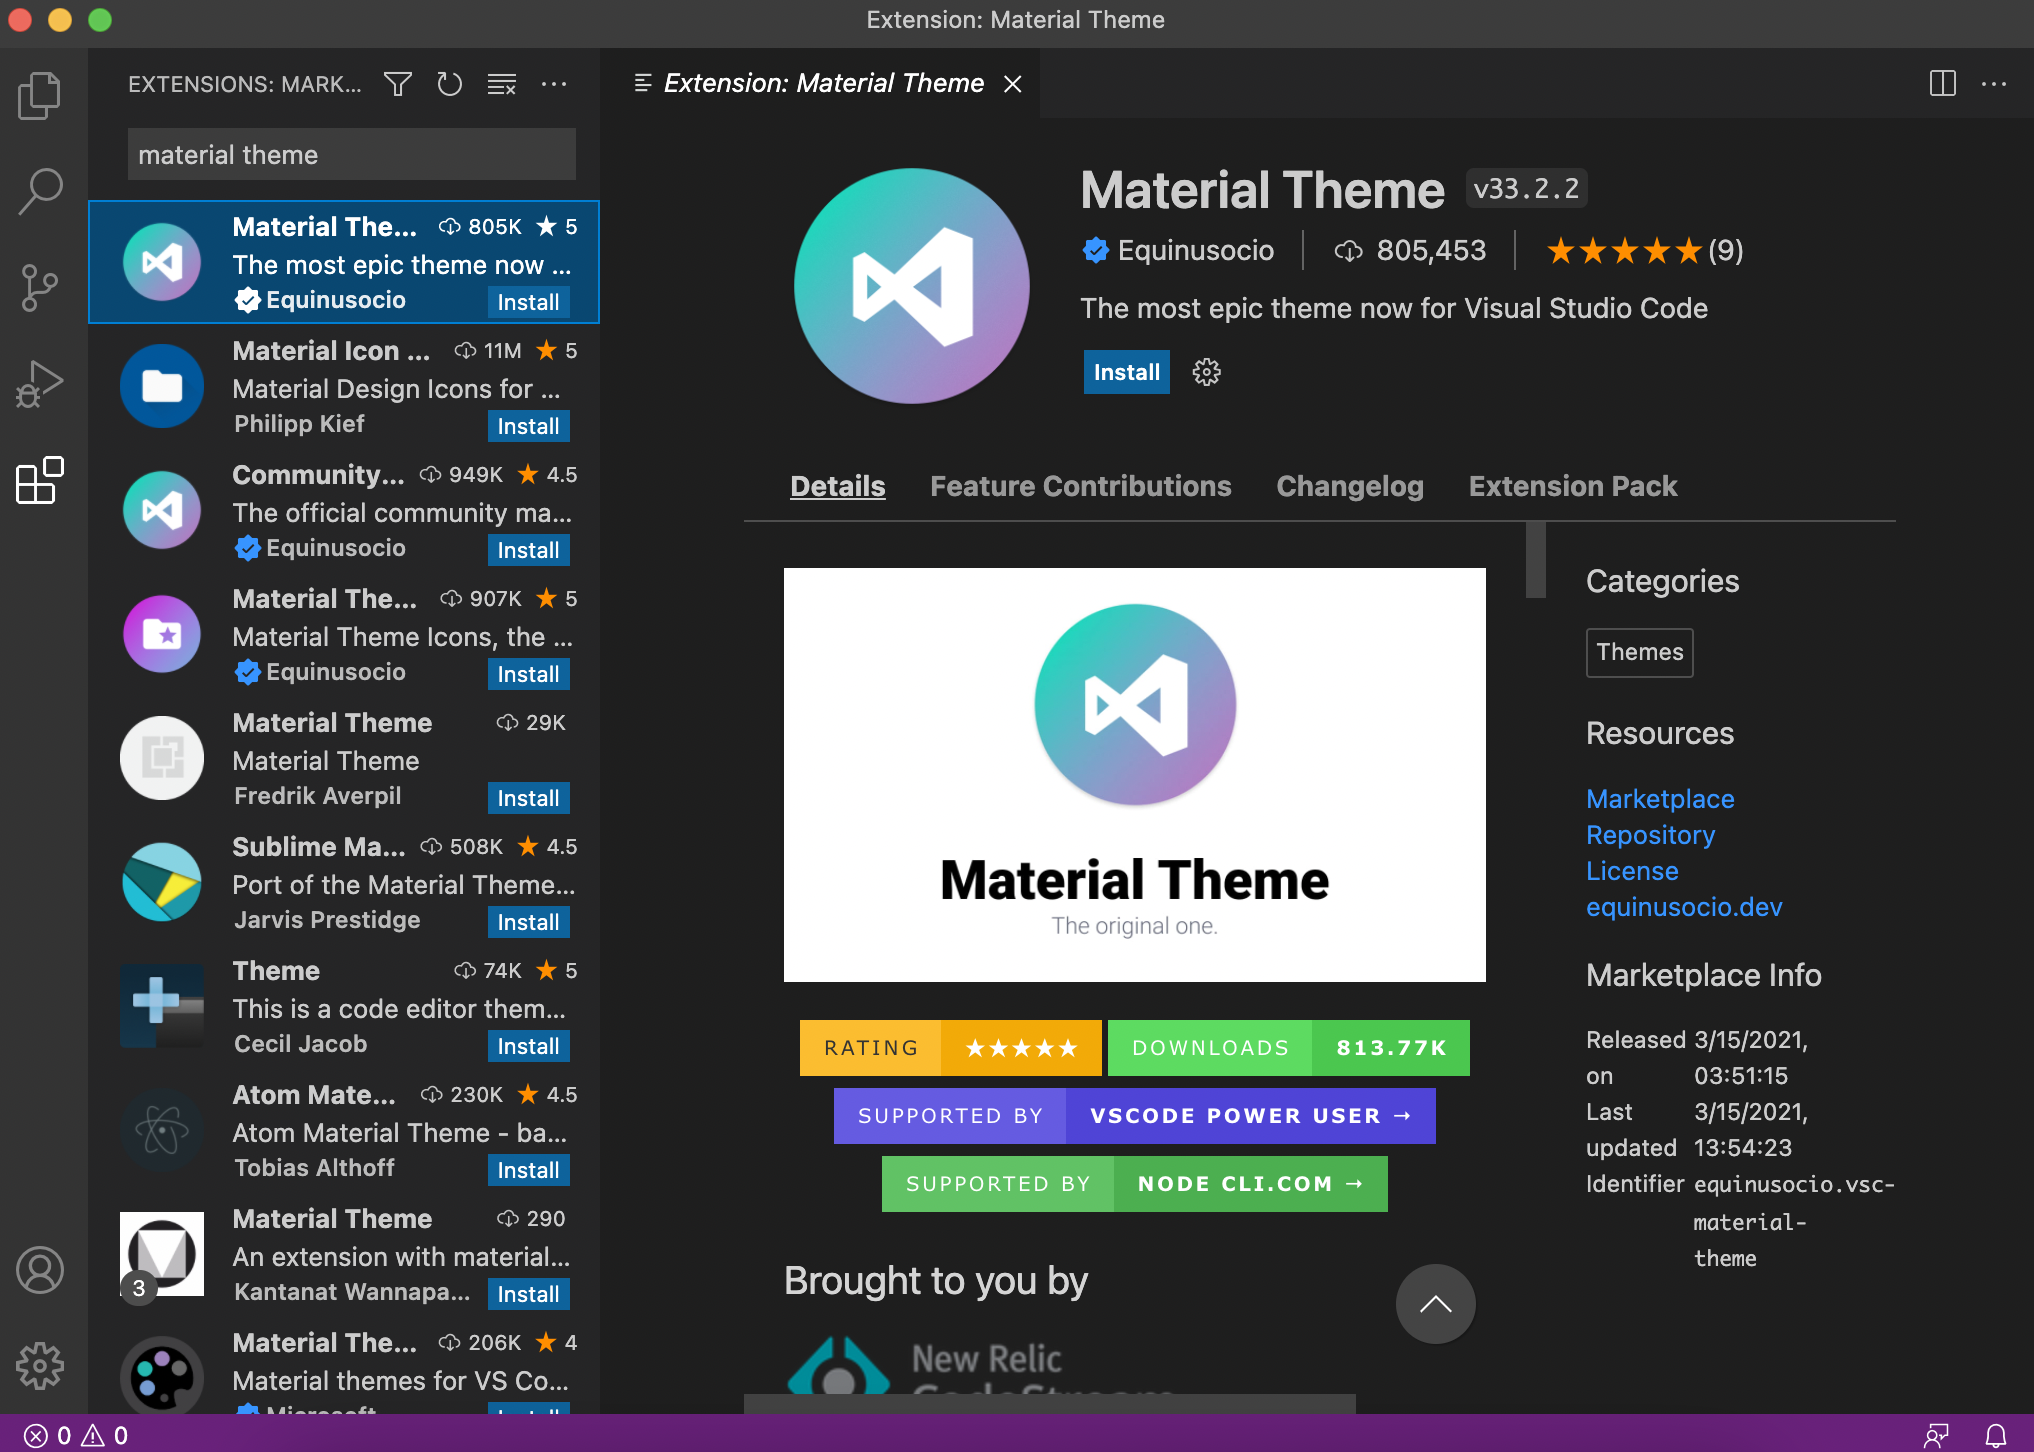 Material Theme Installation
Once it has been installed it will give you a dropdown to choose between a bunch of different variants.
The default option is great, but I personally find the "Material Theme Ocean High Contrast" variant to be the best looking.
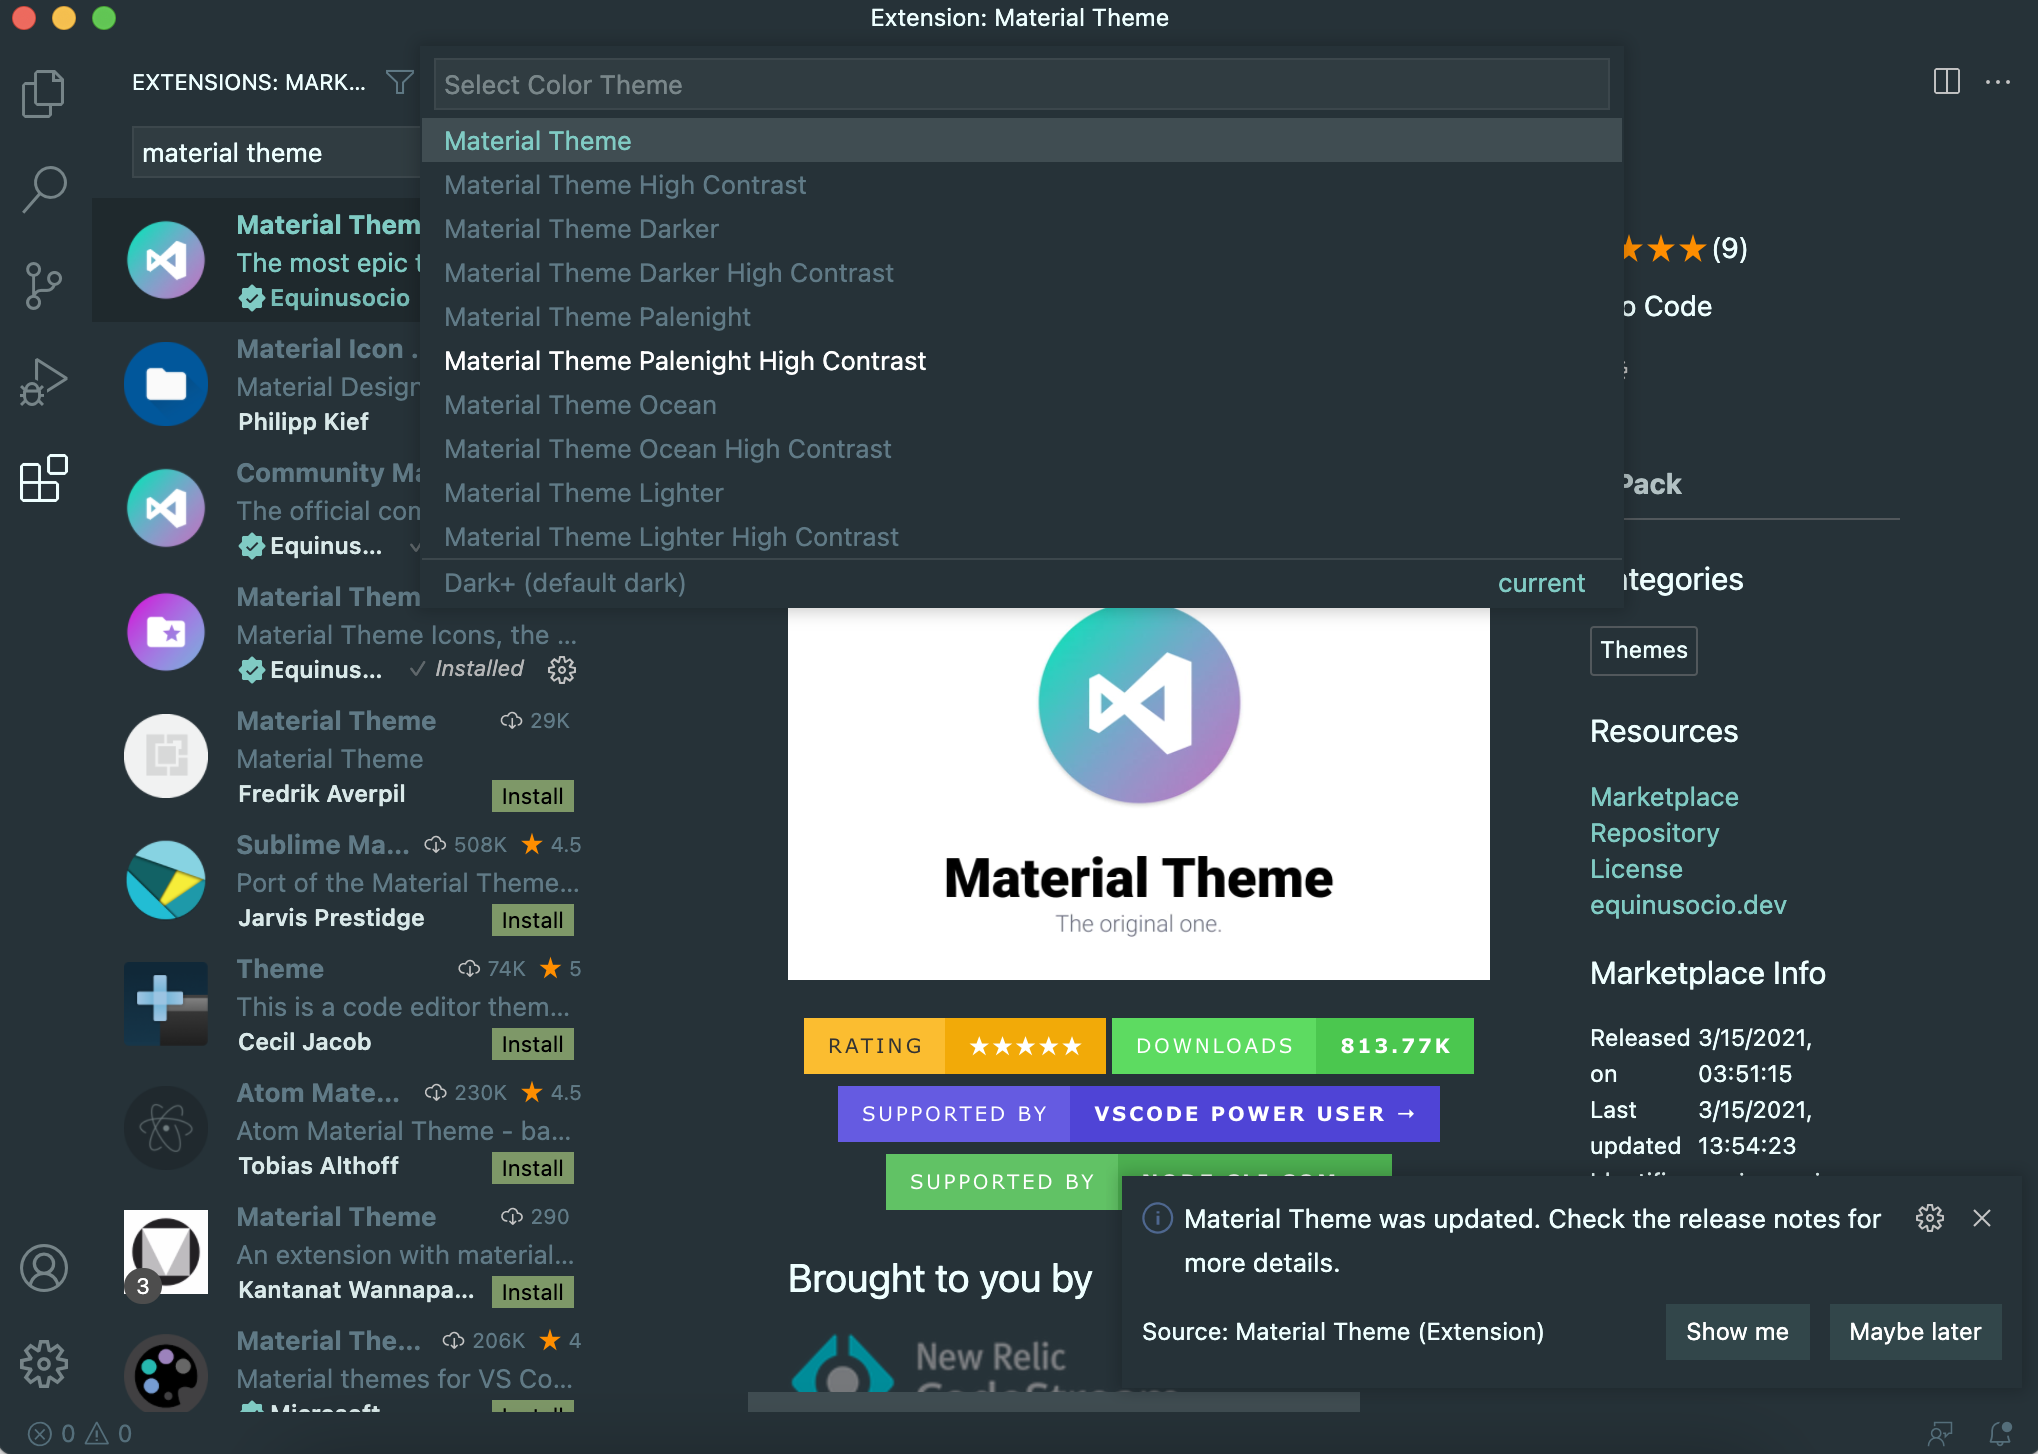 Material Theme for VSCode
Make your text easy to read
Now is a good time to add some basic settings that make the code that you write comfortable to read.
Settings that will improve the readability of your code are your font size, tab size, and font family.
You can change your VSCode preferences by going to (at the top of your screen):
Code > Preferences > Settings (or use the shortcut: ⌘ (Ctrl) + ,)
The settings I have found to most comfortable over the years for both desktop and laptop development are font size of 18 and a tab size set to 2.
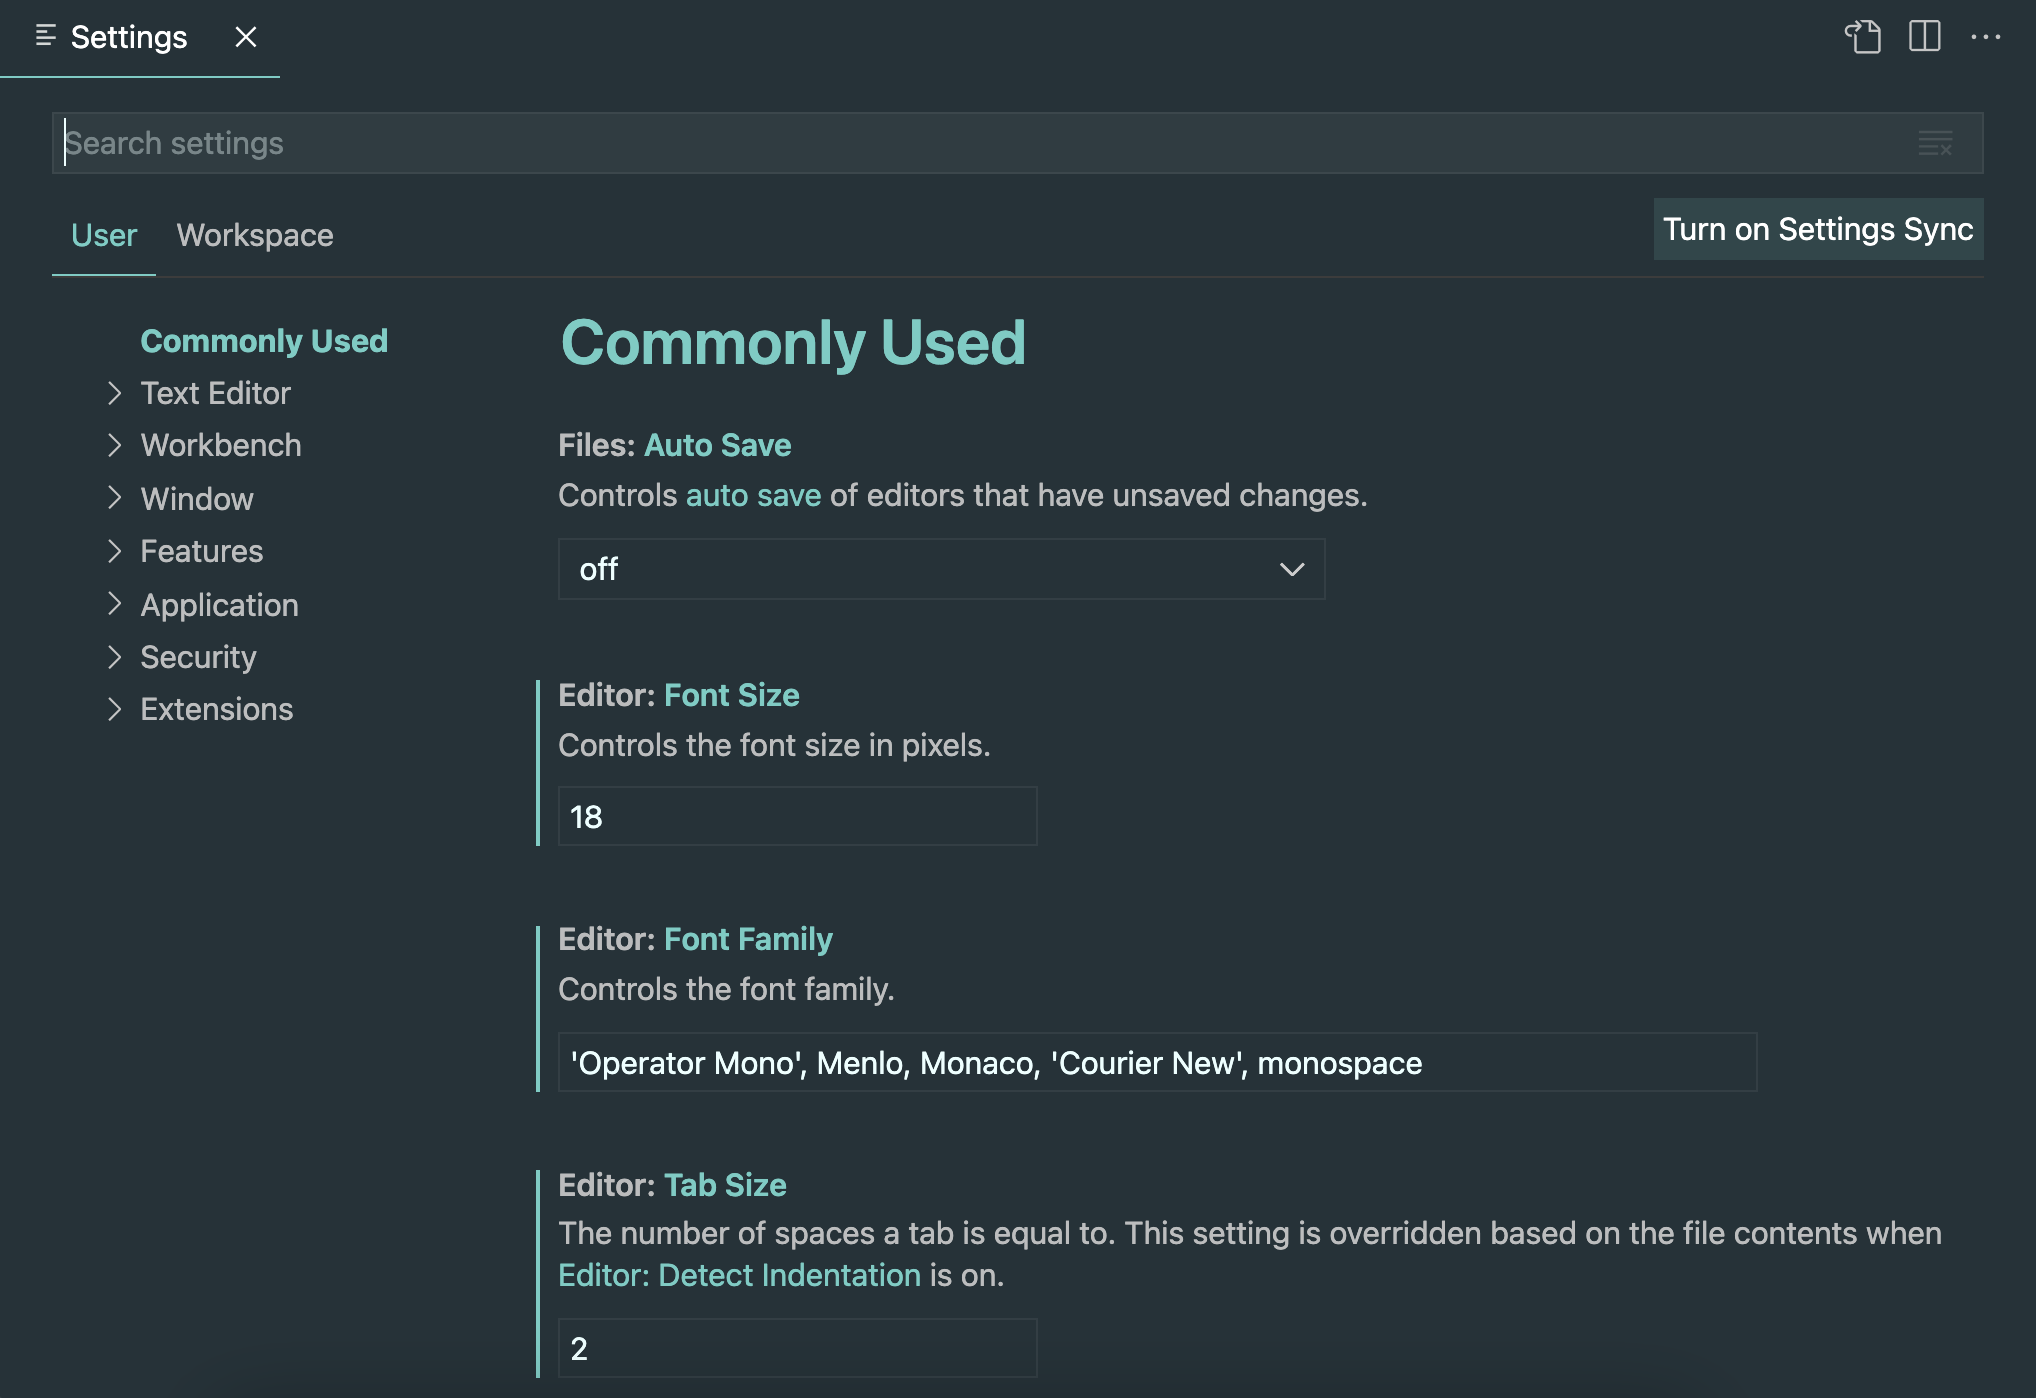 Text Settings for VSCode
Additionally, to get your text looking just right, I find text looks better when you increase the default zoom level of the editor.
To increase the zoom level, go to preferences (⌘ (Ctrl) + ,) and type in "zoom level".
I recommend changing the zoom level from 0 to 1.
And finally, as a matter of preference, I like to remove the default breadcrumb links that are at the top of the editor.
You can remove breadcrumbs by going to:
View > Show Breadcrumbs (and making sure it is unchecked).
Here is what our code editor looks like with a sample component file I added to my Desktop:
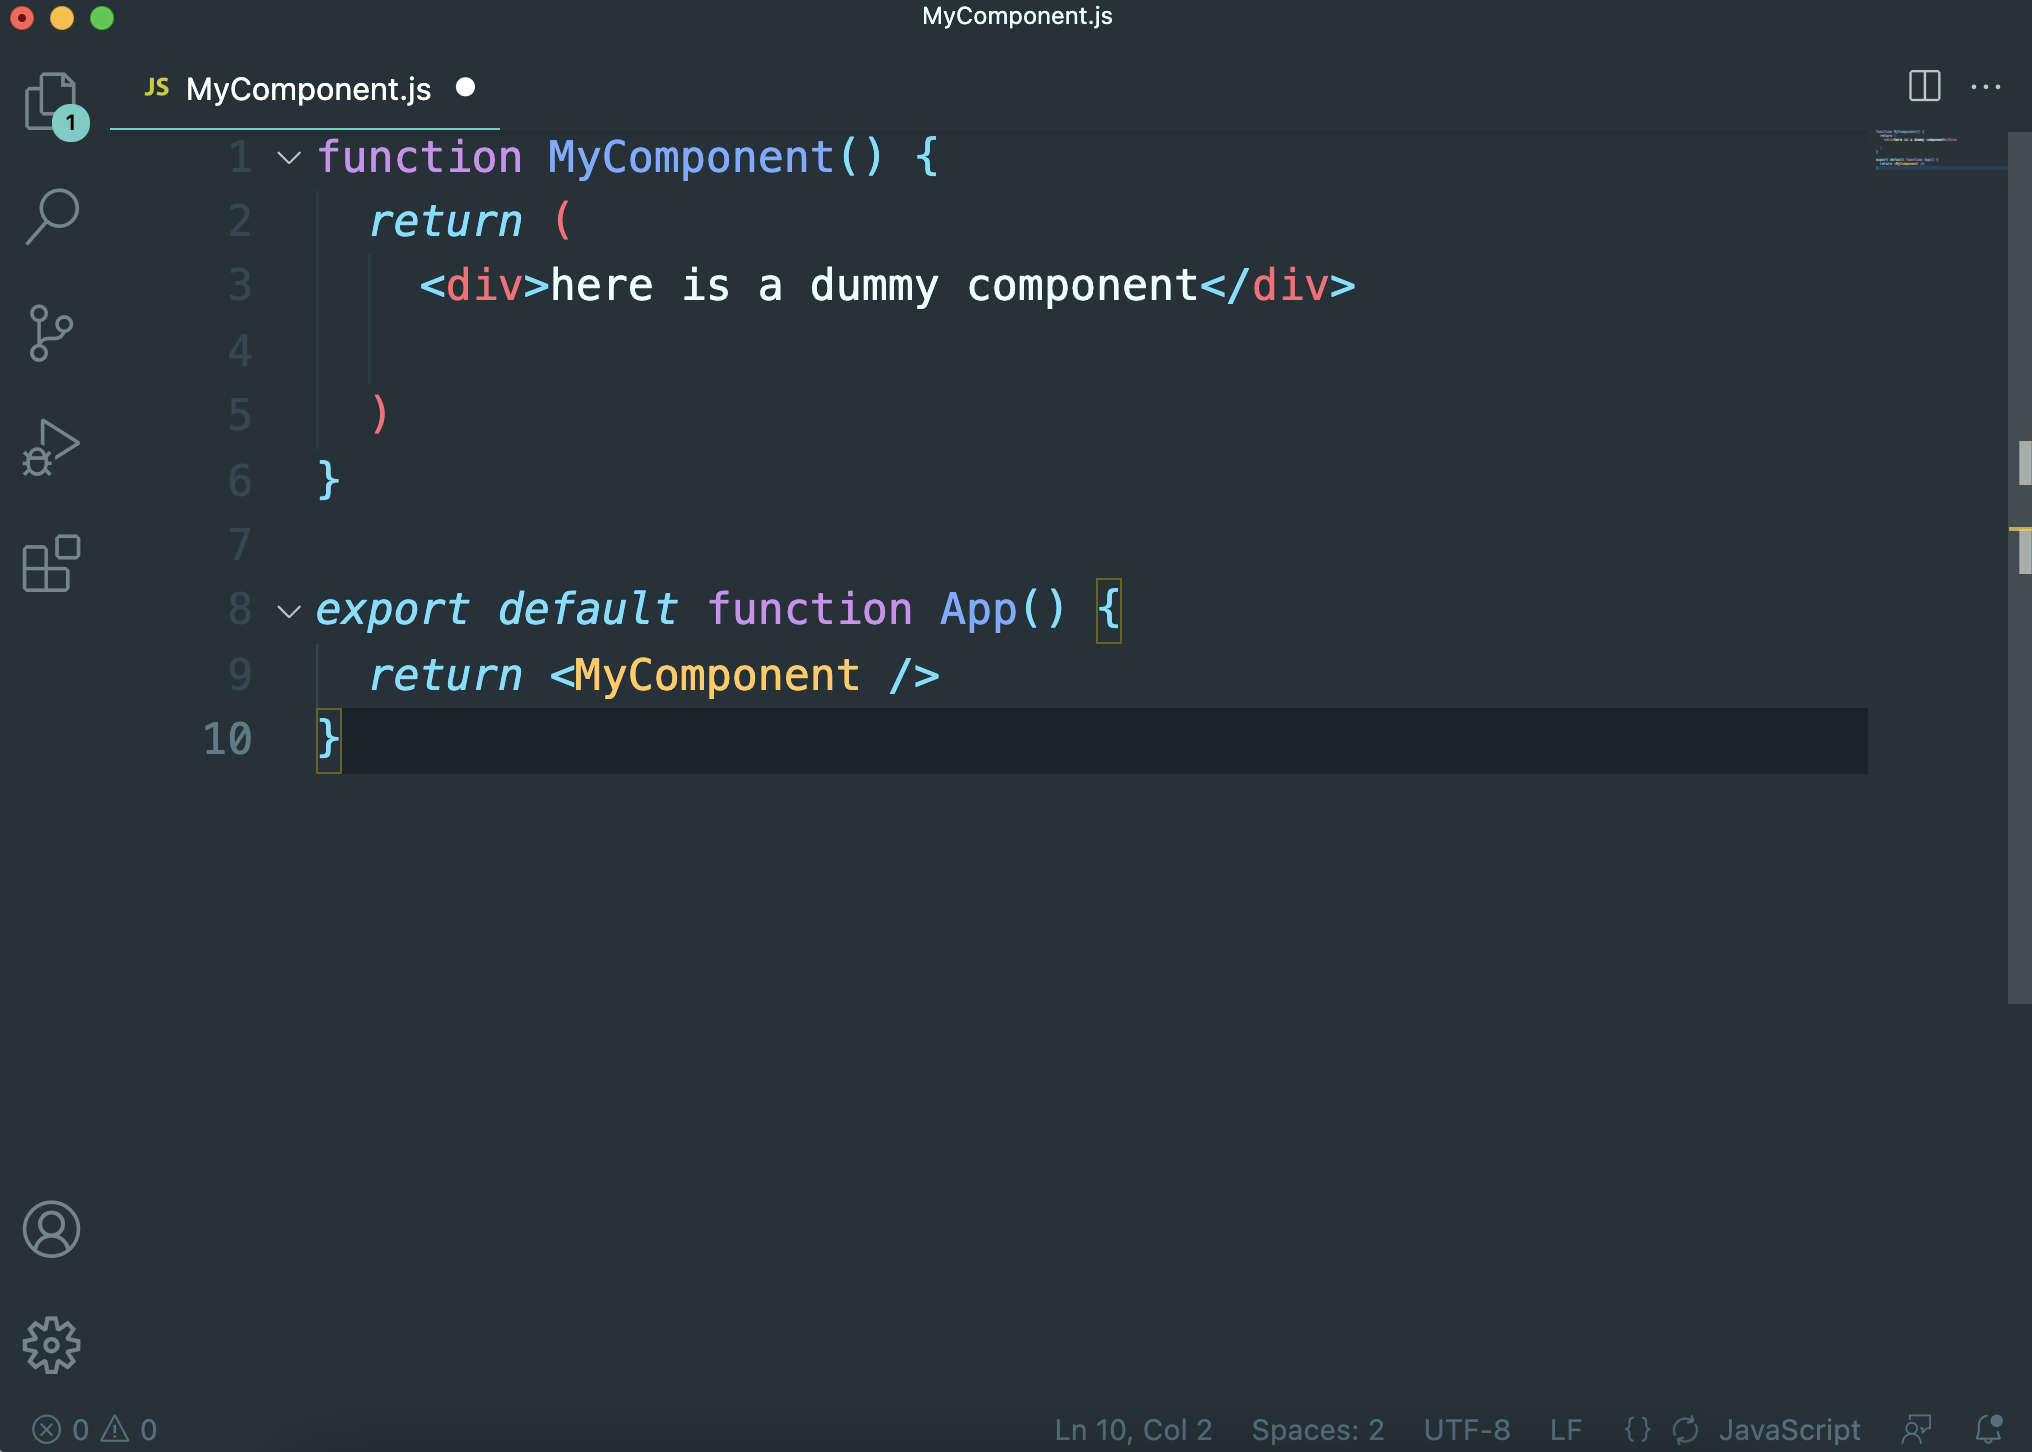 React component appearance in VSCode
Format your code with the Prettier extension
You might have noticed in the example above that the code isn't very nicely formatted.
Fortunately, you can automatically format every .js file you write using the Prettier extension for VSCode.
To be able to instantly format our code every time we save a .js file, we can again go to the extensions tab (⇧ + ⌘ (Ctrl) + X), type in "prettier" and install it:
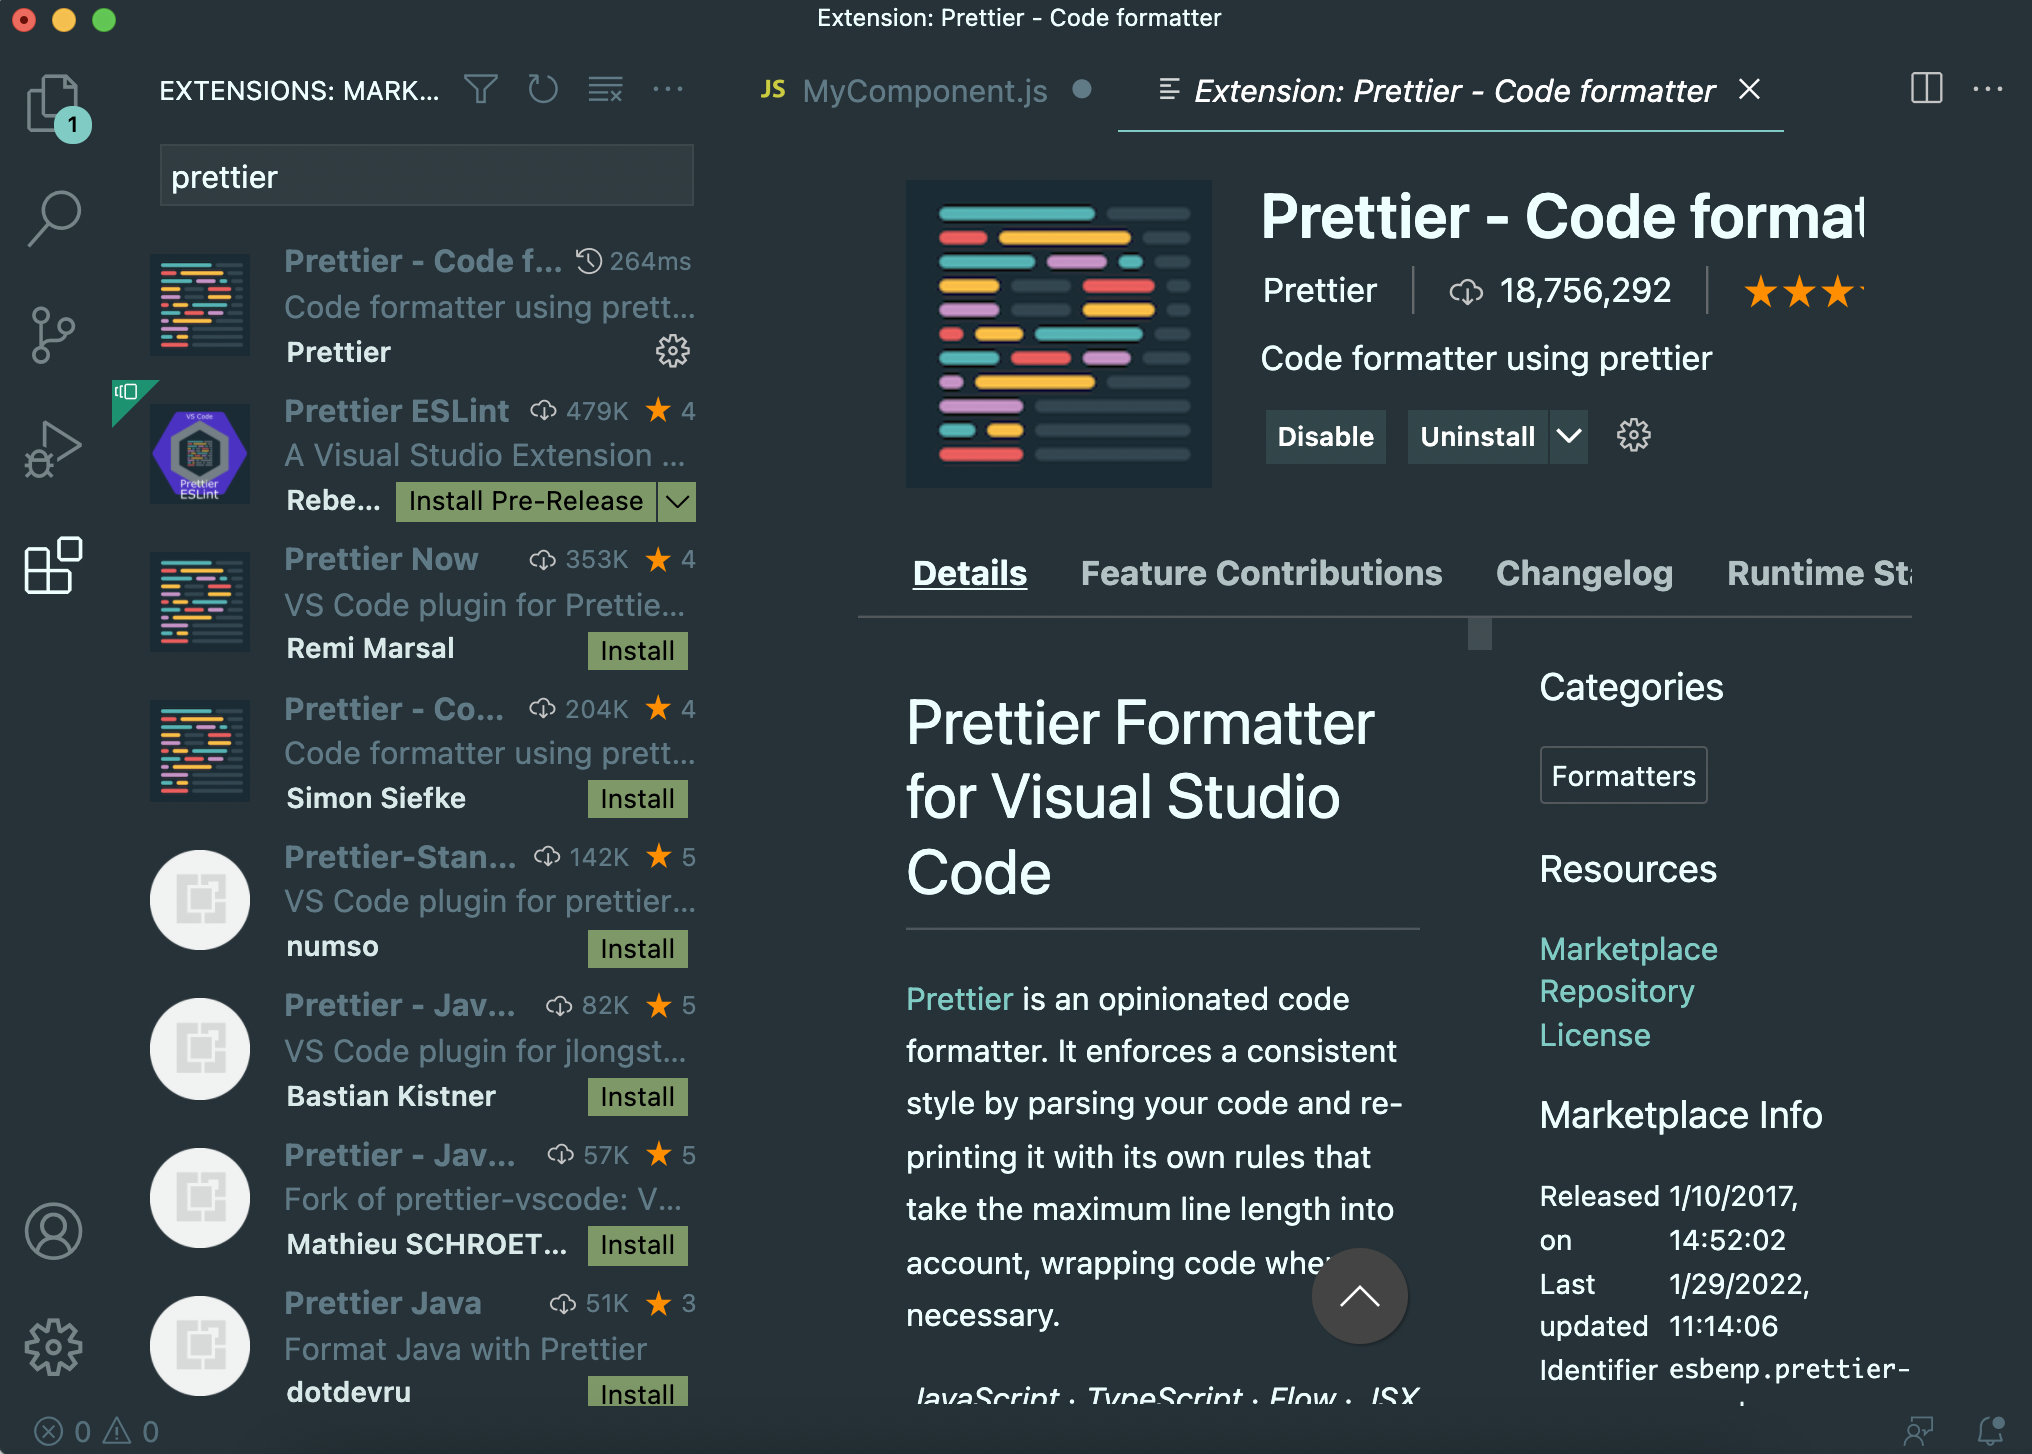 Prettier extension for VSCode
Next, we can go back to preferences (⌘ (Ctrl) + ,) and search for "format on save" and make sure it is checked:
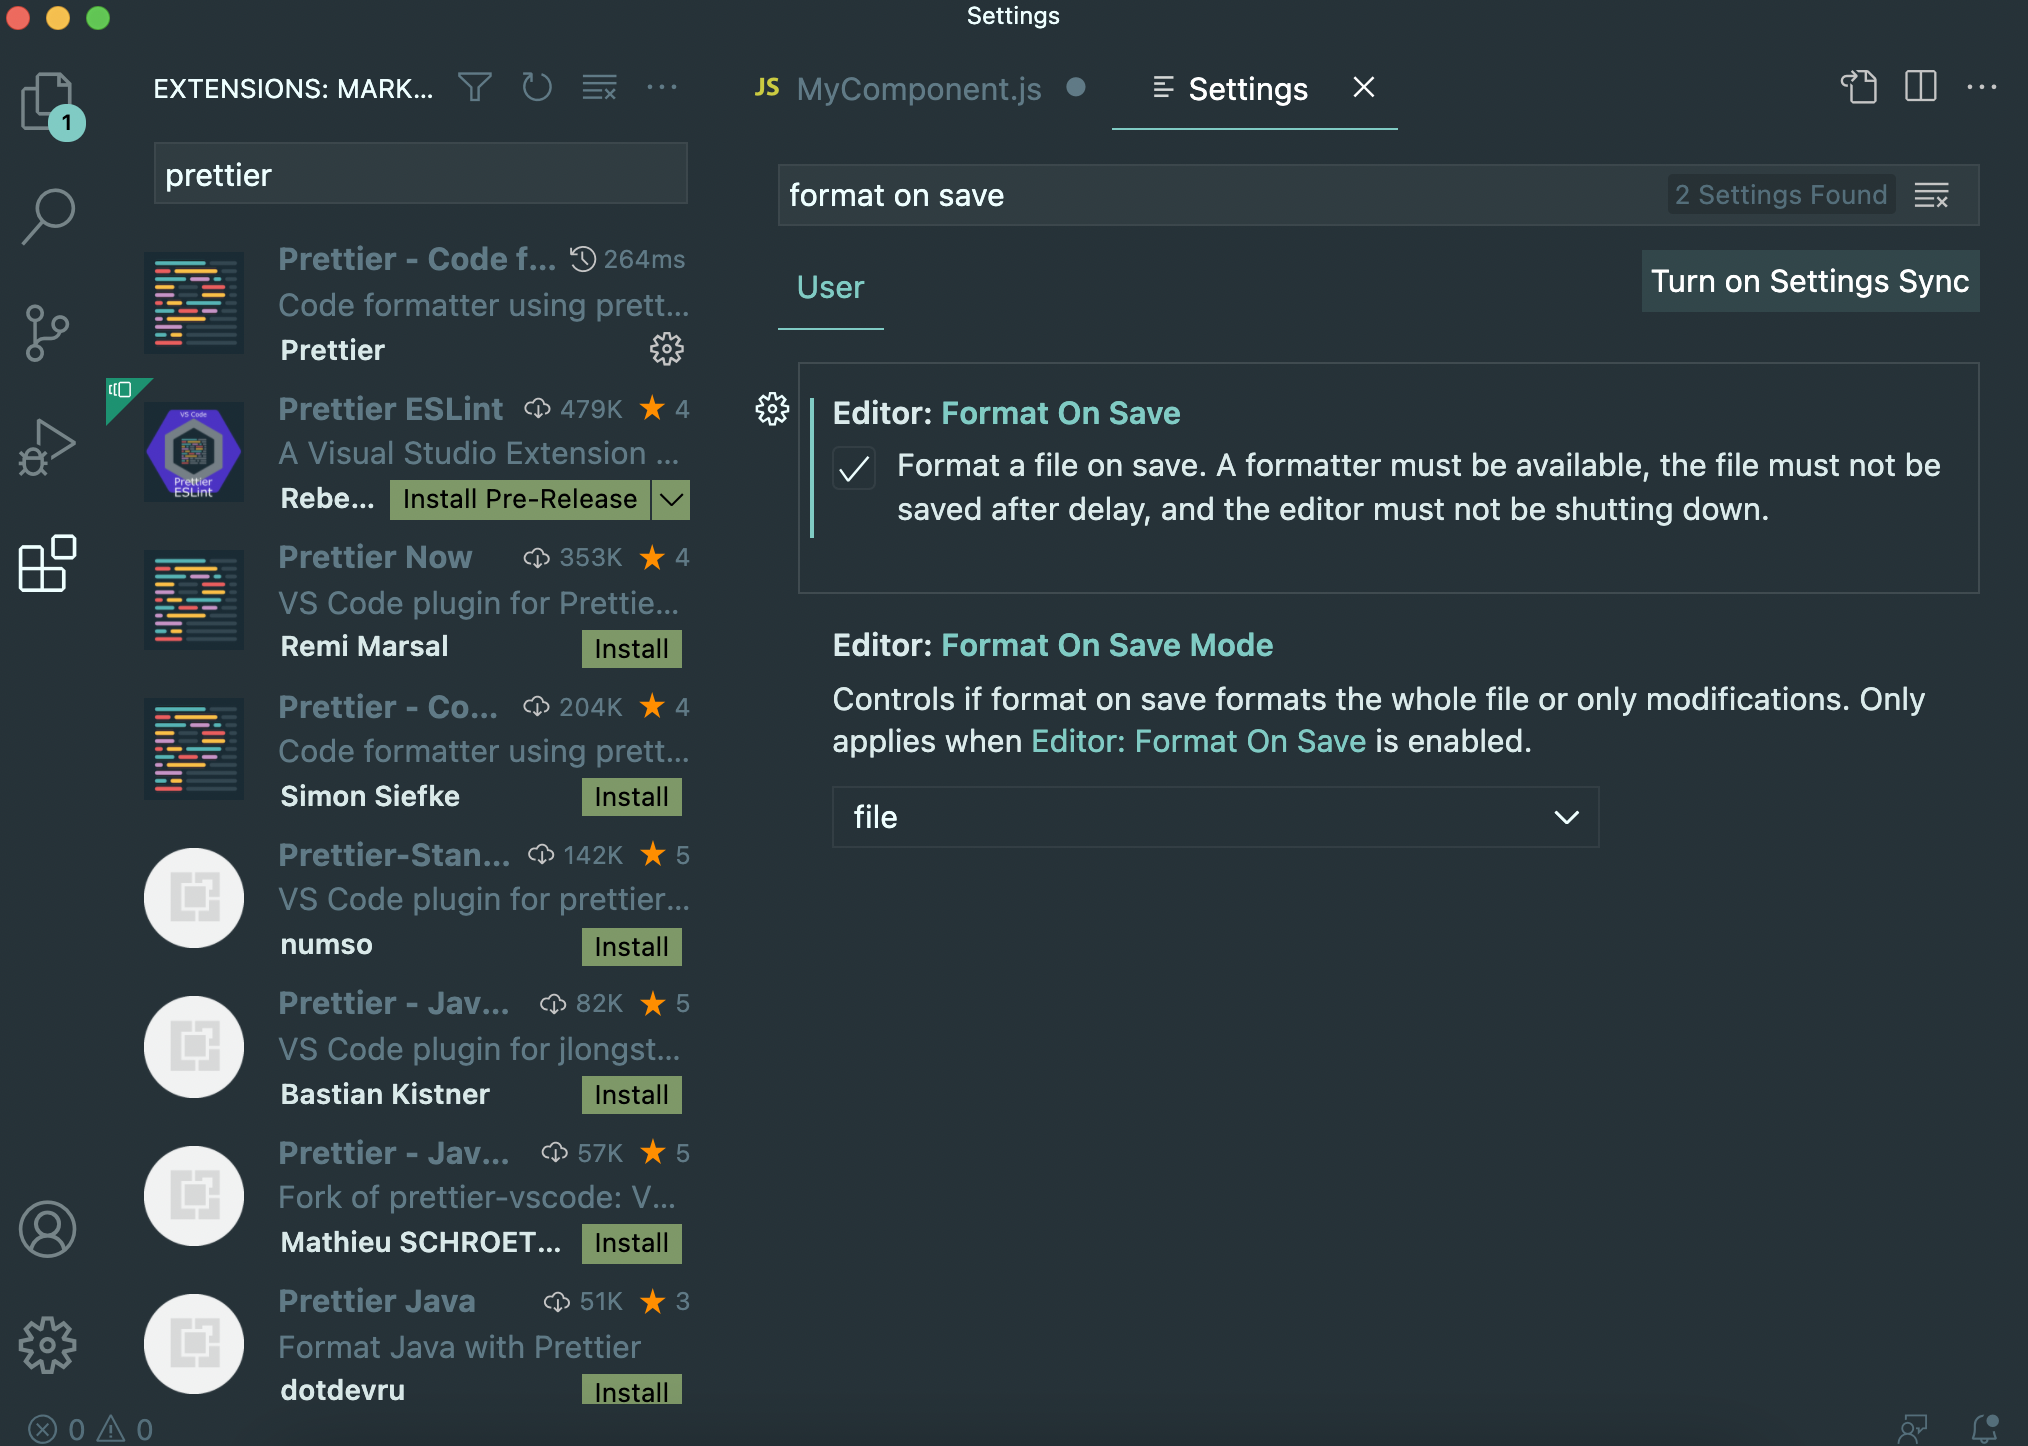 Format on Save setting
And again in preferences, search for the "default formatter" setting and set it to Prettier.
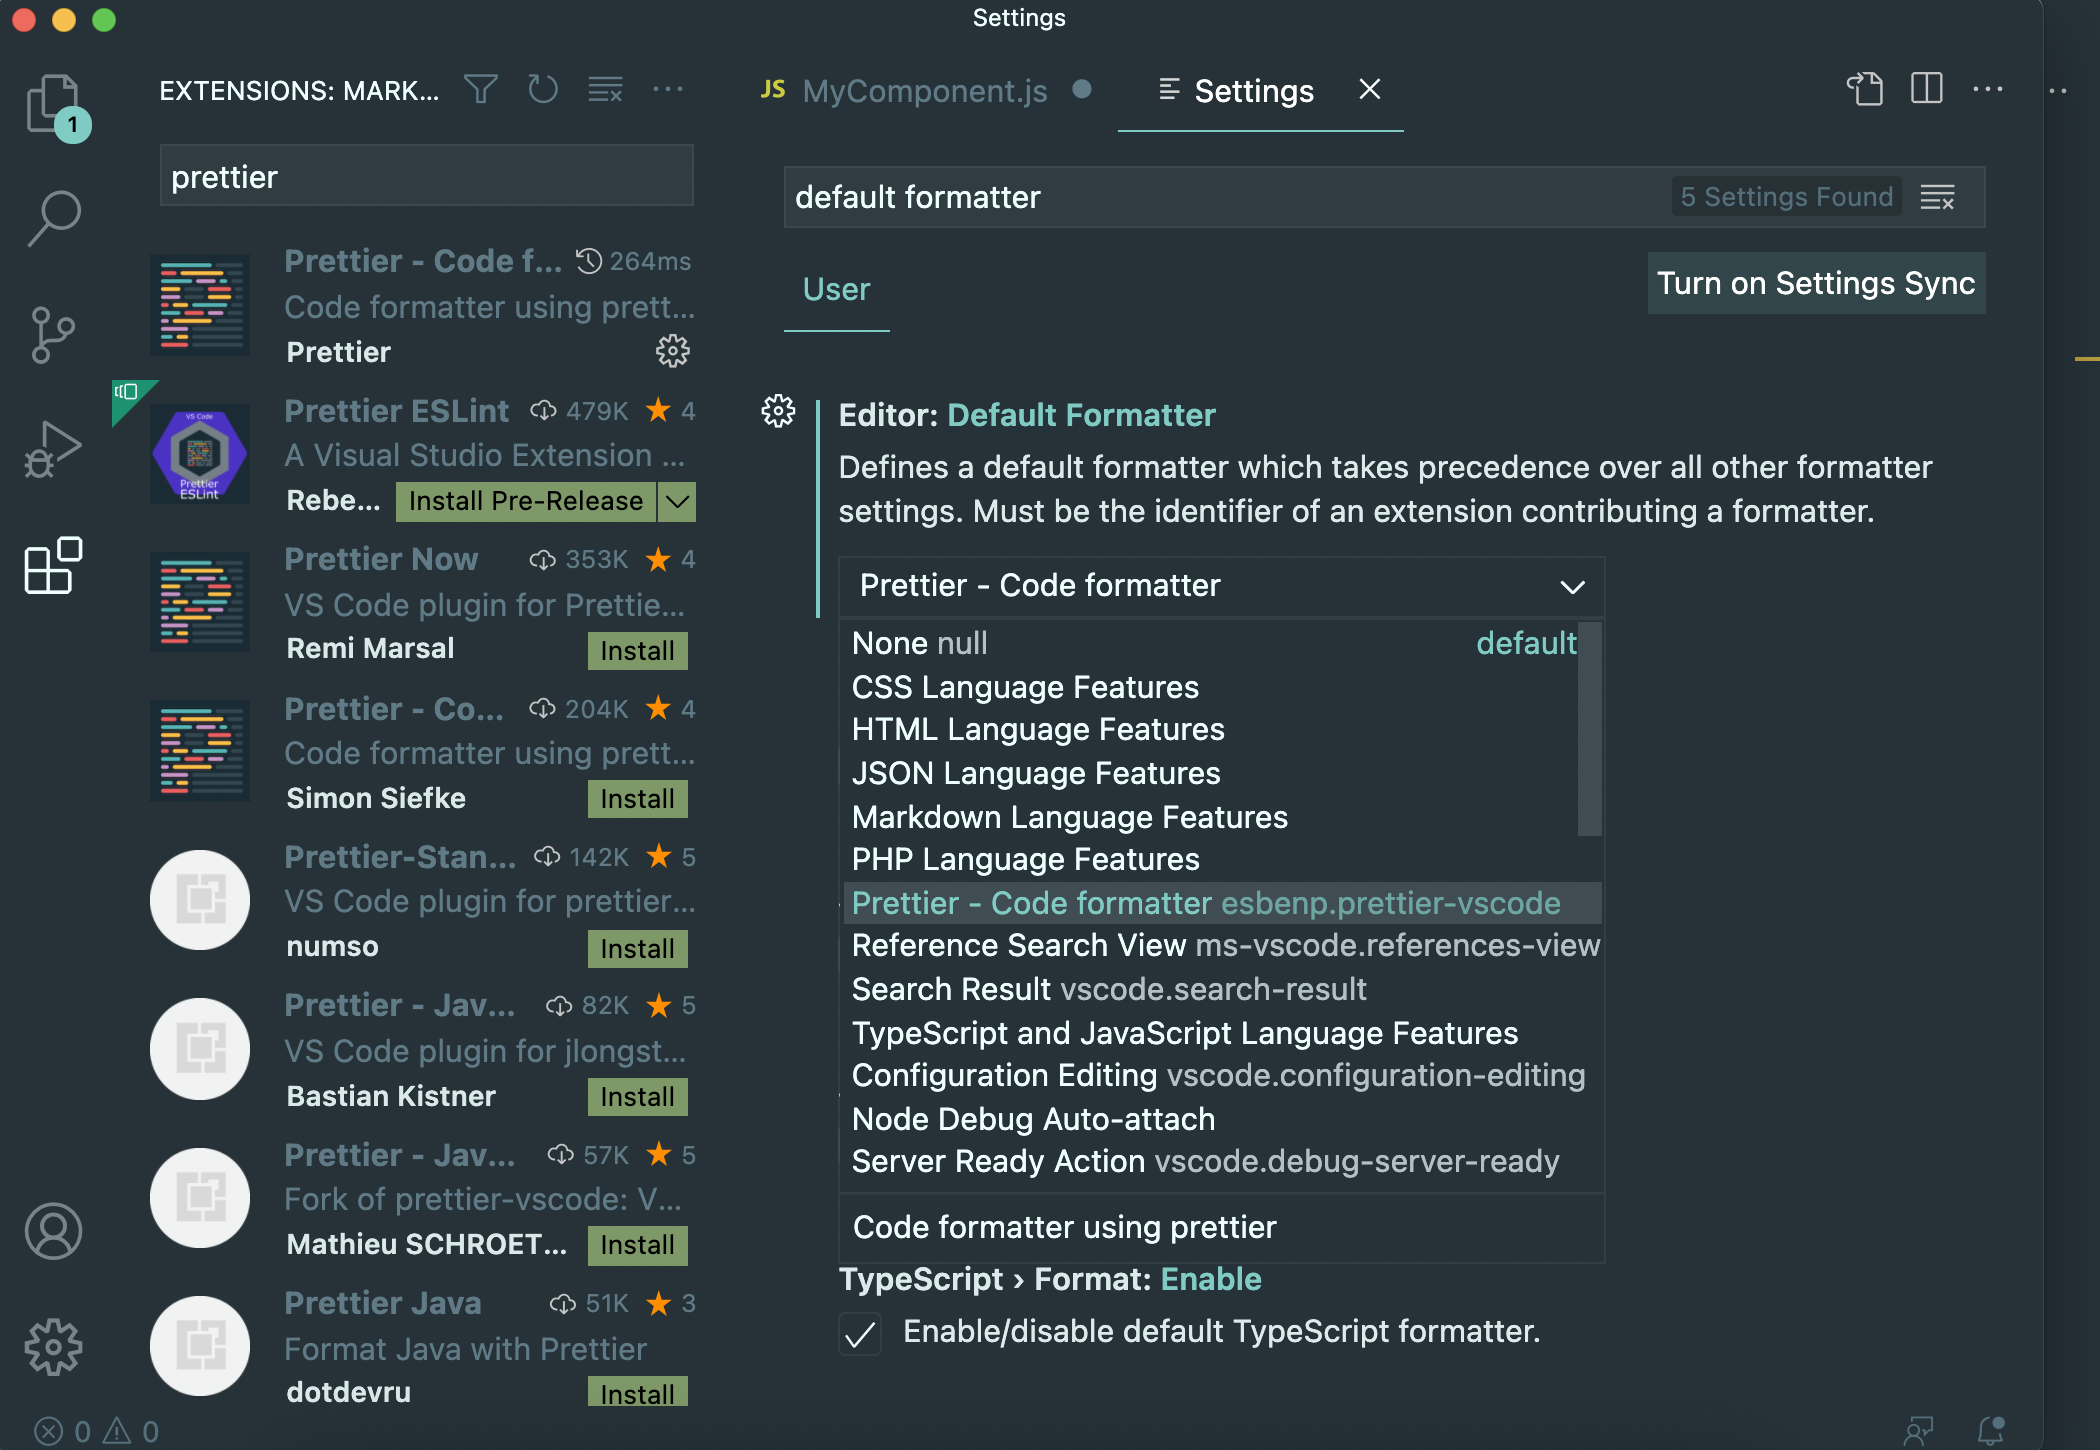 Default formatter setting
Now if we go back to an unformatted file and hit save, it will instantly be formatted for us!
Here is what our dummy component now looks like after we hit save:
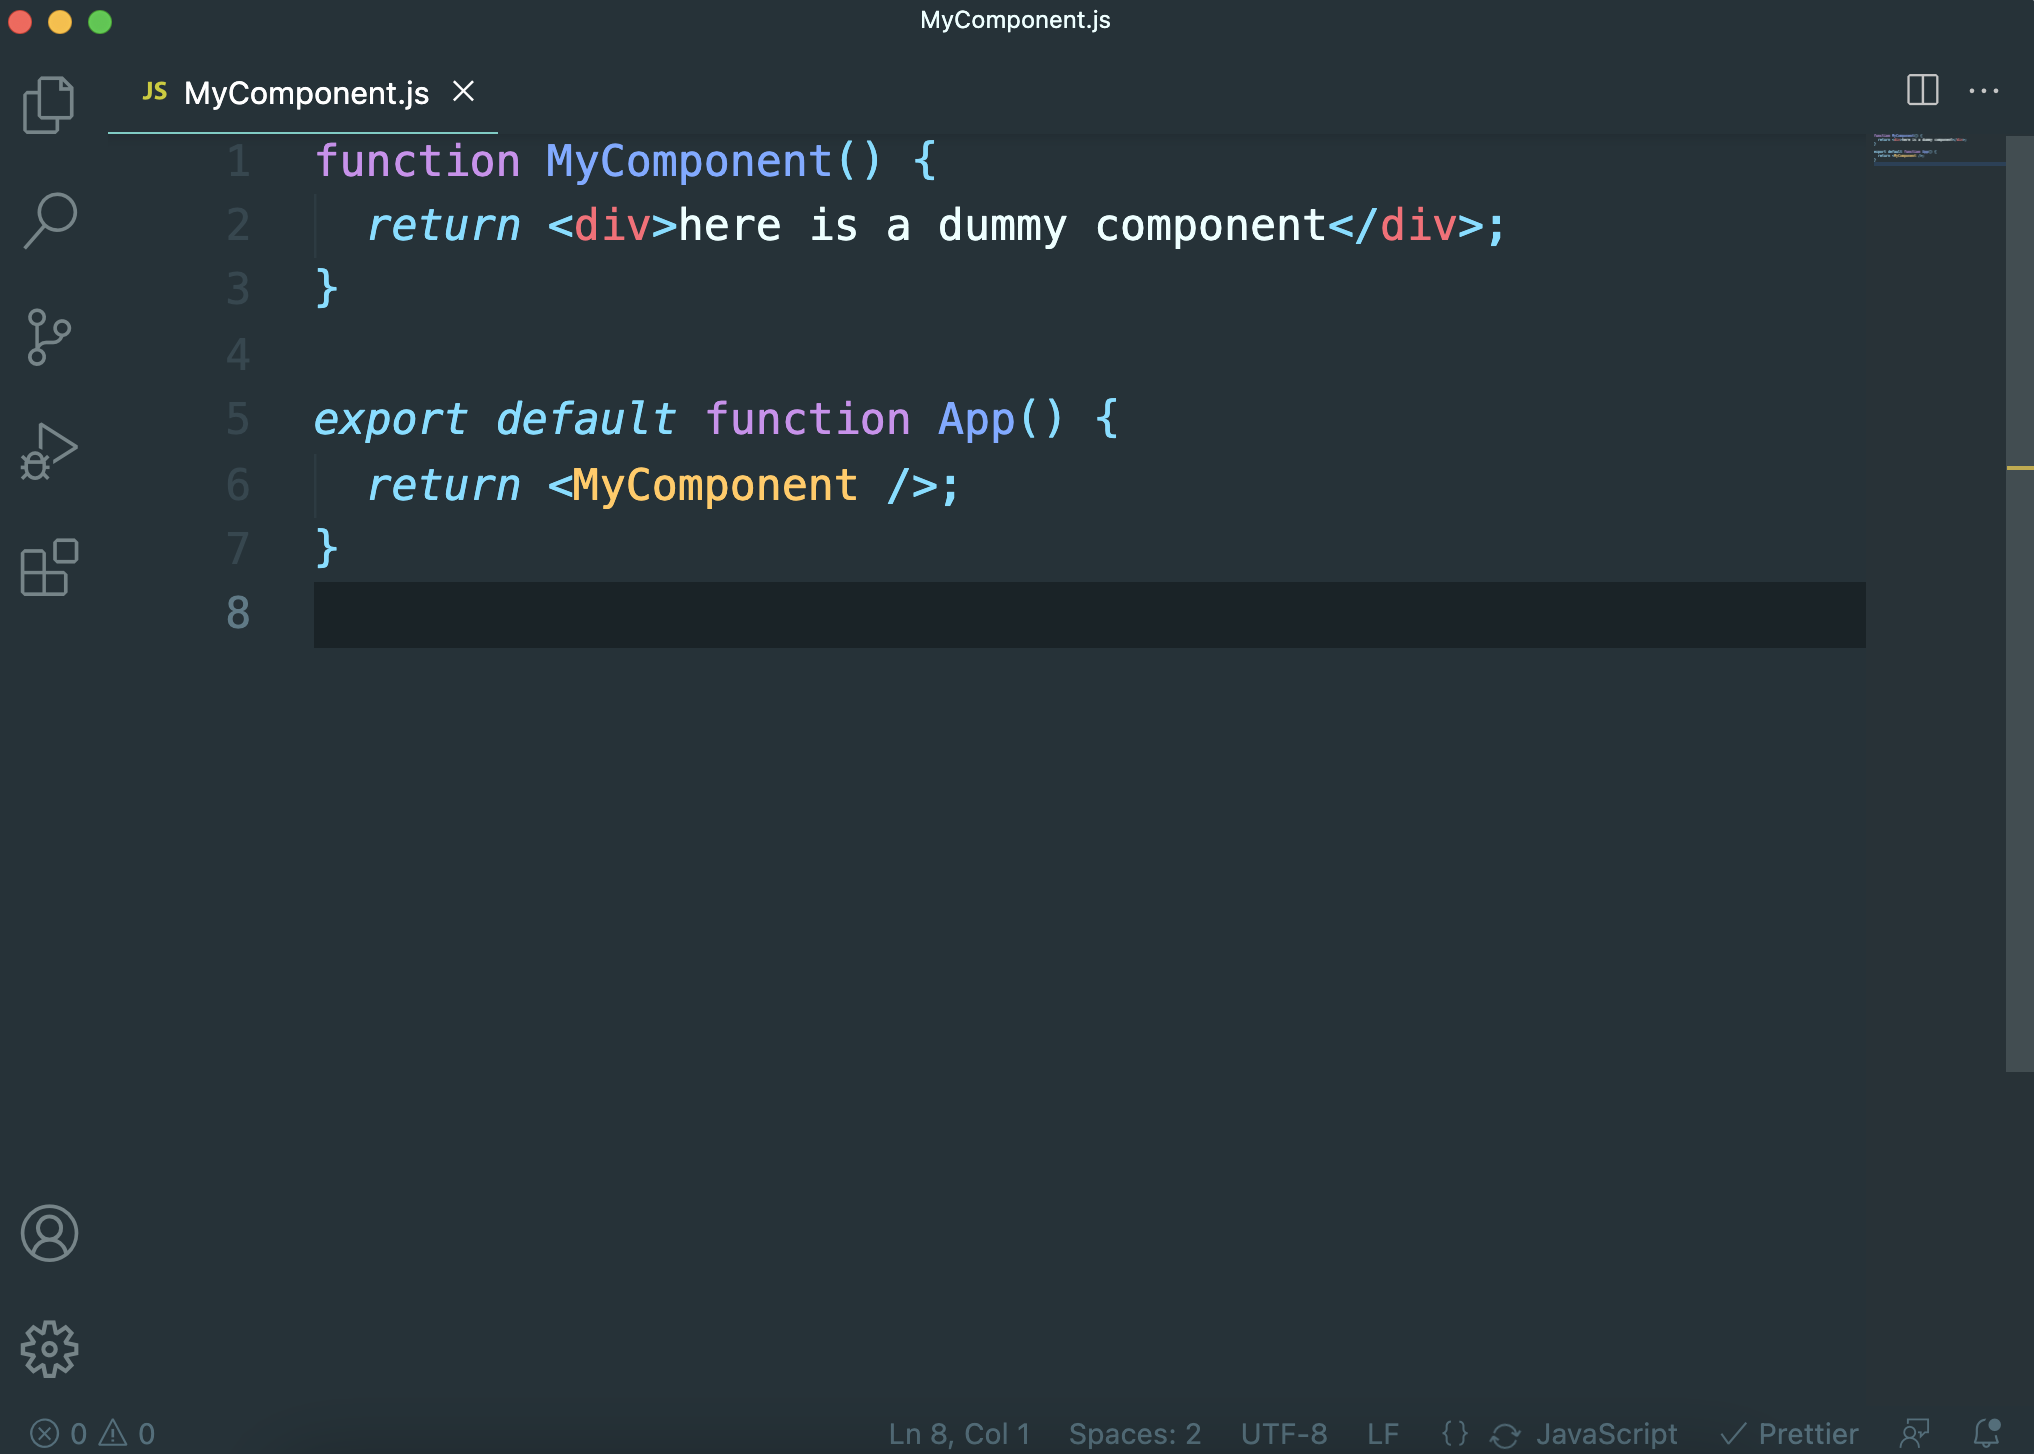 Formatted React component (with Prettier)
Check out the Prettier extension documentation to see how you can further configure it according to your formatting preferences. Still, I personally recommend using the default options
How to Quickly type JSX with Emmet
VSCode comes with built-in support for an amazing tool called Emmet that allows you to write HTML tags very quickly.
However, Emmet is not configured by default to be used with JSX, which React uses instead of HTML.
To write your JSX more quickly, you can use Emmet with React by going to:
Code > Preferences > Settings (⌘ (Ctrl) + ,)
And then typing in the search bar, "emmet include languages".
After that, click the "Add Item" button and add the following setting:
item: javascript, value: javascriptreact (and then hit ok)
Your added setting should look like this:
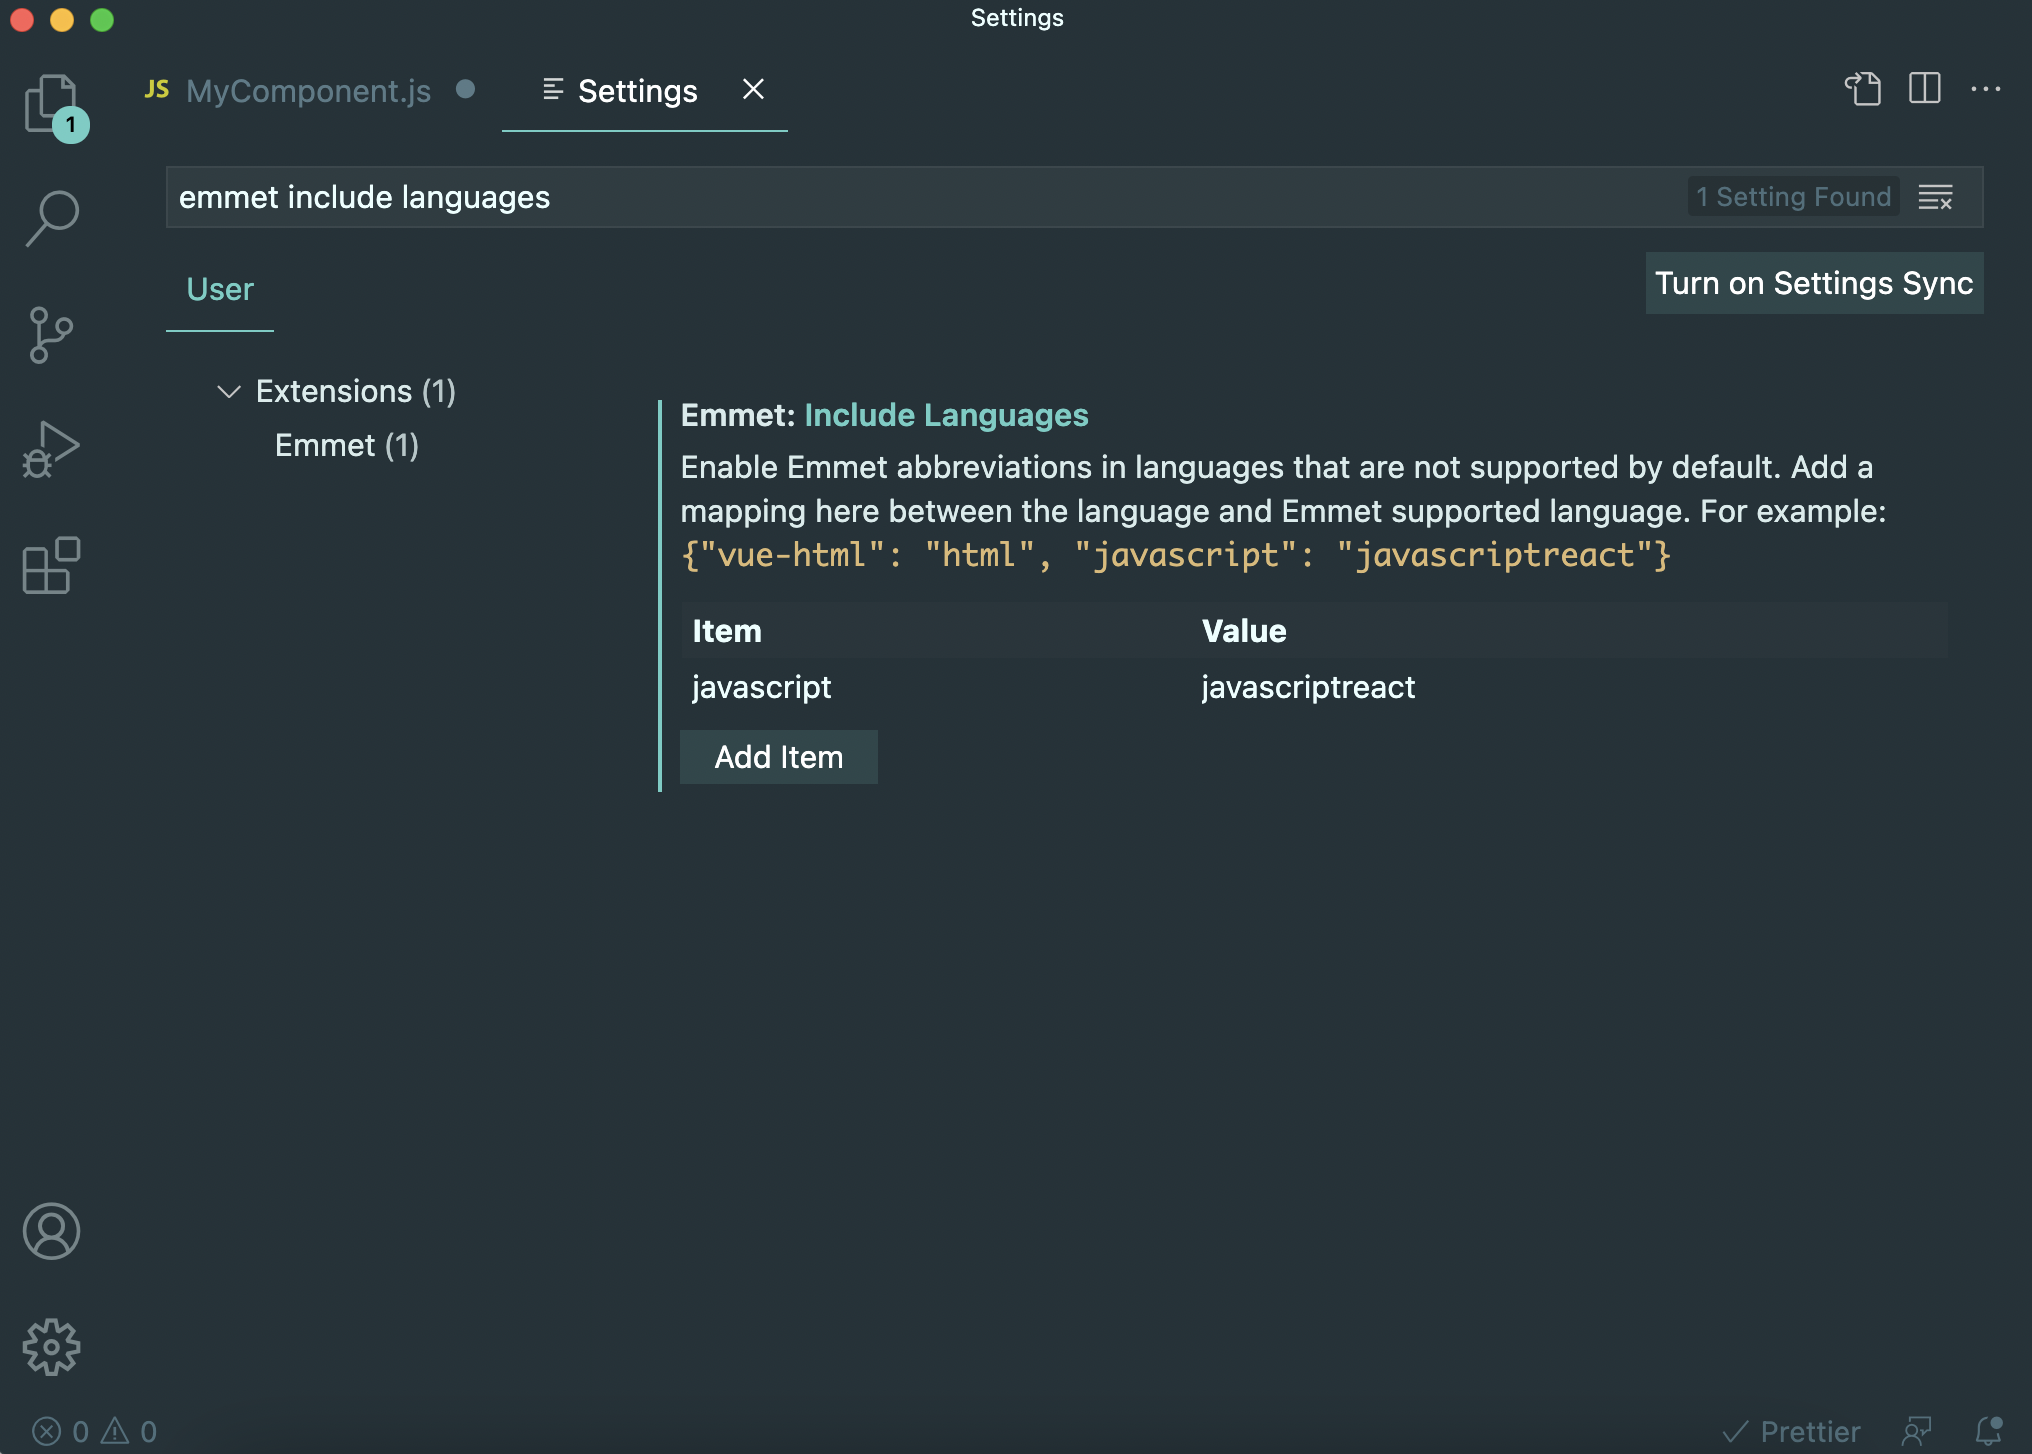 Emmet Include Languages setting
Now that we have included React as a language for Emmet, we can start writing our JSX much more quickly.
Here is quick demo of how productive you can be with Emmet:
 Quick demo of Emmet shortcuts
Become a Professional React Developer
React is hard. You shouldn't have to figure it out yourself.
I've put everything I know about React into a single course, to help you reach your goals in record time:
Introducing: The React Bootcamp
It’s the one course I wish I had when I started learning React.
Click below to try the React Bootcamp for yourself:
 Click to get started