By Vasyl Lagutin
Have you ever wondered how websites are built and designed? Do you want to learn the art of web development but you're not that tech savvy – yet?
Well, then this tutorial is for you. It's an introduction to Web Development for beginners so you can learn the basics even if you're totally new to the topic.
HTML Basics – the Structure of a Web Page
HTML stands for Hyper-Text Markup Language. Now, before we can get deep into how HTML works, let's get a basic understanding of what Hyper-Text Markup Language actually means.
Hyper-Text refers to the hyperlinks you see on text, an image, or a bookmark that redirects to another page, file, document, or another part of a web page.
A markup language is simply a computer language that contains tags that define elements within a document. An example of a tag could be the headline of a blog, which is normally written as an h tag.
There are many more tags, some of which we will discover later on.
You can simply think of HTML as the structure of a webpage. Like, let's suppose you have to build a house. The first step of building should be to construct its frame and overall structure, right?
You'll layout the basement, the walls, the lawn, the garage, and so on. This is how you can imagine HTML – it's the building blocks of a web page.
On a website, that might be the navbar, main-body/content, footer, sidebar, and all the structural divisions of the page. Those are all based on HTML.
How to Get Started with HTML
There are lots of code editors out there, like VS Code, Sublime Text 3, Atom, and Brackets. These all might sound strange to you. So, we'll just get started by using Notepad, which you might use one way or the other for writing notes and stuff like that.
Let's look at how you'd make the structure of a simple webpage in HTML with some basic code.
We'll design a web page that has a few different sections: a navbar, the main body with a heading, a paragraph, and an image, and a footer.
<!DOCTYPE html>

<html>
    <head>
        <title>Page Title</title>
    </head>
    <body>

        <nav>This is the Navbar of my web page</nav>

        <h1>My First Heading</h1>
        <p>My first paragraph.</p>

        <img src = "https://miro.medium.com/max/1584/1*lJ32Bl-lHWmNMUSiSq17gQ.png"/>

        <footer>
          <p>Footer</p>
        </footer>

    </body>
</html>
In the above code, the <!DOCTYPE html> declaration means that this document is an HTML5 file.
The 5 over here just refers to the version, as HTML has come a long way and has improved from its prior versions. Version 5 just refers to its latest, stable version. You don't need to worry about the previous versions here.
<html> acts as the root element of all the elements (title, headings, paragraphs, and so on) of an HTML web page.
<head> contains the meta-information (information about information such as author, expiry date, a list of keywords, document author) on the page.
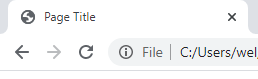
The <title> refers to the webpage's title you see in the browser when you open up a web page. Here's an example for your reference. In this image, Page Title is the thing that refers to the title tag.
<body> is where all your web page content is, like the heading, paragraphs, images, the entire user interface.
<nav> represents the navbar, which should be at the top, followed by the main body contents, and then finally the <footer>.
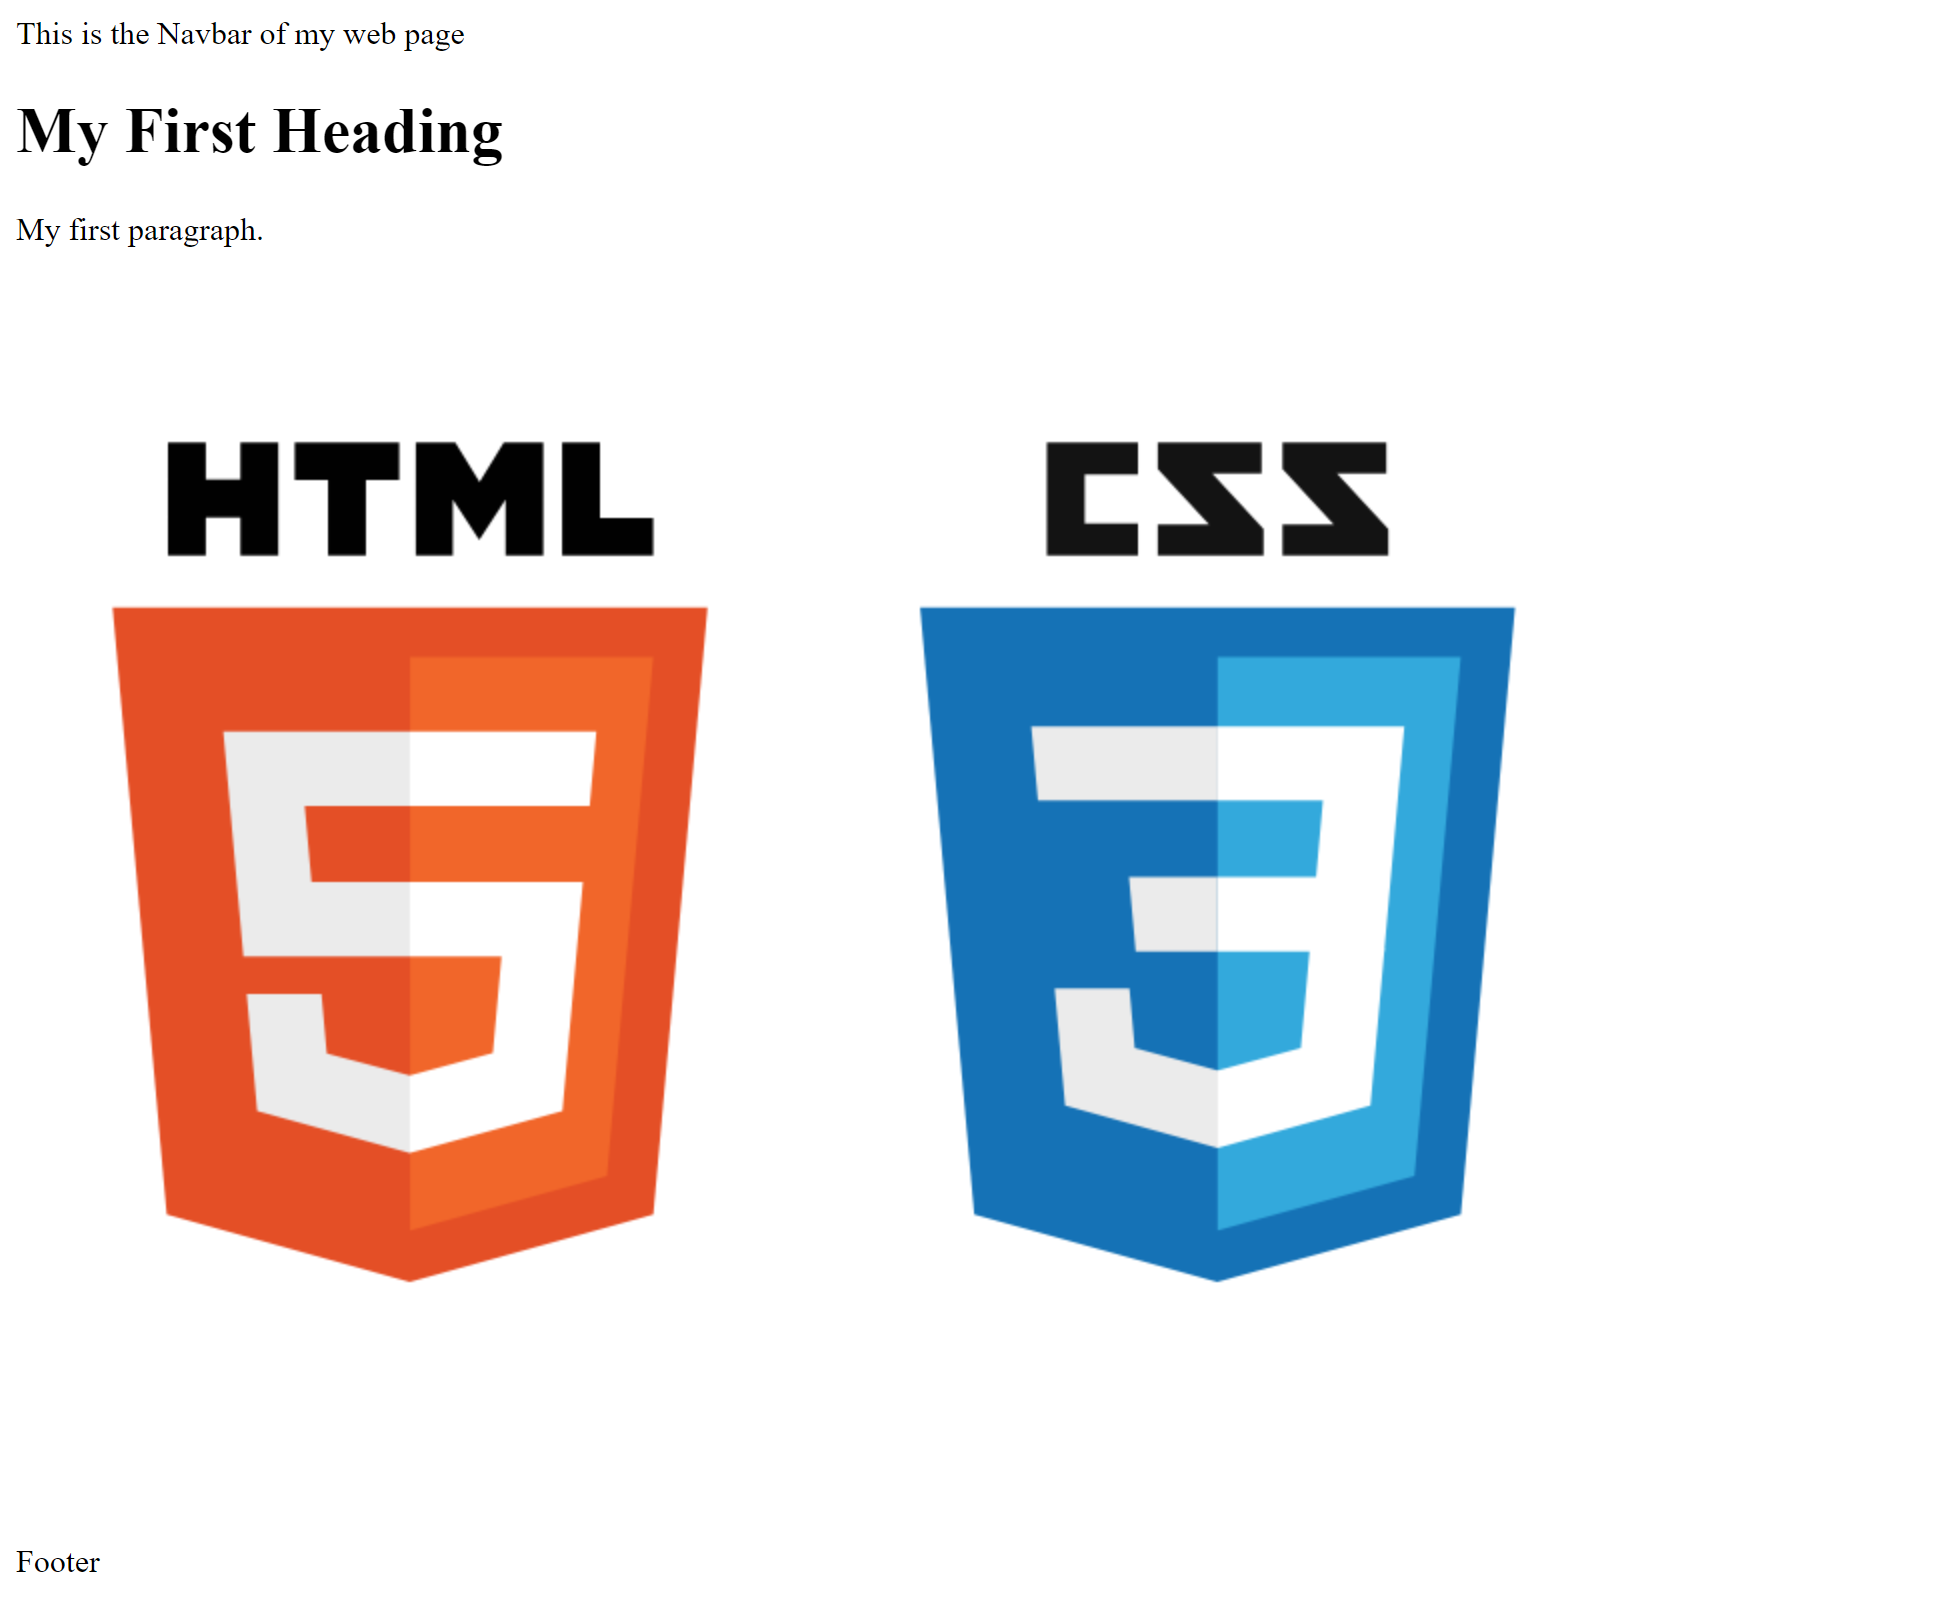
The main body is comprised of a heading represented by a <h1> tag (the 1 with the h represents the size of the heading. The heading size goes from 1 to 6, 1 being the largest and 6 being the smallest). That's followed by a paragraph <p> tag, then an image tag <img>, and finally the footer, the last section of a web page.
Note that the image tag has the src keyword in it. src refers to the source of the image, which in this case is an image taken from the web. Because of this we attached the URL link of the image.
All these tags start with <> opening angle brackets and end with </> angle brackets, as you can see in the code snippets.
You can get more details on the structure of an HTML document here.
How to save HTML Files and Display Results
You just need to follow these two basic steps to view your HTML web page.
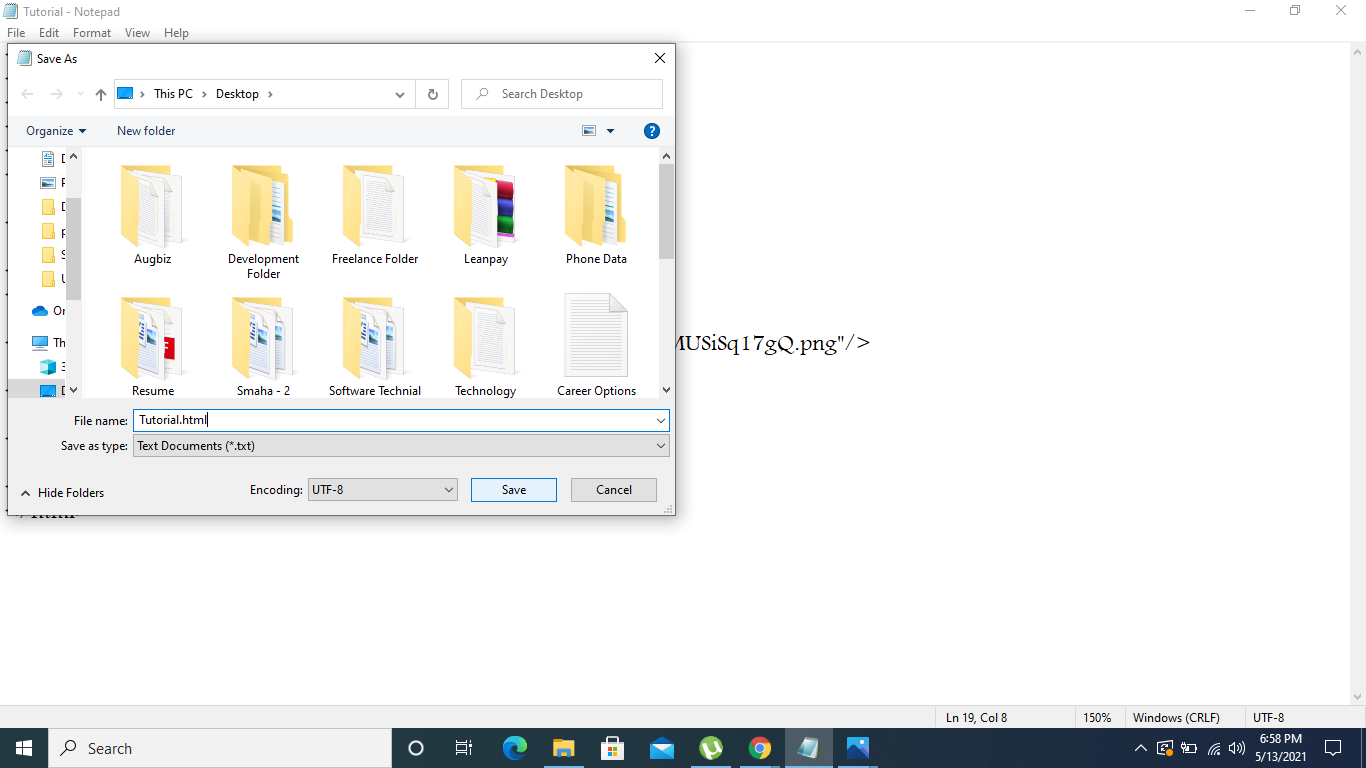
- Save your HTML file as a
.htmlfile. In the example we used, we saved the file asTutorial.html.
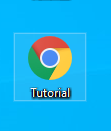
- Open the file in any browser (Chrome, Firefox, IE), and then you can view your HTML web page.
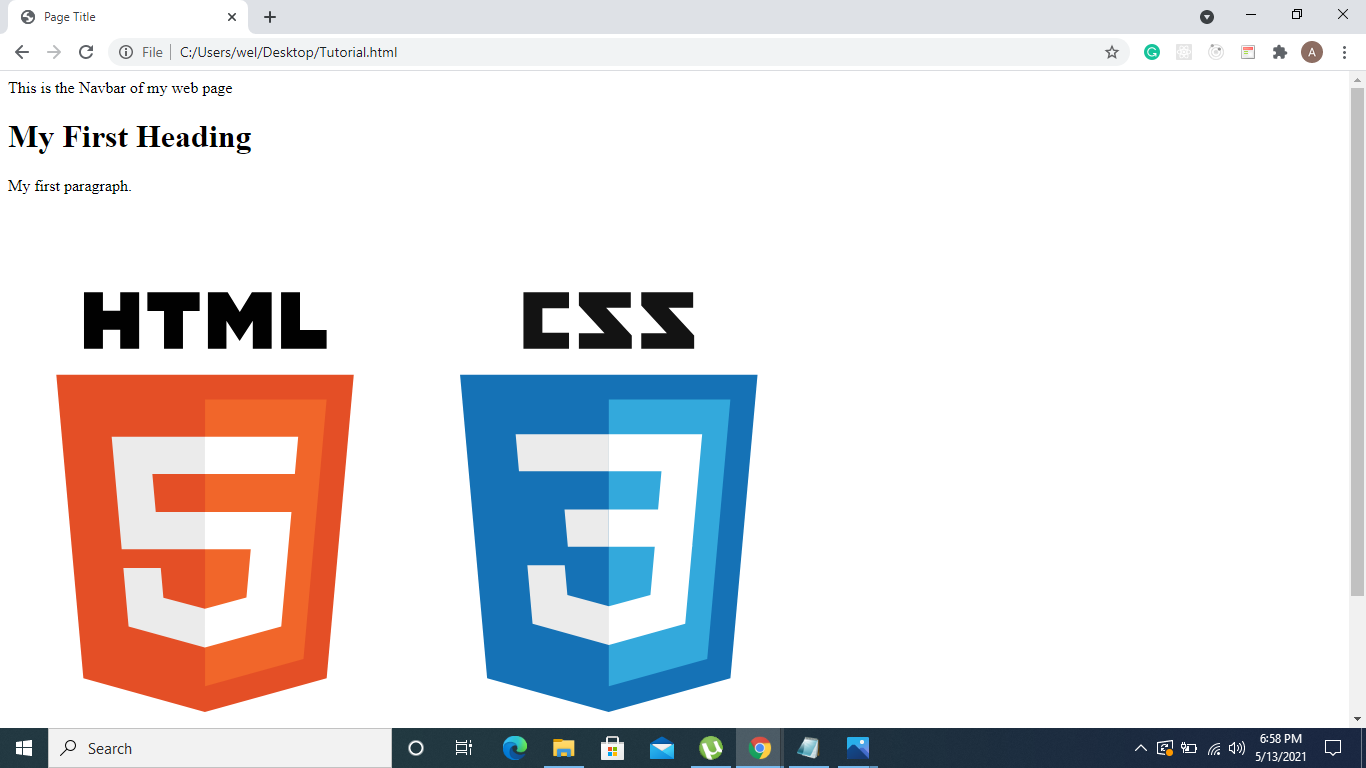
Results of Our Basic HTML Layout
You can clearly see the results, though there aren't any colors or styling to it yet. But you can still see that the structure is there – the navbar followed by the main body containing the content, followed by a footer at the bottom.
How to Add Colors, Style, and Power to the HTML with CSS
CSS stand for Cascading Style Sheets, which are the design sheet files that add colors, style, and power to your HTML structural elements.
You can think of CSS as the paint, decoration, and design elements you add to make your house look beautiful.
There are multiple ways to add CSS to your HTML structure. Let's explore the most basic technique which is to add CSS via the <style> tag.
<head>
    <title>Page Title</title>

    <style>

    body {
      background-color: lightblue;
      margin: 0;
      text-align: center;
    }

    nav {
     background-color: black;
     width: 100%;
     color: white;
     height: 50px;
     padding-top: 25px;
    }

    h1 {
     color: black;
    }

    footer {
     background-color: gray;
     color: white;
     padding: 5px;
    }

    </style>
</head>
Explanation of the CSS
You can see that we added the CSS via the style tag inside the head tag of the document in the code above. That's one basic way of adding CSS.
Let's break it down and explore the CSS properties we used in the four individual elements above.
The body element
body {
  background-color: lightblue;
  margin: 0;
  text-align: center;
}
The body CSS selector refers to the whole user interface structure we see. We added some CSS styling properties:
background-colorthat adds the background color – light blue heremarginwhich manages the spaces on either side of the web page's structuretext-aligned centerwhich means that all the content will be center-aligned in this case.
Since all this CSS applies to the overall web page, all the inner elements will automatically observe these CSS properties until their own properties are specified that differ from this global one.
The nav element
nav {
 background-color: black;
 width: 100%;
 color: white;
 height: 50px;
 padding-top: 25px;
}
The nav selector refers to the navbar of the web page and applies design properties to it.
We have set its background color to black, its width to 100% so that it occupies the whole width, its color which represents the color of the text or links within the navbar, its height to 50px, and we've given it a padding-top of 25px.
Padding refers to the space between the content and the border. Now, since we wanted the text to be center-aligned, we had to add padding of half the pixels of the actual height of the navbar, so that is 50px (height of the navbar) / 2 = 25px. This will make sure that the text inside the navbar is center-aligned.
The h1 element
h1 {
 color: black;
}
The h1 selector applies CSS to the h1 tag. Here, we applied the color property to be black.
The footer element
footer {
 background-color: gray;
 color: white;
 padding: 5px;
}
This is the last selector referring to the footer of our web page. Here, we've set a similar set of properties that we discussed earlier for the navbar, so there's nothing really new here.
And that's it!
What the Web Page Looks Like after Adding CSS**
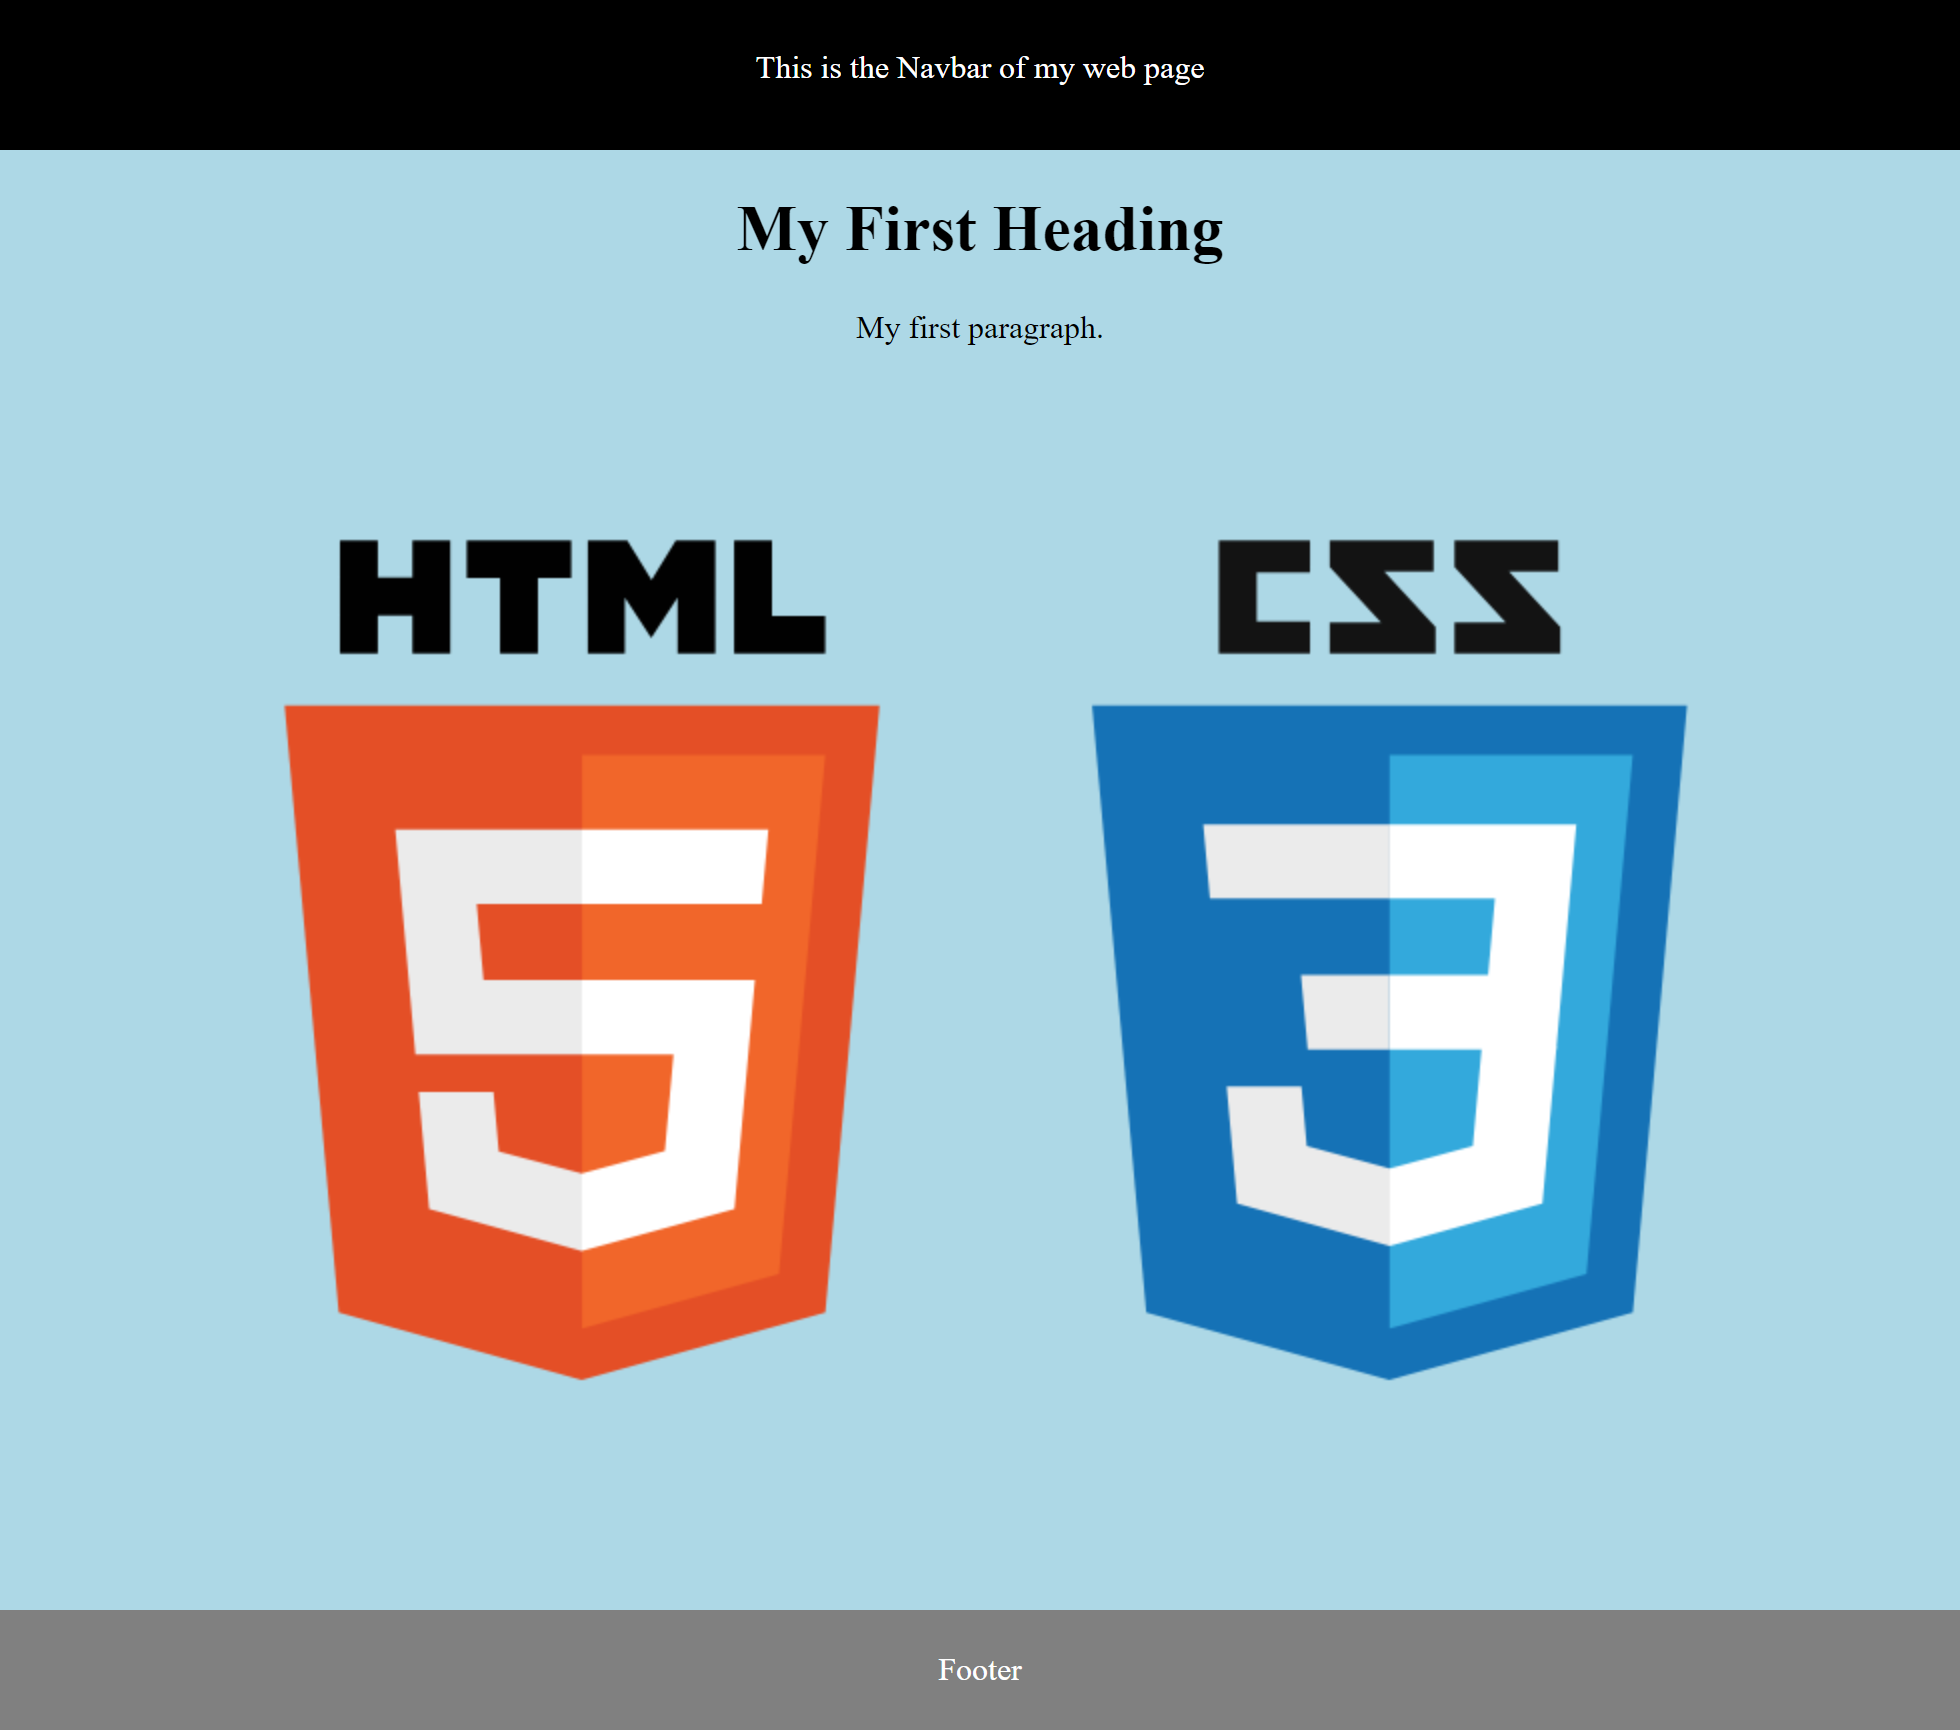
You can now see how much life and power CSS adds to our basic HTML Structure. Isn't that amazing?
These are just the basics of web design, but it's actually quite fun once you learn them.
Conclusion
Now, you have learned the basics of website design and you can see how approachable it can be, how practical it is, and how it relates to many real-life concepts such as the construction of a house.
So, if you've found this interesting, then you should definitely explore more about the web design world. You might want to start with learning about HTML colors and how to use them.
If you're interested in a deeper dive into modern Web-Development, take a look at my Full-Stack JavaScript course.