
Docker helps you setup a development environment on your machine quickly. It only takes a couple of minutes to go through the entire process.
But let's assume you were assigned on a project which requires at least 10 different services in a running state to run your project. For example, let's say your project requires Java 8, Node 14, MySQL, MongoDB, Ruby on rails, RabbitMQ, and others.
In such case, you have to pull all those images individually from Docker and start all of them in their containers. At some point, one process may depend on another to run. So, you have to order them.
It would be good if it's a one time process. But, not just once – every day, every time you start working on your project – you have to start all these services.
That's a tedious process right?
To overcome this, Docker introduced a concept called Multi Containers (Docker Compose). Before learning about Docker Compose, let's quickly learn how to start a database host in Docker.
In the example part of this tutorial, we'll spin up a NodeJS container and MongoDB container together. Learning about MongoDB at the beginning will give you a good understanding for when we move to Docker Compose.
We'll split this tutorial into 2 sections:
- How to use docker as a Database host (MongoDB)
- How Docker Compose works with an example (NodeJS and MongoDB)
How to Use Docker as a Database Host
If you've had experience with backend development, you might have had a chance to handle multiple databases. For example, databases like MySQL/Postgres to handle relational data and Cassandra/MongoDB to handle unstructured data.
Want to know a secret? You can work on back-end development without installing the database on your machine locally. Yes, you can use Docker as a database host. It has all the dependencies by default in the particular image file.
Why Do We Need Docker Database?
Docker helps us maintain consistent versions across platforms and environments. Let's say that there are a group of people working on your team on MongoDB version 5.0. If a new member joins your team, they'll need to set up the same version with the exact configuration manually. What if they install the latest version of MongoDB (6.0)? That will lead to some conflicts. This will be nightmare if it spreads to everyone's else's devices.
To get around this, you can use MongoDB in Docker with a custom configuration and push the MongoDB image to Docker Hub internally. If a new person comes in they can pull the image and start the implementation without any manual configuration.
Let's look at the advantages of using a database in Docker.
- By using this implementation we can ensure that everyone on a team uses the exact runtimes and configuration without any external resources.
- It's very easy to set up and we can start/stop the server quickly using Docker desktop
How to Setup MongoDB using Docker
If you're not familiar with Docker Hub, here's a short intro. Docker hub is a platform where you can find and share Docker images that are public or private. It is pretty similar to GitHub / GitLab. In a nutshell, it's a repository for Docker images.
The first step is to pull the official Docker image from Docker Hub.
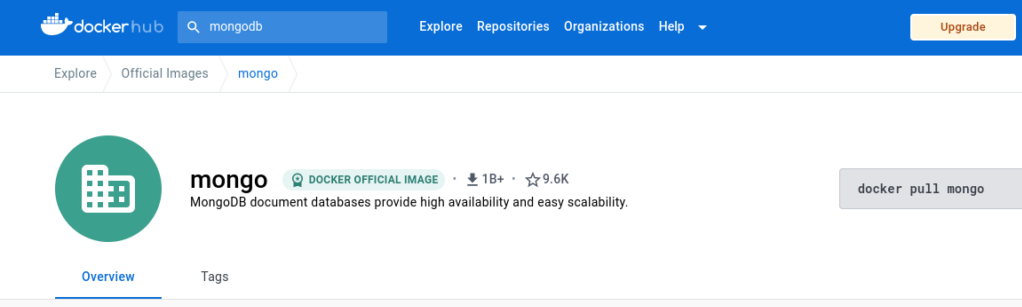 MongoDB Image in Docker Hub
docker pull mongo:latest
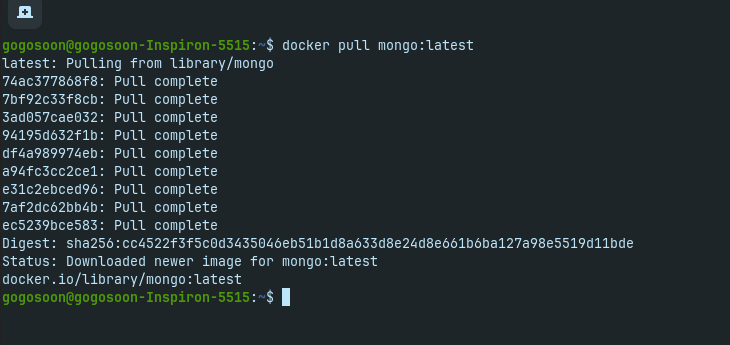 Sample output for pulling Mongo image from Docker Hub
Once you're done pulling the Mongo image, open your Docker Desktop and you'll be able to see it there.
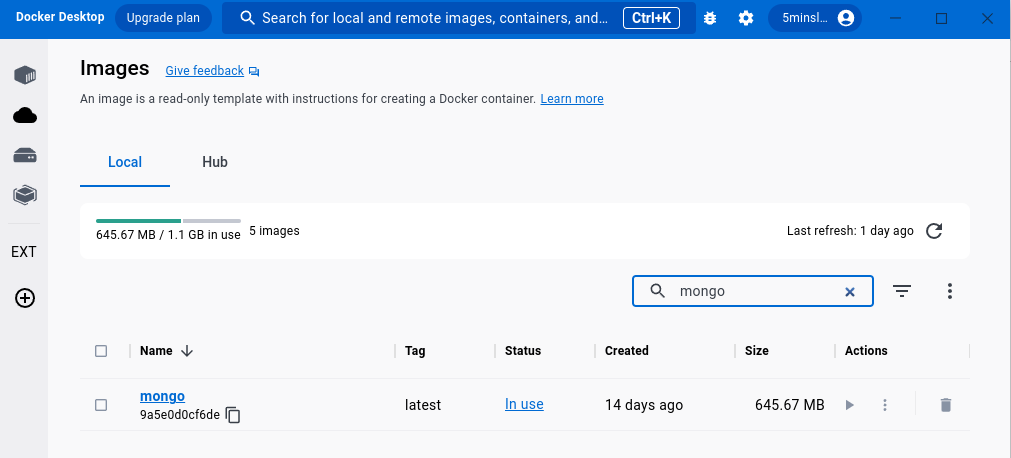 Mongo Image available in Docker desktop
Let's run our MongoDB image using the docker run command.
docker run -d -p 27017:27017 --name mongo-server-local mongo: latest
 Sample output to run MongoDB in Docker
We've successfully run the Docker image. Now we can see the container running on Docker Desktop.
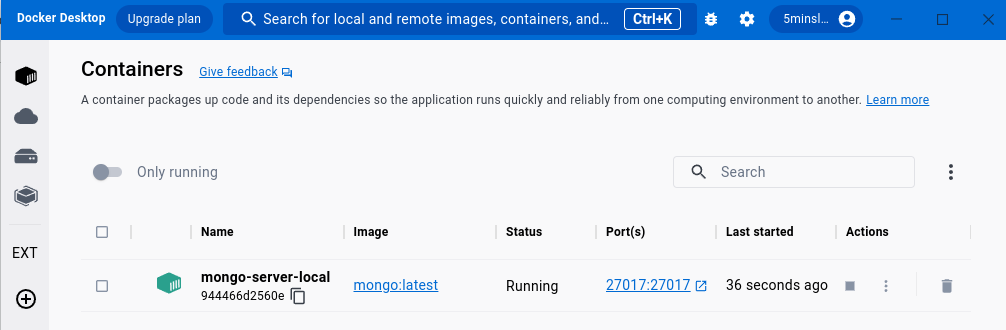 Mongo container running in Docker Desktop
So, the MongoDB server is running on your machine. Let's confirm this in the browser. Go to http://localhost:27017 on your browser and you should be able to see the message as shown in the screenshot below:
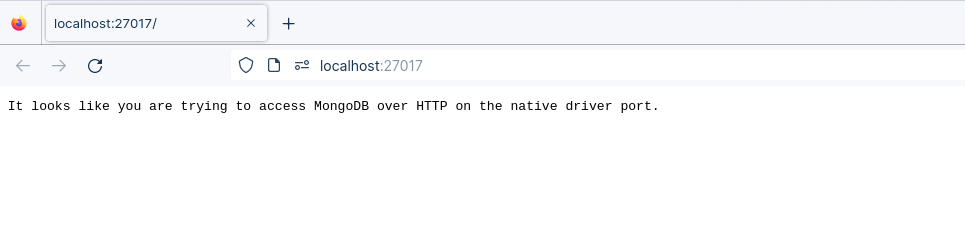 Sample output "It looks like you are trying to access MongoDB over HTTP on the native driver port" for running MongoDB server using Docker
Interesting right?
We can stop/start the MongoDB server using Docker whenever we need.
Important Note
- It is not recommended to use Docker as a database for production
- Do not use Docker database for large scale applications
What is docker-compose?
Let's come back to docker-compose.
Docker Compose is a tool you can use to define and share multi-container applications. This means you can run a project with multiple containers using a single source.
For example, assume you're building a project with NodeJS and MongoDB together. You can create a single image that starts both containers as a service – you don't need to start each separately.
Interesting right? And this solves the problem which I called out at the very beginning of this article.
To achieve this we need to define a docker-compose.yml.
docker-compose.yml file
The compose file is a YML file defining services, networks, and volumes for a Docker container. There are several versions of the compose file format available – 1, 2, 2.x, and 3.x.
Before proceeding further, here's a important note to us from the Docker Compose team.
From the end of June 2023 Compose V1 won’t be supported anymore and will be removed from all Docker Desktop versions.
We are using version 3 in this article.
version: '3'
services:
  app:
    image: node:latest
    container_name: app_main
    restart: always
    command: sh -c "yarn install && yarn start"
    ports:
      - 8000:8000
    working_dir: /app
    volumes:
      - ./:/app
    environment:
      MYSQL_HOST: localhost
      MYSQL_USER: root
      MYSQL_PASSWORD:
      MYSQL_DB: test
  mongo:
    image: mongo
    container_name: app_mongo
    restart: always
    ports:
      - 27017:27017
    volumes:
      - ~/mongo:/data/db
volumes:
  mongodb:
Let's dismantle the above code and understand it piece by piece:
versionrefers to the docker-compose version (Latest 3)servicesdefines the services that we need to runappis a custom name for one of your containersimagethe image which we have to pull. Here we are usingnode:latestandmongo.container_nameis the name for each containerrestartstarts/restarts a service containerportdefines the custom port to run the containerworking_diris the current working directory for the service containerenvironmentdefines the environment variables, such as DB credentials, and so on.commandis the command to run the service
How to run the multi-container
We need to build our multi-container using docker build.
docker compose build
After successfully building, we can run the containers using the up command.
docker compose up
If you want to run the container in detached mode, just use the -d flag.
docker compose up -d
 Sample output to run multiple containers using docker-compose in detached mode
Fine, We are good to go. The containers are up and running. Let's check the container list.
docker compose ps
 Sample output to list the running container services
Hurray, we can see that there are two containers running at the same time.
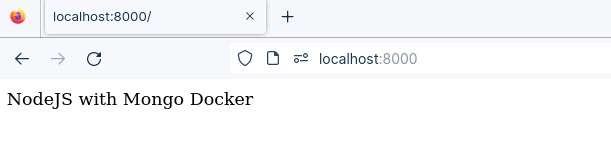 Sample output for running nodejs service using docker
 Sample output for running mongodb service using docker
To have a look at the data in your MongoDB, you have to install MongoDB Compass.
Here's the screenshot of it.
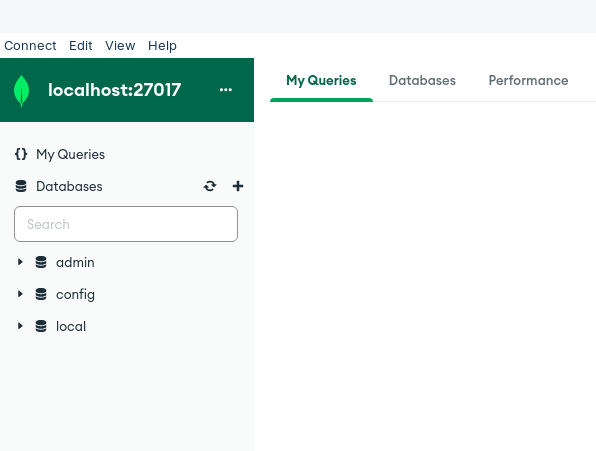 MongoDB server view in mongodb compass
Conclusion
In this article, you have learned how Docker Compose works with an example. Using multiple containers you can spin up any type of service such as RabbitMQ or Apache Kafka and run in a single source of service. Hope you enjoyed reading this article.
If you wish to learn more about Docker, subscribe to my article on my site (https://5minslearn.gogosoon.com) which has a consolidated list of all my blogs.