

You may have heard of the term SMTP before, and wondered what it is. SMTP is a common method for handling email messages.
Today I am going to explain what SMTP is, and how to use an SMTP provider such as SendGrid to send emails from your address.
What Is SMTP?
SMTP, or Simple Mail Transfer Protocol, is the method through which internet servers send email messages. When you send an email through your Gmail account, for example, your mail client uses SMTP to send that message to the server. The server then also uses SMTP to send it to the receiving server.
Without diving too much into the technical details, the easiest way to think of it is that SMTP is an email server.
What is SendGrid?
SendGrid is an SMTP service provider – in fact, it's the provider freeCodeCamp uses to send out Quincy's weekly newsletter.
Like many SMTP providers, SendGrid offers the use of their mail servers to send your emails. This is an excellent option for sending large volumes of emails, where having to do so manually would take a significant amount of time and effort.
How to Create a SendGrid Account
The first step in using SendGrid's services is to create your account. Head on over to the SendGrid website to get signed up. They offer multiple pricing models, but the free level will be sufficient at least for this tutorial.
As you scale up your email list, however, you may need additional features from a higher subscription tier.
Once you are signed in, you should see a default dashboard view:
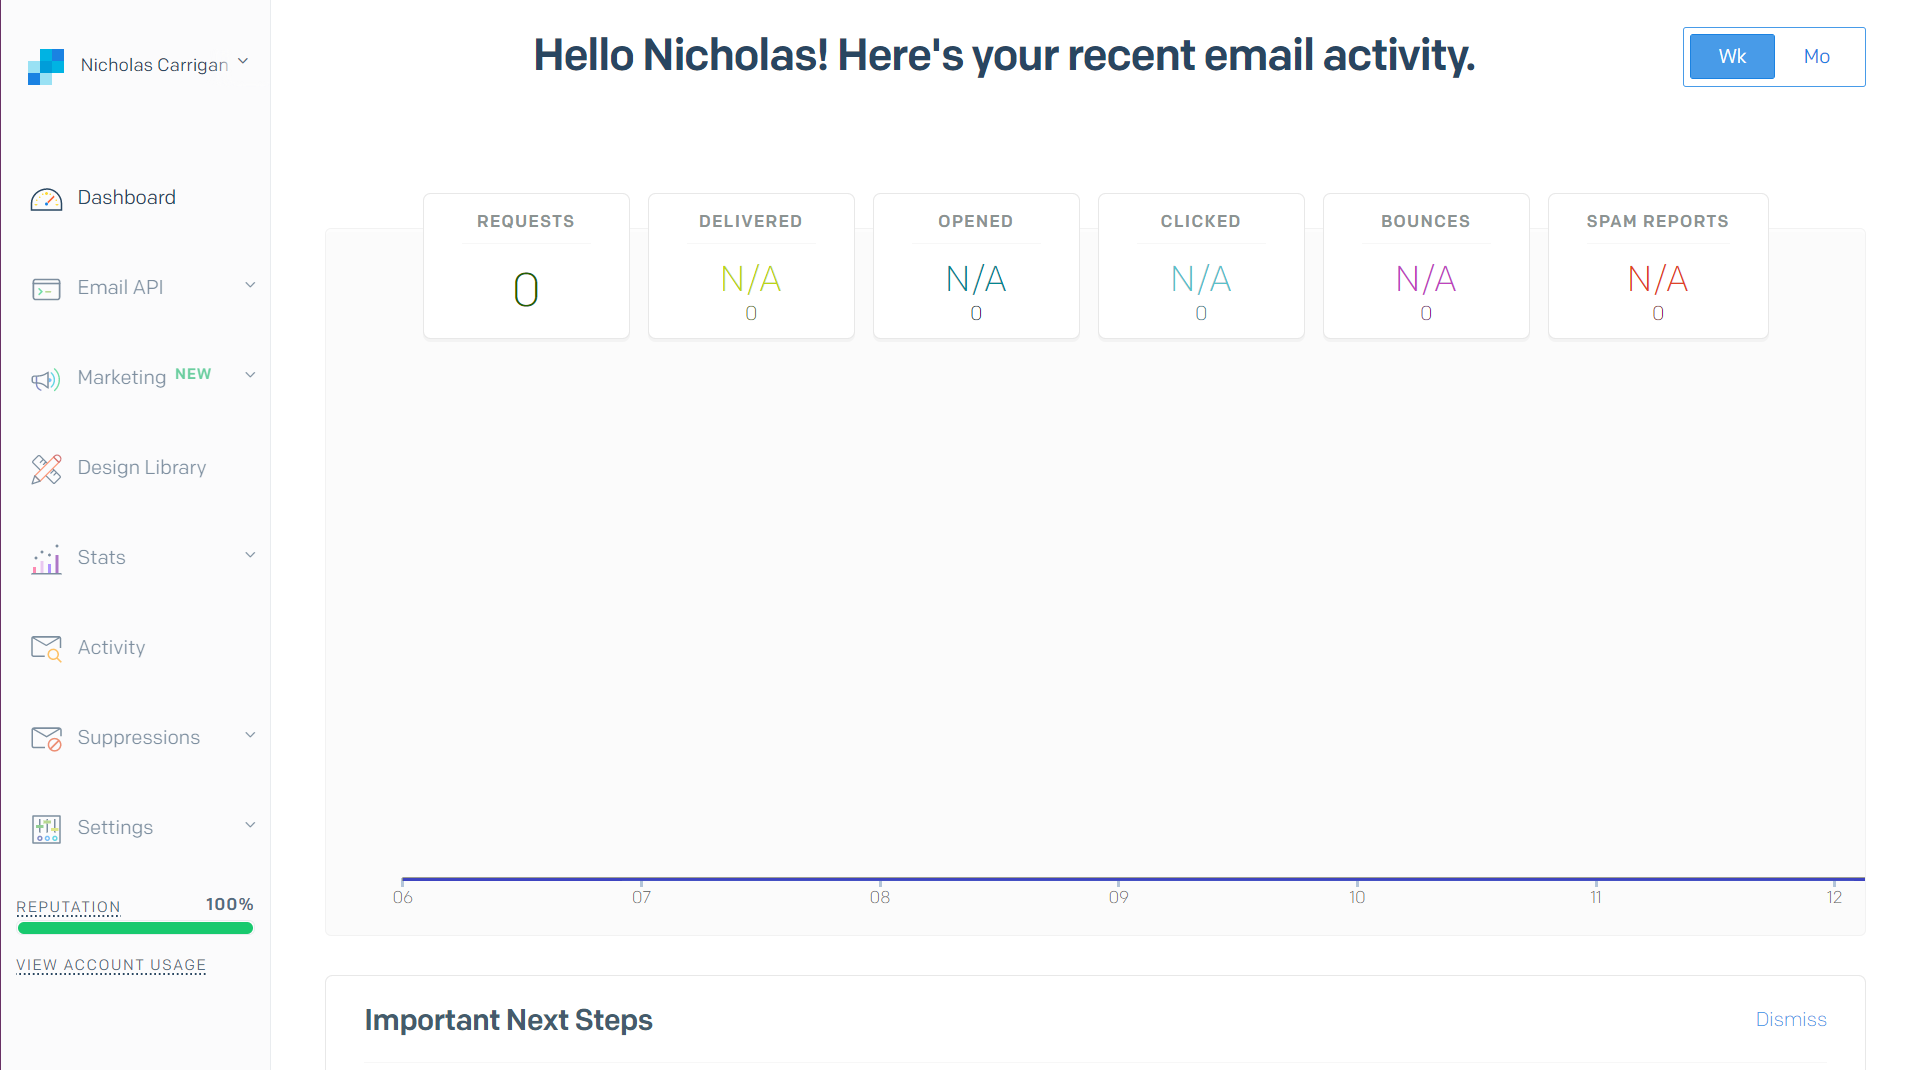 Image depicting the default SendGrid dashboard view.
How to Set up Your Domain or Email with SendGrid
From that dashboard view, select "Settings", then choose "Sender Authentication" from the dropdown menu. The Sender Authentication settings are where you tell SendGrid which email accounts to allow emails to be sent from.
There are two approaches here – if you have a custom domain for your emails, you can set up Domain Authentication. If you are using a personal email address, such as a Gmail address, then you will need to set up Single Sender Authentication.
Choose whichever option works best for you, and follow SendGrid's prompts to set it up. Your end result should look similar to this:
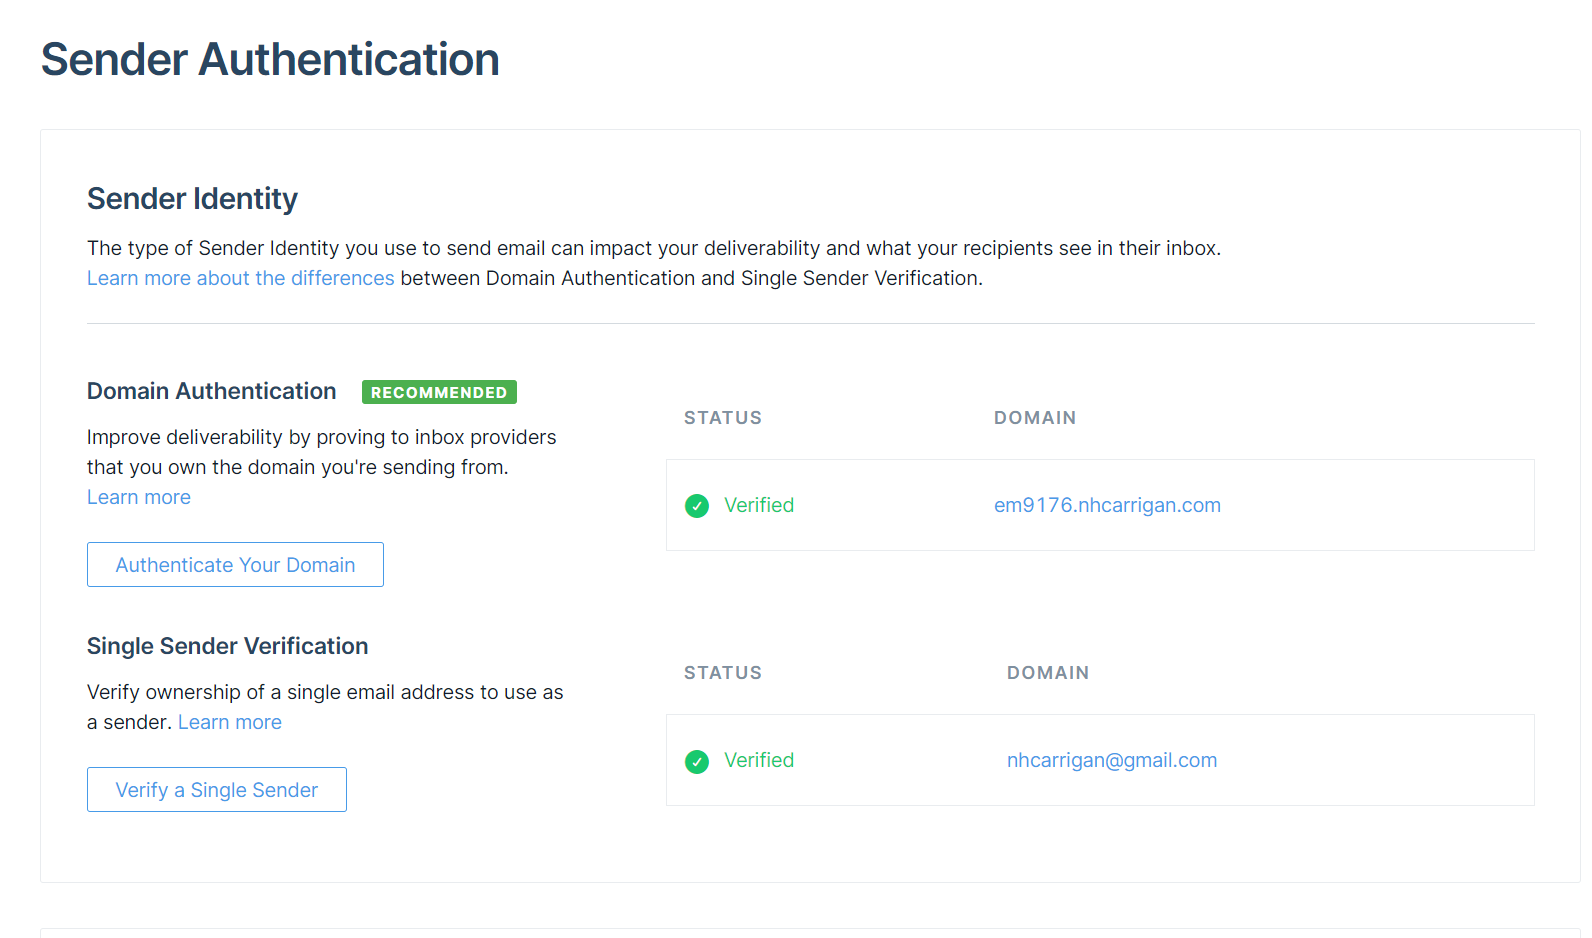 Image depicting Sender Authentication settings.
How to Send Emails Via SendGrid's API
The actual process of sending the emails is done through SendGrid's API. But before you can use the API, you'll need to set up an API key.
From your dashboard view, select "Settings", then select "API Keys". Choose "Create API Key" and select the permissions you want the key to have (I gave mine full permissions, just to avoid issues).
Once you have the key, save it somewhere safe as you will not be able to access it again.
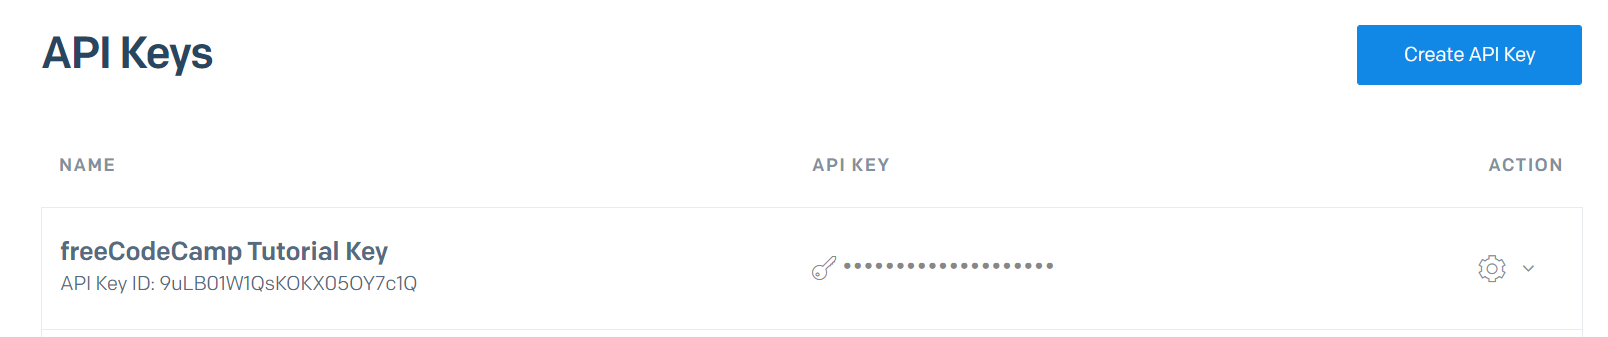 Image depicting the API Keys settings page.
Now that you have the API key, you'll need to set up the code to use the /mail/send endpoint. You can write the code manually, or use one of the helper libraries such as SendGrid's Node.js package.
When using the Node.js package, you set the values for your email as follows:
to: The address to send the email to.from: The address to send the email from. This should match your settings in the Sender Authentication.subject: The subject of your email.text: The content of your email, if you are sending a plain text email.html: The content of your email, if you are sending an HTML email.
The properties in a raw API call are different, as are the properties in the other helper libraries. Be sure to refer to the documentation for your specific approach.
How to Use Dynamic Templates in SendGrid
As an alternative option, instead of sending the email content in your API call, you can use a Dynamic Template to generate the content.
A Dynamic Template lets you set the content for emails to send out, and offers Handlebars functionality to replace specific data fields.
To create a Dynamic Template, from your dashboard select "Email API" and then "Dynamic Templates". Then click "Create a Dynamic Template" – you should see your template appear below.
Click on it, then select "Add Version" to open the template selection. Choose the blank template, then select the type of editor you would like to use (I use the code editor).
 Image depicting the editor.
You can write the content of your email, and use placeholders such as {{name}} for the dynamic data. These placeholders would be given values through your API calls when you send the emails.
If you want to see how it would render, you can use the "Test Data" tab to add sample data for the placeholders.
How to Get Blocks/Bounces/Spams via SendGrid's API
It's important to track undeliverable emails. SendGrid offers tooling to help track this for you, and that data is available through three different dashboard views (or API endpoints, if you want to parse the data programmatically).
Blockedemails are emails that were rejected by the receiving email provider's policies, such as university emails that don't accept external traffic, or emails that could not be resolved (the mail server was not found).Bouncedemails are emails that were received by the server but returned. This occurs in cases where the email server exists, but the specific user does not, or the email inbox is at capacity.Spamemails are arguably the most important to monitor, as these are generated when a user receives your email and reports to their provider that your email is spam. These directly impact your reputation as a sender, so it is imperative that you do not send an email to someone who has marked your previous emails as spam.
Other Concerns
Speaking of your reputation as a sender, SendGrid offers a top-level metric called "Sender Reputation". This metric is an aggregation of your activity through their platform, and helps give a general idea of the way email providers are likely to handle your emails.
A lower reputation will result in your emails being marked as spam automatically, or even your IP addresses being blocked.
If you are on the free tier for SendGrid, you will be using shared IP addresses. This means that other customers will also be sending emails through that same IP, and their actions can negatively impact your reputation.
If you intend to send large volumes of emails, I recommend that you purchase dedicated IP addresses to ensure that your reputation is protected.
Conclusion
I hope this article has helped you become more familiar with SendGrid and the services they offer. You should now be ready to start sending your own emails.
If you are planning to start an email newsletter, I wrote an article about creating effective email newsletters that might help.