

In the world of Java development, selecting the right build tool is a crucial decision. Build tools automate various tasks, making the development process smoother and more efficient.
In this article, we'll explore three popular build tools used in Java development: Maven, Gradle, and Ant. We'll discuss their features, use cases, and I'll offer guidance to help you make an informed choice for your Java projects.
Prerequisites
To get the most out of this article, you should have the following:
- A suitable IDE such as NetBeans.
- Basic understanding of Java.
Maven: The Industry Standard
Maven is a widely adopted and highly structured build tool. It uses an XML-based Project Object Model (POM) file to manage dependencies, build processes, and project lifecycles.
Some key advantages of Maven include:
- Standardization: Maven enforces conventions and standards for project structure and configuration, making it easy to understand and work with.
- Dependency Management: Maven excels in managing project dependencies, simplifying the process of integrating external libraries.
- Rich Plugin Ecosystem: Maven provides a vast library of plugins for various tasks, ensuring flexibility in project setup.
Advantages of Maven
Maven is a widely used build tool in the Java ecosystem. It's known for its declarative and standardized project configuration using XML (POM files). Maven centralizes dependency management and provides a rich ecosystem of plugins and conventions.
Use Maven if:
You prefer a standardized and structured approach, especially when dealing with large-scale projects or working within teams that value consistency.
Gradle: The Modern and Flexible Choice
Gradle is a build tool known for its flexibility and expressiveness. It uses a Groovy-based DSL or Kotlin for build scripts, offering a more concise and customizable approach.
Some key features of Gradle include:
- Conciseness: Gradle build scripts are often shorter and more readable compared to Maven's XML.
- Flexibility: It allows for highly customized build processes and supports multi-module projects.
- Performance: Gradle is designed for speed and efficiency, making it suitable for large-scale projects.
Advantages of Gradle
Gradle is a more flexible and modern build tool. It uses a Groovy-based DSL (domain-specific language) or Kotlin to define build scripts. It's known for its conciseness and extensibility, making it a good choice for complex projects.
Use Gradle if:
You want a more expressive and customizable build system, especially for complex and performance-critical projects.
Ant: The Simple and Lightweight Option
Ant, while less common today, remains a simple and lightweight build tool that uses XML-based build scripts.
Some advantages of Ant include:
- Simplicity: Ant is straightforward and easy to learn, making it a good choice for small projects or when you need direct control.
- No Convention Over Configuration: Unlike Maven, Ant doesn't impose specific project structures or configurations, giving you full control.
Advantages of Ant
Ant is an older build tool that uses XML for build scripts. It's lightweight and simple to understand, which can be an advantage for small projects or when you want full control over the build process.
Use Ant if:
You require simplicity and full control over the build process, or when dealing with legacy projects that use Ant.
Comparing Maven, Gradle, and Ant
Let's compare these build systems in a few key areas:
- Ease of Use: Maven is user-friendly due to its conventions, while Gradle offers flexibility. Ant requires manual configuration.
- Flexibility: Gradle is the most flexible, followed by Ant. Maven, while structured, can be less flexible in certain scenarios.
- Community and Support: Maven has a well-established community. Gradle's community is growing, and Ant's community is relatively smaller.
How to Use these Build Systems in a Java Project
Now we'll go through a step-by-step guide on how to set up and use these build systems in your Java project within the NetBeans IDE.
Install NetBeans
If you haven't already, download and install the NetBeans IDE from the official website (https://netbeans.apache.org/download/index.html). Make sure to download the version that includes Java SE support.
After installation, open NetBeans:
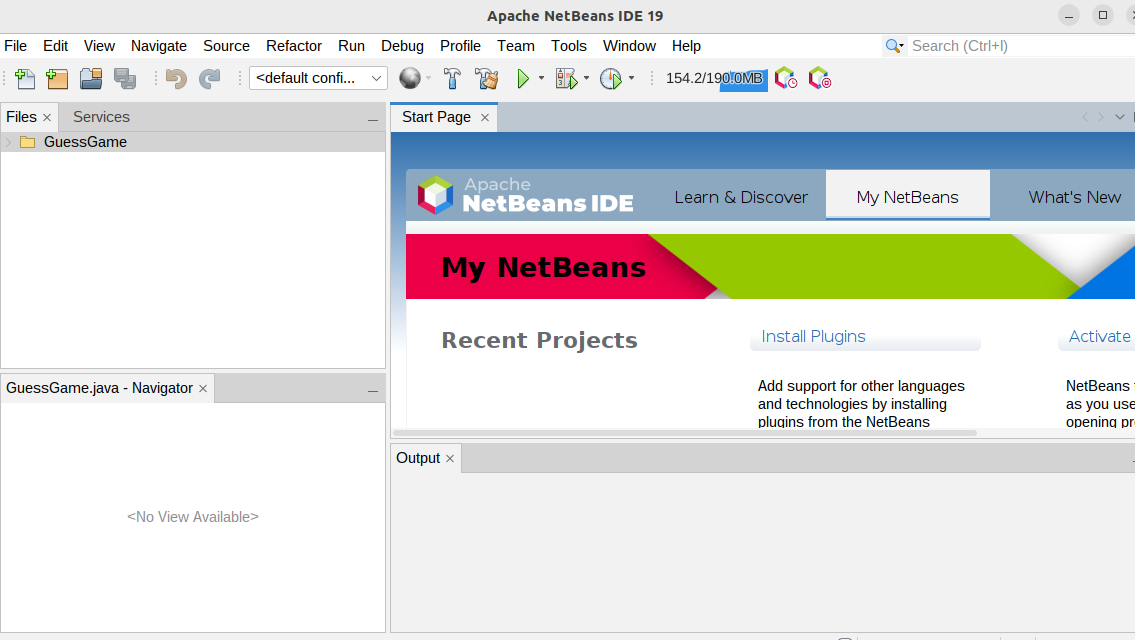 NetBeans Start Page
Create a new Java Project
Click on File in the top menu. Then select New Project....
Now we'll go through how to set up each of these build tools so you can choose which one works best for you.
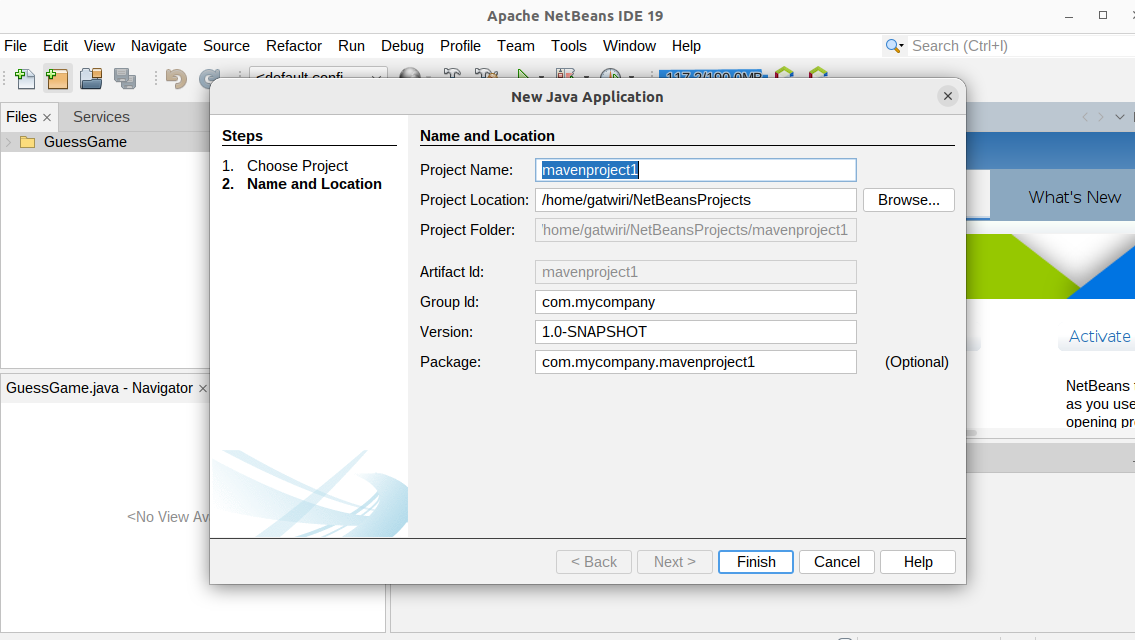
How to set up Maven
In the New Project dialog box, choose Java with Maven under Categories and Java Application under Projects. Finally, click the Next > button:
 Java with Maven
Project Configuration
Let's use the default project name and location, in the Project Name and Project Location field. This will be the name of our Java project and location where our project will be saved. After that, we will click the Finish button.
In Java, it is a convention that the name of the Java source file should match the name of the public class defined within that file.
 Java with Maven Configuration
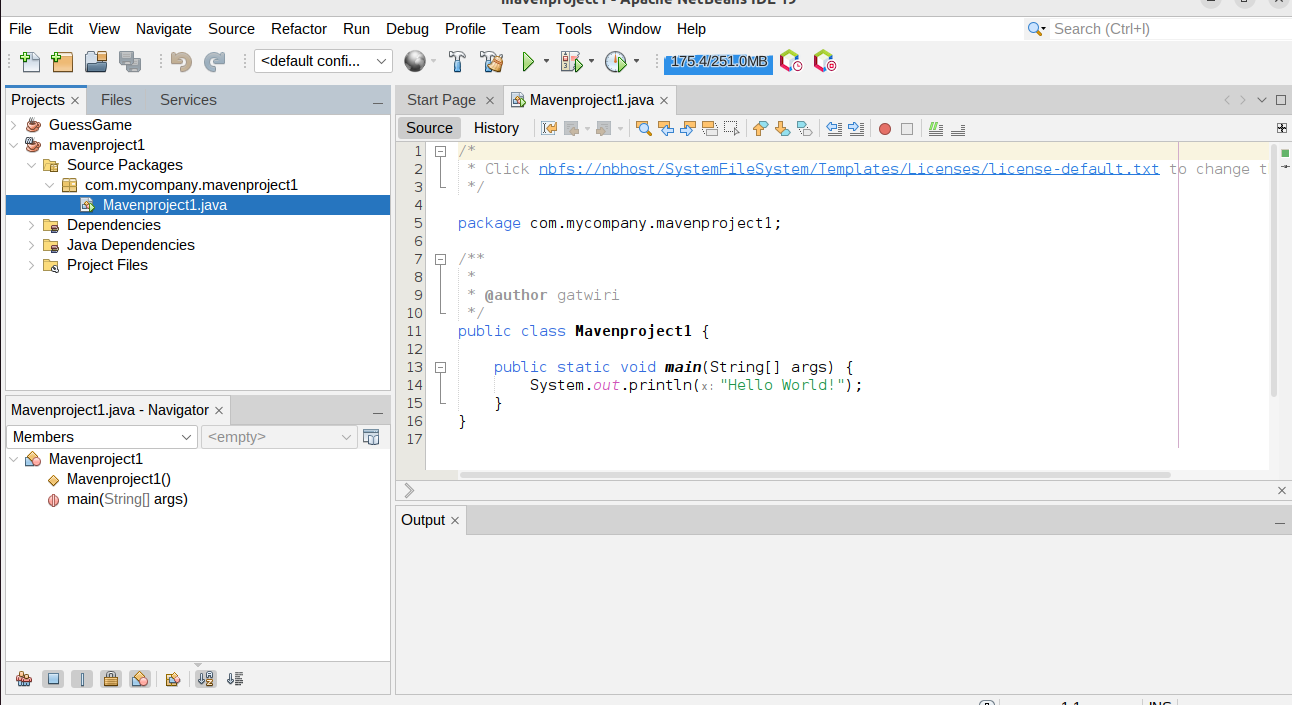
Write Your Java Code
NetBeans will create a basic Java project structure for us. When we click Finish, the Main file will open as shown below:
 Java with Maven starter code.
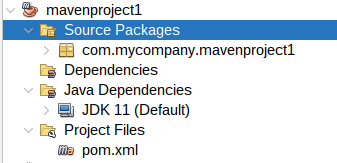
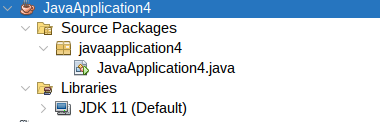
In Java projects, in the Projects tab on the left, when you expand your project folder you'll see the src folder where your Java source code should go. You'll also find a Yourfilename.java file, which is your main class.
Below is Maven's interface:
 Maven Interface NetBeans
As shown above, this is a standardized and structured approach.
And now you're all set with Maven. Next, let's look at the process for setting up Gradle.
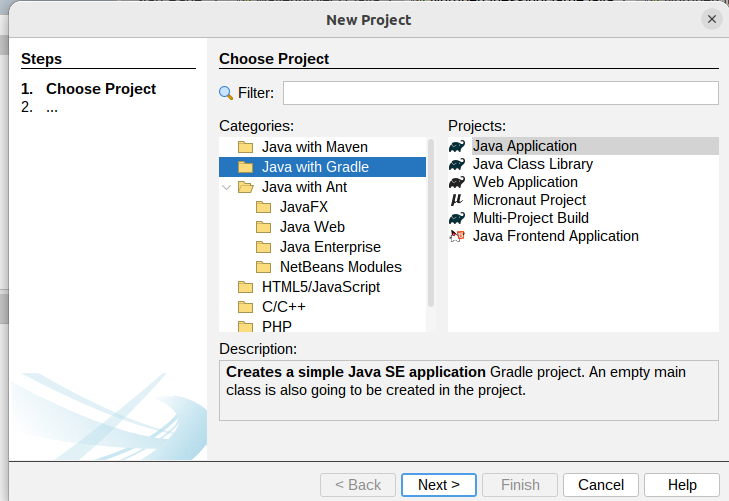
How to set up Gradle
In the New Project dialog box, now we will choose Java with Gradle under Categories and Java Application under Projects. Then click the Next > button:
 Java with Gradle
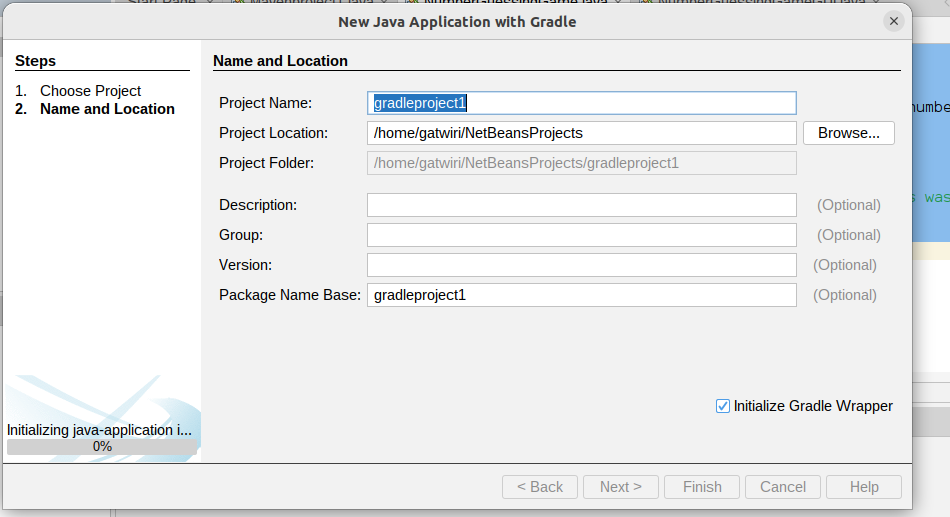
Project Configuration
After clicking Next>click Finish then wait for initialization to complete:
 Java with Gradle Configuration
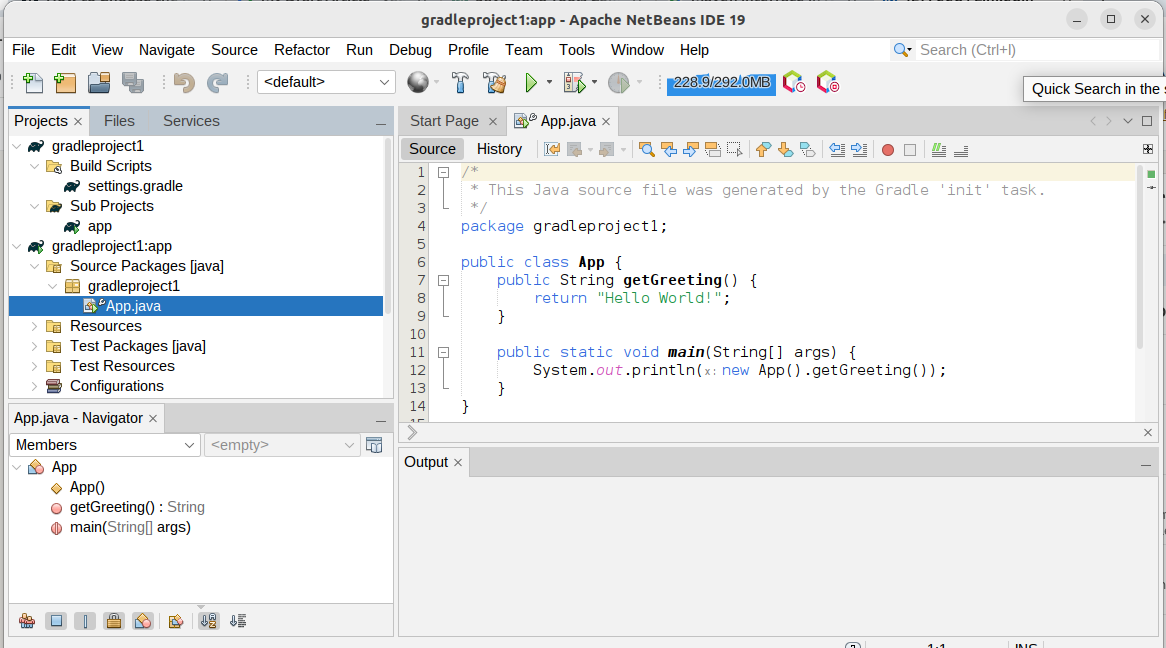
Write Your Java Code
After, that, NetBeans will create a basic Java project structure for us. Let's now open our Main file:
 Java with Gradle Starter Code
Our main file contains a basic Gradle with Java starter code.
Below is Gradle's interface:
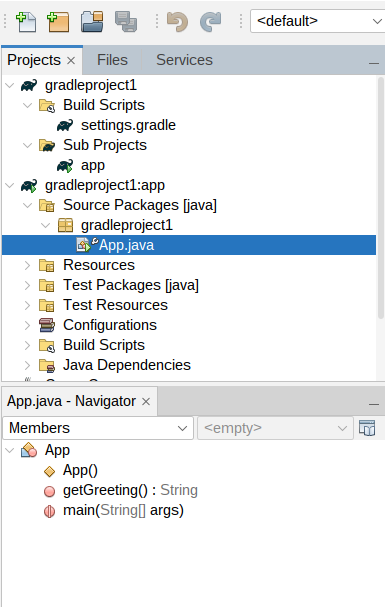 Java with Gradle NetBeans interface
As shown in the interface, this is a more expressive and customizable build system.
Lastly, let's look at how you can set up Ant.
How to set up Ant
In the New Project dialog box, now we will choose Java with Ant under Categories and Java Application under Projects. Then click the Next > button:
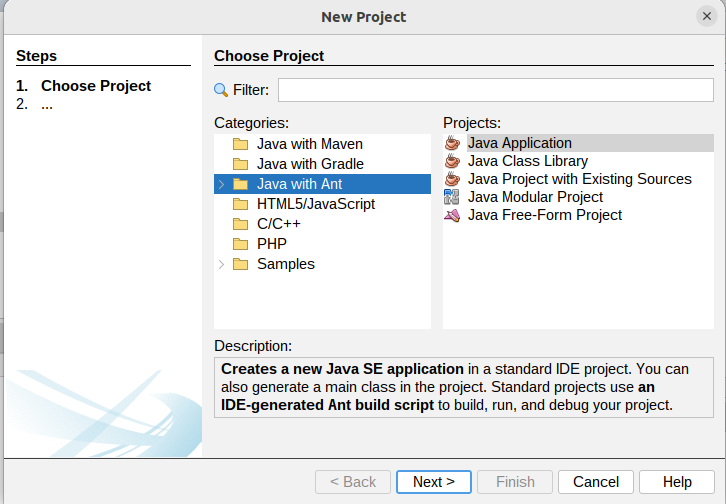 Java with Ant
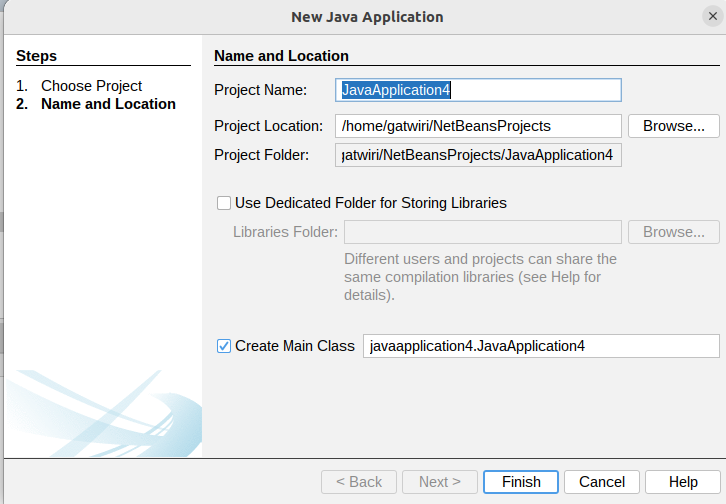
Project Configuration
Leave the default configurations as they are, then click Finish:
 Java with Ant configuration
Write Your Java Code
NetBeans will create a basic Java project structure for us. Let's now open our Main file :
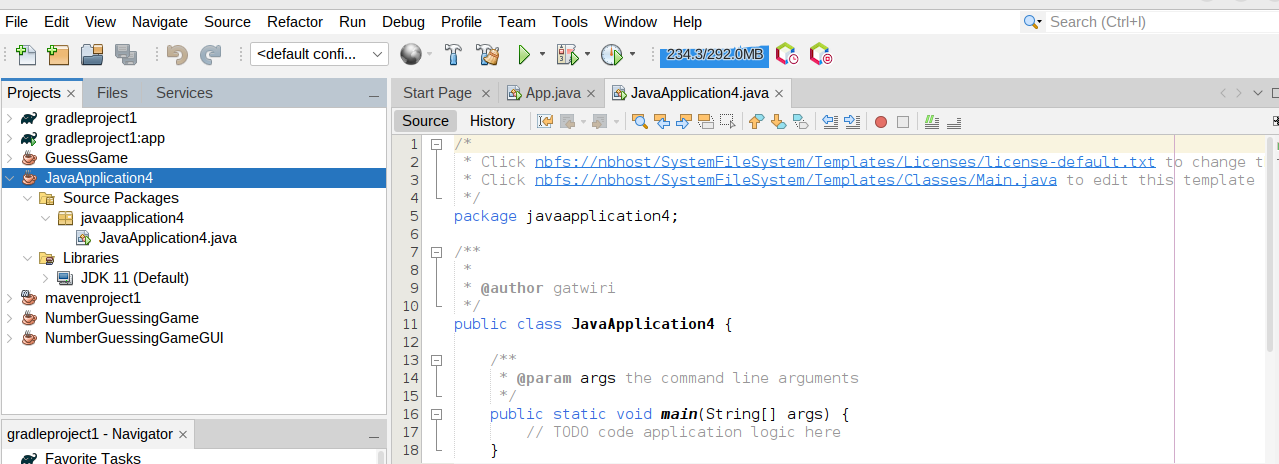 Java with Ant Startercode
Our main file contains basic java starter code.
Below is Gradle's interface:
 Java with Ant interface
Compared to Maven's and Gradle's code structure, Ant's code structure is the simplest, as shown above.
Build and Run Your Program
To run your program, click the Run button in the NetBeans toolbar or press Shift+F6. You'll see the output in the Output window at the bottom of the NetBeans IDE.
For example, this Java program:
public class HelloWorld {
    public static void main(String[] args) {
        System.out.println("Hello, World!");
    }
}
prints Hello, World! to the console:
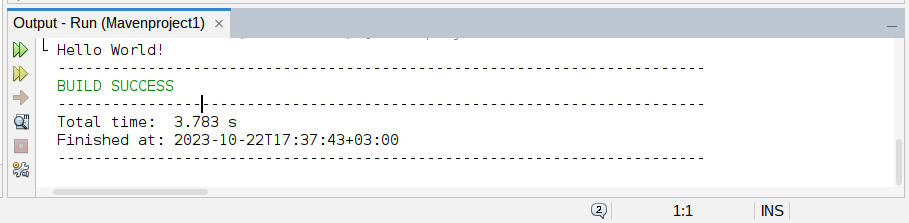 Output
Conclusion
Choosing the right build system for your Java projects depends on various factors, including project size, team familiarity, and specific requirements.
Maven provides structure and standardization, Gradle offers flexibility and performance, and Ant simplifies the build process.
After reading this guide, you should now be able to make an informed choice based on your project's needs. Consider exploring more about each build system to master its capabilities: